Seat Ibiza SC 2010 Owner's manual
Manufacturer: SEAT, Model Year: 2010, Model line: Ibiza SC, Model: Seat Ibiza SC 2010Pages: 266, PDF Size: 7.02 MB
Page 111 of 266
Seats and storage compartments109
Safety First
Operating Instructions
Practical Tips
Technical Specifications
rests are tilted to the rear, the greater the risk of injury due to improper
positioning of the belt web!
•Exercise caution when securing the seat height into forwards/back-
wards position. Injuries can be caused if the seat height is adjusted
without due care and attention.•To move the seat lengthways, pull upwards and not sideways on the
lever, as the force exerted on it in this position could damage it.
Heated seats*
�A
The front seat cushions and backrests can be heated electri-
cally.
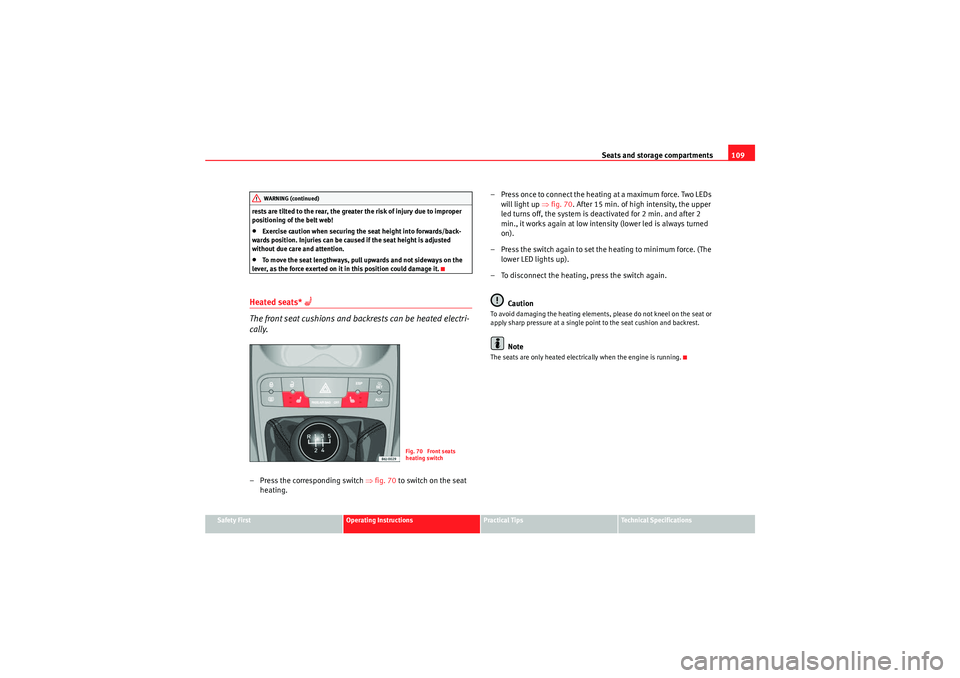
– Press the corresponding switch ⇒fig. 70 to switch on the seat
heating. – Press once to connect the heating at a maximum force. Two LEDs
will light up ⇒fig. 70 . After 15 min. of high intensity, the upper
led turns off, the system is deactivated for 2 min. and after 2
min., it works again at low intens ity (lower led is always turned
on).
– Press the switch again to set the heating to minimum force. (The lower LED lights up).
– To disconnect the heating, press the switch again.
Caution
To avoid damaging the heating elements, please do not kneel on the seat or
apply sharp pressure at a single point to the seat cushion and backrest.
Note
The seats are only heated electrically when the engine is running.
WARNING (continued)
Fig. 70 Front seats
heating switch
IbizaSC_EN.book Seite 109 Donnerstag, 2. September 2010 6:10 18
Page 112 of 266
Seats and storage compartments
110Rear seatsFolding down rear seats
Folding seat down
– Remove the head restraint ⇒page 107.
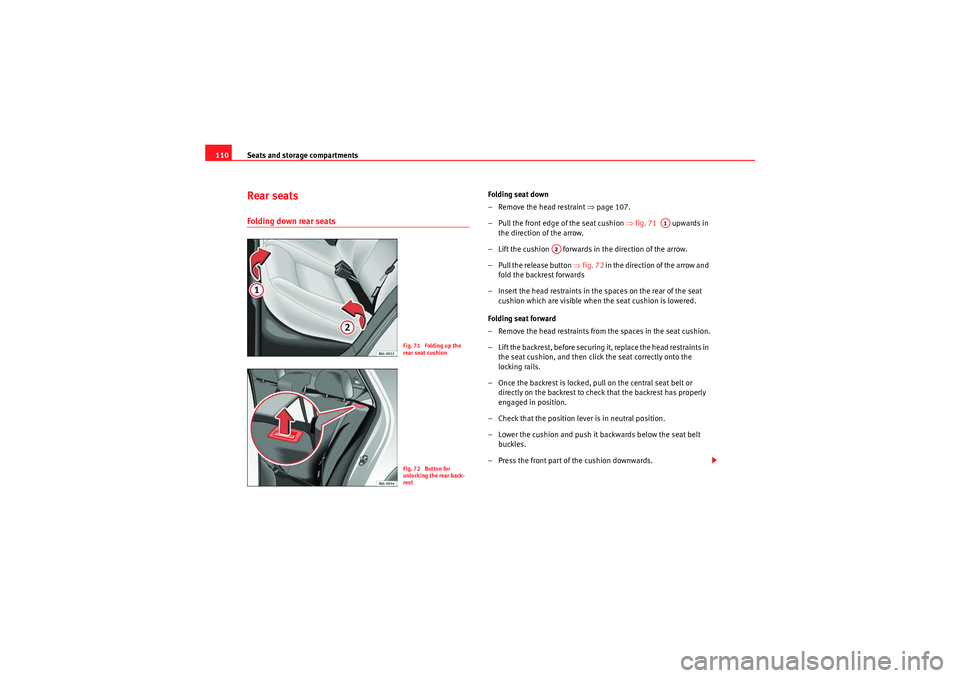
– Pull the front edge of the seat cushion ⇒ fig. 71 upwards in
the direction of the arrow.
– Lift the cushion forwards in the direction of the arrow.
– Pull the release button ⇒fig. 72 in the direction of the arrow and
fold the backrest forwards
– Insert the head restraints in the spaces on the rear of the seat cushion which are visible when the seat cushion is lowered.
Folding seat forward
– Remove the head restraints from the spaces in the seat cushion.
– Lift the backrest, before securing it, replace the head restraints in the seat cushion, and then click the seat correctly onto the
locking rails.
– Once the backrest is locked, pull on the central seat belt or directly on the backrest to check that the backrest has properly
engaged in position.
– Check that the position lever is in neutral position.
– Lower the cushion and push it backwards below the seat belt buckles.
– Press the front part of the cushion downwards.
Fig. 71 Folding up the
rear seat cushionFig. 72 Button for
unlocking the rear back-
rest
A1
A2
IbizaSC_EN.book Seite 110 Donnerstag, 2. September 2010 6:10 18
Page 113 of 266
Seats and storage compartments111
Safety First
Operating Instructions
Practical Tips
Technical Specifications
On split rear seats
11) the backrest and cushion can be lowered and raised
respectively in two sections.
WARNING
•Please be careful when folding back the backrest! Injuries can be
caused if the seat height is adjusted without due care and attention.•Do no trap or damage seat belts when raising the backrest.•After raising the backrest, check it has engaged properly in position. Do
this by pulling on the central seat belt or directly on the backrest and check
that the position lever is in the neutral position.•The three point automatic seat belt only works correctly when the back-
rest of the central seat is correctly engaged.
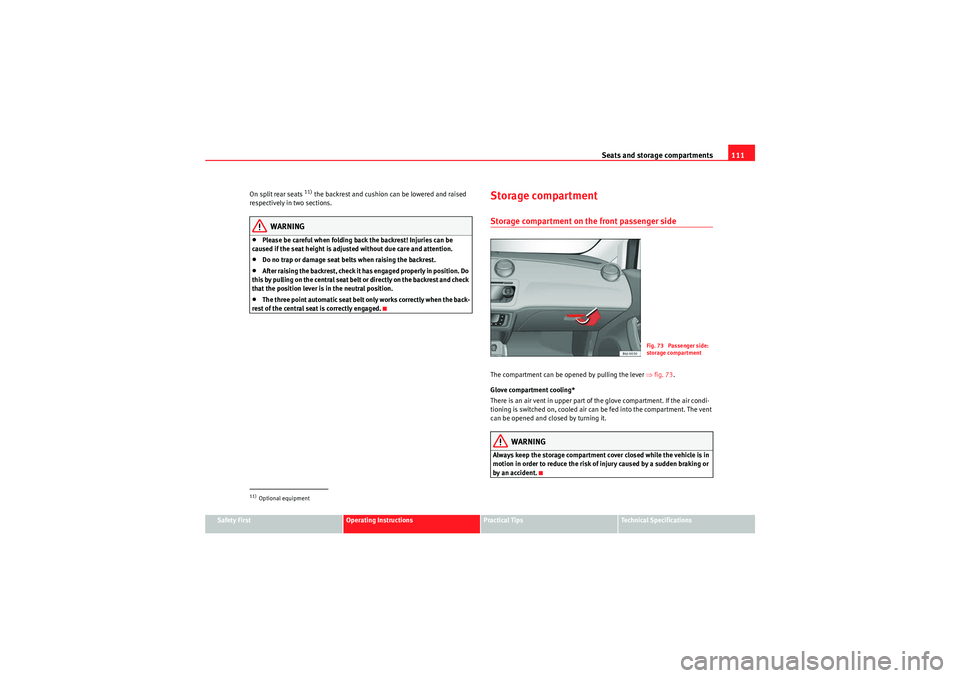
Storage compartmentStorage compartment on the front passenger side The compartment can be opened by pulling the lever ⇒fig. 73.
Glove compartment cooling*
There is an air vent in upper part of the glove compartment. If the air condi-
tioning is switched on, cooled air can be fed into the compartment. The vent
can be opened and closed by turning it.
WARNING
Always keep the storage compartment cover closed while the vehicle is in
motion in order to reduce the risk of injury caused by a sudden braking or
by an accident.
11)Optional equipment
Fig. 73 Passenger side:
storage compartment
IbizaSC_EN.book Seite 111 Donnerstag, 2. September 2010 6:10 18
Page 114 of 266
Seats and storage compartments
112Storage compartment on the driver side
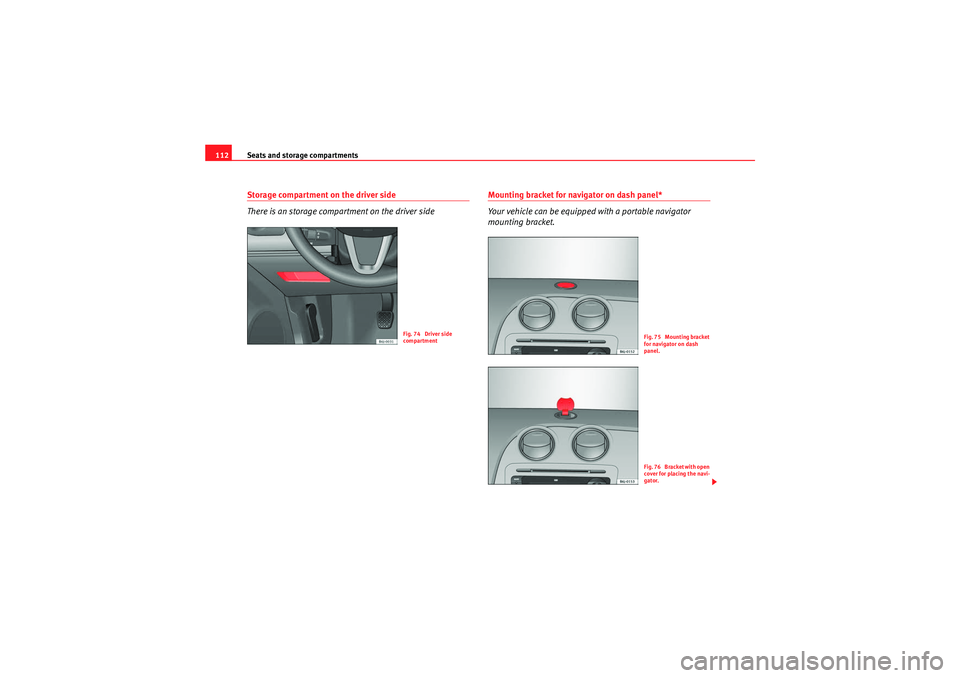
There is an storage compartment on the driver side
Mounting bracket for navigator on dash panel*
Your vehicle can be equipped with a portable navigator
mounting bracket.
Fig. 74 Driver side
compartment
Fig. 75 Mounting bracket
for navigator on dash
panel.F i g . 7 6 B r a c k e t w i t h o p e n
cover for placing the navi-
gator.
IbizaSC_EN.book Seite 112 Donnerstag, 2. September 2010 6:10 18
Page 115 of 266
Seats and storage compartments113
Safety First
Operating Instructions
Practical Tips
Technical Specifications
It is necessary to use a specific adapter for each navigator, so consult your
Technical Service. This bracket supplies power to the portable navigator.
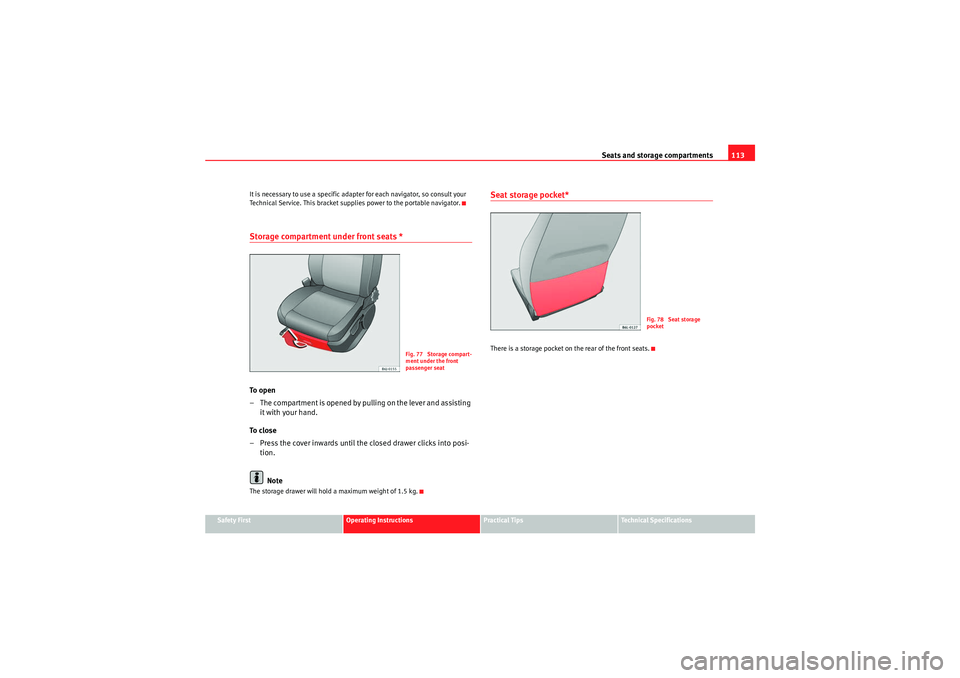
Storage compartment under front seats *To o p e n
– The compartment is opened by pulling on the lever and assisting
it with your hand.
To c l o s e
– Press the cover inwards until the closed drawer clicks into posi- tion.
NoteThe storage drawer will hold a maximum weight of 1.5 kg.
Seat storage pocket*There is a storage pocket on the rear of the front seats.
Fig. 77 Storage compart-
ment under the front
passenger seat
Fig. 78 Seat storage
pocket
IbizaSC_EN.book Seite 113 Donnerstag, 2. September 2010 6:10 18
Page 116 of 266
Seats and storage compartments
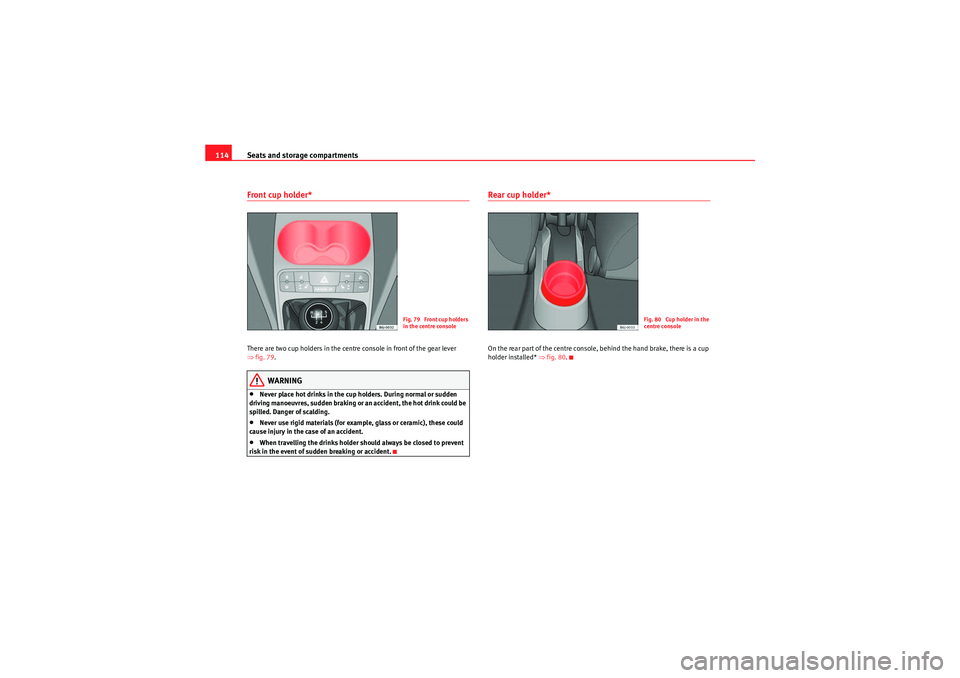
114Front cup holder* There are two cup holders in the centre console in front of the gear lever
⇒ fig. 79 .
WARNING
•Never place hot drinks in the cup holders. During normal or sudden
driving manoeuvres, sudden braking or an accident, the hot drink could be
spilled. Danger of scalding.•Never use rigid materials (for example, glass or ceramic), these could
cause injury in the case of an accident.•When travelling the drinks holder should always be closed to prevent
risk in the event of sudden breaking or accident.
Rear cup holder* On the rear part of the centre console, behind the hand brake, there is a cup
holder installed* ⇒fig. 80 .
Fig. 79 Front cup holders
in the centre console
Fig. 80 Cup holder in the
centre console
IbizaSC_EN.book Seite 114 Donnerstag, 2. September 2010 6:10 18
Page 117 of 266
Seats and storage compartments115
Safety First
Operating Instructions
Practical Tips
Technical Specifications
Ashtrays, cigarette lighter and power socketFront ashtrayOpening and closing the ashtray
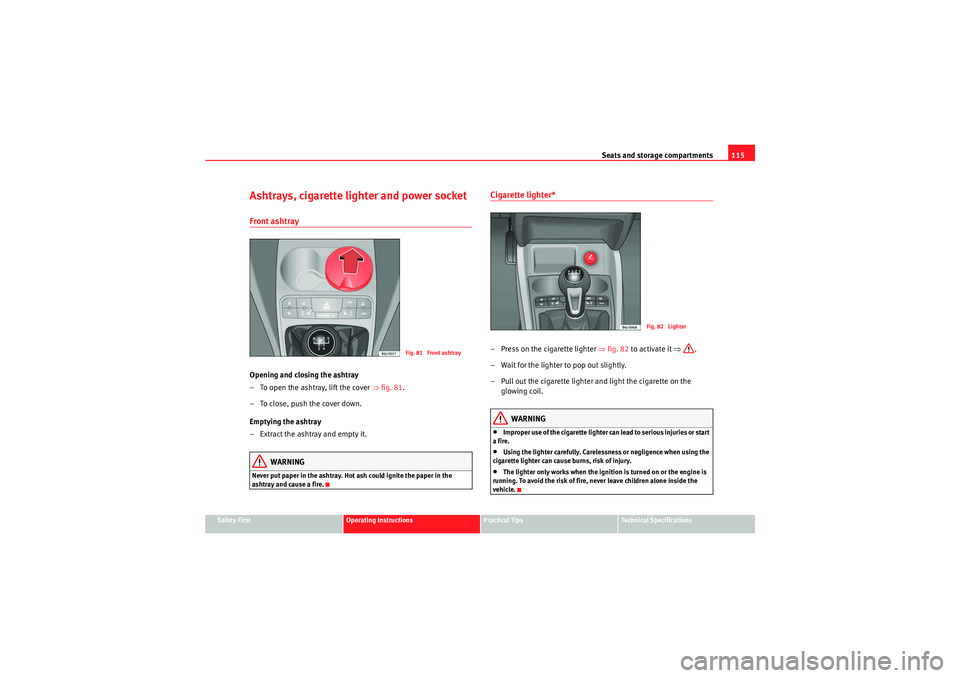
– To open the ashtray, lift the cover ⇒fig. 81 .
– To close, push the cover down.
Emptying the ashtray
–Extract the ashtray and empty it.
WARNING
Never put paper in the ashtray. Hot ash could ignite the paper in the
ashtray and cause a fire.
Cigarette lighter* – Press on the cigarette lighter ⇒fig. 82 to activate it ⇒.
– Wait for the lighter to pop out slightly.
– Pull out the cigarette lighter and light the cigarette on the glowing coil.
WARNING
•Improper use of the cigarette lighter ca n lead to serious injuries or start
a fire.•Using the lighter carefully. Carelessness or negligence when using the
cigarette lighter can cause burns, risk of injury.•The lighter only works when the ignition is turned on or the engine is
running. To avoid the risk of fire, never leave children alone inside the
vehicle.
Fig. 81 Front ashtray
Fig. 82 Lighter
IbizaSC_EN.book Seite 115 Donnerstag, 2. September 2010 6:10 18
Page 118 of 266
Seats and storage compartments
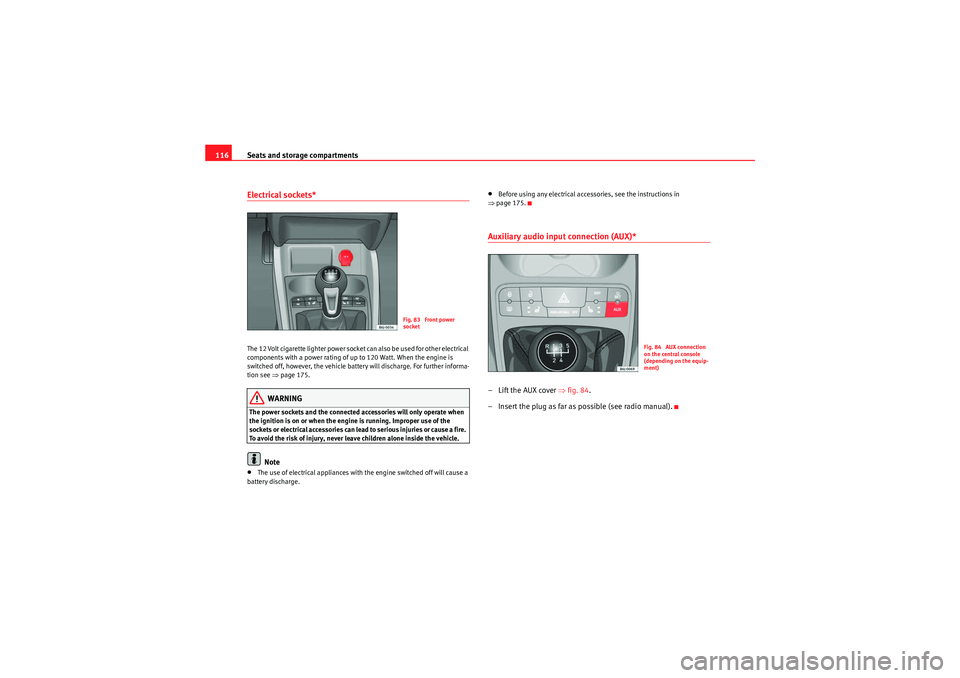
116Electrical sockets* The 12 Volt cigarette lighter power socket can also be used for other electrical
components with a power rating of up to 120 Watt. When the engine is
switched off, however, the vehicle battery will discharge. For further informa-
tion see ⇒ page 175.
WARNING
The power sockets and the connected accessories will only operate when
the ignition is on or when the engine is running. Improper use of the
sockets or electrical accessories can lead to serious injuries or cause a fire.
To avoid the risk of injury, never leave children alone inside the vehicle.
Note
•The use of electrical appliances with the engine switched off will cause a
battery discharge.
•Before using any electrical accessories, see the instructions in
⇒ page 175.Auxiliary audio input connection (AUX)*– Lift the AUX cover ⇒fig. 84 .
– Insert the plug as far as possible (see radio manual).
Fig. 83 Front power
socket
Fig. 84 AUX connection
on the central console
(depending on the equip-
ment)
IbizaSC_EN.book Seite 116 Donnerstag, 2. September 2010 6:10 18
Page 119 of 266
Seats and storage compartments117
Safety First
Operating Instructions
Practical Tips
Technical Specifications
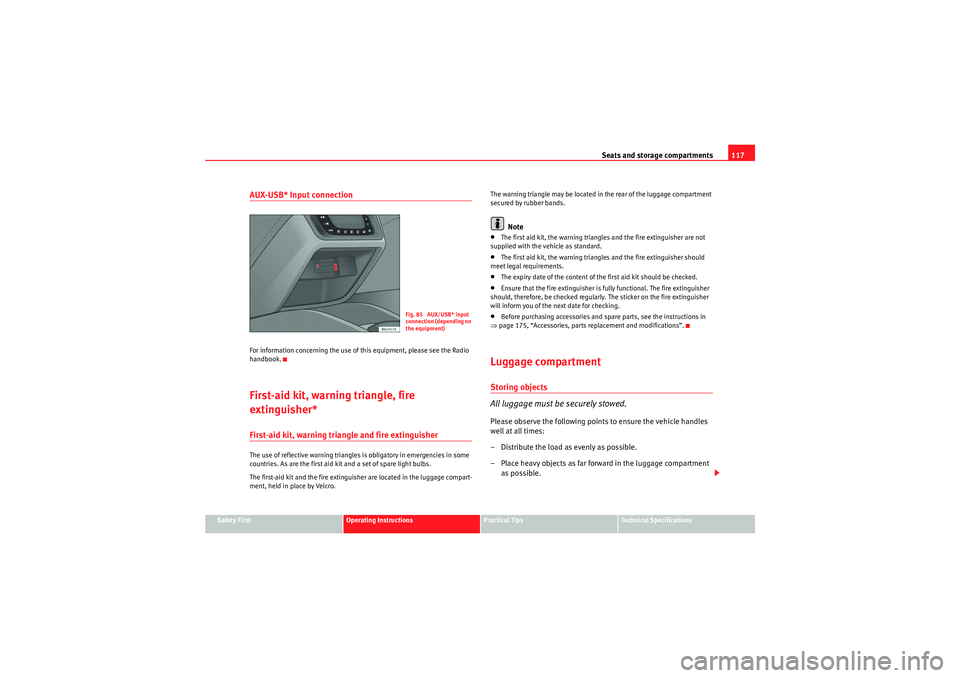
AUX-USB* Input connectionFor information concerning the use of this equipment, please see the Radio
handbook.First-aid kit, warning triangle, fire
extinguisher*First-aid kit, warning triangle and fire extinguisherThe use of reflective warning triangles is obligatory in emergencies in some
countries. As are the first aid kit and a set of spare light bulbs.
The first-aid kit and the fire extinguisher are located in the luggage compart-
ment, held in place by Velcro. The warning triangle may be located in the rear of the luggage compartment
secured by rubber bands.
Note
•The first aid kit, the warning triangles and the fire extinguisher are not
supplied with the vehicle as standard.•The first aid kit, the warning triangles and the fire extinguisher should
meet legal requirements.•The expiry date of the content of the first aid kit should be checked.•Ensure that the fire extinguisher is fully functional. The fire extinguisher
should, therefore, be checked regularly. The sticker on the fire extinguisher
will inform you of the next date for checking.•Before purchasing accessories and spare parts, see the instructions in
⇒ page 175, “Accessories, parts replacement and modifications”.Luggage compartmentStoring objects
All luggage must be securely stowed.Please observe the following points to ensure the vehicle handles
well at all times:
– Distribute the load as evenly as possible.
– Place heavy objects as far forward in the luggage compartment
as possible.
Fig. 85 AUX/USB* input
connection (depending on
the equipment)
IbizaSC_EN.book Seite 117 Donnerstag, 2. September 2010 6:10 18
Page 120 of 266
Seats and storage compartments
118
WARNING
•Loose luggage and other loose items in the vehicle may cause serious
injuries.•Loose objects in the luggage compartment can suddenly move and
change the way the vehicle handles.•In case of sudden manoeuvres or accidents, loose objects in the
passenger compartment can be flung forward, injuring passengers.•Always put objects in the luggage compartment.•When you transport heavy objects, always take in account that a
change in the centre of gravity can also cause changes in vehicle handling.•Please observe information on safe driving ⇒page 7, “Safe driving”.Caution
Hard objects on the shelf could chafe against the wires of the heating
element in the rear window and cause damage.
Note
The ventilation slots in front of the rear side windows must not be covered as
this would prevent stale air being extracted from the vehicle.
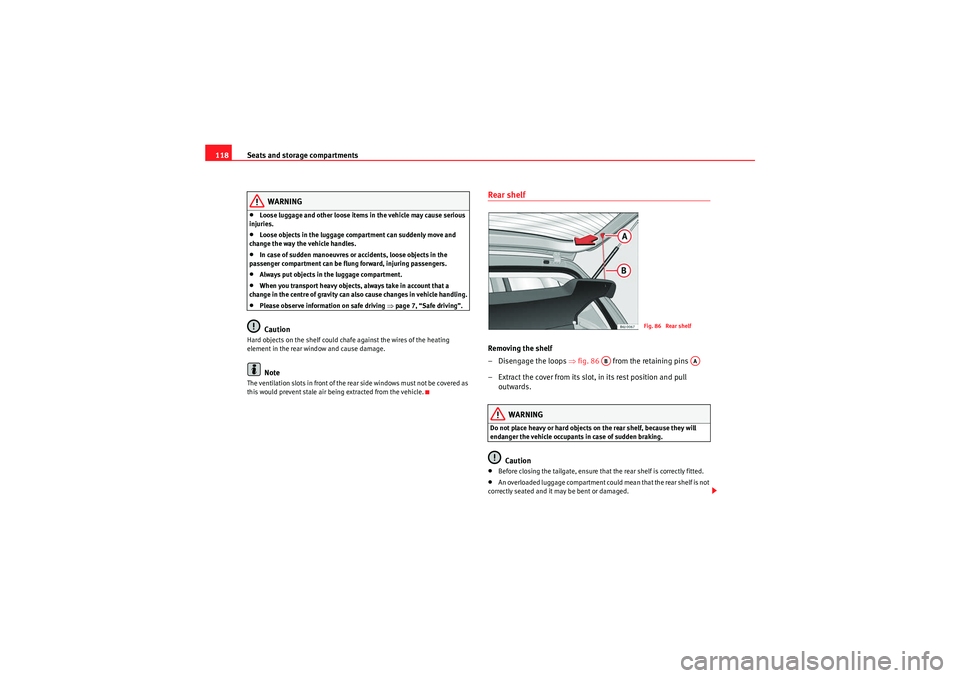
Rear shelfRemoving the shelf
– Disengage the loops ⇒fig. 86 from the retaining pins
– Extract the cover from its slot, in its rest position and pull outwards.
WARNING
Do not place heavy or hard objects on the rear shelf, because they will
endanger the vehicle occupants in case of sudden braking.
Caution
•Before closing the tailgate, ensure that the rear shelf is correctly fitted.•An overloaded luggage compartment could mean that the rear shelf is not
correctly seated and it may be bent or damaged.
Fig. 86 Rear shelf
AB
AA
IbizaSC_EN.book Seite 118 Donnerstag, 2. September 2010 6:10 18