start stop button Seat Leon 5D 2015 MEDIA SYSTEM PLUS - NAVI SYSTEM
[x] Cancel search | Manufacturer: SEAT, Model Year: 2015, Model line: Leon 5D, Model: Seat Leon 5D 2015Pages: 88, PDF Size: 2.23 MB
Page 10 of 88
Introduction
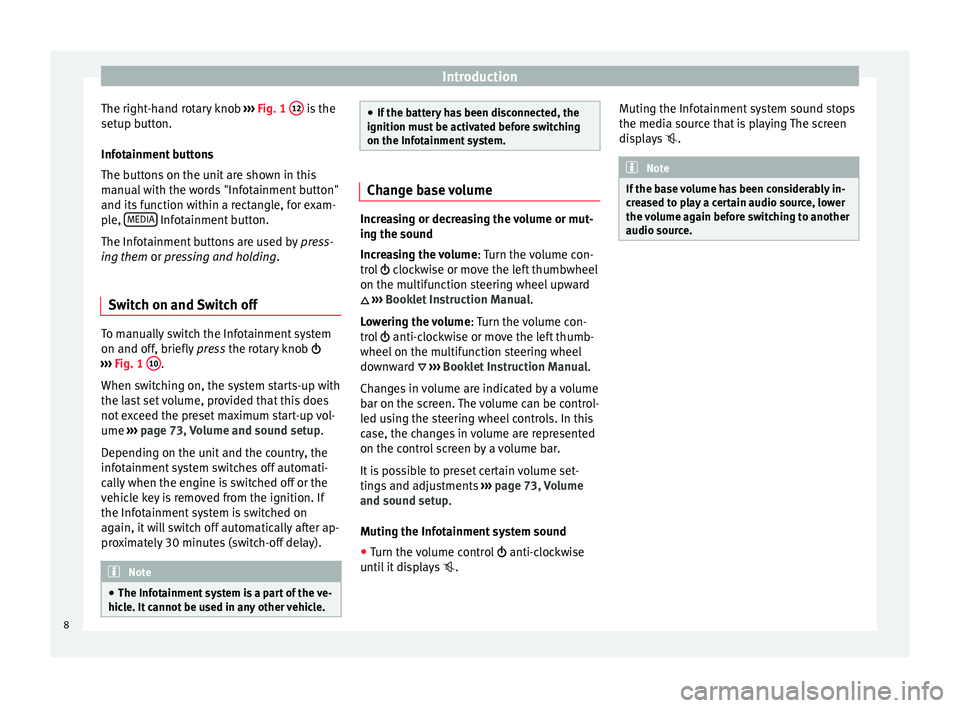
The right-hand rotary knob ››
› Fig. 1 12 is the
set up b
utt
on.
Infotainment buttons
The buttons on the unit are shown in this
manual with the words "Infotainment button"
and its function within a rectangle, for exam-
ple, MEDIA Infotainment button.
The Inf ot
ainment
buttons are used by press-
ing them or pressing and holding.
Switch on and Switch off To manually switch the Infotainment system
on and off
, briefly
pr
ess the rotary knob
››› Fig. 1 10 .
When sw it
c
hing on, the system starts-up with
the last set volume, provided that this does
not exceed the preset maximum start-up vol-
ume ››› page 73, Volume and sound setup.
Depending on the unit and the country, the
infotainment system switches off automati-
cally when the engine is switched off or the
vehicle key is removed from the ignition. If
the Infotainment system is switched on
again, it will switch off automatically after ap-
proximately 30 minutes (switch-off delay). Note
● The Infot ainment
system is a part of the ve-
hicle. It cannot be used in any other vehicle. ●
If the b att
ery has been disconnected, the
ignition must be activated before switching
on the Infotainment system. Change base volume
Increasing or decreasing the volume or mut-
ing the sou
nd
Inc
reasing the volume : Turn the volume con-
trol clockwise or move the left thumbwheel
on the multifunction steering wheel upward
››› Booklet Instruction Manual.
Lowering the volume : Turn the volume con-
trol anti-clockwise or move the left thumb-
wheel on the multifunction steering wheel
downward ››› Booklet Instruction Manual.
Changes in volume are indicated by a volume
bar on the screen. The volume can be control-
led using the steering wheel controls. In this
case, the changes in volume are represented
on the control screen by a volume bar.
It is possible to preset certain volume set-
tings and adjustments ››› page 73, Volume
and sound setup.
Muting the Infotainment system sound
● Turn the volume control anti-clock
wise
until it displays . Muting the Infotainment system sound stops
the media sourc
e that is playing The screen
displays . Note
If the base volume has been considerably in-
cr e
ased to play a certain audio source, lower
the volume again before switching to another
audio source. 8
Page 14 of 88
Introduction
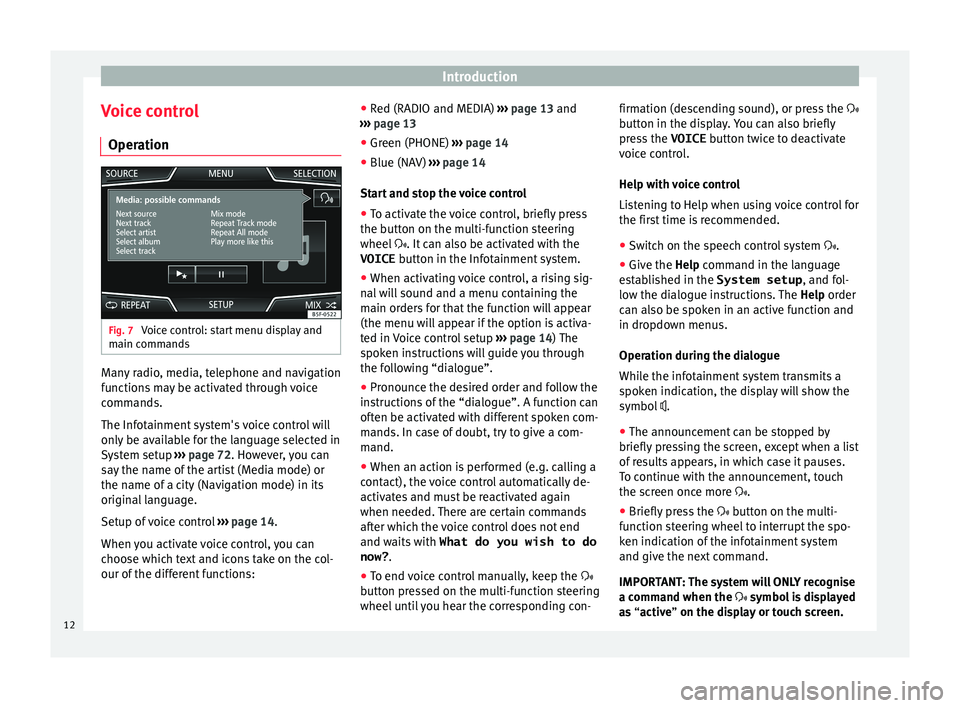
Voice control Oper ation Fig. 7
Voice control: start menu display and
m ain c
omm
ands Many radio, media, telephone and navigation
f
u
nction
s may be activated through voice
commands.
The Infotainment system's voice control will
only be available for the language selected in
System setup ››› page 72. However, you can
say the name of the artist (Media mode) or
the name of a city (Navigation mode) in its
original language.
Setup of voice control ››› page 14.
When you activate voice control, you can
choose which text and icons take on the col-
our of the different functions: ●
Red (RADIO and MEDIA) ››
› page 13 and
››› page 13
● Green (PHONE) ›››
page 14
● Blue (NAV) ››› pag
e 14
Start and stop the voice control
● To activate the voice control, briefly press
the button on the mu
lti-function steering
wheel . It can also be activated with the
VOICE button in the Infotainment system.
● When activating voice control, a rising sig-
nal w
ill sound and a menu containing the
main orders for that the function will appear
(the menu will appear if the option is activa-
ted in Voice control setup ››› page 14) The
spoken instructions will guide you through
the following “dialogue”.
● Pronounce the desired order and follow the
instruction
s of the “dialogue”. A function can
often be activated with different spoken com-
mands. In case of doubt, try to give a com-
mand.
● When an action is performed (e.g. calling a
contact), the
voice control automatically de-
activates and must be reactivated again
when needed. There are certain commands
after which the voice control does not end
and waits with What do you wish to do
now? .
● To end voice control manually, keep the
button pr
essed on the multi-function steering
wheel until you hear the corresponding con- firmation (descending sound), or press the
button in the di
splay. You can also briefly
press the VOICE button twice to deactivate
voice control.
Help with voice control
Listening to Help when using voice control for
the first time is recommended.
● Switch on the speech control system .
● Give the Help command in the l
anguage
established in the System setup , and fol-
low the dialogue instructions. The Help order
can also be spoken in an active function and
in dropdown menus.
Operation during the dialogue
While the infotainment system transmits a
spoken indication, the display will show the
symbol .
● The announcement can be stopped by
briefly pre
ssing the screen, except when a list
of results appears, in which case it pauses.
To continue with the announcement, touch
the screen once more .
● Briefly press the button on the mu
lti-
function steering wheel to interrupt the spo-
ken indication of the infotainment system
and give the next command.
IMPORTANT: The system will ONLY recognise
a command when the symbol is displayed
as “active” on the display or touch screen.
12
Page 16 of 88
Introduction
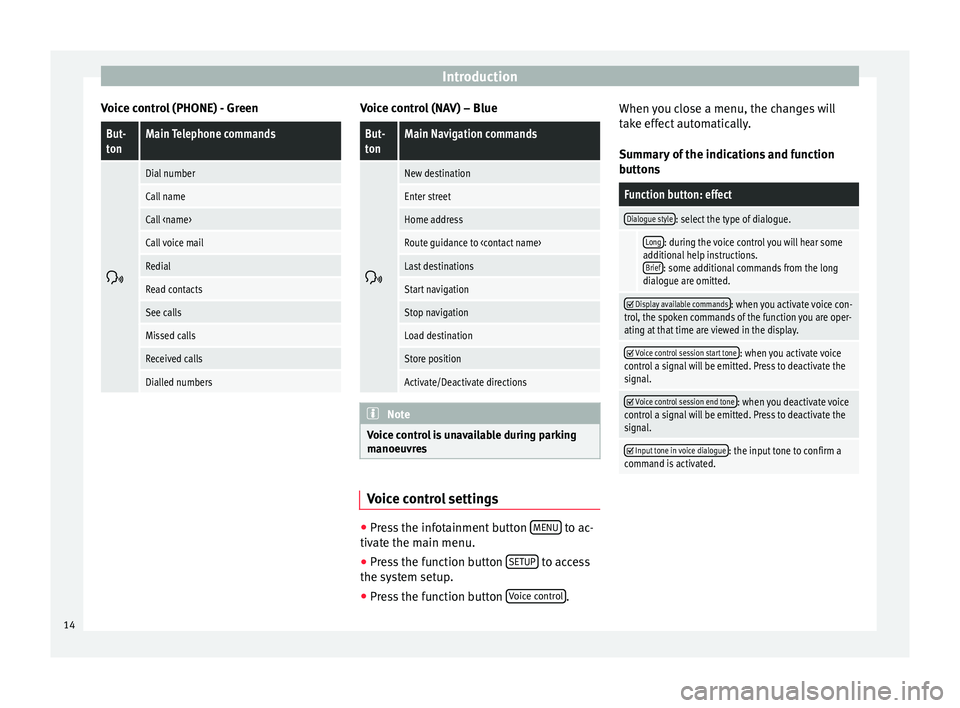
Voice control (PHONE) - GreenBut-
tonMain Telephone commands
Dial number
Call name
Call
Call voice mail
Redial
Read contacts
See calls
Missed calls
Received calls
Dialled numbers Voice control (NAV) – Blue
But-
tonMain Navigation commands
New destination
Enter street
Home address
Route guidance to
Last destinations
Start navigation
Stop navigation
Load destination
Store position
Activate/Deactivate directions
Note
Voice control is unavailable during parking
manoeu vr
es Voice control settings
●
Press the infotainment button MENU to ac-
tiv at
e the m
ain menu.
● Press the function button SETUP to access
the sy st
em setup.
● Press the function button Voice c
ontrol .When you close a menu, the changes will
t
ak
e eff
ect automatically.
Summary of the indications and function
buttons
Function button: effect
Dialogue style: select the type of dialogue.
Long: during the voice control you will hear some
additional help instructions. Brief
: some additional commands from the long
dialogue are omitted.
Display available commands: when you activate voice con-
trol, the spoken commands of the function you are oper-
ating at that time are viewed in the display.
Voice control session start tone: when you activate voice
control a signal will be emitted. Press to deactivate the
signal.
Voice control session end tone: when you deactivate voice
control a signal will be emitted. Press to deactivate the
signal.
Input tone in voice dialogue: the input tone to confirm a
command is activated. 14
Page 22 of 88
Audio and Media ModeManually tuning in a station frequency.
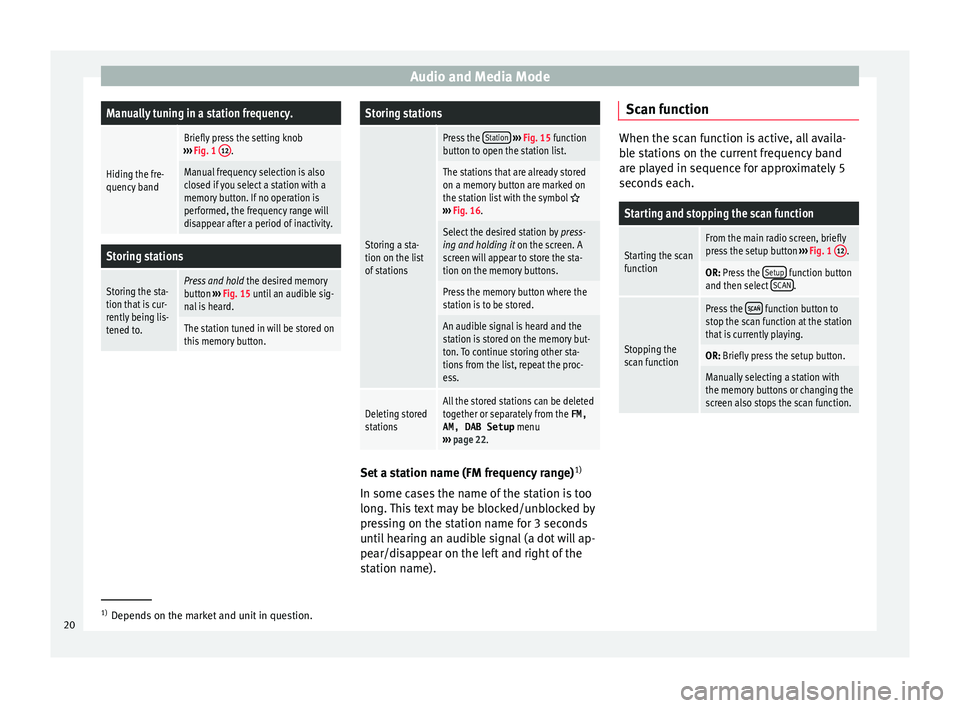
Hiding the fre-
quency band
Briefly press the setting knob
››› Fig. 1 12.
Manual frequency selection is also
closed if you select a station with a
memory button. If no operation is
performed, the frequency range will
disappear after a period of inactivity.
Storing stations
Storing the sta-
tion that is cur-
rently being lis-
tened to.Press and hold
the desired memory
button ››› Fig. 15 until an audible sig-
nal is heard.
The station tuned in will be stored on
this memory button.
Storing stations
Storing a sta-
tion on the list
of stations
Press the Station
››› Fig. 15 function
button to open the station list.
The stations that are already stored
on a memory button are marked on
the station list with the symbol
››› Fig. 16.
Select the desired station by press-
ing and holding it on the screen. A
screen will appear to store the sta-
tion on the memory buttons.
Press the memory button where the
station is to be stored.
An audible signal is heard and the
station is stored on the memory but-
ton. To continue storing other sta-
tions from the list, repeat the proc-
ess.
Deleting stored
stationsAll the stored stations can be deleted
together or separately from the FM,
AM, DAB Setup menu
››› page 22. Set a station name (FM frequency range)
1)
In some c a
se
s the name of the station is too
long. This text may be blocked/unblocked by
pressing on the station name for 3 seconds
until hearing an audible signal (a dot will ap-
pear/disappear on the left and right of the
station name). Scan function When the scan function is active, all availa-
bl
e s
tations on the current frequency band
are played in sequence for approximately 5
seconds each.
Starting and stopping the scan function
Starting the scan
functionFrom the main radio screen, briefly
press the setup button ››› Fig. 1 12.
OR: Press the
Setup function button
and then select SCAN.
Stopping the
scan function
Press the function button to
stop the scan function at the station
that is currently playing.
OR: Briefly press the setup button.
Manually selecting a station with
the memory buttons or changing the
screen also stops the scan function. 1)
Depends on the market and unit in question.
20
Page 29 of 88
Audio and Media Mode
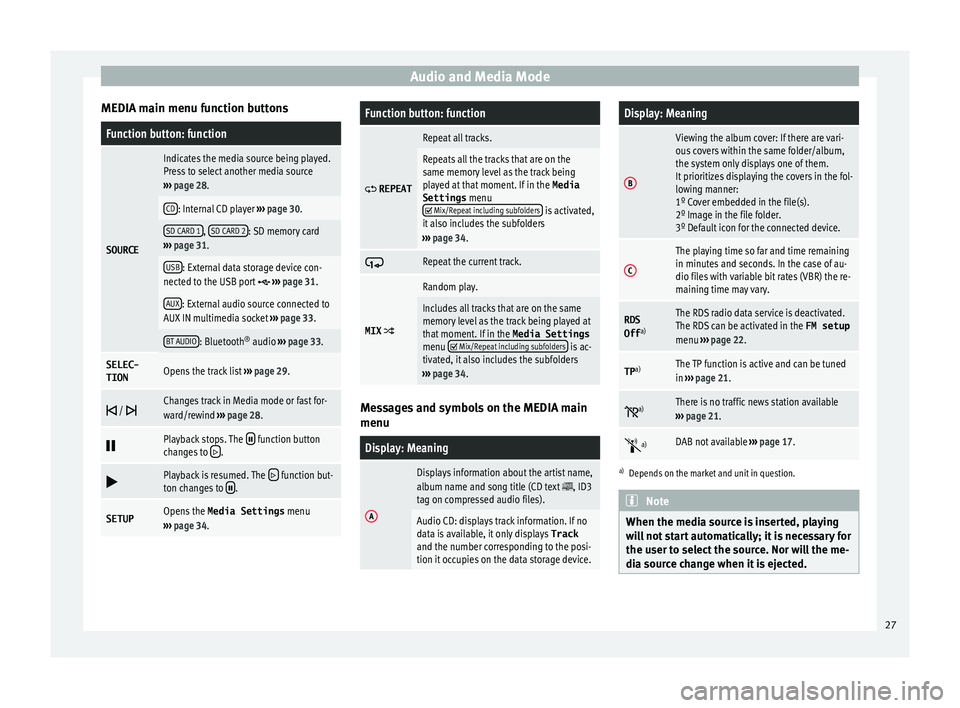
MEDIA main menu function buttonsFunction button: function
SOURCE
Indicates the media source being played.
Press to select another media source
››› page 28.
CD: Internal CD player ››› page 30.
SD CARD 1, SD CARD 2: SD memory card
››› page 31.
USB: External data storage device con-
nected to the USB port ››› page 31.
AUX: External audio source connected to
AUX IN multimedia socket ››› page 33.
BT AUDIO: Bluetooth ®
audio ››› page 33.
SELEC-
TIONOpens the track list ››› page 29.
/ Changes track in Media mode or fast for-
ward/rewind
››› page 28.
Playback stops. The function button
changes to .
Playback is resumed. The function but-
ton changes to .
SETUPOpens the Media Settings menu
››› page 34.
Function button: function
REPEAT
Repeat all tracks.
Repeats all the tracks that are on the
same memory level as the track being
played at that moment. If in the
Media
Settings menu
Mix/Repeat including subfolders is activated,
it also includes the subfolders
››› page 34.
Repeat the current track.
MIX
Random play.
Includes all tracks that are on the same
memory level as the track being played at
that moment. If in the Media Settings
menu
Mix/Repeat including subfolders is ac-
tivated, it also includes the subfolders
››› page 34. Messages and symbols on the MEDIA main
menu
Display: Meaning
A
Displays information about the artist name,
album name and song title (CD text , ID3
tag on compressed audio files).
Audio CD: displays track information. If no
data is available, it only displays Track
and the number corresponding to the posi-
tion it occupies on the data storage device.
Display: Meaning
B
Viewing the album cover: If there are vari-
ous covers within the same folder/album,
the system only displays one of them.
It prioritizes displaying the covers in the fol-
lowing manner:
1º Cover embedded in the file(s).
2º Image in the file folder.
3º Default icon for the connected device.
C
The playing time so far and time remaining
in minutes and seconds. In the case of au-
dio files with variable bit rates (VBR) the re-
maining time may vary.
RDS
Off a)The RDS radio data service is deactivated.
The RDS can be activated in the
FM setup
menu ››› page 22.
TP a)The TP function is active and can be tuned
in
››› page 21.
a)There is no traffic news station available
››› page 21.
a)DAB not available
››› page 17.
a)
Depends on the market and unit in question. Note
When the media source is inserted, playing
wi l
l not start automatically; it is necessary for
the user to select the source. Nor will the me-
dia source change when it is ejected. 27
Page 30 of 88
Audio and Media Mode
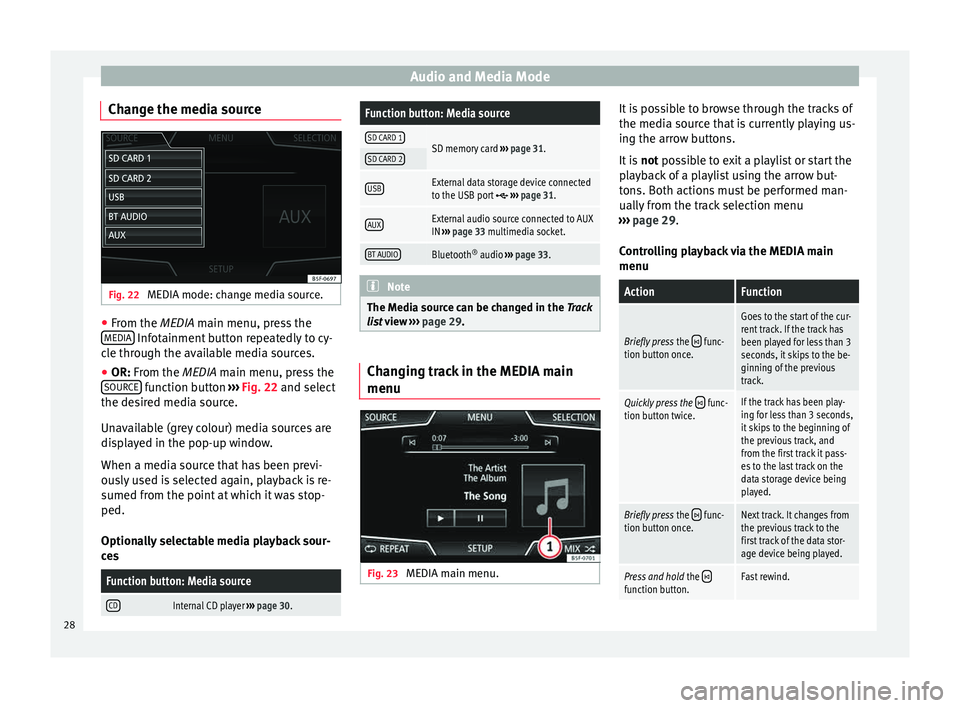
Change the media source Fig. 22
MEDIA mode: change media source. ●
From the MEDIA m ain menu, pr
e ss the
MEDIA Infotainment button repeatedly to cy-
c l
e thr
ough the available media sources.
● OR: From the MEDIA main menu, press the
SOURCE function button
››
›
Fig. 22 and select
the desired media source.
Unavailable (grey colour) media sources are
displayed in the pop-up window.
When a media source that has been previ-
ously used is selected again, playback is re-
sumed from the point at which it was stop-
ped.
Optionally selectable media playback sour-
ces
Function button: Media source
CDInternal CD player ››› page 30.
Function button: Media source
SD CARD 1SD memory card ››› page 31.SD CARD 2
USBExternal data storage device connected
to the USB port ››› page 31.
AUXExternal audio source connected to AUX
IN ››› page 33 multimedia socket.
BT AUDIOBluetooth ®
audio ››› page 33. Note
The Media source can be changed in the Tr ac
k
list view ››› page 29. Changing track in the MEDIA main
menu
Fig. 23
MEDIA main menu. It is possible to browse through the tracks of
the medi
a sour
c
e that is currently playing us-
ing the arrow buttons.
It is not possible to exit a playlist or start the
playback of a playlist using the arrow but-
tons. Both actions must be performed man-
ually from the track selection menu
››› page 29.
Controlling playback via the MEDIA main
menu
ActionFunction
Briefly press the func-
tion button once.
Goes to the start of the cur-
rent track. If the track has
been played for less than 3
seconds, it skips to the be-
ginning of the previous
track.
Quickly press the func-
tion button twice.If the track has been play-
ing for less than 3 seconds,
it skips to the beginning of
the previous track, and
from the first track it pass-
es to the last track on the
data storage device being
played.
Briefly press the func-
tion button once.Next track. It changes from
the previous track to the
first track of the data stor-
age device being played.
Press and hold the function button.Fast rewind.28
Page 35 of 88
Audio and Media Mode
External audio source connected to
the A UX
-IN mu
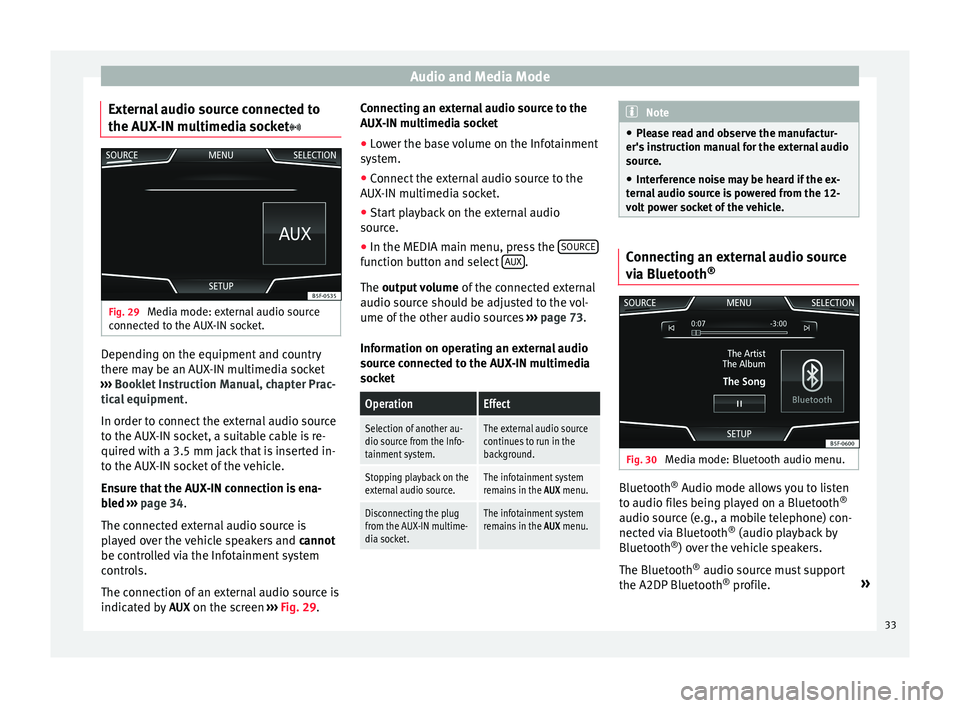
ltimedia socketFig. 29
Media mode: external audio source
c onnect
ed t
o the AUX-IN socket. Depending on the equipment and country
ther
e m
a
y be an AUX-IN multimedia socket
››› Booklet Instruction Manual, chapter Prac-
tical equipment .
In order to connect the external audio source
to the AUX-IN socket, a suitable cable is re-
quired with a 3.5 mm jack that is inserted in-
to the AUX-IN socket of the vehicle.
Ensure that the AUX-IN connection is ena-
bled ››› page 34.
The connected external audio source is
played over the vehicle speakers and cannot
be controlled via the Infotainment system
controls.
The connection of an external audio source is
indicated by AUX on the screen ››› Fig. 29. Connecting an external audio source to the
AUX-IN mu
ltimedia socket
● Lower the base volume on the Infotainment
syst
em.
● Connect the external audio source to the
AUX-IN mu
ltimedia socket.
● Start playback on the external audio
source.
● In the MEDIA m
ain menu, press the SOURCE function button and select
A
UX .
The outp ut
volume of the connected external
audio source should be adjusted to the vol-
ume of the other audio sources ››› page 73.
Information on operating an external audio
source connected to the AUX-IN multimedia
socket
OperationEffect
Selection of another au-
dio source from the Info-
tainment system.The external audio source
continues to run in the
background.
Stopping playback on the
external audio source.The infotainment system
remains in the AUX menu.
Disconnecting the plug
from the AUX-IN multime-
dia socket.The infotainment system
remains in the AUX menu. Note
● Ple a
se read and observe the manufactur-
er's instruction manual for the external audio
source.
● Interference noise may be heard if the ex-
terna
l audio source is powered from the 12-
volt power socket of the vehicle. Connecting an external audio source
vi
a Bluet
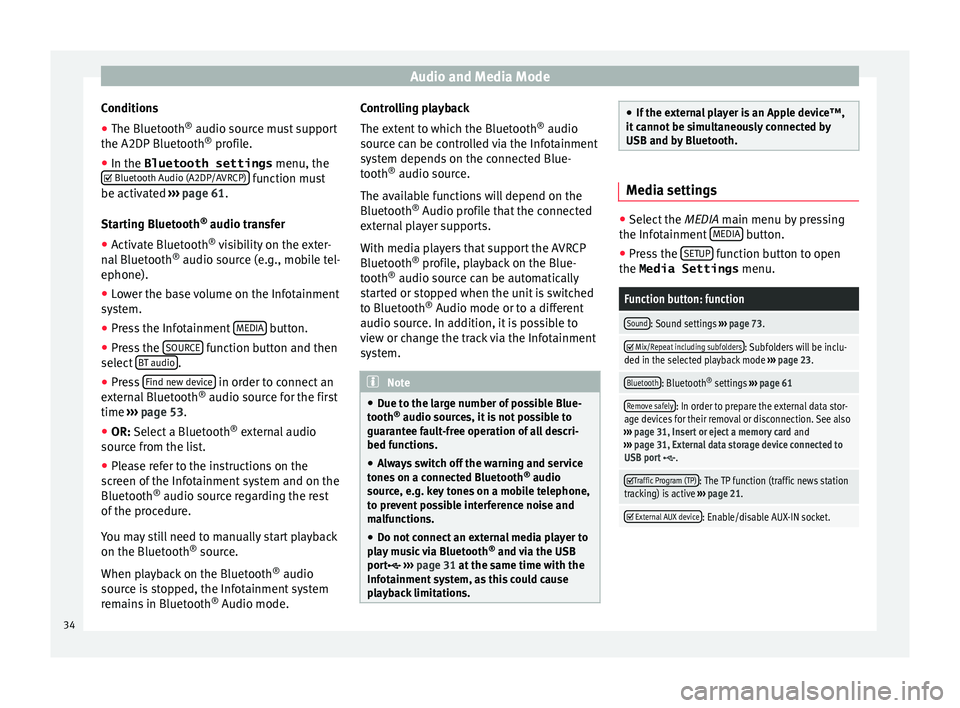
ooth® Fig. 30
Media mode: Bluetooth audio menu. Bluetooth
®
Audio mode al lo
w
s you to listen
to audio files being played on a Bluetooth ®
audio source (e.g., a mobile telephone) con-
nected via Bluetooth ®
(audio playback by
Bluetooth ®
) over the vehicle speakers.
The Bluetooth ®
audio source must support
the A2DP Bluetooth ®
profile. »
33
Page 36 of 88
Audio and Media Mode
Conditions
● The Bluetooth ®
audio sour c
e mu st support
the A2DP Bluetooth ®
profile.
● In the Bluetooth settings menu, the
Bluetooth Audio (A2DP/AVRCP) function must
be activ at
ed ›
›› page 61.
Starting Bluetooth ®
audio transfer
● Activate Bluetooth ®
vis
ibility on the exter-
nal Bluetooth ®
audio source (e.g., mobile tel-
ephone).
● Lower the base volume on the Infotainment
syst
em.
● Press the Infotainment MEDIA button.
● Press the SOURC
E function button and then
sel ect
B
T audio .
● Press Find new dev
ic
e in order to connect an
e xt
ern
al Bluetooth ®
audio source for the first
time ››› page 53.
● OR: Select a Bluetooth ®
ext
ernal audio
source from the list.
● Please refer to the instructions on the
scr
een of the Infotainment system and on the
Bluetooth ®
audio source regarding the rest
of the procedure.
You may still need to manually start playback
on the Bluetooth ®
source.
When playback on the Bluetooth ®
audio
source is stopped, the Infotainment system
remains in Bluetooth ®
Audio mode. Controlling playback
The extent
to which the Bluetooth ®
audio
source can be controlled via the Infotainment
system depends on the connected Blue-
tooth ®
audio source.
The available functions will depend on the
Bluetooth ®
Audio profile that the connected
external player supports.
With media players that support the AVRCP
Bluetooth ®
profile, playback on the Blue-
tooth ®
audio source can be automatically
started or stopped when the unit is switched
to Bluetooth ®
Audio mode or to a different
audio source. In addition, it is possible to
view or change the track via the Infotainment
system. Note
● Due t o the l
arge number of possible Blue-
tooth ®
audio sources, it is not possible to
guarantee fault-free operation of all descri-
bed functions.
● Always switch off the warning and service
tones
on a connected Bluetooth ®
audio
source, e.g. key tones on a mobile telephone,
to prevent possible interference noise and
malfunctions.
● Do not connect an external media player to
pla
y music via Bluetooth ®
and via the USB
port ››› page 31 at the same time with the
Infotainment system, as this could cause
playback limitations. ●
If the e xt
ernal player is an Apple device™,
it cannot be simultaneously connected by
USB and by Bluetooth. Media settings
●
Select the MEDIA main menu b y
pressing
the Infotainment MEDIA button.
● Press the SETUP function button to open
the Media Settings menu.
Function button: function
Sound: Sound settings ››› page 73.
Mix/Repeat including subfolders: Subfolders will be inclu-
ded in the selected playback mode ››› page 23.
Bluetooth: Bluetooth ®
settings ››› page 61
Remove safely: In order to prepare the external data stor-
age devices for their removal or disconnection. See also
››› page 31, Insert or eject a memory card and
››› page 31, External data storage device connected to
USB port
.
Traffic Program (TP): The TP function (traffic news station
tracking) is active ››› page 21.
External AUX device: Enable/disable AUX-IN socket.
34
Page 37 of 88
Audio and Media Mode
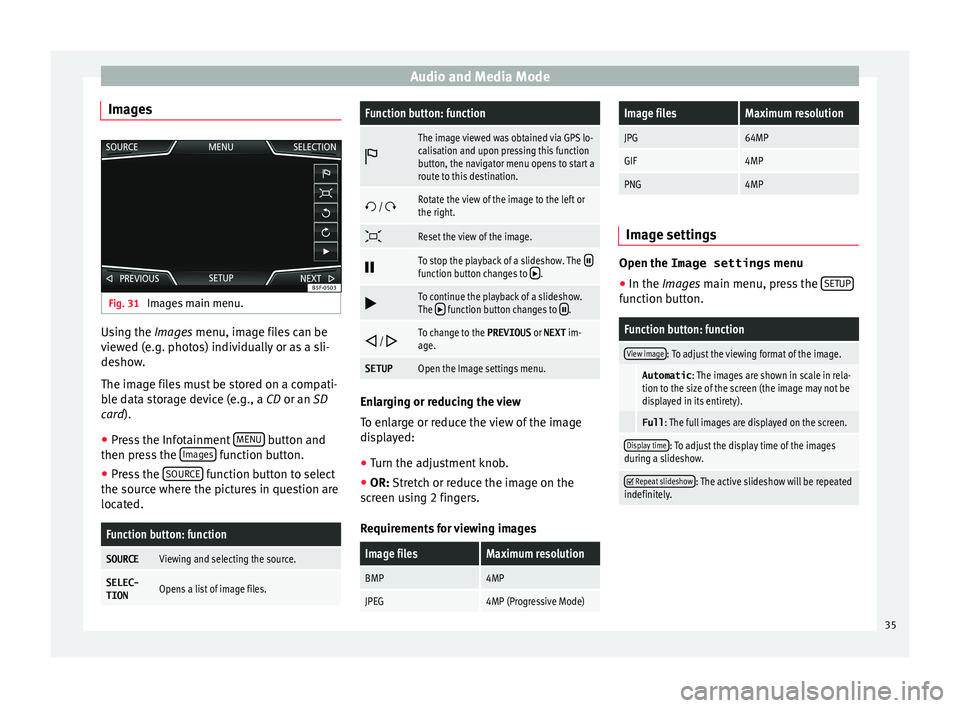
Images Fig. 31
Images main menu. Using the Ima
ge
s menu, image files can be
viewed (e.g. photos) individually or as a sli-
deshow.
The image files must be stored on a compati-
ble data storage device (e.g., a CD or an SD
card).
● Press the Infotainment MENU button and
then pr e
s
s the Images function button.
● Press the SOURC
E function button to select
the sour c
e wher
e the pictures in question are
located.
Function button: function
SOURCEViewing and selecting the source.
SELEC-
TIONOpens a list of image files.
Function button: function
The image viewed was obtained via GPS lo-
calisation and upon pressing this function
button, the navigator menu opens to start a
route to this destination.
/ Rotate the view of the image to the left or
the right.
Reset the view of the image.
To stop the playback of a slideshow. The function button changes to .
To continue the playback of a slideshow.
The function button changes to .
/ To change to the PREVIOUS
or NEXT im-
age.
SETUPOpen the Image settings menu. Enlarging or reducing the view
T
o en
l
arge or reduce the view of the image
displayed:
● Turn the adjustment knob.
● OR: Stretch or reduce the image on the
sc
reen using 2 fingers.
Requirements for viewing images
Image filesMaximum resolution
BMP4MP
JPEG4MP (Progressive Mode)
Image filesMaximum resolution
JPG64MP
GIF4MP
PNG4MP Image settings
Open the Image settings
menu
● In the Images main menu, press the SETUP function button.
Function button: function
View image: To adjust the viewing format of the image.
Automatic
: The images are shown in scale in rela-
tion to the size of the screen (the image may not be
displayed in its entirety).
Full : The full images are displayed on the screen.
Display time: To adjust the display time of the images
during a slideshow.
Repeat slideshow: The active slideshow will be repeated
indefinitely. 35
Page 41 of 88
Navigation*Route criteria: Meaning
Blue route: Economical route, the route is calculated by
taking into consideration economic factors.
Red route: Fastest route to the destination, even if it is
necessary to make a deviation.
Orange route: Shortest route to the destination, even if it
results in longer travelling time. The route may have un-
conventional sections such as secondary roads. ●
Select the desired route by pressing it.
The setting f or the r
oute criteria in the Route
options menu is changed accordingly.
If no route is selected, then route guidance
starts automatically after about one minute
using the setting selected in the Route op- tions .
Navigation announcements (audible recom-
mendations for the driver)
Once the route has been calculated, the sys-
tem gives the first navigation announcement.
Up to 3 navigation announcements are given
before a turn, e.g. “Prepare to turn left”,
“Turn left in 300 metres” and “Now turn left”.
● Press the adjustment knob ››
›
Fig. 1 12 to
li s
t
en to the last audible navigation instruc-
tion.
The distances indicated largely depend on
the type of road and the speed at which you
are driving. For instance, navigation an- nouncements are given much earlier on mo-
torw
ays than on urban roads.
Appropriate navigation announcements are
also given on multi-lane roads, branching
roads and at roundabouts, for example: “At
the roundabout, take the second exit.”
A navigation announcement informs you
when you have reached your “destination”.
A navigation announcement informing you
that you have reached the “destination area”
is given if the exact destination cannot be
reached because it is located in a non-digi-
tised area. It also indicates the cardinal point
and the distance to the previously defined
destination. Navigation resumes “offroad”.
During dynamic route guidance , you receive
information about reported traffic congestion
on the route. An additional navigation an-
nouncement is given if the route is recalcula-
ted due to traffic congestion.
During a navigation announcement, you can
change its volume using the volume control
up to a defined minimum or maximum vol-
ume. The following navigation recommenda-
tions will then be made at the adjusted vol-
ume.
For other adjustments to the navigation rec-
ommendations, see Navigation an-
nouncements settings. ››› page 46. Note
If you miss a turning during route guidance
and are c urr
ently unable to turn back, keep
on driving until the navigation system offers
a new route. Note
The quality of the navigation recommenda-
tions giv
en by the Infotainment system de-
pends on the navigation data available and
any reported traffic problems. Route
In the Navigation main menu, press the
Route function
button.
The Route function button is only displayed with route
guidance activated.
Function button: function
Stop route guidance: Aborts current route guidance.
New stopover destination: To enter a new destination or a
new stopover ››› page 37.
Route information: View route information for current
route.
Store destination: To store the selected destination
in the destination memory.» 39