change time Seat Toledo 2007 RADIO-NAVIGATION MFD2
[x] Cancel search | Manufacturer: SEAT, Model Year: 2007, Model line: Toledo, Model: Seat Toledo 2007Pages: 63, PDF Size: 2.89 MB
Page 5 of 63
General information
2General informationThis manual contains important information, tips, suggestions and warnings
on using the MFD2 radio navigation system. The other publications in the
vehicle wallet contain further information which you should be aware of for
your own safety and for the safety of your passengers.
Ensure that the complete vehicle wallet is always in the vehicle. This is espe-
cially important when you lend or sell the vehicle to others.
This manual describes the vehicle equipment at the time of publication.
Some of the equipment described here will not be available until a later date,
or is available only in certain markets.
Illustrations are intended as a general guide, and may vary from the equip-
ment fitted in your vehicle in some details.
Directions and positions (e.g. right, left, front, rear) are always relative to the
direction of travel of the vehicle unless otherwise stated.
Some sections of this booklet do not apply to all vehicles. If this is the case,
a text at the start of the section indicates to which vehicles it applies, e. g.
“Applies to vehicles with: CD changer”.
The equipment marked with an asterisk * comes in series only in determined
model versions, is optional in some mo dels, or is only offered in specific
countries.
® Registered trademarks are marked ®. However, the absence of this
symbol does not constitute a waiver of the rights concerning any propri-
etary name.
The section is continued on the following page.
Indicates the end of a section .WARNING
Texts with this symbol contain safety information. They warn you of serious
dangers, possibly involving accident or injury.
Caution
Texts with this symbol draw your attention to a possible risk of damage to
your vehicle.
For the sake of the environment
Texts with this symbol refer to points re levant to the protection of the environ-
ment.
Note
Texts with this symbol contain addition al information of a more general
nature. In certain countries there may be different units of measurement than
the ones used in this manual. For example, miles and gallons may be used
instead of kilometres and litres.
MFD2 ingles Seite 2 Mo ntag, 15. Mai 2006 9:19 09
Page 15 of 63
Radio / CD / Sound
12
WARNING
It is very important to always stay alert to the traffic and not be distracted
with the continous text of the RDS stations.CD Listening to an audio CDListening to a CD
– Press the ⇒page 4, fig. 1 button. If a CD is already in the
player, the last played track will be selected. Otherwise the
following will appear briefly on the screen: “No Audio CD”.
– Insert a standard 12 cm audio CD. The play function will start automatically. Playing the previous or next track
– Press button or
briefly.
Reverse/ Fast Forward
– Press and hold button or .
Ejecting a CD
–Press ⇒page 4, fig. 1 .
The number of the track and its length are shown on the screen. TMC lights
up in red when traffic bulletins are desired and TMC indicates whether TMC
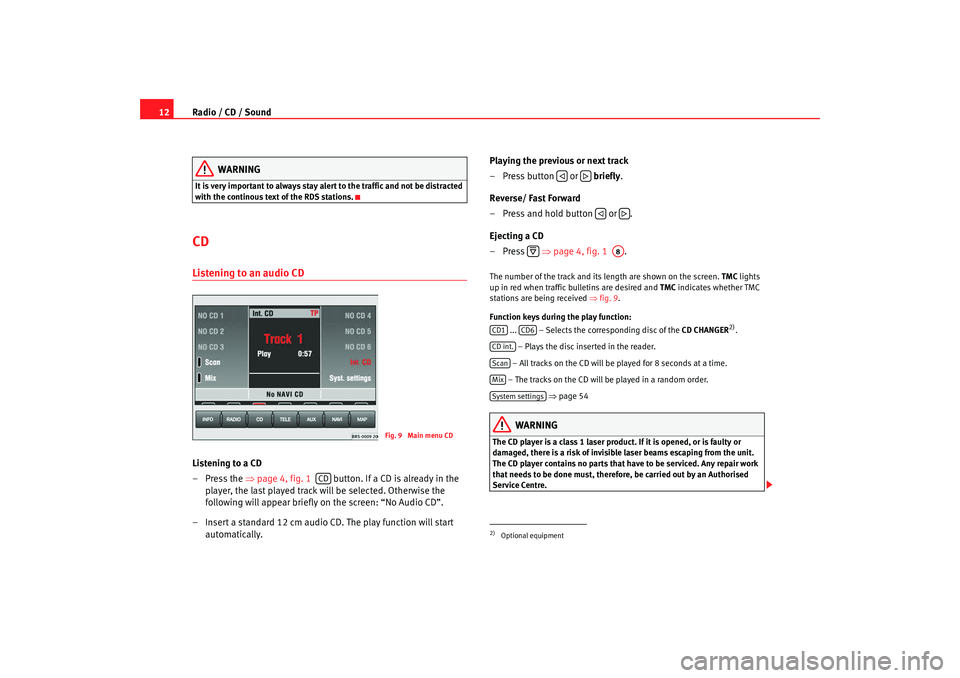
stations are being received ⇒fig. 9 .
Function keys during the play function: ... – Selects the corr esponding disc of the CD CHANGER
2).
– Plays the disc inserted in the reader.
– All tracks on the CD will be played for 8 seconds at a time.
– The tracks on the CD will be played in a random order. ⇒ page 54
WARNING
The CD player is a class 1 laser product. If it is opened, or is faulty or
damaged, there is a risk of invisible laser beams escaping from the unit.
The CD player contains no parts that have to be serviced. Any repair work
that needs to be done must, therefore, be carried out by an Authorised
Service Centre.
Fig. 9 Main menu CD
CD
2)Optional equipment
A8
CD1
CD6
CD int.ScanMixSystem settings
MFD2 ingles Seite 12 Montag, 15. Mai 2006 9:19 09
Page 21 of 63
Apple* iPod connection
18
– After a few seconds, the sound system will detect it. The tracks stored can be played through the sound system.
– Close the compartment.
WARNING
It is vital that attention is not diverted from the traffic. Use the iPod
® only
when the situation allows. Any dist raction may lead to an accident, with
the risk of injury.
•
Never lose visual contact with the ro ad in order to adjust or use the
iPod® and the sound system.
•
Use the iPod
® only when the state of the road, the weather and traffic
conditions permit.
•
Never attach the iPod
® while driving.
Caution
• At ta ch i ng the iPod
® to the adaptor w ill leave marks.
•
New iPods
® that have not been used for some time have to be charged
according to the manufacturer's instructio ns, before using it for the first time
with the iPod® adaptor.
Note
•
If the iPod
® is not detected in the adaptor by the sound system, “reset the
iPod
®”. For more information consult the iPod
® instructions.
•
If the iPod
® does not work correctly desp ite being a compatible model,
we recommend updating the firmware. For more information, consult the
Apple Computer Inc webpage.
•
The iPod
® controls will not work when it is attached to the adaptor.
Remove the iPod
® from the adaptor
– First change the input source for the sound system, for example from CD to FM or to the radio.
– Open the compartment where the iPod
® adaptor is fitted.
– Remove the iPod
® from the adaptor ⇒
– Close the compartment.
WARNING
It is vital that attention is not diverted from the traffic. Use the iPod
® only
when the situation allows. Any distra ction may lead to an accident, with
the risk of injury.
•
Never lose visual contact with the road in order to adjust or use the
iPod® and the sound system.
•
Use the iPod
® only when the state of the road, the weather and traffic
conditions permit.
•
Never detach the iPod
® while driving.
Caution
•
Detaching the iPod
® from the adaptor will leave marks.
•
Never detach the iPod
® when the sound source selected is the adaptor
(CD) . Otherwise the iPod® memory could be damaged.
MFD2 ingles Seite 18 Montag, 15. Mai 2006 9:19 09
Page 25 of 63
USB* Connection
22
Disconnecting the memory stick
– Change the input device, for example from CD to radio FM.
– Then disconnect the memory stick or the extension cable from the USB port ⇒.Once the device is connected the songs stored can be played using the car
radio fitted.
WARNING
Please keep your attention on driving as a priority!•
Adjust the volume so that external noise can be heard at all times, such
as police, fire and emergency services sirens.
•
Never remove the memory stick or MP3 player when driving.Caution
•
The temperature range of the Memory stick and MP3 is limited and is
normally between 0° and 40°C. Therefore, do not leave it in the vehicle for
long.
•
Never connect the MP3 player directly into the USB port, as it may be
damaged. Always use an extension cable.
•
Never disconnect the device while USB port (CD) is selected as source.
The device may be damaged.
•
The USB port is only for connectiing a memory stick or MP3 player. Hard
disks or USB hubs etc. cannot be connected
•
The maximum voltage of the the memory stick or MP3 should not exceed
2.5 watts (500mA/5V)
•
Never insert metal objects into the USB port, as it may shortcircuit.
Note
•
The memory stick, the MP3 player or the USB extension cable are not
standard equipment for your vehicle.
•
If the USB port does not detect the memory stick after 15 seconds, discon-
nect it and reconnect it.
•
In some cases the MP3 must be activa ted to make the connection with the
USB port. Consult the instructions of your MP3 player.
MFD2 ingles Seite 22 Montag, 15. Mai 2006 9:19 09
Page 29 of 63
USB* Connection
26As many as 99 tracks can be shown, although all those contained in the
folder can be played
A title with three figures will not show the hundreds on the screen, only the
last two.
The music can be controlled via the radio keys. Choosing and playing songs,
fast forward and rewind and random playback are described in the radio
manual of your vehicle.
If there are folders in the root director y individual files will not be played, so
all data in the root directory should be in folders
Storing files in a memory stick or MP3 player
Store files in folders instead of using th e root directory of the memory stick or
player. In this way the songs can be st ored in order (eg all the songs in a
certain style in the same folder).
The function keys to of the radio can only select the first 5 folders.
If there are more than 6 folders in the memory stick or MP3 player their
content cannot be played.
The folders can be subdivided into subfolders eg different albums by an
artist.
Example of a music folder structure:
Playback of music via USB connection
Connect the memory stick or MP3 player with the USB extension cable to the
USB port.
The screen will show the first 6 folders detected by the USB port, displayed as
CD 1 to CD 6 . Folders without music files will not be included.
If there are more than 6 music folders in the device, the exact number of
folders can be shown using the CD options. If the music files are not classified into
folders, but stored directly in the root
directory, the radio will read the files and play them in the same order. The
display then shows CD 1.
Music files and folders will be played in alphabetical order, so files begin-
niing woth numbers will be selected first, before those with letters. A file with
the name 1XXXXXXXX will be played before another with the name AAAAAA.
Screen indications
When selecting a music file with the CD keys, it appears iin the radio equip-
ment screen Track 1 .
As many as 99 tracks can be shown.
WARNING
Please keep your attention on driving as a priority!•
Adjust the volume so that external no ise can be heard at all times, such
as police, fire and emergency services sirens.
•
Never remove the memory stick or MP3 player when driving.Note
•
Before turning off the engine, the USB port memorises the position of the
song playing As long as the content is not changed, the system will start
again from this point.
•
If many songs are skipped, there may be a delay during playback.
•
The detection of the memory stick or MP3 playere requires a few seconds
depending on the type of memory used.
•
The title of the song is not shown on the screen.
CD 1
CD 6
MFD2 ingles Seite 26 Montag, 15. Mai 2006 9:19 09
Page 48 of 63
Navigation45
Map scale
North.
Traffic problems are indicated by a symbol on the map:
slow-moving traffic traffic jam closed road
Symbol display The number of GPS satellites.
Route option (in this example dynamic route guidance D).
Arrival time or journey time.
Distance to destination or stopover.
Turn arrow, above it the name of the street you are turning into.
Current road
The proximity bar shows how far away the turning point is. The distance
to the next change of direction will be shown in the display after you have
turned.
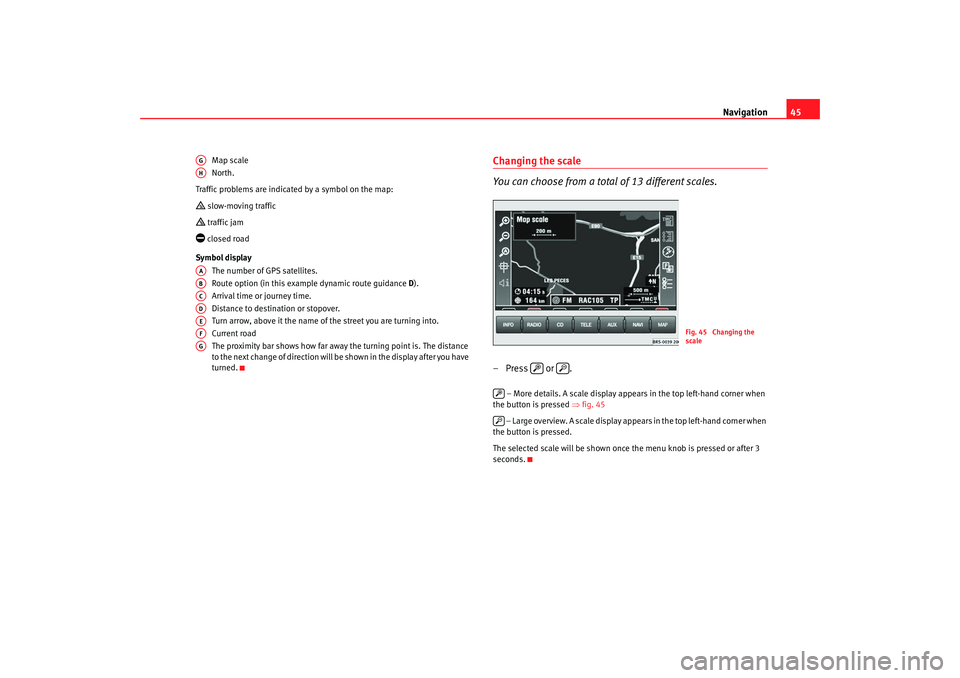
Changing the scale
You can choose from a total of 13 different scales.– Press or .
– More details. A scale display appears in the top left-hand corner when
the button is pressed ⇒fig. 45
– Large overview. A scale display appears in the top left-hand corner when
the button is pressed.
The selected scale will be shown once the menu knob is pressed or after 3
seconds.
AGAHAAABACADAEAFAG
Fig. 45 Changing the
scale
MFD2 ingles Seite 45 Montag, 15. Mai 2006 9:19 09
Page 49 of 63
Navigation
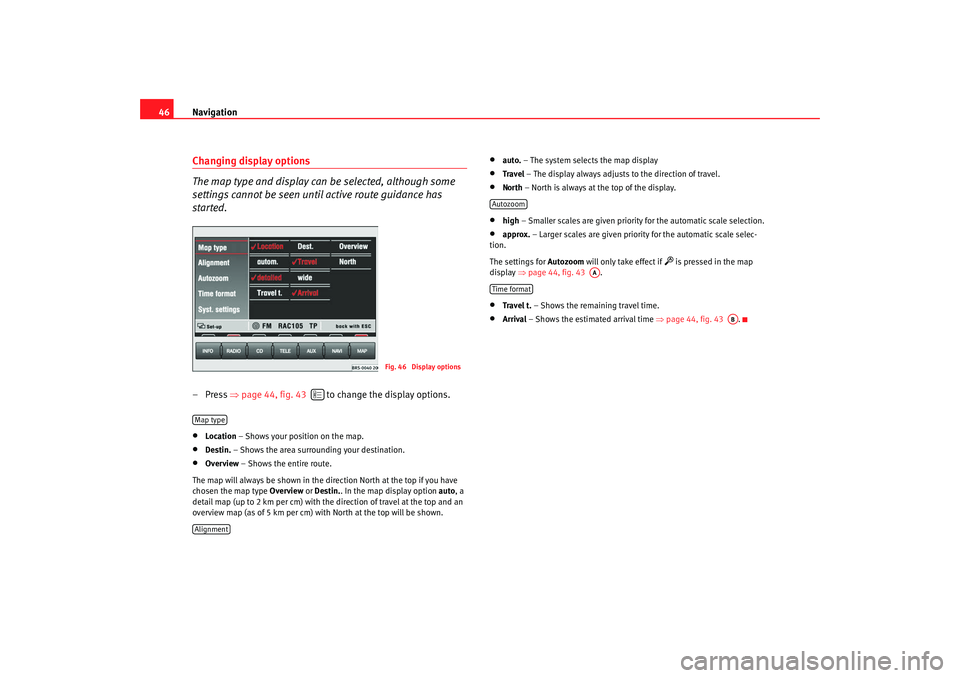
46Changing display options
The map type and display can be selected, although some
settings cannot be seen until active route guidance has
started.– Press ⇒page 44, fig. 43 to change the display options.•
Location – Shows your position on the map.
•
Destin. – Shows the area surrounding your destination.
•
Overview – Shows the entire route.
The map will always be shown in the direction North at the top if you have
chosen the map type Overview or Destin. . In the map display option auto, a
detail map (up to 2 km per cm) with the direction of travel at the top and an
overview map (as of 5 km per cm) with North at the top will be shown.
•
auto. – The system selects the map display
•
Travel – The display always adjusts to the direction of travel.
• North – North is always at the top of the display.•
high – Smaller scales are given priority for the automatic scale selection.
•
approx. – Larger scales are given priority for the automatic scale selec-
tion.
The settings for Autozoom will only take effect if
is pressed in the map
display ⇒page 44, fig. 43 .
•
Travel t. – Shows the remaining travel time.
•
Arrival – Shows the estimated arrival time ⇒page 44, fig. 43 .
Fig. 46 Display options
Map typeAlignment
Autozoom
AA
Time format
AB
MFD2 ingles Seite 46 Montag, 15. Mai 2006 9:19 09
Page 58 of 63
Information and system settings55
•
auto: The night display will automatically be selected when the head-
lights are switched on.
•
manual : Press ⇒ page 4, fig. 1 to switch between the day and
night displays.
and – Sets the screen settings for the day and
night display.
– If the system does not have the correct time, you may adjust the clock
by turning and pressing the menu button s. The data for the arrival time is
oriented towards this time if the route guidance function is active.Note
The language can only be changed if the navigation CD has been inserted.
A13
Contrast day
Contrast night
Hour
MFD2 ingles Seite 55 Montag, 15. Mai 2006 9:19 09