coolant level Seat Toledo 2017 Owner's manual
[x] Cancel search | Manufacturer: SEAT, Model Year: 2017, Model line: Toledo, Model: Seat Toledo 2017Pages: 248, PDF Size: 5.86 MB
Page 6 of 248
Table of Contents
Engine management and emission control sys-
t em
. . . . . . . . . . . . . . . . . . . . . . . . . . . . . . . . . . . 167
Driv
ing tips . . . . . . . . . . . . . . . . . . . . . . . . . . . . . 169
Driver assistance systems . . . . . . . . . . . . . . . . . 170
Parking aid . . . . . . . . . . . . . . . . . . . . . . . . . . . . . 170
Rear Assist “Rear View Camera”* . . . . . . . . . . . 175
Cruise speed (Cruise Control)* . . . . . . . . . . . . . 178
Emergency brake assist system (Front As-
sis
t)* . . . . . . . . . . . . . . . . . . . . . . . . . . . . . . . . . . 179
Start-Stop System* . . . . . . . . . . . . . . . . . . . . . . . 183
Fatigue detection (break recommendation)* . . 185
Towing bracket device . . . . . . . . . . . . . . . . . . . . 186
Driving with a trailer . . . . . . . . . . . . . . . . . . . . . . 186
Towing bracket device . . . . . . . . . . . . . . . . . . . . 188
Advice . . . . . . . . . . . . . . . . . . . . . . . . . . . . . . . . 194
Care and maintenance . . . . . . . . . . . . . . . . . . . . 194
Accessories and modifications to the vehi-
cle
. . . . . . . . . . . . . . . . . . . . . . . . . . . . . . . . . . . . 194
Care and cleaning . . . . . . . . . . . . . . . . . . . . . . . 195
Checking and refilling levels . . . . . . . . . . . . . . . 201
Fuel . . . . . . . . . . . . . . . . . . . . . . . . . . . . . . . . . . . 201
Engine compartment . . . . . . . . . . . . . . . . . . . . . 204
Engine oil . . . . . . . . . . . . . . . . . . . . . . . . . . . . . . 207
Coolant . . . . . . . . . . . . . . . . . . . . . . . . . . . . . . . . 210
Brake fluid . . . . . . . . . . . . . . . . . . . . . . . . . . . . . 211
Window washer system . . . . . . . . . . . . . . . . . . . 212
Battery . . . . . . . . . . . . . . . . . . . . . . . . . . . . . . . . . 213
Wheels and tyres . . . . . . . . . . . . . . . . . . . . . . . . 217
Tyres . . . . . . . . . . . . . . . . . . . . . . . . . . . . . . . . . . 217
Spare wheel . . . . . . . . . . . . . . . . . . . . . . . . . . . . 220
Tyre monitoring systems . . . . . . . . . . . . . . . . . . 221
Winter service . . . . . . . . . . . . . . . . . . . . . . . . . . . 222
Technical data . . . . . . . . . . . . . . . . . . . . . . . . 223
Technical specifications . . . . . . . . . . . . . . . . . . 223
Important information . . . . . . . . . . . . . . . . . . . . 223
Information on fuel consumption . . . . . . . . . . . 224 Driving with a trailer . . . . . . . . . . . . . . . . . . . . . . 225
Wheels . . . . . . . . . . . . . . . . . . . . . . . . . . . . . . . . 226
Engine data . . . . . . . . . . . . . . . . . . . . . . . . . . . . . 227
Dimensions . . . . . . . . . . . . . . . . . . . . . . . . . . . . . 233
Index . . . . . . . . . . . . . . . . . . . . . . . . . . . . . . . . . 235
4
Page 36 of 248
The essentials
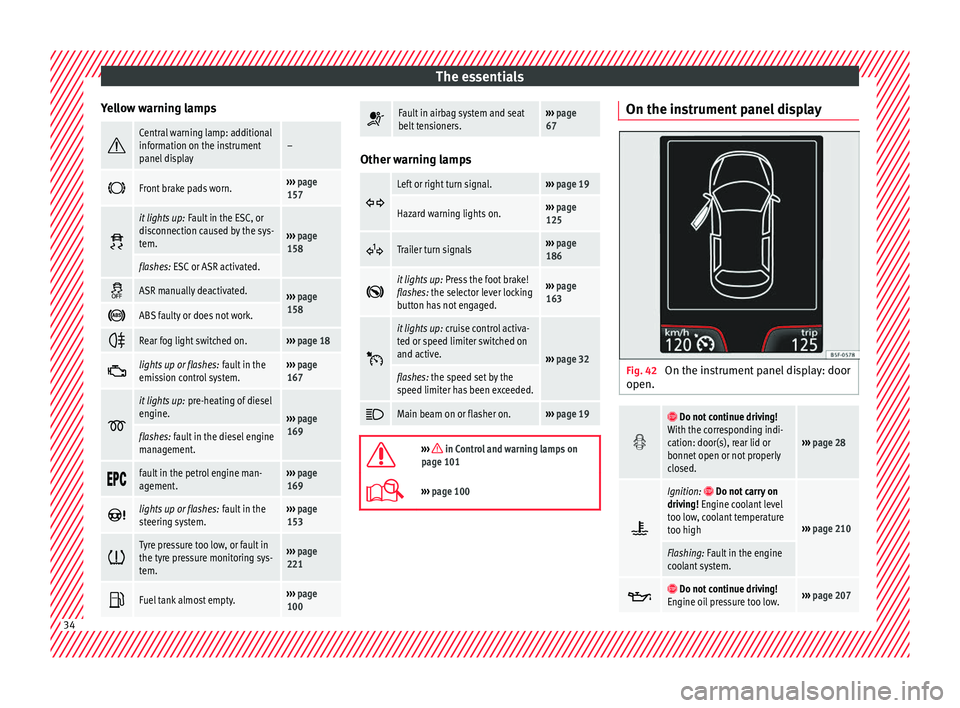
Yellow warning lamps Central warning lamp: additional
information on the instrument
panel display–
Front brake pads worn.›››
page
157
it lights up:
Fault in the ESC, or
disconnection caused by the sys-
tem.
››› page
158
flashes: ESC or ASR activated.
ASR manually deactivated.›››
page
158
ABS faulty or does not work.
Rear fog light switched on.›››
page 18
lights up or flashes:
fault in the
emission control system.››› page
167
it lights up:
pre-heating of diesel
engine.
››› page
169
flashes: fault in the diesel engine
management.
fault in the petrol engine man-
agement.›››
page
169
lights up or flashes:
fault in the
steering system.››› page
153
Tyre pressure too low, or fault in
the tyre pressure monitoring sys-
tem.›››
page
221
Fuel tank almost empty.›››
page
100
Fault in airbag system and seat
belt tensioners.›››
page
67 Other warning lamps
Left or right turn signal.›››
page 19
Hazard warning lights on.››› page
125
Trailer turn signals›››
page
186
it lights up:
Press the foot brake!
flashes: the selector lever locking
button has not engaged.››› page
163
it lights up:
cruise control activa-
ted or speed limiter switched on
and active.
››› page 32
flashes: the speed set by the
speed limiter has been exceeded.
Main beam on or flasher on.›››
page 19
››› in Control and warning lamps on
page 101
››› page 100 On the instrument panel display
Fig. 42
On the instrument panel display: door
open.
Do not continue driving!
With the corresponding indi-
cation: door(s), rear lid or
bonnet open or not properly
closed.
››› page 28
Ignition: Do not carry on
driving! Engine coolant level
too low, coolant temperature
too high
››› page 210
Flashing: Fault in the engine
coolant system.
Do not continue driving!
Engine oil pressure too low.››› page 207 34
Page 44 of 248
The essentials
Engine oil specificationsService intervalEngine typeSpecification
Petrol engines with Set Service Intervals (dependent on
time/distance travelled)1.0l / 1.4lVW 504 00
1.6lVW 502 00 a)
Petrol engines with Flexible Service Intervals (LongLife)1.0l / 1.4lVW 508 00
VW 504 00b)
Diesel engines with Set Service and Flexible Service In-
tervalsc)With particulate filter (DPF)VW 507 00
a)
If the quality of the fuel available in the country does not fulfil the EN 228 (for petrol) and EN 590 (for diesel) standards.
b) Use of engine oil compliant with the VW 504 00 specification instead of VW 508 00 may have a slight negative effect on the vehicle’s exhaust gas values.
c) Only use recommended oils, otherwise you may damage the engine.
››› page 207 Coolant
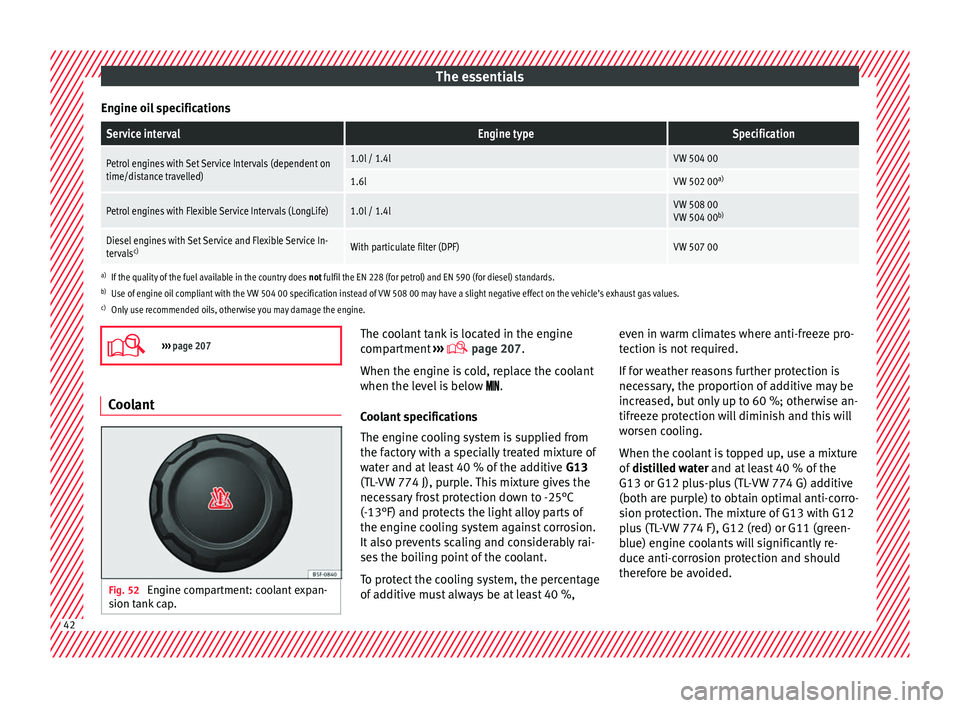
Fig. 52
Engine compartment: coolant expan-
s ion t
ank
cap. The coolant tank is located in the engine
c
omp
ar
tment ›››
page 207.
When the engine is cold, replace the coolant
when the level is below .
Coolant specifications
The engine cooling system is supplied from
the factory with a specially treated mixture of
water and at least 40 % of the additive G13
(TL-VW 774 J), purple. This mixture gives the
necessary frost protection down to -25°C
(-13°F) and protects the light alloy parts of
the engine cooling system against corrosion.
It also prevents scaling and considerably rai-
ses the boiling point of the coolant.
To protect the cooling system, the percentage
of additive must always be at least 40 %, even in warm climates where anti-freeze pro-
tection is
not required.
If for weather reasons further protection is
necessary, the proportion of additive may be
increased, but only up to 60 %; otherwise an-
tifreeze protection will diminish and this will
worsen cooling.
When the coolant is topped up, use a mixture
of distilled water and at least 40 % of the
G13 or G12 plus-plus (TL-VW 774 G) additive
(both are purple) to obtain optimal anti-corro-
sion protection. The mixture of G13 with G12
plus (TL-VW 774 F), G12 (red) or G11 (green-
blue) engine coolants will significantly re-
duce anti-corrosion protection and should
therefore be avoided. 42
Page 45 of 248
The essentials
››› in Topping up the coolant level on
page 211
››› page 210 Brake fluid
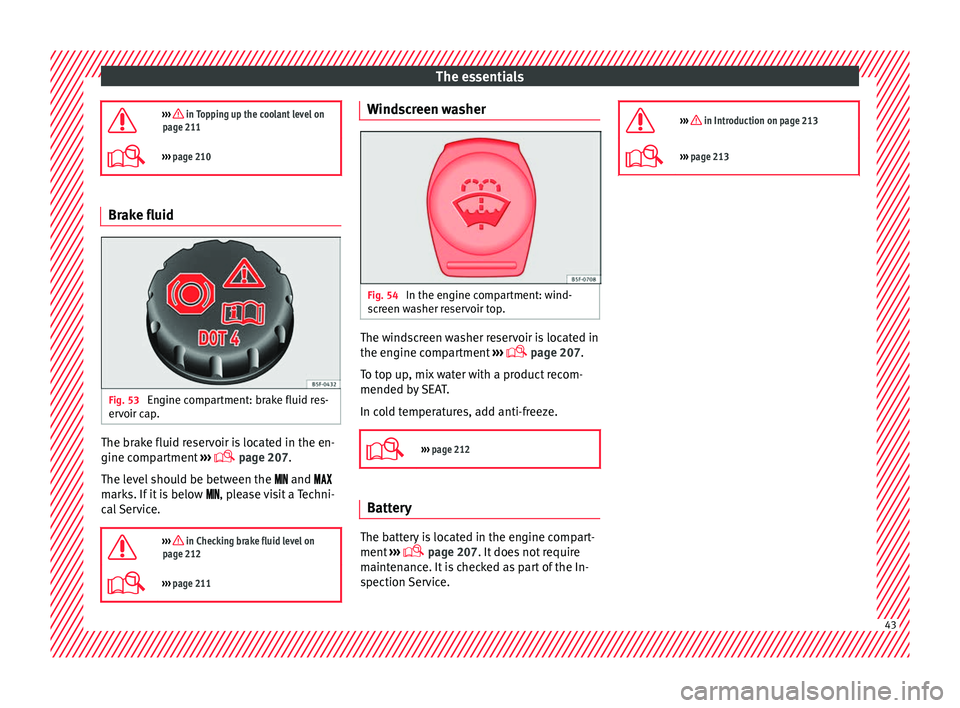
Fig. 53
Engine compartment: brake fluid res-
er v
oir c
ap. The brake fluid reservoir is located in the en-
gine c
omp
ar
tment ›››
page 207
.
The level should be between the and
marks. If it is below , please visit a Techni-
cal Service.
››› in Checking brake fluid level on
page 212
››› page 211 Windscreen washer
Fig. 54
In the engine compartment: wind-
s c
r
een washer reservoir top. The windscreen washer reservoir is located in
the en
gine c
omp
artment ›››
page 207.
To top up, mix water with a product recom-
mended by SEAT.
In cold temperatures, add anti-freeze.
››› page 212 Battery
The battery is located in the engine compart-
ment
›
›
› page 207. It does not require
maintenance. It is checked as part of the In-
spection Service.
››› in Introduction on page 213
›››
page 213 43
Page 102 of 248
Operation
Normal temperature
If in norm
al
operations, the diodes light up
until the central zone, it means that the en-
gine has reached operating temperature. At
high outside temperatures and when making
the engine work hard, the diodes may contin-
ue lighting up and reach the upper zone. This
is no cause for concern, provided the control
lamp does not light up on the instrument
panel digital display.
Heat range
When the LEDs light up in the upper area of
the display and the control lamp appears
on the instrument panel display, the coolant
temperature is too high ››› page 210. CAUTION
● To en s
ure a long useful life for the engine,
avoid high revs, driving at high speed and
making the engine work hard for approxi-
mately the first 15 minutes when the engine
is cold. The phase until the engine is warm al-
so depends on the outside temperature. If
necessary, use the engine oil temperature*
››› page 207 as a guide.
● Additional lights and other accessories in
front of
the air inlet reduce the cooling effect
of the coolant. At high outside temperatures
and high engine loads, there is a risk of the
engine overheating.
● The front spoiler also ensures proper distri-
bution of the c
ooling air when the vehicle is moving. If the spoiler is damaged this can re-
duce the c
oo
ling effect, which could cause
the engine to overheat. Seek specialist assis-
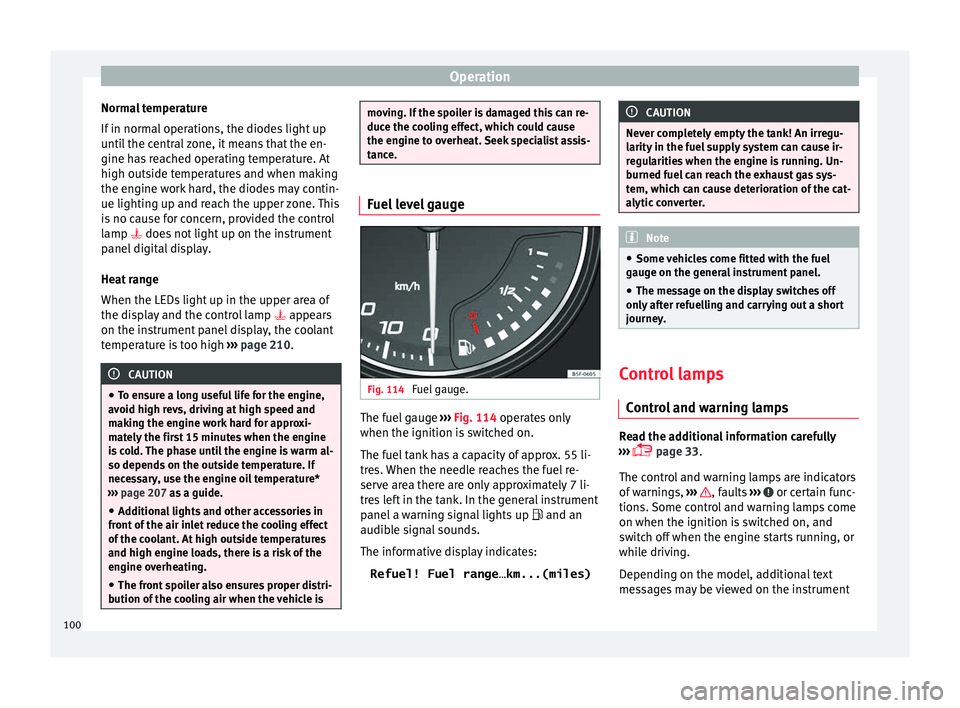
tance. Fuel level gauge
Fig. 114
Fuel gauge. The fuel gauge
››
›
Fig. 114 operates only
when the ignition is switched on.
The fuel tank has a capacity of approx. 55 li-
tres. When the needle reaches the fuel re-
serve area there are only approximately 7 li-
tres left in the tank. In the general instrument
panel a warning signal lights up and an
audible signal sounds.
The informative display indicates:
Refuel! Fuel range…km...(miles) CAUTION
Never completely empty the tank! An irregu-
larity in the f
uel supply system can cause ir-
regularities when the engine is running. Un-
burned fuel can reach the exhaust gas sys-
tem, which can cause deterioration of the cat-
alytic converter. Note
● Some v ehic
les come fitted with the fuel
gauge on the general instrument panel.
● The message on the display switches off
only af
ter refuelling and carrying out a short
journey. Control lamps
C ontr
o
l and warning lamps Read the additional information carefully
› ›
›
page 33.
The control and warning lamps are indicators
of warnings, ››› , faults
››
›
or certain func-
tion s.
Some c
ontrol and warning lamps come
on when the ignition is switched on, and
switch off when the engine starts running, or
while driving.
Depending on the model, additional text
messages may be viewed on the instrument
100
Page 168 of 248

Operation
● Inc r
e
ased use of single-grade materials.
● Plastic parts and elastomers are marked in
accor
dance with ISO 1043, ISO 11469 and
ISO 1629.
Choice of materials
● Use of recycled materials.
● Use of compatible plastics in the same part
if its c
omponents are not easily separated.
● Use of recycled materials and/or materials
originating fr
om renewable sources.
● Reduction of volatile components, includ-
ing odour, in p
lastic materials.
● Use of CFC-free coolants.
Ban on heavy
metals, with the exceptions
dictated by law (Annex II of ELV Directive
2000/53/EC): cadmium, lead, mercury, hexa-
valent chromium.
Manufacturing methods
● Reduction of the quantity of thinner in the
protectiv
e wax for cavities.
● Use of plastic film as protection during ve-
hicle tr
ansport.
● Use of solvent-free adhesives.
● Use of CFC-free coolants in cooling sys-
tems.
● Recy
cling and energy recovery from resi-
dues (RDF).
● Impr
ovement in the quality of waste water. ●
Use of sy
stems for the recovery of residual
heat (thermal recovery, enthalpy wheels,
etc.).
● The use of water-soluble paints.
Economical and environmentally-
friendly drivin
g Fuel consumption, environmental pollution
and we
ar t
o the engine, brakes and tyres de-
pends in large part on your driving style. By
adopting an economical driving style and an-
ticipating the traffic situation ahead, you can
easily reduce fuel consumption by 10-15%.
Some tips on how to help you reduce pollu-
tion while saving money are listed below.
Drive anticipating the traffic situation
A vehicle uses most fuel when accelerating.
When you anticipate situations, you have to
brake less often and, thus, accelerate less. If
it is possible, let the vehicle roll with a gear
engaged, for example, if you see a red light
ahead. The braking effect achieved in this
way helps to reduce the wear of brakes and
tyres; emissions and fuel consumption are
reduced to zero (disconnection due to iner-
tia).
Change gear early to save energy
An effective way of saving fuel is to change
up quickly through the gears. Running the engine at high rpm in the lower gears uses
an unnec
e
ssary amount of fuel.
Manual gearbox: shift up from first to second
gear as soon as possible. We recommend
that, whenever possible, you change to a
higher gear upon reaching 2000 rpm. Follow
the “recommended gear” indication that ap-
pears on the instrument panel
››› page 29.
Avoid driving at high speed
We advise you not to drive at the top speed
permitted by the vehicle. Fuel consumption,
exhaust emissions and noise levels all in-
crease very rapidly at higher speeds. Driving
at moderate speeds will help to save fuel.
Avoid idling
It is worthwhile switching off the engine
when waiting in a traffic jam, at level cross-
ings or at traffic lights with a long red phase.
The fuel saved after only 30 - 40 seconds is
greater than the amount of fuel needed to re-
start the engine.
The engine takes a long time to warm up
when it is idling. Mechanical wear and pollu-
tant emissions are also especially high dur-
ing this initial warm-up phase. It is therefore
best to drive off immediately after starting
the engine. Avoid running the engine at high
speed.
166
Page 190 of 248
Operation
descending a slope in order to take advant-
ag e of
the en
gine brake.
The trailer is incorporated into the vehicle's
anti-theft alarm system:
● When the vehicle has a factory-fitted anti-
theft al
arm and a towing bracket.
● When the trailer is electrically connected to
the vehic
le via the towing bracket socket.
● When the vehicle electrical device and the
tow
ing bracket are operational.
● When the vehicle is locked and the vehi-
cle's
anti-theft alarm device is activated.
Once the electrical connection is interrupted
with the vehicle trailer locked, the alarm
sounds.
Always switch off the vehicle anti-theft alarm
device before connecting or disconnecting a
trailer. The vehicle anti-theft alarm device
could cause the alarm to sound ››› page 116,
Anti-theft alarm*.
Engine overheating
In the event that the coolant temperature
gauge needle moves to the right section of
the scale or to the red area, immediately re-
duce speed. If the control lamp flashes on
the general instrument panel, stop the vehi-
cle and switch off the engine. Wait several
minutes and check the coolant level in the
tank ››› page 210. Please observe the following indications
›››
page 210, Control lamp .
The coolant temperature can be reduced by
switching on the heating. WARNING
● Adjus t
your speed to suit the road and traf-
fic conditions.
● An electrical installation that is connected
incorrectly
or by non-specialised personnel
can prevent the connection of the current to
the trailer and cause faults in the operation of
the electrical system throughout the entire
vehicle, leading to accidents and serious in-
jury.
● All electrical work must be carried out only
by s
pecialised services.
● Never directly connect the trailer electrical
device t
o the electrical sockets of the reverse
driving lights or other sources of electrical
current. CAUTION
● Av oid c
orners, and sudden and sharp brak-
ing.
● Once the trailing arm has been removed,
plac
e the corresponding cover on the hole of
the fastening point. This prevents dirt from
entering the hole – see the trailer system as-
sembly manual. Note
● In the event of
frequent journeys with a
trailer, we recommend also having the vehi-
cle inspected in between the service inter-
vals.
● When connecting and disconnecting the
trail
er, the handbrake must be applied.
● For technical reasons, trailers with LED re-
verse light
s cannot be incorporated into the
vehicle anti-theft alarm system. Towing bracket device
Intr oduction If the vehicle is equipped with a towing
br
ac
k
et device from the factory or is a genu-
ine SEAT accessory, it meets all national tech-
nical and legal requirements for towing.
Your vehicle is fitted with a 13-pin power
socket for the electrical connection between
the trailer and the vehicle. If the trailer is
equipped with a 7-pin connector, you can
use the corresponding adaptor, which is
available as a genuine SEAT accessory.
The towing device has a maximum vertical
load of 50 kg.
188
Page 209 of 248
Checking and refilling levels
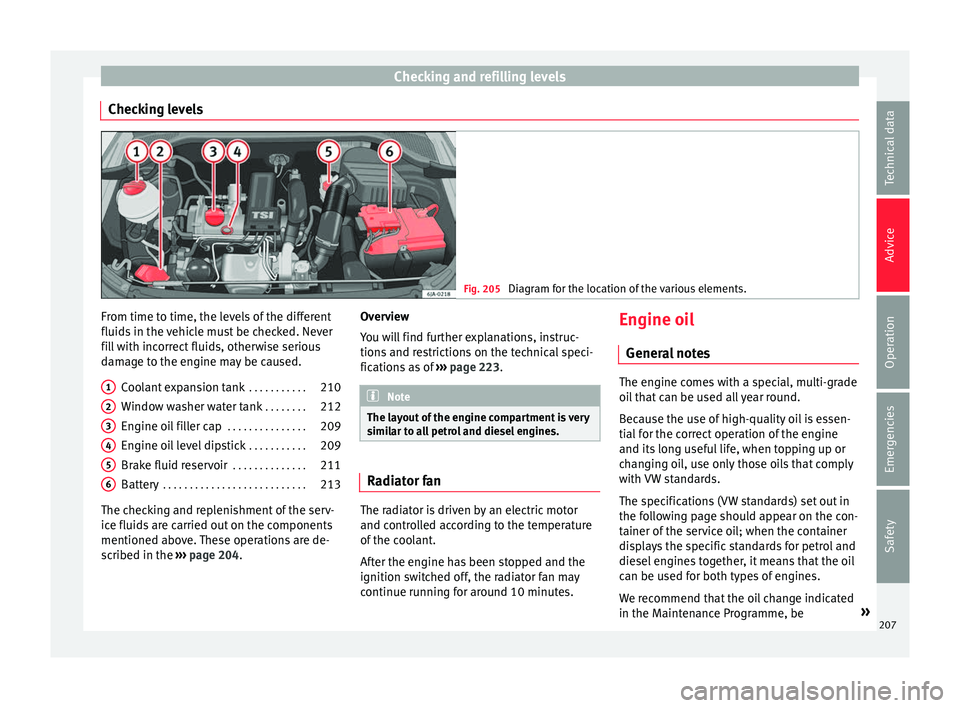
Checking levels Fig. 205
Diagram for the location of the various elements. From time to time, the levels of the different
fluid
s
in the
vehicle must be checked. Never
fill with incorrect fluids, otherwise serious
damage to the engine may be caused.
Coolant expansion tank . . . . . . . . . . .210
Window washer water tank . . . . . . . .212
Engine oil filler cap . . . . . . . . . . . . . . .209
Engine oil level dipstick . . . . . . . . . . .209
Brake fluid reservoir . . . . . . . . . . . . . .211
Battery . . . . . . . . . . . . . . . . . . . . . . . . . . . 213
The checking and replenishment of the serv-
ice fluids
are carried out on the components
mentioned above. These operations are de-
scribed in the ››› page 204.
1 2
3
4
5
6 Overview
Y
ou w
i
ll find further explanations, instruc-
tions and restrictions on the technical speci-
fications as of ››› page 223. Note
The layout of the engine compartment is very
simi l
ar to all petrol and diesel engines. Radiator fan
The radiator is driven by an electric motor
and c
ontr
o
lled according to the temperature
of the coolant.
After the engine has been stopped and the
ignition switched off, the radiator fan may
continue running for around 10 minutes. Engine oil
General
notes The engine comes with a special, multi-grade
oil
th
at can be used all year round.
Because the use of high-quality oil is essen-
tial for the correct operation of the engine
and its long useful life, when topping up or
changing oil, use only those oils that comply
with VW standards.
The specifications (VW standards) set out in
the following page should appear on the con-
tainer of the service oil; when the container
displays the specific standards for petrol and
diesel engines together, it means that the oil
can be used for both types of engines.
We recommend that the oil change indicated
in the Maintenance Programme, be »
207
Technical data
Advice
Operation
Emergencies
Safety
Page 212 of 248
Advice
– Rep
l
ace the oil filler cap carefully and push
the dipstick all the way in.
Changing engine oil Engine oil must be changed with the frequen-
cy indic
at
ed in the Maintenance Programme
or according to the service interval indicator
››› page 31. CAUTION
Do not mix engine oil with additives. Risk of
dam ag
e to the engine! Damage caused by
these products is not covered by the warran-
ty. Note
Wash your skin thoroughly if it comes into
cont act
with engine oil. Coolant
C ontr
o
l lamp If the warning lamp
(b lue) i
s
lit up, the en-
gine has not yet reached its operating tem-
perature 1)
. Avoid high engine speeds, hard acceleration and subjecting the engine to
high load
s.
If the warning lamp (red) is lit up or flash-
ing, the coolant temperature is too high or its
level is too low.
The informative display indicates:
Check coolant! Instruction Man-
ual!
Stop the vehicle, switch off the engine, check
the coolant level ››› page 210 and refill if
necessary ››› page 211.
If the coolant is situated in the prescribed
area, the high temperature may be due to a
fault in the cooling system fan. Check the ra-
diator fan fuse and replace it if necessary
››› page 44.
If the warning lamp (red) remains lit up,
despite both the coolant level and the radia-
tor fan fuse being in correct condition,
stop the vehicle!
Go to a technical service. WARNING
● Tak e c
are when opening the coolant reser-
voir. When the engine is warm or hot, the
system is pressurised – Danger of burns! Wait for the engine to cool before opening
the co
v
er.
● Do not touch the fan. The fan can switch on
automatic
ally regardless of whether the igni-
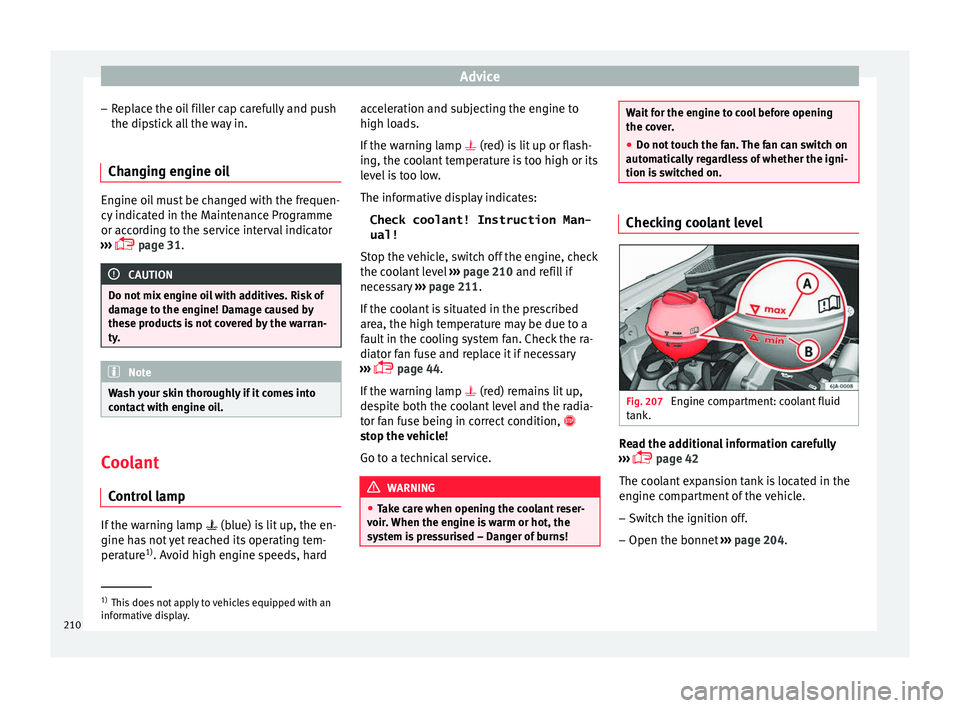
tion is switched on. Checking coolant level
Fig. 207
Engine compartment: coolant fluid
t ank. Read the additional information carefully
› ›
›
page 42
The coolant expansion tank is located in the
engine compartment of the vehicle. – Switch the ignition off.
– Open the bonnet ›››
page 204. 1)
This does not apply to vehicles equipped with an
inform ativ
e display.
210
Page 213 of 248
Checking and refilling levels
– Re
a
d off the coolant level on coolant ex-
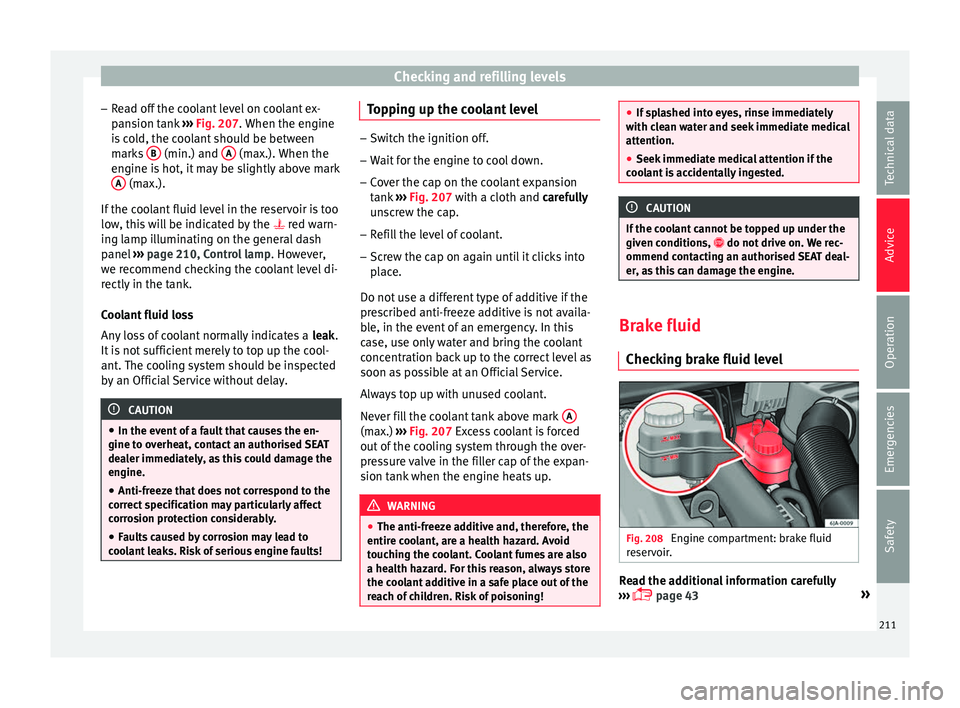
pansion tank ››› Fig. 207. When the engine
is cold, the coolant should be between marks B (min.) and
A (max.). When the
en gine i
s
hot, it may be slightly above mark
A (max.).
If the c
oo
lant fluid level in the reservoir is too
low, this will be indicated by the red warn-
ing lamp illuminating on the general dash
panel ››› page 210, Control lamp . However,
we recommend checking the coolant level di-
rectly in the tank.
Coolant fluid loss
Any loss of coolant normally indicates a leak.
It is not sufficient merely to top up the cool-
ant. The cooling system should be inspected
by an Official Service without delay. CAUTION
● In the event of
a fault that causes the en-
gine to overheat, contact an authorised SEAT
dealer immediately, as this could damage the
engine.
● Anti-freeze that does not correspond to the
correct
specification may particularly affect
corrosion protection considerably.
● Faults caused by corrosion may lead to
cool
ant leaks. Risk of serious engine faults! Topping up the coolant level
–
Switch the ignition off.
– Wait for the engine to cool down.
– Cover the cap on the coolant expansion
tank ›
›› Fig. 207 with a cloth and carefully
unscrew the cap.
– Refill the level of coolant.
– Screw the cap on again until it clicks into
plac
e.
Do not use a different type of additive if the
prescribed anti-freeze additive is not availa-
ble, in the event of an emergency. In this
case, use only water and bring the coolant
concentration back up to the correct level as
soon as possible at an Official Service.
Always top up with unused coolant.
Never fill the coolant tank above mark A (max.)
››
›
Fig. 207 Excess coolant is forced
out of the cooling system through the over-
pressure valve in the filler cap of the expan-
sion tank when the engine heats up. WARNING
● The anti-freez e a
dditive and, therefore, the
entire coolant, are a health hazard. Avoid
touching the coolant. Coolant fumes are also
a health hazard. For this reason, always store
the coolant additive in a safe place out of the
reach of children. Risk of poisoning! ●
If s p
lashed into eyes, rinse immediately
with clean water and seek immediate medical
attention.
● Seek immediate medical attention if the
cool
ant is accidentally ingested. CAUTION
If the coolant cannot be topped up under the
giv en c ondition
s, do not drive on. We rec-
ommend contacting an authorised SEAT deal-
er, as this can damage the engine. Brake fluid
Chec kin
g brake fluid level Fig. 208
Engine compartment: brake fluid
r e
ser
voir. Read the additional information carefully
› ›
›
page 43 »
211
Technical data
Advice
Operation
Emergencies
Safety