buttons SKODA FABIA 2005 1.G / 6Y Sat Compass Navigation System Manual
[x] Cancel search | Manufacturer: SKODA, Model Year: 2005, Model line: FABIA, Model: SKODA FABIA 2005 1.G / 6YPages: 71, PDF Size: 2.81 MB
Page 4 of 71
3RADIO NAVIGTION SYSTEMQUICK REFERENCE
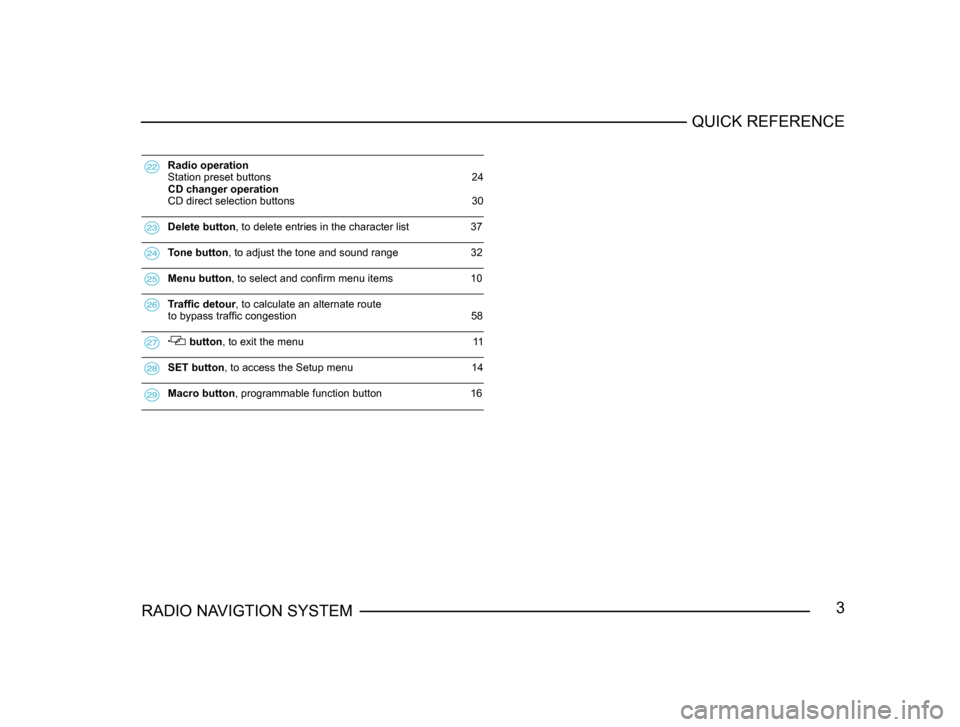
Radio operation
Station preset buttons 24
CD changer operation
CD direct selection buttons 30
Delete button, to delete entries in the character list 37
Tone button , to adjust the tone and sound range 32
Menu button , to select and confirm menu items 10
Traffic detour, to calculate an alternate route
to bypass traffi c congestion 58
button , to exit the menu 11
SET button , to access the Setup menu 14
Macro button , programmable function button 16
Page 5 of 71
4RADIO NAVIGATION SYSTEM
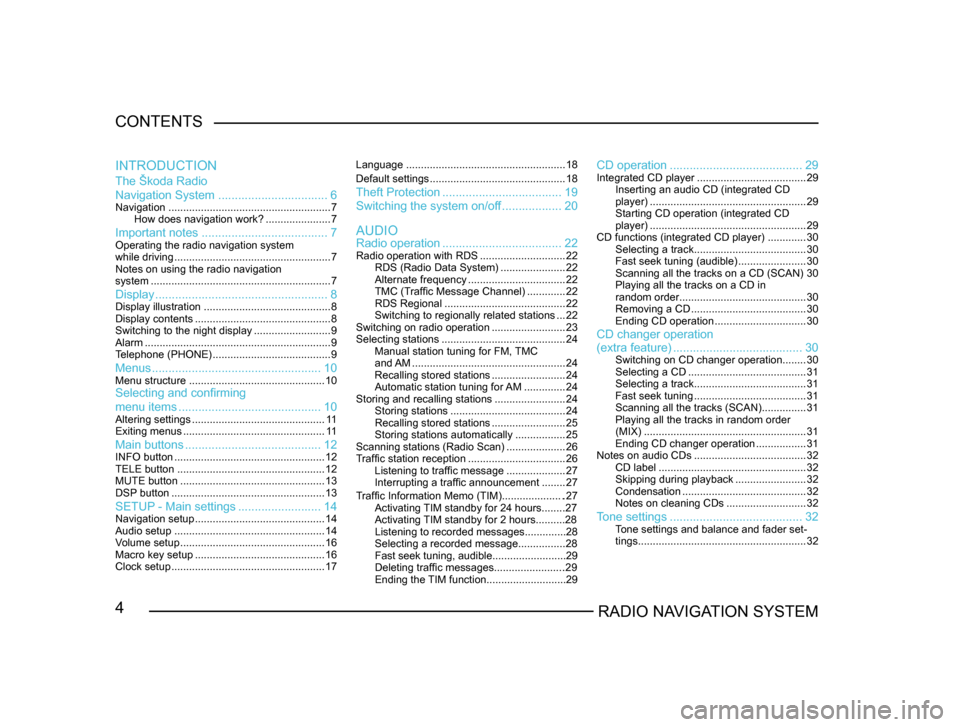
CONTENTS
The Škoda Radio
Navigation System
................................. 6
Navigation....................................................... 7
How does navigation work? ......................7
Important notes ...................................... 7Operating the radio navigation system
while driving..................................................... 7
Notes on using the radio navigation
system ............................................................. 7
Display.................................................... 8Display illustration........................................... 8
Display contents .............................................. 8
Switching to the night display ..........................9
Alarm ............................................................... 9
T
elephone (PHONE) ........................................ 9
Menus................................................... 10Menu structure.............................................. 10Selecting and confirming
menu items........................................... 10
Altering settings............................................. 1 1
Exiting menus ................................................ 1 1
Main buttons......................................... 12INFO button................................................... 12
TELE button .................................................. 12
MUTE button ................................................. 13
DSP
button .................................................... 13
SETUP - Main settings.........................14Navigation setup ............................................ 14
Audio setup ................................................... 14
V
olume setup ................................................. 16
Macro key setup ............................................ 16
Clock setup .................................................... 17Language
...................................................... 18
Default settings .............................................. 18
Theft Protection.................................... 19
Switching the system on/of
f .................. 20
Radio operation .................................... 22
Radio operation with RDS .............................22
RDS (Radio Data System) ......................22
Alternate frequency ................................. 22
TMC (T
raffic Message Channel) .............22
RDS Regional ......................................... 22
Switching to regionally related sta
tions ...22
Switching on radio operation .........................23
Selecting stations .......................................... 24
Manual station tuning for FM,
TMC
and AM .................................................... 24
Recalling stored stations .........................24
Automatic station tuning for
AM .............. 24
Storing and recalling stations ........................24
Storing stations ....................................... 24
Recalling stored stations .........................25
Storing stations automatically .................25
Scanning stations (Radio Scan) ....................26
T
raffic station reception .................................26
Listening to traffic message ....................27
Interrupting a traffic announcement ........27
AUDIO
INTRODUCTION
CD operation
........................................ 29Integrated CD player.....................................29
Inserting an audio CD (integrated CD
player) ..................................................... 29
Starting CD operation (integrated CD
player) ..................................................... 29
CD functions (integrated CD player) .............30
Selecting a track ...................................... 30
Fast seek tuning (audible) .......................30
Scanning all the tracks on a CD (SCAN) 30
Playing all the tracks on a CD in
random order ........................................... 30
Removing a CD ....................................... 30
Ending CD operation ...............................30
CD changer operation
Traffic Information Memo (TIM).....................27
Activating TIM standby for 24 hours........27
Activating TIM standby for 2 hours..........28
Listening to recorded messages..............28
Selecting a recorded message...............
.28
Fast seek tuning, audible.........................29
Deleting traffic messages.......................
.29
Ending the TIM function...........................29
(extra feature) ....................................... 30Switching on CD changer operation ........30
Selecting a CD ........................................ 31
Selecting a track ...................................... 31
Fast seek tuning ...................................... 31
Scanning all the tracks (SCAN) ...............31
Playing all the tracks in random order
(MIX) ....................................................... 31
Ending CD changer operation .................31
Notes on audio CDs ...................................... 32
CD label .................................................. 32
Skipping during playback ........................32
Condensation .......................................... 32
Notes on cleaning CDs ...........................32
Tone settings........................................ 32Tone settings and balance and fader set -
tings ......................................................... 32
Page 13 of 71
12RADIO NAVIGATION SYSTEM
INTRODUCTION
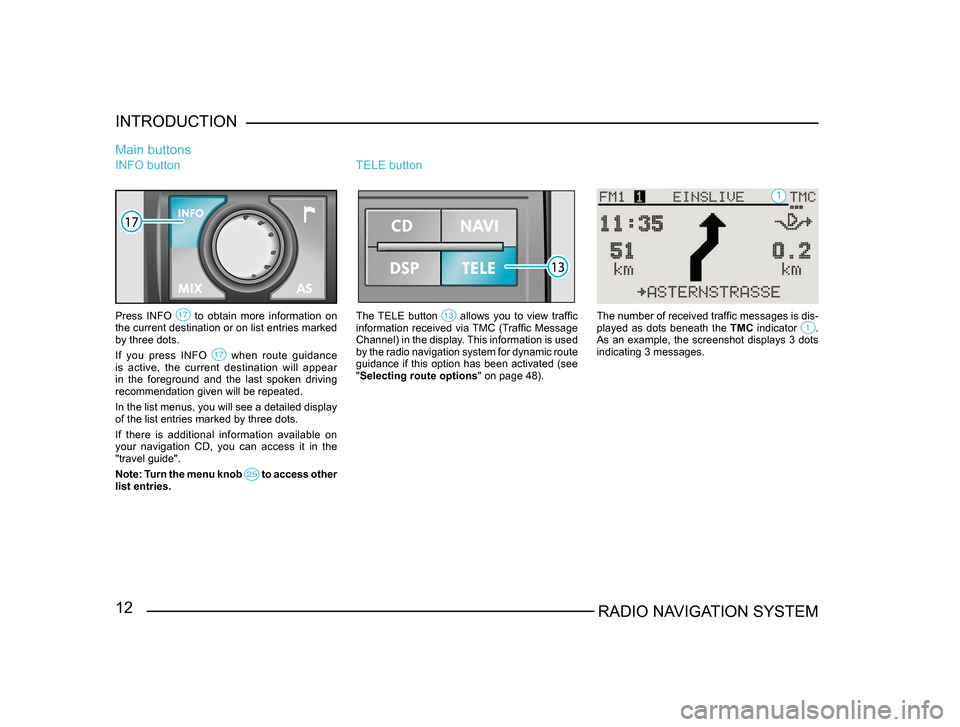
INFO button
Press INFO to obtain more information on the current destination or on list entries marked
by three dots.
If you press INFO
when route guidance is active, the current destination will appear
in the foreground and the last spoken driving
recommendation given will be repeated.
In the list menus, you will see a detailed display
of the list entries marked by three dots.
If there is additional information available on
your navigation CD, you can access it in the
"travel guide".
Note: Turn the menu knob
to access other list entries.
Main buttons
TELE button
The TELE button allows you to view traffic information received via TMC (Traffic Message
Channel) in the display. This information is used
by the radio navigation system for dynamic route
guidance if this option has been activated (see
"Selecting route options
" on page 48). The number of received traffic messages is dis -
played as dots beneath the TMC indicator . As an example, the screenshot displays 3 dots
indicating 3 messages.
1
Page 24 of 71
23RADIO NAVIGATION SYSTEMAUDIO OPERATION
Use the RDS-Regional function in the
AUDIO
SETUP menu to switch RDS-REG to AUTO or
OFF . For more information, please refer to the
section on AUDIO SETUP, page 14.
AUTO - If you select this setting, the system
will switch to a regionally related transmission
frequency when station reception deteriorates
beyond a certain point.
OFF - You can select a regionally related station
frequency manually. The change will not be made
automatically.Switching on radio operation
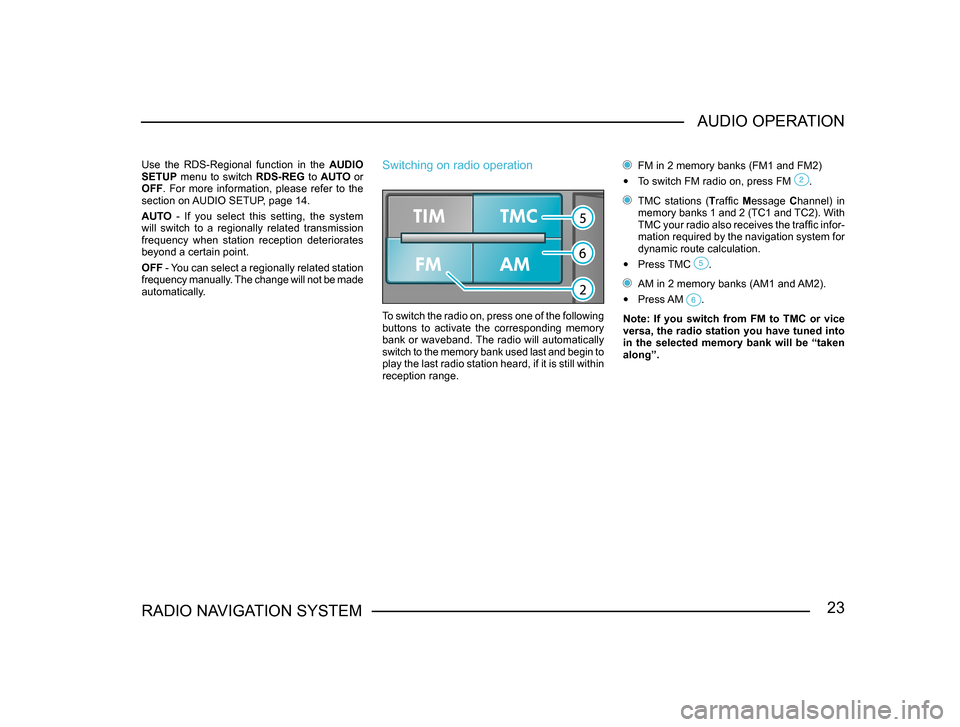
To switch the radio on, press one of the following
buttons to activate the corresponding memory
bank or waveband. The radio will automatically
switch to the memory bank used last and begin to
play the last radio station heard, if it is still within
reception range.
FM in 2 memory banks (FM1 and FM2)
• To switch FM radio on, press FM .
TMC stations (Traffic Message Channel) in
memory banks 1 and 2 (TC1 and TC2). With
TMC your radio also receives the traffic infor-
mation required by the navigation system for
dynamic route calculation.
• Press TMC .
AM in 2 memory banks (AM1 and AM2).
• Press AM .
Note: If you switch from FM to TMC or vice
versa, the radio station you have tuned into
in the selected memory bank will be “taken
along”.
Page 25 of 71
24RADIO NAVIGATION SYSTEM
AUDIO OPERATION
Selecting stations
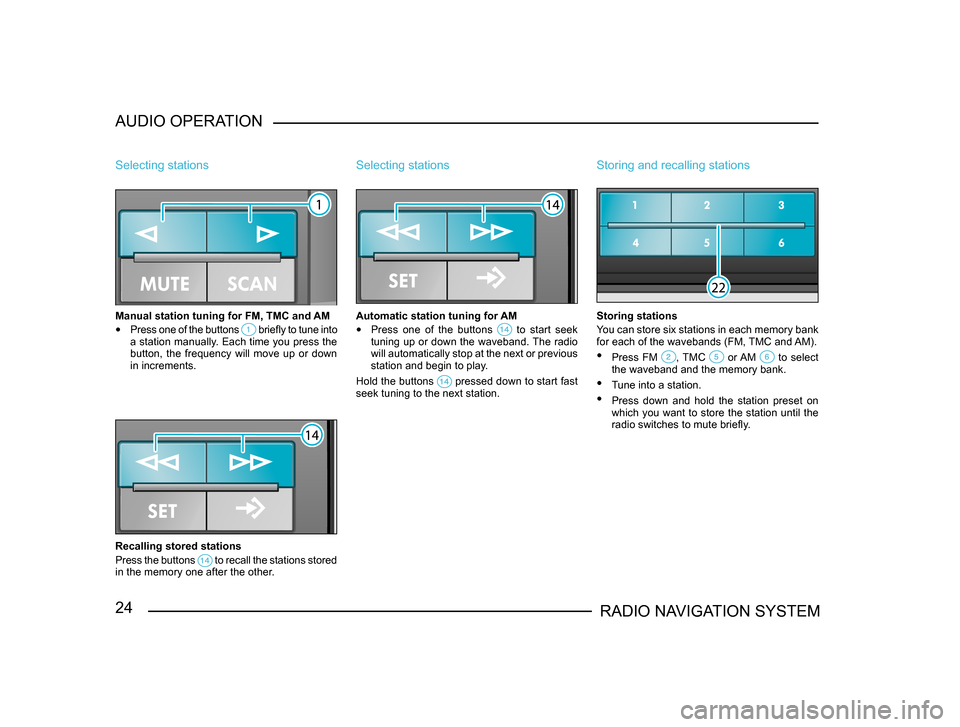
Manual station tuning for FM, TMC and AM
•
Press one of the buttons briefly to tune into a station manually. Each time you press the
button, the frequency will move up or down
in increments.
Recalling stored stations
Press the buttons
to recall the stations stored in the memory one after the other.
Selecting stations
Automatic station tuning for AM
• Press one of the buttons to start seek tuning up or down the waveband. The radio
will automatically stop at the next or previous
station and begin to play.
Hold the buttons
pressed down to start fast seek tuning to the next station.
Storing and recalling stations
Storing stations
You can store six stations in each memory bank
for each of the wavebands (FM, TMC and AM).
• Press FM , TMC or AM to select the waveband and the memory bank.
• Tune into a station.
• Press down and hold the station preset on
which you want to store the station until the
radio switches to mute briefly.
Page 29 of 71
28RADIO NAVIGATION SYSTEM
AUDIO OPERATION
Activating TIM standby for 2 hours
•
Park your vehicle, leave the system switched
on and turn off and remove the ignition key
from the ignition.
This standby mode will be deactivated as soon
as you switch the system back on again.
Note: Once the memory is filled to capacity,
the oldest message will be overwritten. If a
message is longer than four minutes in total,
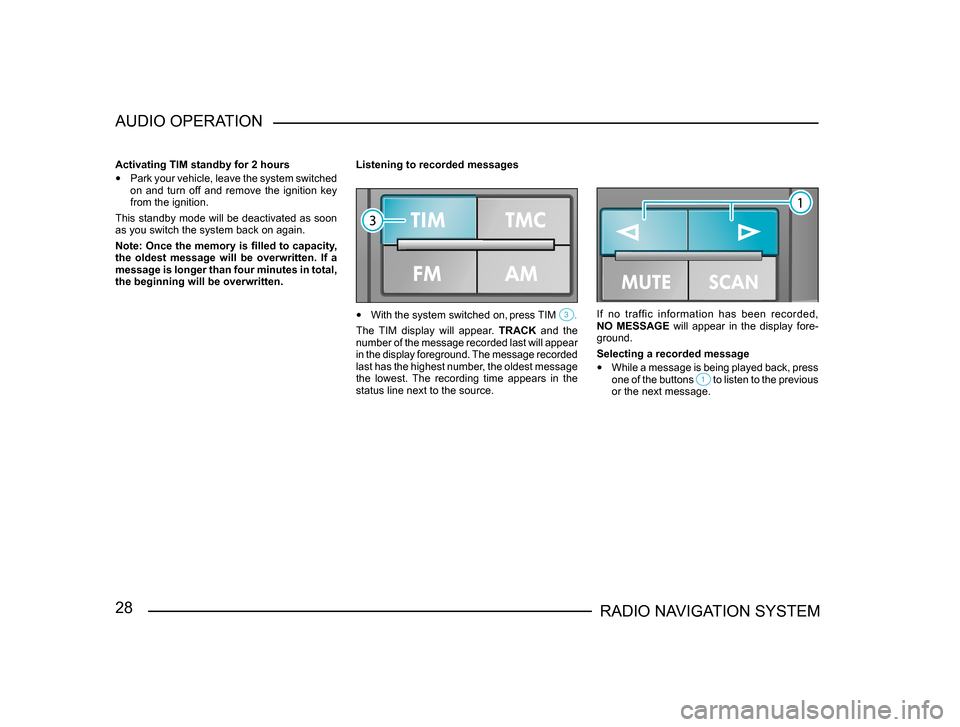
the beginning will be overwritten. Listening to recorded messages
•
With the system switched on, press TIM .
The TIM display will appear. TRACK and the
number of the message recorded last will appear
in the display foreground. The message recorded
last has the highest number, the oldest message
the lowest. The recording time appears in the
status line next to the source.
If no traffic information has been recorded,
NO MESSAGE will appear in the display fore-
ground.
Selecting a recorded message
• While a message is being played back, press
one of the buttons to listen to the previous or the next message.
Page 30 of 71
29RADIO NAVIGATION SYSTEMAUDIO OPERATION
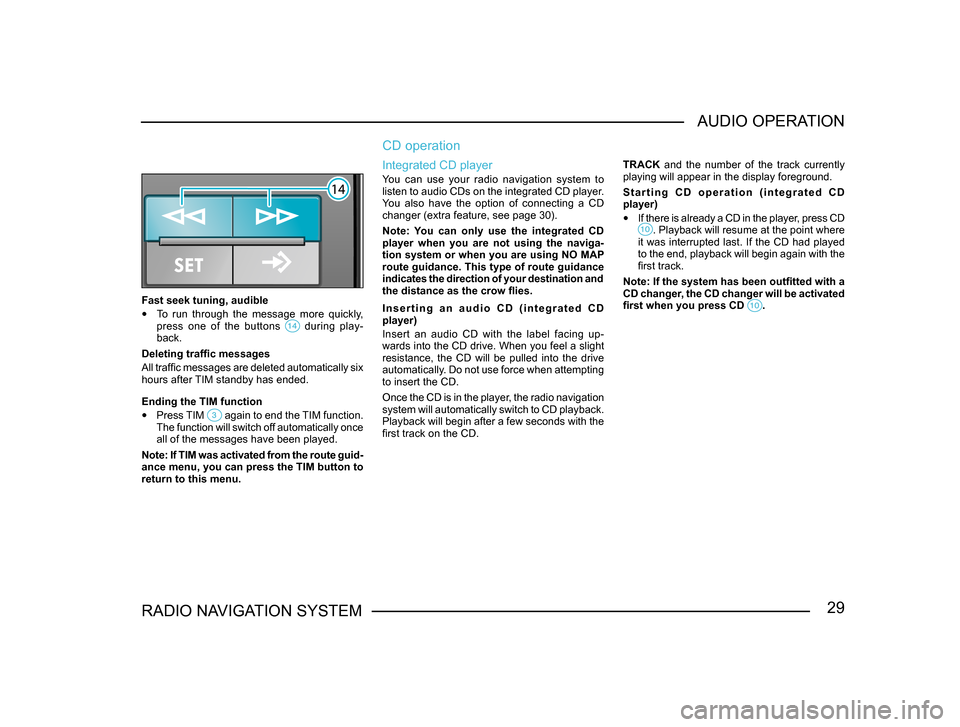
Fast seek tuning, audible
•
To run through the message more quickly,
press one of the buttons during play-back.
Deleting traffic messages
All traffic messages are deleted automatically six
hours after TIM standby has ended.
Ending the TIM function
• Press TIM again to end the TIM function. The function will switch off automatically once
all of the messages have been played.
Note: If TIM was activated from the route guid -
ance menu, you can press the TIM button to
return to this menu.
CD operation
Integrated CD player
You can use your radio navigation system to
listen to audio CDs on the integrated CD player.
You also have the option of connecting a CD
changer (extra feature, see page 30).
Note: You can only use the integrated CD
player when you are not using the naviga-
tion system or when you are using NO MAP
route guidance. This type of route guidance
indicates the direction of your destination and
the distance as the crow flies.
I n s e r t i n g a n a u d i o C D ( i n t e g r a t e d C D
player)
Insert an audio CD with the label facing up-
wards into the CD drive. When you feel a slight
resistance, the CD will be pulled into the drive
automatically. Do not use force when attempting
to insert the CD.
Once the CD is in the player, the radio navigation
system will automatically switch to CD playback.
Playback will begin after a few seconds with the
first track on the CD. TRACK and the number of the track currently
playing will appear in the display foreground.
S t a r t i n g C D o p e r a t i o n ( i n t e g r a t e d C D
player)
•
If there is already a CD in the player, press CD . Playback will resume at the point where it was interrupted last. If the CD had played
to the end, playback will begin again with the
first track.
Note: If the system has been outfitted with a
CD changer, the CD changer will be activated
first when you press CD
.
Page 34 of 71
33RADIO NAVIGATION SYSTEMAUDIO OPERATION
It will not be possible to adjust the fader setting
unless speakers have been installed in the rear
of the vehicle.
•
Press to access the Sound menu.
• Use the menu knob to select the function you want to adjust ( BASS, TREBLE, BAL-
ANCE or FADER).
• Turn the menu knob to alter the setting.
• Press the menu knob to store the new setting. Press to reset the setting to the old value.
• After you have made all your adjustments,
press or one of the audio source buttons for CD, FM, AM or TMC to exit the
Sound menu.