change key battery SKODA FABIA 2014 3.G / NJ Operating Instruction Manual
[x] Cancel search | Manufacturer: SKODA, Model Year: 2014, Model line: FABIA, Model: SKODA FABIA 2014 3.G / NJPages: 216, PDF Size: 30.9 MB
Page 37 of 216
Downloaded from www.Manualslib.com manuals search engine Seek help from a specialist garage.
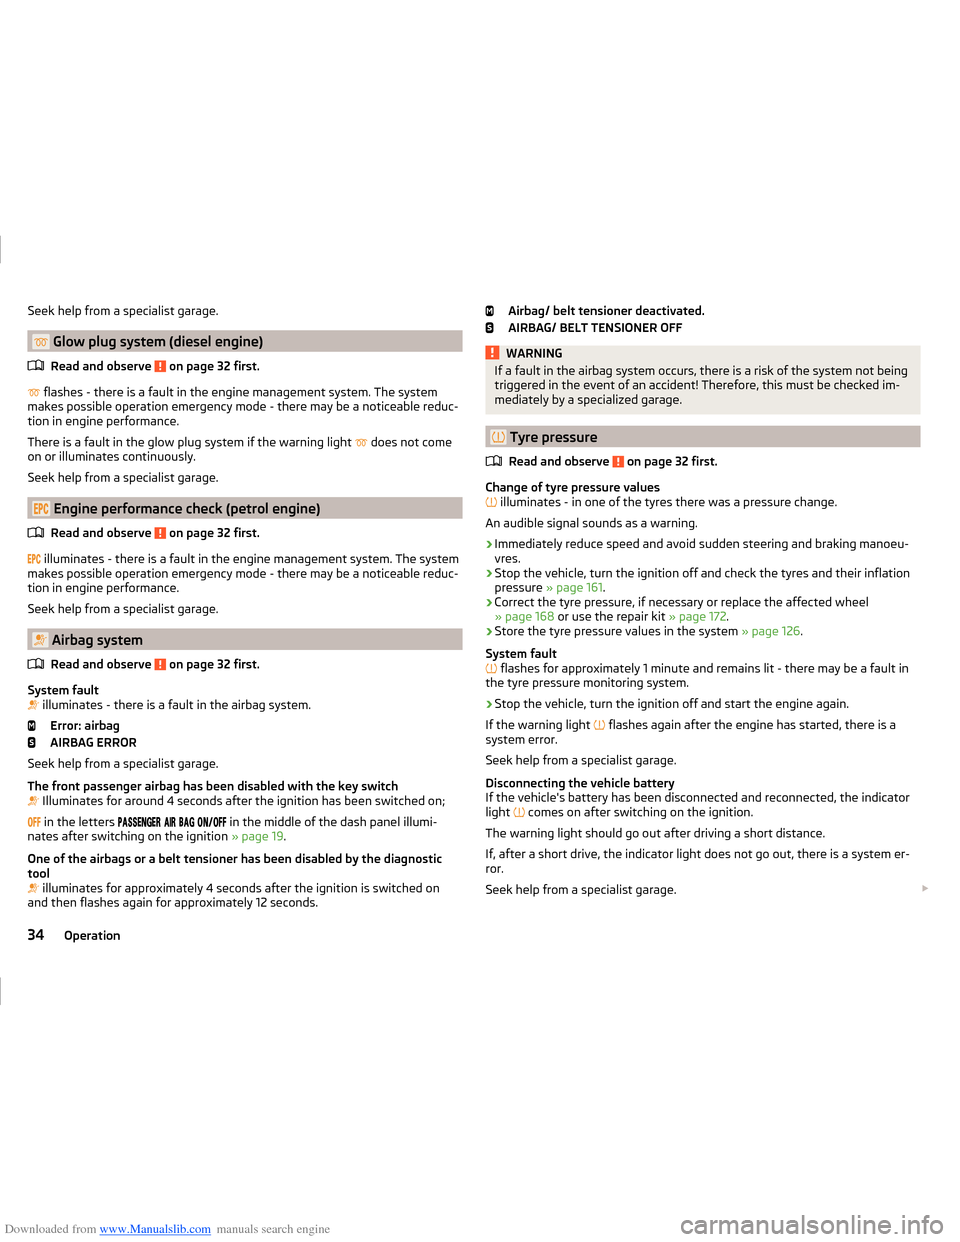
Glow plug system (diesel engine)Read and observe
on page 32 first.
flashes - there is a fault in the engine management system. The system
makes possible operation emergency mode - there may be a noticeable reduc-
tion in engine performance.
There is a fault in the glow plug system if the warning light
does not come
on or illuminates continuously.
Seek help from a specialist garage.
Engine performance check (petrol engine)
Read and observe
on page 32 first.
illuminates - there is a fault in the engine management system. The system
makes possible operation emergency mode - there may be a noticeable reduc-
tion in engine performance.
Seek help from a specialist garage.
Airbag system
Read and observe
on page 32 first.
System fault
illuminates - there is a fault in the airbag system.
Error: airbag
AIRBAG ERROR
Seek help from a specialist garage.
The front passenger airbag has been disabled with the key switch
Illuminates for around 4 seconds after the ignition has been switched on;
in the letters
in the middle of the dash panel illumi-
nates after switching on the ignition » page 19.
One of the airbags or a belt tensioner has been disabled by the diagnostic
tool
illuminates for approximately 4 seconds after the ignition is switched on
and then flashes again for approximately 12 seconds.
Airbag/ belt tensioner deactivated.
AIRBAG/ BELT TENSIONER OFFWARNINGIf a fault in the airbag system occurs, there is a risk of the system not being
triggered in the event of an accident! Therefore, this must be checked im-
mediately by a specialized garage.
Tyre pressure
Read and observe
on page 32 first.
Change of tyre pressure values
illuminates - in one of the tyres there was a pressure change.
An audible signal sounds as a warning.
›
Immediately reduce speed and avoid sudden steering and braking manoeu-
vres.
›
Stop the vehicle, turn the ignition off and check the tyres and their inflation
pressure » page 161 .
›
Correct the tyre pressure, if necessary or replace the affected wheel
» page 168 or use the repair kit » page 172.
›
Store the tyre pressure values in the system » page 126.
System fault
flashes for approximately 1 minute and remains lit - there may be a fault in
the tyre pressure monitoring system.
›
Stop the vehicle, turn the ignition off and start the engine again.
If the warning light flashes again after the engine has started, there is a
system error.
Seek help from a specialist garage.
Disconnecting the vehicle battery
If the vehicle's battery has been disconnected and reconnected, the indicator
light comes on after switching on the ignition.
The warning light should go out after driving a short distance.
If, after a short drive, the indicator light does not go out, there is a system er-
ror.
Seek help from a specialist garage.
34Operation
Page 57 of 216
Downloaded from www.Manualslib.com manuals search engine Displaying an error
If the warning icon in the driver's door initially flashes quickly for around 2 sec-
onds, and then lights up for 30 seconds without interruption before flashing
again slowly, you will need to seek the assistance of a specialist garage.
Discharged battery in the remote control key
If the red warning light B
» Fig. 34 on page 50 does not flash when you press
a button on the remote control key the battery is dead.
If the voltage of the battery in the remote control key is too low, the following
message appears in the display of the instrument cluster.
Change the key battery!
KEY BATTERY PLEASE CHANGE
Replace the battery » page 177.
Anti-theft alarm system
Introduction
This chapter contains information on the following subjects:
Activating/deactivating
54
Interior monitor and towing protection
55
The anti-theft alarm system increases the level of protection against theft and
break-in.
The alarm system triggers audible and visual signals if an attempt is made to
break into the vehicle (hereafter referred to only as alarm).
Triggering the alarm
The alarm is triggered when the following unauthorized actions are carried out
on the locked vehicle.
› Opening the bonnet.
› Opening the boot lid.
› Opening the doors.
› Manipulation of the ignition lock.
› Towing the vehicle
» page 55.
› Movement in the vehicle
» page 55.
› Sudden and significant voltage failure of the electrical system.
› Uncoupling the trailer
» page 133, Trailer, connect and disconnect .
If the driver's door of a vehicle with a remote control is unlocked and opened
by the lock cylinder, then the alarm is triggered.
Switching off the alarm
The alarm is turned off by pressing the button on the radio remote control
key or switching on the ignition.
CAUTION
Before leaving the vehicle, check that the doors and windows are closed in or-
der to ensure that the alarm system is fully operational.
Note
The working life of the alarm siren is 5 years.
Activating/deactivating
Read and observe
on page 54 first.
Activating
The alarm system is activated automatically approximately 30 seconds after
the vehicle is locked.
If the vehicle is unlocked and a door or the boot lid not opened within the next
45 seconds, the vehicle will lock again automatically and the SafeLock system
or anti-theft alarm system will be switched back on. This function is intended
to prevent the car being unlocked unintentionally.
Deactivating
The alarm system is deactivated automatically after the vehicle is unlocked. If
the vehicle is not opened within 45 seconds, the alarm system is automatically
activated again.
The alarm system is also deactivated if you unlock the driver door using the
key within 45 seconds of locking the vehicle.
54Operation
Page 153 of 216
Downloaded from www.Manualslib.com manuals search engine WARNINGWhen working in the engine compartment, injuries, scalding, accident or
fire hazards may arise. For this reason, it is essential to comply with the
warning instructions stated below and with the generally applicable rules
of safety. The engine compartment of your car is a hazardous area.WARNINGInstructions before beginning work in the engine compartment■Turn off the engine and remove the ignition key.■
Firmly apply the handbrake.
■
For vehicles with manual transmission the lever into the neutral position.
■
On vehicles with automatic transmission, shift the selector lever into the
P position.
■
Allow the engine to cool.
■
Never open the bonnet if you can see steam or coolant flowing out of the
engine compartment – there is a risk of scalding. Wait until the steam or
coolant has stopped escaping.
WARNINGInformation for working in the engine room■Keep all people, especially children, away from the engine compartment.■
Never touch the radiator fan while the engine is still warm. The fan might
suddenly start running!
■
Do not touch any hot engine parts – there is a risk of burns.
WARNINGInformation for working in the engine compartment with the engine run-
ning■
Pay particular attention to moving engine parts, e.g. V-ribbed belt, gener-
ator, radiator fan - danger to life!
■
Never touch the electric wiring on the ignition system.
■
Avoid short circuits in the electrical system, particularly on the vehicle's
battery.
■
Always make sure that no jewellery, loose clothing or long hair can get
caught in rotating engine parts – there is a risk of death. Always remove
any jewellery, tie back long hair and wear tight fitting clothing before com-
pleting any work.
WARNINGInformation for working on the fuel system or the electrical system■Always disconnect the vehicle battery from the electrical system.■
Do not smoke.
■
Never work near open flames.
■
Always have a functioning fire extinguisher nearby.
WARNING■ Read the information and warning instructions on the fluid containers.■Keep the working fluids in sealed original containers and safe from peo-
ple who are not completely independent, e.g. children.■
Never spill operating fluids over the hot engine - risk of fire.
■
If you wish to work under the vehicle, you must secure the vehicle against
rolling away and support it with suitable axle stands: the car jack is not suf-
ficient for this – there is a risk of injury.
CAUTION
Always top up using the correct specification of fluids. This may result in major
operating problems and also vehicle damage!
For the sake of the environment
In view of the requirements for the environmentally friendly disposal of fluids and the special tools and knowledge required for such work, we recommend
that fluids be changed by a specialist garage.
Note
■ If there is anything you are not sure about concerning fluids, please consult a
specialist garage.■
Fluids with the proper specifications can be purchased from the ŠKODA Origi-
nal Accessories or from the ŠKODA Genuine Parts ranges.
150General Maintenance
Page 180 of 216
Downloaded from www.Manualslib.com manuals search engine The cap must engage firmly.
Removing/installing the towing eye›
Manually screw the towing eye as far as it will go in the direction of the ar-
row
3
» Fig. 181 » .
For tightening purposes, we recommend, for example, using the wheel
wrench, towing eye from another vehicle or a similar object that can be pushed through the eye.
›
Unscrew the towing eye against the direction of the arrow
3
.
WARNINGThe towing eye must always be screwed in fully and firmly tightened, oth-
erwise the towing eye can tear when towing in or tow-starting.
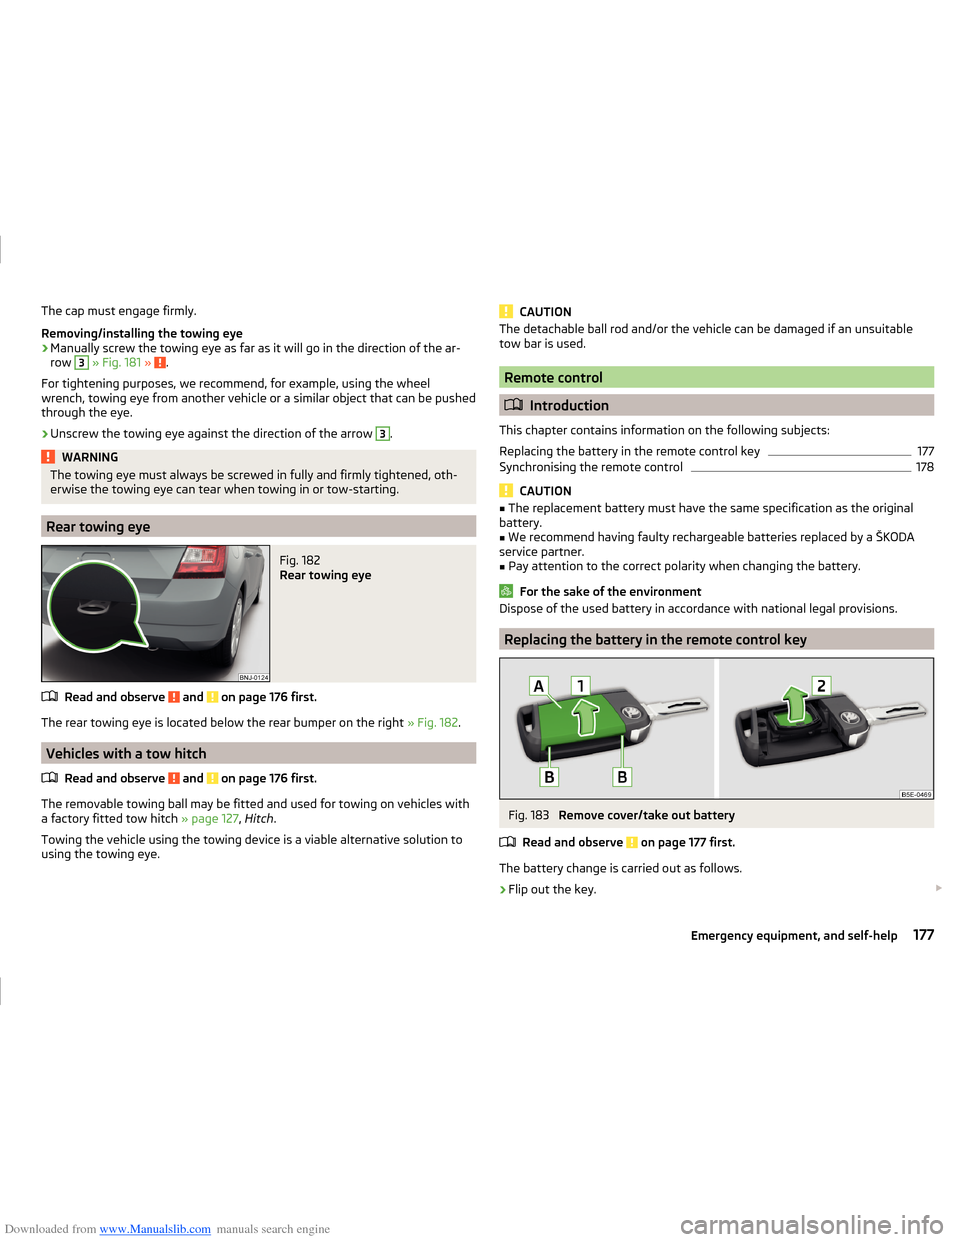
Rear towing eye
Fig. 182
Rear towing eye
Read and observe and on page 176 first.
The rear towing eye is located below the rear bumper on the right » Fig. 182.
Vehicles with a tow hitch
Read and observe
and on page 176 first.
The removable towing ball may be fitted and used for towing on vehicles with
a factory fitted tow hitch » page 127, Hitch .
Towing the vehicle using the towing device is a viable alternative solution to
using the towing eye.
CAUTIONThe detachable ball rod and/or the vehicle can be damaged if an unsuitable
tow bar is used.
Remote control
Introduction
This chapter contains information on the following subjects:
Replacing the battery in the remote control key
177
Synchronising the remote control
178
CAUTION
■ The replacement battery must have the same specification as the original
battery.■
We recommend having faulty rechargeable batteries replaced by a ŠKODA
service partner.
■
Pay attention to the correct polarity when changing the battery.
For the sake of the environment
Dispose of the used battery in accordance with national legal provisions.
Replacing the battery in the remote control key
Fig. 183
Remove cover/take out battery
Read and observe
on page 177 first.
The battery change is carried out as follows.
›
Flip out the key.
177Emergency equipment, and self-help
Page 203 of 216
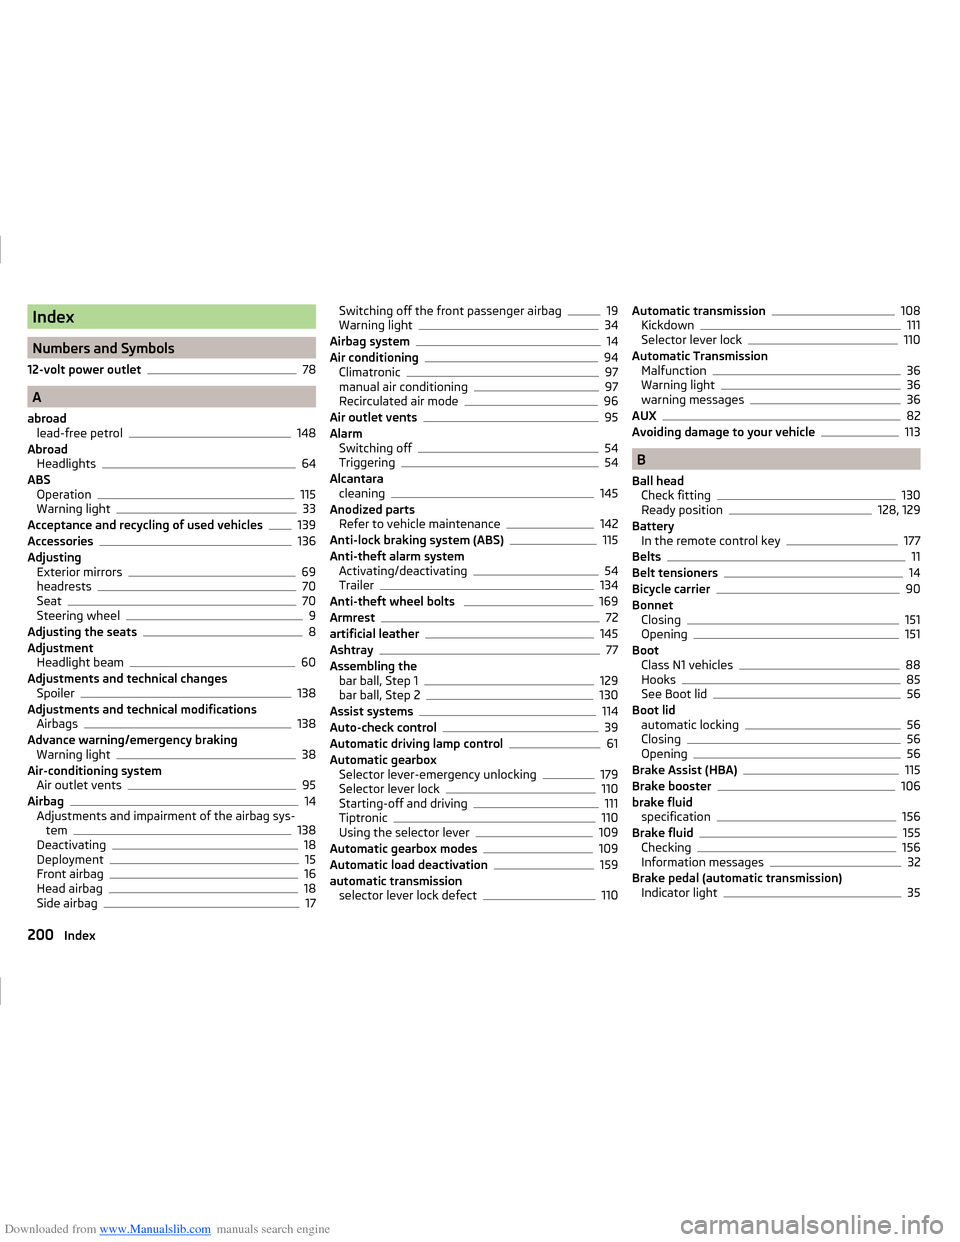
Downloaded from www.Manualslib.com manuals search engine Index
Numbers and Symbols
12-volt power outlet
78
A
abroad lead-free petrol
148
Abroad Headlights
64
ABS Operation
115
Warning light33
Acceptance and recycling of used vehicles139
Accessories136
Adjusting Exterior mirrors
69
headrests70
Seat70
Steering wheel9
Adjusting the seats8
Adjustment Headlight beam
60
Adjustments and technical changes Spoiler
138
Adjustments and technical modifications Airbags
138
Advance warning/emergency braking Warning light
38
Air-conditioning system Air outlet vents
95
Airbag14
Adjustments and impairment of the airbag sys- tem
138
Deactivating18
Deployment15
Front airbag16
Head airbag18
Side airbag17
Switching off the front passenger airbag19
Warning light34
Airbag system14
Air conditioning94
Climatronic97
manual air conditioning97
Recirculated air mode96
Air outlet vents95
Alarm Switching off
54
Triggering54
Alcantara cleaning
145
Anodized parts Refer to vehicle maintenance
142
Anti-lock braking system (ABS)115
Anti-theft alarm system Activating/deactivating
54
Trailer134
Anti-theft wheel bolts 169
Armrest72
artificial leather145
Ashtray77
Assembling the bar ball, Step 1
129
bar ball, Step 2130
Assist systems114
Auto-check control39
Automatic driving lamp control61
Automatic gearbox Selector lever-emergency unlocking
179
Selector lever lock110
Starting-off and driving111
Tiptronic110
Using the selector lever109
Automatic gearbox modes109
Automatic load deactivation159
automatic transmission selector lever lock defect
110
Automatic transmission108
Kickdown111
Selector lever lock110
Automatic Transmission Malfunction
36
Warning light36
warning messages36
AUX82
Avoiding damage to your vehicle113
B
Ball head Check fitting
130
Ready position128, 129
Battery In the remote control key
177
Belts11
Belt tensioners14
Bicycle carrier90
Bonnet Closing
151
Opening151
Boot Class N1 vehicles
88
Hooks85
See Boot lid56
Boot lid automatic locking
56
Closing56
Opening56
Brake Assist (HBA)115
Brake booster106
brake fluid specification
156
Brake fluid155
Checking156
Information messages32
Brake pedal (automatic transmission) Indicator light
35
200Index