door lock SKODA FABIA 2014 3.G / NJ User Guide
[x] Cancel search | Manufacturer: SKODA, Model Year: 2014, Model line: FABIA, Model: SKODA FABIA 2014 3.G / NJPages: 216, PDF Size: 30.7 MB
Page 58 of 216
CAUTIONBefore leaving the vehicle, check that the doors and windows are closed in or-
der to ensure that the alarm system is fully operational.
Note
The working life of the alarm siren is 5 years.
Activating/deactivating
Read and observe
on page 55 first.
Activating
The alarm system is activated automatically approximately 30 seconds after
the vehicle is locked.
If the vehicle is unlocked and a door or the boot lid not opened within the next
45 seconds, the vehicle will lock again automatically and the SafeLock system
or anti-theft alarm system will be switched back on. This function is intended
to prevent the car being unlocked unintentionally.
Deactivating
The alarm system is deactivated automatically after the vehicle is unlocked. If
the vehicle is not opened within 45 seconds, the alarm system is automatically
activated again.
The alarm system is also deactivated if you unlock the driver door using the
key within 45 seconds of locking the vehicle.
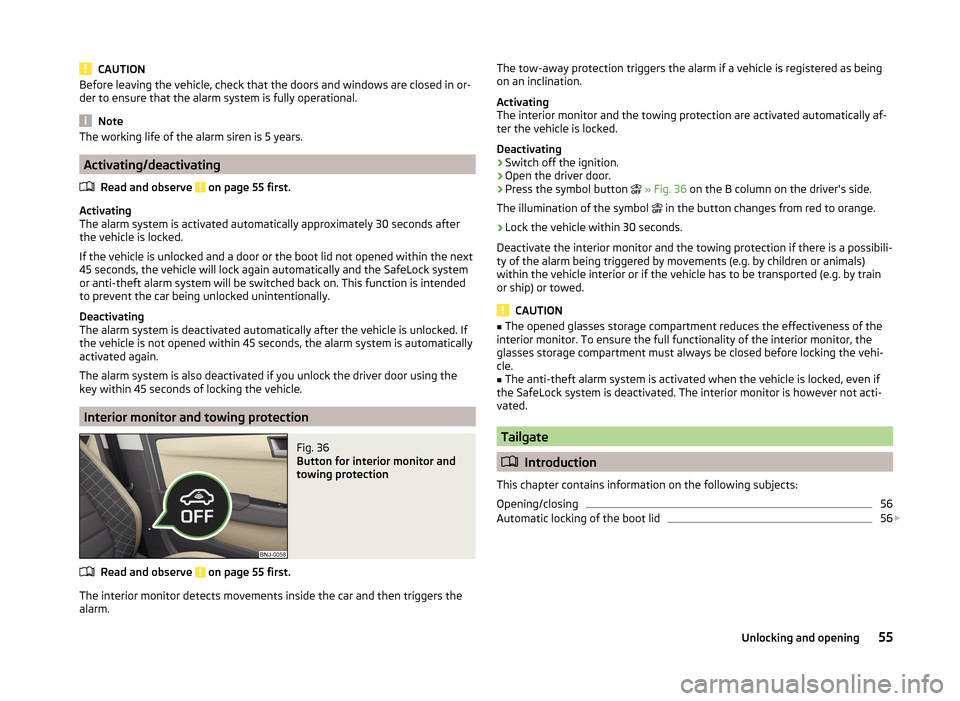
Interior monitor and towing protection
Fig. 36
Button for interior monitor and
towing protection
Read and observe on page 55 first.
The interior monitor detects movements inside the car and then triggers the
alarm.
The tow-away protection triggers the alarm if a vehicle is registered as being
on an inclination.
Activating
The interior monitor and the towing protection are activated automatically af-
ter the vehicle is locked.
Deactivating›
Switch off the ignition.
›
Open the driver door.
›
Press the symbol button
» Fig. 36 on the B column on the driver's side.
The illumination of the symbol
in the button changes from red to orange.
›
Lock the vehicle within 30 seconds.
Deactivate the interior monitor and the towing protection if there is a possibili-
ty of the alarm being triggered by movements (e.g. by children or animals)
within the vehicle interior or if the vehicle has to be transported (e.g. by train
or ship) or towed.
CAUTION
■ The opened glasses storage compartment reduces the effectiveness of the
interior monitor. To ensure the full functionality of the interior monitor, the
glasses storage compartment must always be closed before locking the vehi-
cle.■
The anti-theft alarm system is activated when the vehicle is locked, even if
the SafeLock system is deactivated. The interior monitor is however not acti-
vated.
Tailgate
Introduction
This chapter contains information on the following subjects:
Opening/closing
56
Automatic locking of the boot lid
56
55Unlocking and opening
Page 59 of 216
WARNING■Ensure that the lock is properly engaged after closing the boot lid. Other-
wise, the lid might open suddenly while the vehicle is moving, even if the
lid was locked – risk of accident!■
Never drive with the tailgate fully opened or slightly ajar otherwise ex-
haust gases may get into the interior of the vehicle – risk of poisoning.
■
Do not press on the rear window when closing the tailgate, as otherwise
this could crack – risk of injury.
■
Make sure that when closing the boot lid, no body parts are crushed -
there is danger of injury!
Note
The function of the button in the grip above the licence plate is deactivated
when starting off or at a speed of 5 km/hour or more for vehicles with central
locking. The function is restored after the vehicle stops and the door is
opened.
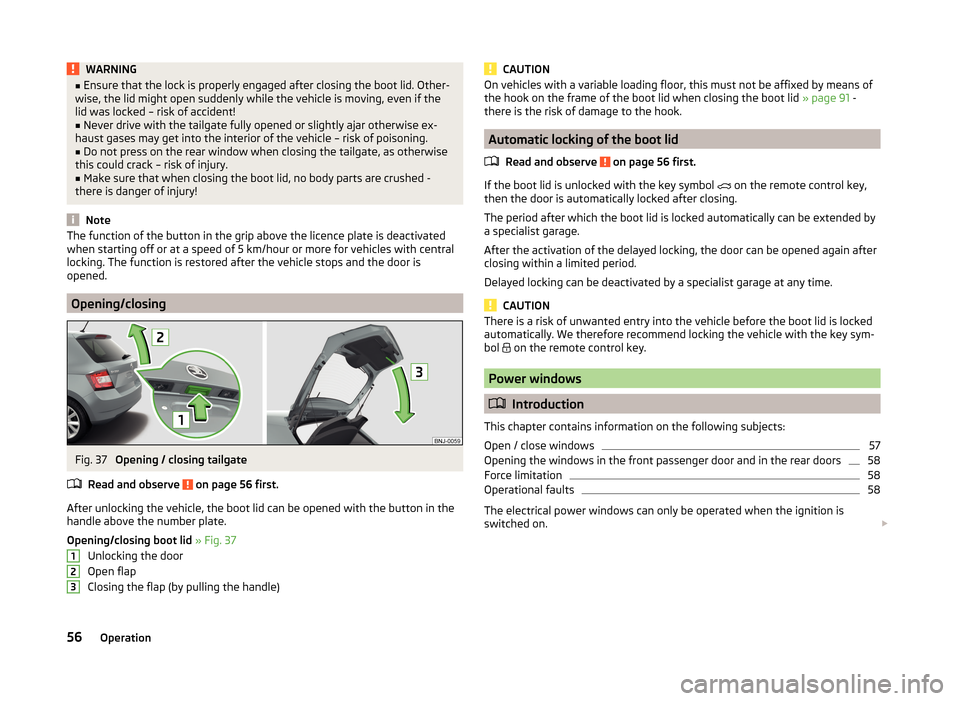
Opening/closing
Fig. 37
Opening / closing tailgate
Read and observe
on page 56 first.
After unlocking the vehicle, the boot lid can be opened with the button in the
handle above the number plate.
Opening/closing boot lid » Fig. 37
Unlocking the door
Open flap
Closing the flap (by pulling the handle)
123CAUTIONOn vehicles with a variable loading floor, this must not be affixed by means of
the hook on the frame of the boot lid when closing the boot lid » page 91 -
there is the risk of damage to the hook.
Automatic locking of the boot lid
Read and observe
on page 56 first.
If the boot lid is unlocked with the key symbol on the remote control key,
then the door is automatically locked after closing.
The period after which the boot lid is locked automatically can be extended by
a specialist garage.
After the activation of the delayed locking, the door can be opened again after
closing within a limited period.
Delayed locking can be deactivated by a specialist garage at any time.
CAUTION
There is a risk of unwanted entry into the vehicle before the boot lid is locked
automatically. We therefore recommend locking the vehicle with the key sym-
bol
on the remote control key.
Power windows
Introduction
This chapter contains information on the following subjects:
Open / close windows
57
Opening the windows in the front passenger door and in the rear doors
58
Force limitation
58
Operational faults
58
The electrical power windows can only be operated when the ignition is
switched on.
56Operation
Page 60 of 216
WARNINGPower windows in the driver's door and the rear doors are equipped with a
force limiter (only applies to the Variant 2 ) » page 58 . If there is an obsta-
cle, the closing process is stopped and the window goes down by several
centimetres. The windows should nevertheless be closed carefully – risk of
injury.
CAUTION
■ Keep the windows clean to ensure the correct functionality of the electric
windows.■
In the event that the windows are frozen, first of all eliminate the ice
» page 143 , Windows and external mirrors and only then operate the electrical
power windows. Otherwise, the window sealing and the electrical power win-
dow mechanism could be damaged.
■
In the winter, ice on the window may cause greater resistance as the win-
dow is closed. The window will stop and open again by several centimetres. It
is necessary to deactivate the force limiter to close the window » page 58.
■
Always make sure that the windows are closed when you leave the locked
vehicle.
■
Always close the windows before disconnecting the battery » page 58,
Force limitation .
■
The window lift mechanism is equipped with protection against overheater.
Repeated opening and closing of the window can cause this mechanism to
overheat. If this happens, it will not be possible to operate the window for a
short time. You will be able to operate the window again as soon as the over-
heater protection has cooled down.
For the sake of the environment
At high speeds you should keep the windows closed to prevent unnecessarily high fuel consumption.
Note
When driving always use the existing heater, air conditioning and ventilation
system for ventilating the interior of the vehicle. With the windows open, dust
and other dirt can get into the vehicle. In addition, wind noises can occur at
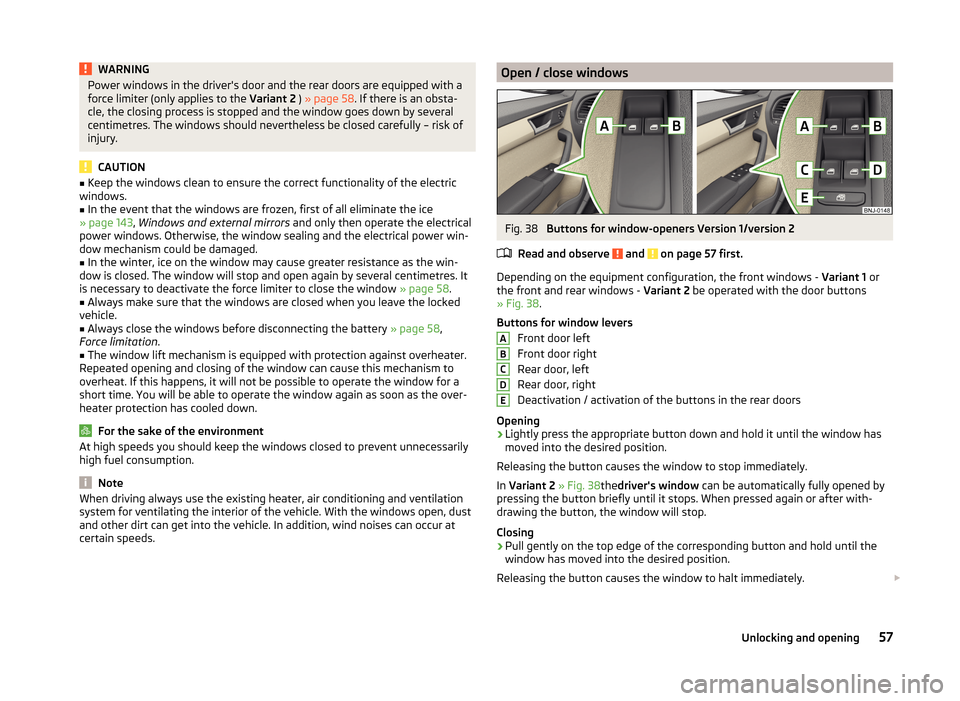
certain speeds.Open / close windowsFig. 38
Buttons for window-openers Version 1/version 2
Read and observe
and on page 57 first.
Depending on the equipment configuration, the front windows - Variant 1 or
the front and rear windows - Variant 2 be operated with the door buttons
» Fig. 38 .
Buttons for window levers Front door left
Front door right
Rear door, left
Rear door, right
Deactivation / activation of the buttons in the rear doors
Opening
›
Lightly press the appropriate button down and hold it until the window has
moved into the desired position.
Releasing the button causes the window to stop immediately.
In Variant 2 » Fig. 38thedriver's window can be automatically fully opened by
pressing the button briefly until it stops. When pressed again or after with-
drawing the button, the window will stop.
Closing
›
Pull gently on the top edge of the corresponding button and hold until the
window has moved into the desired position.
Releasing the button causes the window to halt immediately.
ABCDE57Unlocking and opening
Page 62 of 216
›Pull the relevant button upwards again for approx. 1 seconds, and keep it
pressed down.
Mechanical windows
Introduction
This chapter contains information on the following subjects:
Opening / closing windows
59
The window can be operated mechanically by the winder attached to the re-
spective door panel.
WARNINGThe windows should be closed carefully – risk of injury!
CAUTION
■ In the event that the windows are frozen, first of all eliminate the ice
» page 143 , Windows and external mirrors and only then operate the electri-
cal power windows. Otherwise, the window sealing and the electrical power
window mechanism could be damaged.■
Always make sure that the windows are closed when you leave the locked
vehicle.
For the sake of the environment
At high speeds, you should keep the windows closed to prevent unnecessarily high fuel consumption.
Note
When driving always use the existing heater, air conditioning and ventilation
system for ventilating the interior of the vehicle. If the windows are opened,
dust as well as other dirt can get into the vehicle and in addition the wind
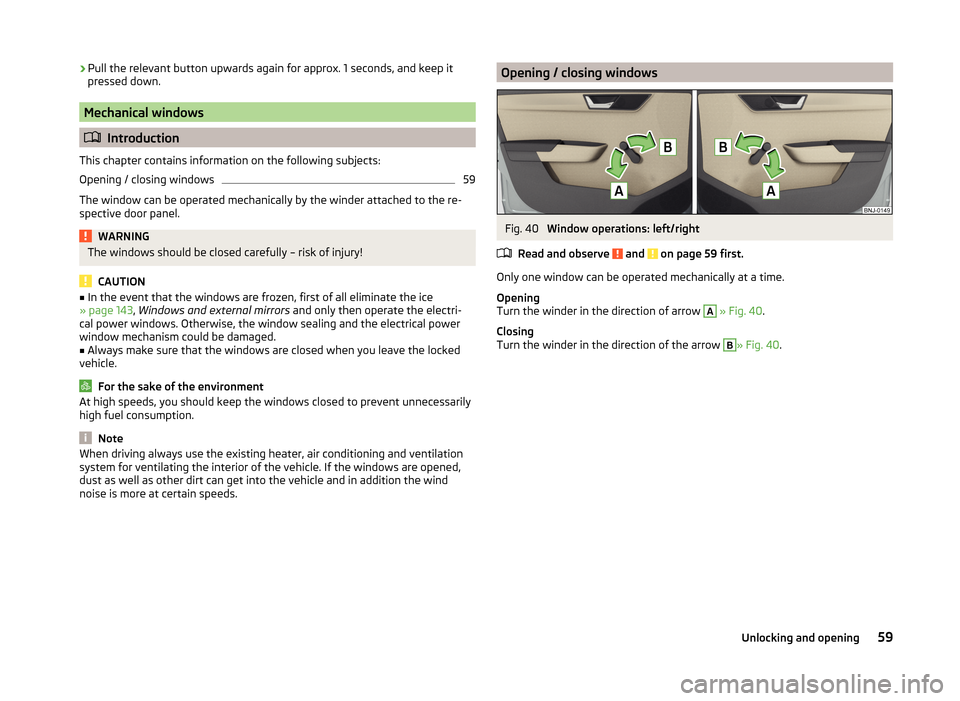
noise is more at certain speeds.Opening / closing windowsFig. 40
Window operations: left/right
Read and observe
and on page 59 first.
Only one window can be operated mechanically at a time.
Opening
Turn the winder in the direction of arrow
A
» Fig. 40 .
Closing
Turn the winder in the direction of the arrow
B
» Fig. 40 .
59Unlocking and opening
Page 67 of 216
LEAVING HOME (hereinafter referred to only as function) switches the light au-
tomatically for a short time when approaching the vehicle.
The daytime running lights are switched on automatically if the following
conditions are met.
The light switch is in position
» Fig. 43 on page 62 .
The visibility in the vehicle environment is reduced.
The ignition is switched off.
The parking aid is activated.
The function is switched on (the driver's door is opened / the car is un-
locked with the remote control).
The function switches on the following light. › Parking lights
› Low beam
› Licence plate light
Poorer visibility is detected by a sensor mounted in the holder of the inside
mirror or in the control panel .
Enabling / disabling and setting function
The functions and setting of the lighting duration can be activated or deactiva-
ted in the Infotainment system » Operating instructions for Infotainment ,
chapter Vehicle settings (button CAR) .
COMING HOME
The light turns on automatically when you open the driver's door on (within 60
seconds of turning off the ignition).
The light turns off 10 seconds after closing all the doors and the boot lid or af-
ter the pre-set time has expired.
If a door or the boot lid remains open, the light goes out after 60 seconds.
LEAVING HOME
The light turns on automatically after the vehicle is unlocked with the remote
control.
The light turns off after 10 seconds or after a pre-set time or after the vehicle
is locked.CAUTION■ Do not attach any stickers or similar objects in front of the light sensor on
the windscreen. This can impair its function or reliability.■
If this function is activated constantly, the battery will be heavily discharged
particularly in short-haul travel.
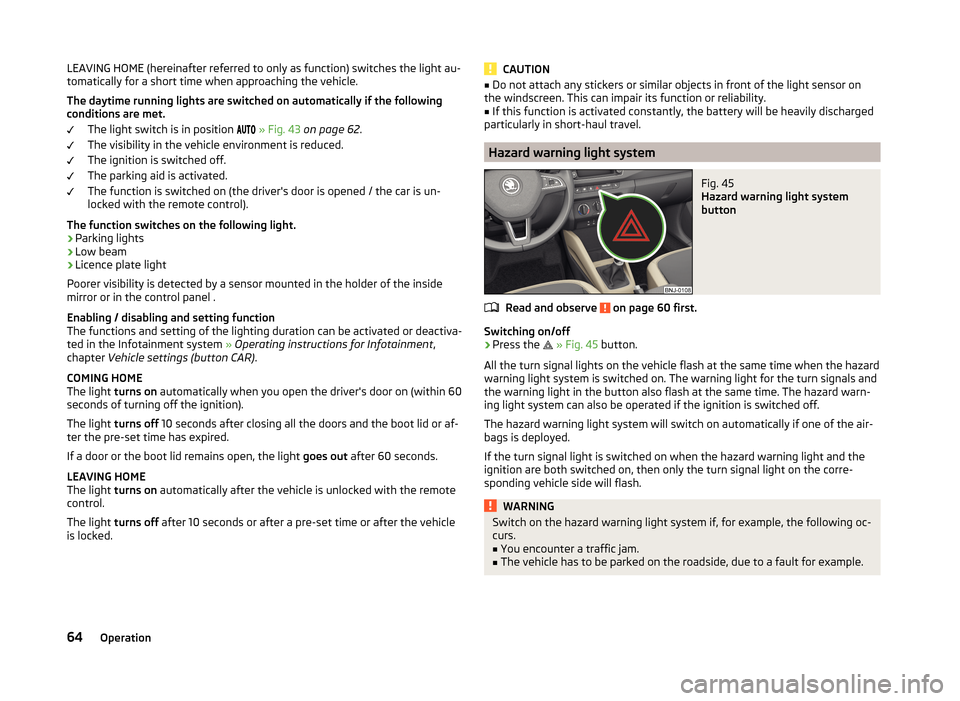
Hazard warning light system
Fig. 45
Hazard warning light system
button
Read and observe on page 60 first.
Switching on/off
›
Press the
» Fig. 45 button.
All the turn signal lights on the vehicle flash at the same time when the hazard
warning light system is switched on. The warning light for the turn signals and
the warning light in the button also flash at the same time. The hazard warn-
ing light system can also be operated if the ignition is switched off.
The hazard warning light system will switch on automatically if one of the air-
bags is deployed.
If the turn signal light is switched on when the hazard warning light and the
ignition are both switched on, then only the turn signal light on the corre-
sponding vehicle side will flash.
WARNINGSwitch on the hazard warning light system if, for example, the following oc-
curs.■
You encounter a traffic jam.
■
The vehicle has to be parked on the roadside, due to a fault for example.
64Operation
Page 68 of 216
Parking lightsRead and observe
on page 60 first.
The parking light is designed for temporary lighting of the parked vehicle.
Switching on
the parking light
›
Switch off the ignition.
›
Place the control lever into position
A
or
B
as far as it can go » Fig. 42 on
page 62 - the parking light on the right/left-hand side of the vehicle is
switched on.
If the right or left turn signal light has been switched on and the ignition is
switched off, the parking light is not automatically switched on.
Switching on the parking lights on both sides
›
Turn the light switch
A
to position
» Fig. 41 on page 60 and lock the vehi-
cle.
After pulling out the ignition key and opening the driver's door, an audible
warning sounds. After a few seconds or after closing the driver's door, the au-
dible alarm is turned off, but the parking lights will remain switched on.
CAUTION
Turning on the parking light means the battery is heavily loaded, especially
over short distances.
Driving abroad
Read and observe
on page 60 first.
The low beam is set asymmetrically. It illuminates the side of the road on
which the vehicle is being driven to a greater extent.
When driving in countries with opposing traffic system (traffic on the left/
right), asymmetric headlight adjustment can dazzle oncoming traffic. To pre-
vent oncoming traffic from being dazzled, the headlights must be adjusted by
a specialist garage.
Note
For more information on adjusting the headlights, consult a specialist garage.Interior lights
Introduction
This chapter contains information on the following subjects:
Front interior light
65
Rear interior light
66
Note
The light turns off automatically 10 minutes after switching off the ignition or
opening a door unless otherwise specified
Front interior light
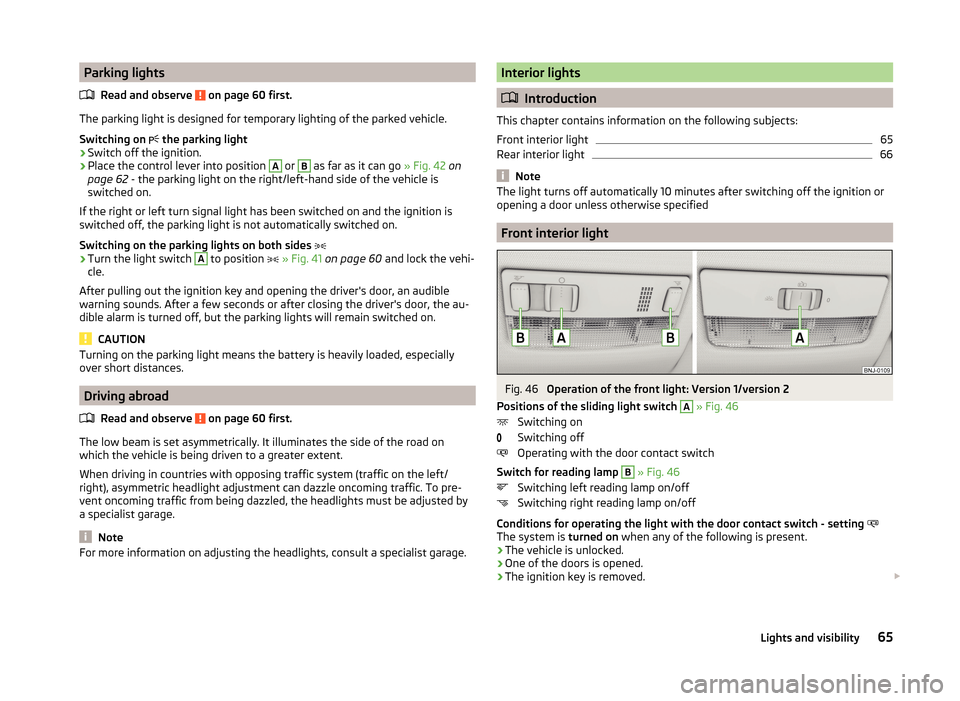
Fig. 46
Operation of the front light: Version 1/version 2
Positions of the sliding light switch
A
» Fig. 46
Switching on
Switching off
Operating with the door contact switch
Switch for reading lamp
B
» Fig. 46
Switching left reading lamp on/off
Switching right reading lamp on/off
Conditions for operating the light with the door contact switch - setting
The system is turned on when any of the following is present.
› The vehicle is unlocked.
› One of the doors is opened.
› The ignition key is removed.
65Lights and visibility
Page 69 of 216
The system is turned off when any of the following is present.
› The vehicle is locked.
› The ignition is switched on.
› About 30 seconds after all the doors have been closed.
Rear interior light
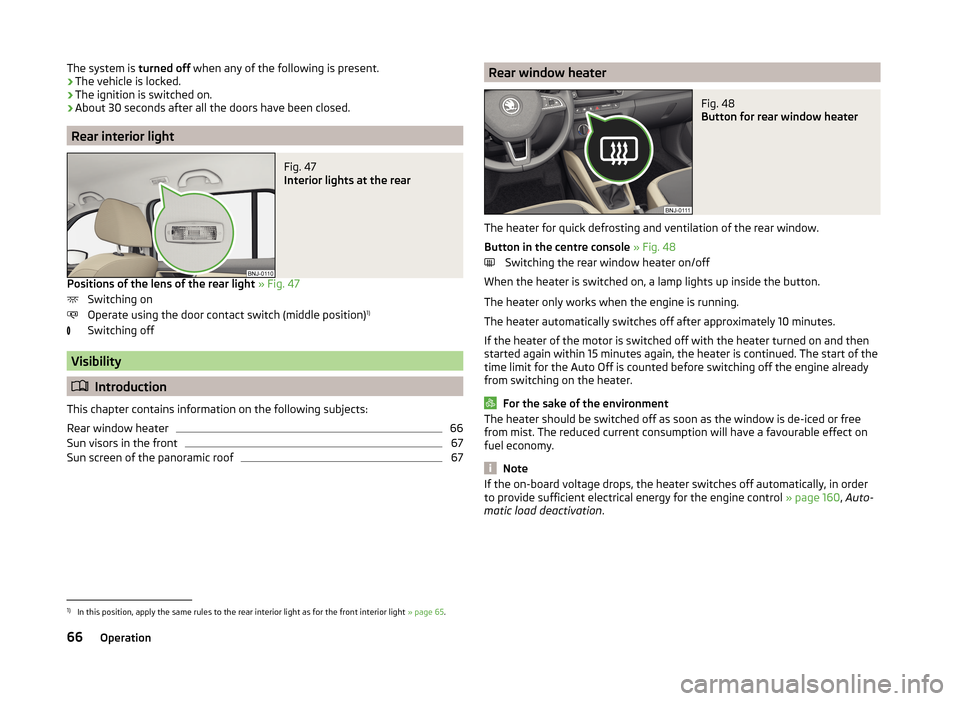
Fig. 47
Interior lights at the rear
Positions of the lens of the rear light
» Fig. 47
Switching on
Operate using the door contact switch (middle position) 1)
Switching off
Visibility
Introduction
This chapter contains information on the following subjects:
Rear window heater
66
Sun visors in the front
67
Sun screen of the panoramic roof
67Rear window heaterFig. 48
Button for rear window heater
The heater for quick defrosting and ventilation of the rear window.
Button in the centre console » Fig. 48
Switching the rear window heater on/off
When the heater is switched on, a lamp lights up inside the button.
The heater only works when the engine is running.
The heater automatically switches off after approximately 10 minutes.
If the heater of the motor is switched off with the heater turned on and then
started again within 15 minutes again, the heater is continued. The start of the
time limit for the Auto Off is counted before switching off the engine already
from switching on the heater.
For the sake of the environment
The heater should be switched off as soon as the window is de-iced or free
from mist. The reduced current consumption will have a favourable effect on
fuel economy.
Note
If the on-board voltage drops, the heater switches off automatically, in order
to provide sufficient electrical energy for the engine control » page 160, Auto-
matic load deactivation .1)
In this position, apply the same rules to the rear interior light as for the front interior light » page 65.
66Operation
Page 108 of 216
Start or stop the engine by pressing button
Introduction
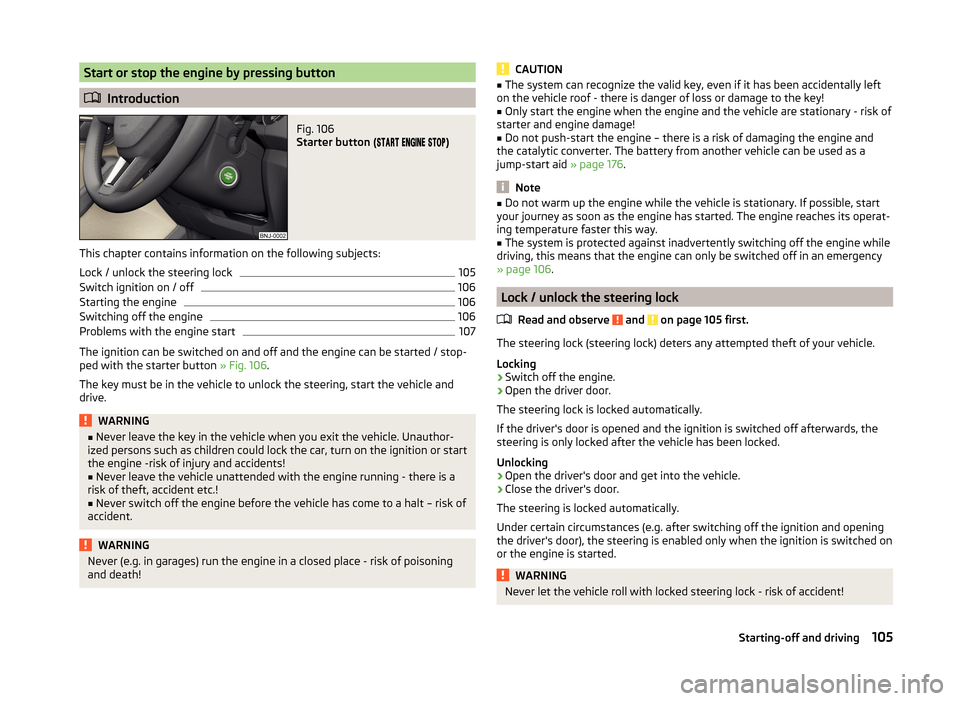
Fig. 106
Starter button (
)
This chapter contains information on the following subjects:
Lock / unlock the steering lock
105
Switch ignition on / off
106
Starting the engine
106
Switching off the engine
106
Problems with the engine start
107
The ignition can be switched on and off and the engine can be started / stop-
ped with the starter button » Fig. 106.
The key must be in the vehicle to unlock the steering, start the vehicle and
drive.
WARNING■ Never leave the key in the vehicle when you exit the vehicle. Unauthor-
ized persons such as children could lock the car, turn on the ignition or start
the engine -risk of injury and accidents!■
Never leave the vehicle unattended with the engine running - there is a
risk of theft, accident etc.!
■
Never switch off the engine before the vehicle has come to a halt – risk of
accident.
WARNINGNever (e.g. in garages) run the engine in a closed place - risk of poisoning
and death!CAUTION■ The system can recognize the valid key, even if it has been accidentally left
on the vehicle roof - there is danger of loss or damage to the key!■
Only start the engine when the engine and the vehicle are stationary - risk of
starter and engine damage!
■
Do not push-start the engine – there is a risk of damaging the engine and
the catalytic converter. The battery from another vehicle can be used as a
jump-start aid » page 176.
Note
■
Do not warm up the engine while the vehicle is stationary. If possible, start
your journey as soon as the engine has started. The engine reaches its operat-
ing temperature faster this way.■
The system is protected against inadvertently switching off the engine while
driving, this means that the engine can only be switched off in an emergency
» page 106 .
Lock / unlock the steering lock
Read and observe
and on page 105 first.
The steering lock (steering lock) deters any attempted theft of your vehicle.
Locking
›
Switch off the engine.
›
Open the driver door.
The steering lock is locked automatically.
If the driver's door is opened and the ignition is switched off afterwards, the
steering is only locked after the vehicle has been locked.
Unlocking
›
Open the driver's door and get into the vehicle.
›
Close the driver's door.
The steering is locked automatically.
Under certain circumstances (e.g. after switching off the ignition and opening
the driver's door), the steering is enabled only when the ignition is switched on
or the engine is started.
WARNINGNever let the vehicle roll with locked steering lock - risk of accident!105Starting-off and driving
Page 109 of 216
Switch ignition on / offRead and observe
and on page 105 first.
›
Press the button » Fig. 106 on page 105 briefly.
The ignition is switched on or off.
On vehicles fitted with a manual transmission, the clutch pedal must not be
depressed while switching the ignition on or off, otherwise the system would
try to start.
On vehicles fitted with a automatic transmission, the brake pedal must not be
depressed while switching the ignition on or off, otherwise the system would
try to start.
If the driver's door is opened while the ignition is on, an audible signal sounds
and the following message appears in the instrument cluster display.
Ignition on!
IGNITION STILL ON
When leaving the vehicle always switch off the ignition.
Starting the engine
Read and observe
and on page 105 first.
Procedure for starting the engine
›
Firmly apply the handbrake.
›
For vehicles with manual transmission , shift gear stick to neutral, depress
the clutch pedal and hold it there until the engine starts.
›
On vehicles with automatic transmission , place the selector lever in position
P or N and depress the brake pedal until the engine starts.
›
Press the starter button » Fig. 106 on page 105 briefly – the engine starts au-
tomatically.
In vehicles with diesel engines the glow plug warning light
lights up after
pressing the button. The engine can be started after the indicator light goes
out.
Note
■ The engine running noises may louder at first be louder for a short time after
starting the cold engine. This is quite normal and is not an operating problem.■
You should not switch on any major electrical components during the heat-
ing period otherwise the vehicle battery will be drained unnecessarily.
Switching off the engine
Read and observe
and on page 105 first.
Switching off
›
Stop the vehicle » page 109, Parking .
›
Press the button » Fig. 106 on page 105 briefly.
The engine and the ignition are switched off simultaneously.
Emergency shutdown
If necessary and in exceptional cases, the engine may even be turned off while driving.
›
Press the starter button » Fig. 106 on page 105 for longer than 1 second or
twice within 1 second.
After the emergency stop of the engine, the steering lock will remain un-
locked.
CAUTION
Do not switch the engine off immediately at the end of your journey after the
engine has been operated over a prolonged period at high loads but leave it to
run at an idling speed for about 1 minute. This prevents any possible accumula-
tion of heat when the engine is switched off.
Note
The radiator fan can intermittently continue to run for approximately 10 mi-
nutes after the ignition has been switched off.106Driving
Page 113 of 216

CAUTION■If not in the process of changing gear, do not leave your hand on the gear-
shift lever while driving. The pressure from the hand can cause the gearshift
mechanism to wear excessively.■
When stopping on a slope, never try to keep the vehicle in position by using
the accelerator pedal – this may lead to damage of clutch parts.
Pedals
The operation of the pedals must not be hindered under any circumstances!
In the driver's foot well, only a foot mat, which is attached to the two corre-
sponding attachment points, may be used.
Only use factory-supplied foot mats or foot mats from the range of
ŠKODAOriginal Accessories, which are fitted to two the two required attach-
ment points.
WARNINGNo objects are allowed in the driver's footwell – there is a risk of obstruct-
ing or restriction pedal operation.
Automatic transmission
Introduction
This chapter contains information on the following subjects:
Modes and use of selector lever
111
Selector lever lock
111
Manual gear shifting (Tiptronic)
112
Starting-off and driving
112
The automatic transmission performs automatic gear changes.
The modes for the automatic transmission can be adjusted by the driver by
means of the selector lever.
WARNING■ Never accelerate when the mode for moving forward is set with the se-
lector lever - there is a risk of accident!■
Never shift the selector lever to R or P modes when driving – there is a
risk of an accident.
■
The vehicle must be held on the brake pedal in D, S or R modes if the ve-
hicle is halted and the engine is running. Even when the engine is idling,
power transmission is never completely interrupted – the vehicle will creep.
■
When leaving the vehicle, the selector lever is always to be put in the P
mode. Otherwise the vehicle could then start to move and potentially cause
an accident.
CAUTION
■ If the selector lever is moved to mode N while driving, the accelerator pedal
must be released and you will need to wait until the engine has reached its
idling speed before moving the selector lever to a forward driving mode again.■
When the outdoor temperature is below -10 ° C, the selector lever, when
starting, must always be in P mode.
■
When stopping on a slope, never try to keep the vehicle in position by using
the accelerator pedal – this may lead to gear damage.
Note
After the ignition is switched off, the ignition key can only be withdrawn if the
selector lever is in the position P (valid only for certain countries).110Driving