tire pressure SKODA FABIA 2016 3.G / NJ Owner's Manual
[x] Cancel search | Manufacturer: SKODA, Model Year: 2016, Model line: FABIA, Model: SKODA FABIA 2016 3.G / NJPages: 196, PDF Size: 31.86 MB
Page 119 of 196

If none of these conditions are met or if the driving style is not changed, the
system recommends a driving break again after 15 minutes.
The system can be activated/deactivated in the Infotainment » Owner's Man-
ual Infotainment .
Pause recommendation
The icon appears and the following message for a few seconds in the display
of the instrument cluster and a message about the detected fatigue. An au-
dible signal is also emitted.WARNING■ The general information relating to the use of assistance systems must
be observed » page 100, in section Introduction .■
For the driving ability is always the driver's responsibility. Never drive if
you feel tired.
■
The system may not detect all cases where a break is needed.
■
Therefore, take regular, sufficient breaks during long trips.
■
There will be no system warning during the so-called micro-sleep.
Note
■ In some situations, the system may evaluate the driving incorrectly and thus
mistakenly recommend a break (e.g. sporty driving, adverse weather condi-
tions or poor road conditions).■
The system is designed primarily for use on motorways.
Tyre pressure monitoring
Introduction
This chapter contains information on the following subjects:
Storing the tyre pressure values
117
Storing the tyre pressure values and Infotainment display
118
Storing the tire pressure values using the key
118
The tyre pressure monitoring function (hereinafter known as "system") moni-
tors the tyre pressure while driving.
If the tyre inflation pressure changes, the warning light
lights up in the in-
strument cluster and an audible signal sounds » page 32,
Tyre pressure .
The system can only function properly if the tyres have the prescribed tyre
pressure and this pressure values are stored in the system.
WARNING■ The general information relating to the use of assistance systems must
be observed » page 100, in section Introduction .■
The correct tyre pressure values is always the driver's responsibility. The
tyre pressure should be checked regularly » page 146.
■
The system cannot warn in case of very rapid loss of tyre pressure, e.g. in
the event of a sudden puncture.
Storing the tyre pressure values
Read and observe
on page 117 first.
The tyre pressure valuesare always stored in the system, if one of the fol-lowing events is present.▶ Change of tyre pressure values.
▶ Change one or more wheels.
▶ Change in position of a wheel on the vehicle.
▶ The warning light in the instrument cluster.
The storage of the tyre pressure values depends on equipment, either in the
infotainment or by pressing a button.
WARNINGBefore storing the tyre pressures they must be inflated to the specified in-
flation pressure » page 146. If incorrect pressure values are storedthe sys-
tem may not warn even with a tyre pressure that is too low.
CAUTION
The tyre pressure values should be stored every 10 000 km or once a year to
ensure proper system function.117Assist systems
Page 120 of 196

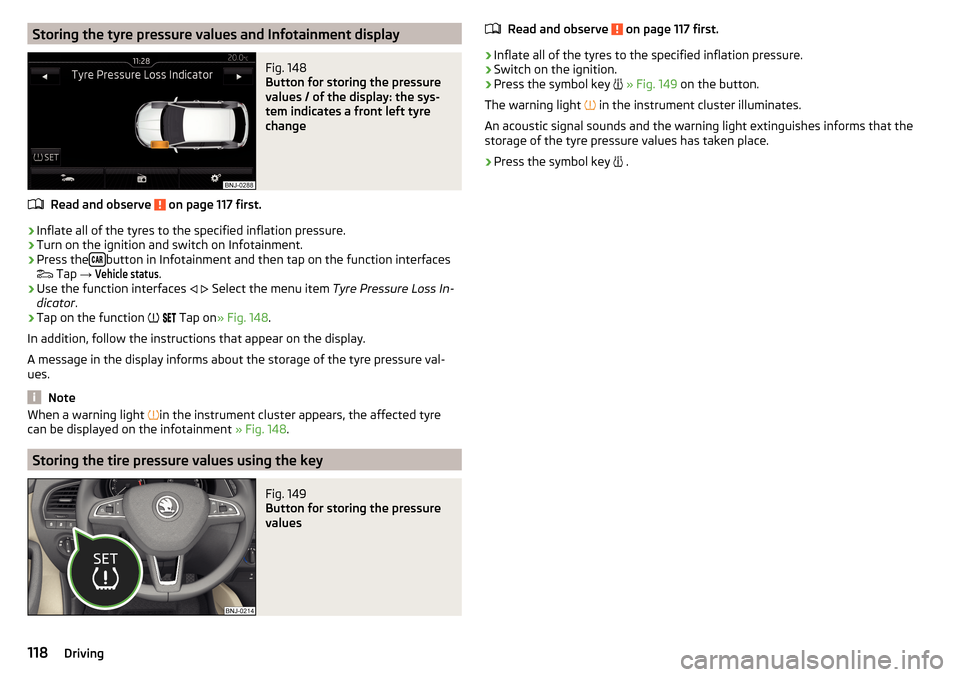
Storing the tyre pressure values and Infotainment displayFig. 148
Button for storing the pressure
values / of the display: the sys-
tem indicates a front left tyre
change
Read and observe on page 117 first.
›
Inflate all of the tyres to the specified inflation pressure.
›
Turn on the ignition and switch on Infotainment.
›
Press the button in Infotainment and then tap on the function interfaces
Tap
→
Vehicle status
.
›
Use the function interfaces
Select the menu item
Tyre Pressure Loss In-
dicator .
›
Tap on the function
Tap on
» Fig. 148 .
In addition, follow the instructions that appear on the display.
A message in the display informs about the storage of the tyre pressure val-
ues.
Note
When a warning light in the instrument cluster appears, the affected tyre
can be displayed on the infotainment » Fig. 148.
Storing the tire pressure values using the key
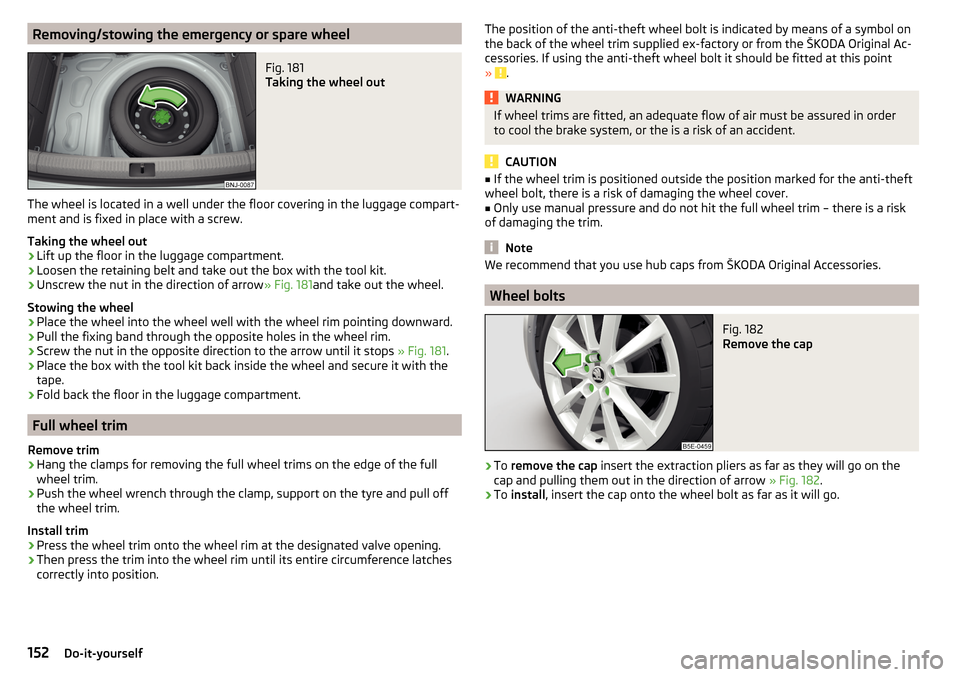
Fig. 149
Button for storing the pressure
values
Read and observe on page 117 first.›
Inflate all of the tyres to the specified inflation pressure.
›
Switch on the ignition.
›
Press the symbol key
» Fig. 149 on the button.
The warning light
in the instrument cluster illuminates.
An acoustic signal sounds and the warning light extinguishes informs that the
storage of the tyre pressure values has taken place.
›
Press the symbol key
.
118Driving
Page 154 of 196

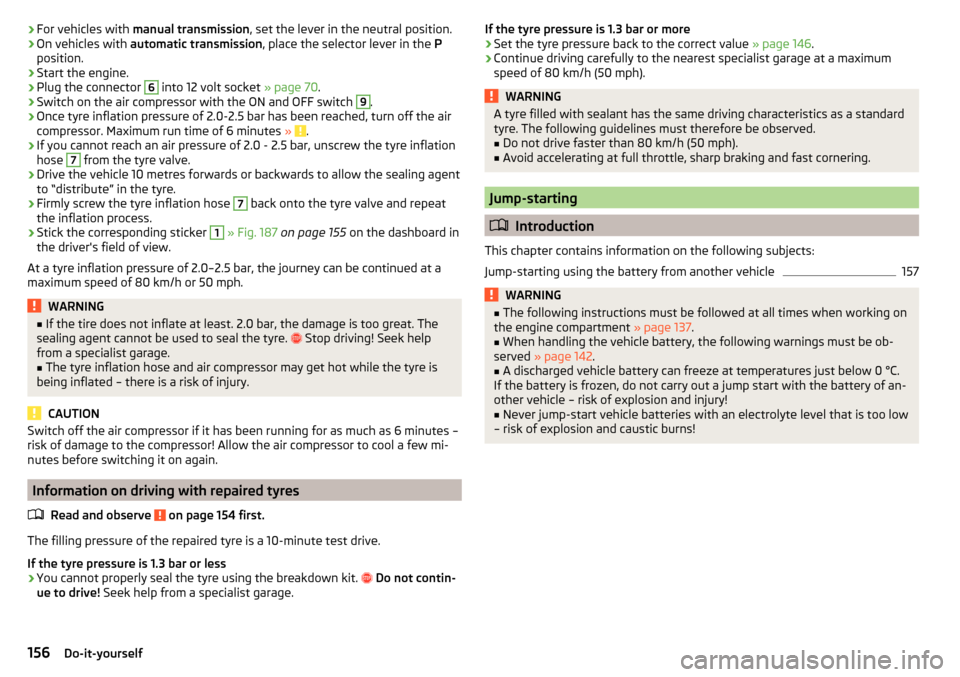
Removing/stowing the emergency or spare wheelFig. 181
Taking the wheel out
The wheel is located in a well under the floor covering in the luggage compart-
ment and is fixed in place with a screw.
Taking the wheel out
›
Lift up the floor in the luggage compartment.
›
Loosen the retaining belt and take out the box with the tool kit.
›
Unscrew the nut in the direction of arrow » Fig. 181and take out the wheel.
Stowing the wheel
›
Place the wheel into the wheel well with the wheel rim pointing downward.
›
Pull the fixing band through the opposite holes in the wheel rim.
›
Screw the nut in the opposite direction to the arrow until it stops » Fig. 181.
›
Place the box with the tool kit back inside the wheel and secure it with the
tape.
›
Fold back the floor in the luggage compartment.
Full wheel trim
Remove trim
›
Hang the clamps for removing the full wheel trims on the edge of the full
wheel trim.
›
Push the wheel wrench through the clamp, support on the tyre and pull off
the wheel trim.
Install trim
›
Press the wheel trim onto the wheel rim at the designated valve opening.
›
Then press the trim into the wheel rim until its entire circumference latches
correctly into position.
The position of the anti-theft wheel bolt is indicated by means of a symbol on
the back of the wheel trim supplied ex-factory or from the ŠKODA Original Ac-
cessories. If using the anti-theft wheel bolt it should be fitted at this point
»
.
WARNINGIf wheel trims are fitted, an adequate flow of air must be assured in order
to cool the brake system, or the is a risk of an accident.
CAUTION
■ If the wheel trim is positioned outside the position marked for the anti-theft
wheel bolt, there is a risk of damaging the wheel cover.■
Only use manual pressure and do not hit the full wheel trim – there is a risk
of damaging the trim.
Note
We recommend that you use hub caps from ŠKODA Original Accessories.
Wheel bolts
Fig. 182
Remove the cap
›
To remove the cap insert the extraction pliers as far as they will go on the
cap and pulling them out in the direction of arrow » Fig. 182.
›
To install , insert the cap onto the wheel bolt as far as it will go.
152Do-it-yourself
Page 158 of 196

›For vehicles with
manual transmission , set the lever in the neutral position.›On vehicles with automatic transmission , place the selector lever in the P
position.›
Start the engine.
›
Plug the connector
6
into 12 volt socket » page 70.
›
Switch on the air compressor with the ON and OFF switch
9
.
›
Once tyre inflation pressure of 2.0-2.5 bar has been reached, turn off the air
compressor. Maximum run time of 6 minutes » .
›
If you cannot reach an air pressure of 2.0 - 2.5 bar, unscrew the tyre inflation
hose
7
from the tyre valve.
›
Drive the vehicle 10 metres forwards or backwards to allow the sealing agent
to “distribute” in the tyre.
›
Firmly screw the tyre inflation hose
7
back onto the tyre valve and repeat
the inflation process.
›
Stick the corresponding sticker
1
» Fig. 187 on page 155 on the dashboard in
the driver's field of view.
At a tyre inflation pressure of 2.0–2.5 bar, the journey can be continued at a maximum speed of 80 km/h or 50 mph.
WARNING■ If the tire does not inflate at least. 2.0 bar, the damage is too great. The
sealing agent cannot be used to seal the tyre. Stop driving! Seek help
from a specialist garage.■
The tyre inflation hose and air compressor may get hot while the tyre is
being inflated – there is a risk of injury.
CAUTION
Switch off the air compressor if it has been running for as much as 6 minutes –
risk of damage to the compressor! Allow the air compressor to cool a few mi-
nutes before switching it on again.
Information on driving with repaired tyres
Read and observe
on page 154 first.
The filling pressure of the repaired tyre is a 10-minute test drive.
If the tyre pressure is 1.3 bar or less
›
You cannot properly seal the tyre using the breakdown kit.
Do not contin-
ue to drive! Seek help from a specialist garage.
If the tyre pressure is 1.3 bar or more›Set the tyre pressure back to the correct value » page 146.›
Continue driving carefully to the nearest specialist garage at a maximum
speed of 80 km/h (50 mph).
WARNINGA tyre filled with sealant has the same driving characteristics as a standard
tyre. The following guidelines must therefore be observed.■
Do not drive faster than 80 km/h (50 mph).
■
Avoid accelerating at full throttle, sharp braking and fast cornering.
Jump-starting
Introduction
This chapter contains information on the following subjects:
Jump-starting using the battery from another vehicle
157WARNING■ The following instructions must be followed at all times when working on
the engine compartment » page 137.■
When handling the vehicle battery, the following warnings must be ob-
served » page 142 .
■
A discharged vehicle battery can freeze at temperatures just below 0 °C.
If the battery is frozen, do not carry out a jump start with the battery of an-
other vehicle – risk of explosion and injury!
■
Never jump-start vehicle batteries with an electrolyte level that is too low
– risk of explosion and caustic burns!
156Do-it-yourself