display SKODA OCTAVIA 2005 1.G / (1U) Owner's Guide
[x] Cancel search | Manufacturer: SKODA, Model Year: 2005, Model line: OCTAVIA, Model: SKODA OCTAVIA 2005 1.G / (1U)Pages: 315, PDF Size: 11.8 MB
Page 36 of 315
Instruments and Indicator/Warning Lights35
Using the systemSafetyDriving TipsGeneral MaintenanceBreakdown assistanceTechnical Data
If the
warning light
begins to flash while driving, a fault exists in the
engine control. The engine management system selects an emergency
programme which enables you to drive to the nearest specialist garage by
adopting a gentle style of driving.
The following text will be displayed in the information display*:
Engine fault Workshop! (Engine fault workshop!)
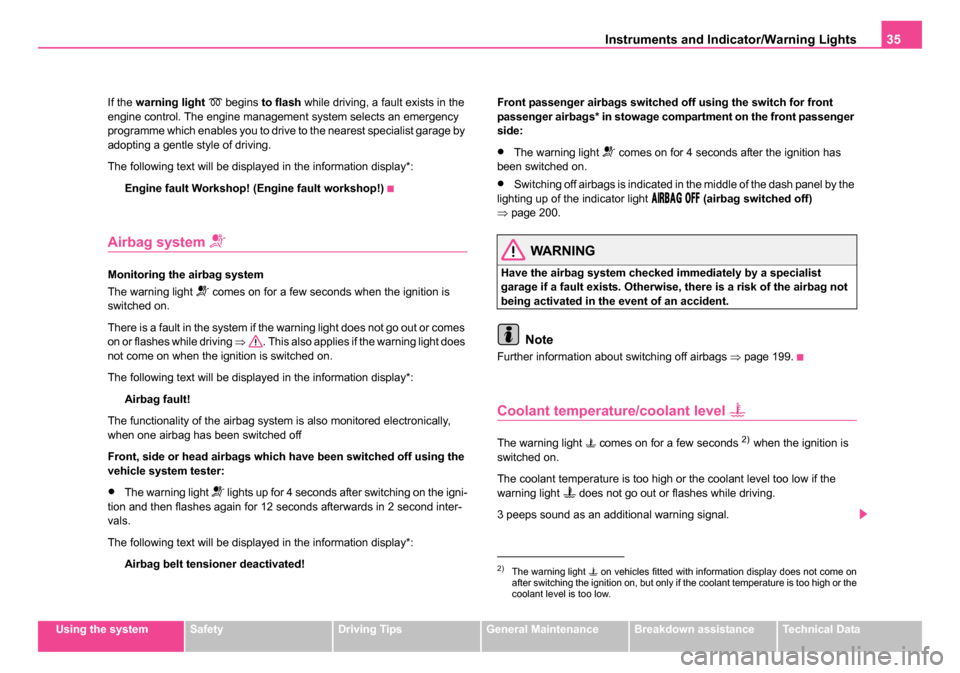
Airbag system
Monitoring the airbag system
The warning light
comes on for a few seconds when the ignition is
switched on.
There is a fault in the system if the warning light does not go out or comes
on or flashes while driving ⇒. This also applies if the warning light does
not come on when the ignition is switched on.
The following text will be displayed in the information display*:
Airbag fault!
The functionality of the airbag system is also monitored electronically,
when one airbag has been switched off
Front, side or head airbags which have been switched off using the
vehicle system tester:
•The warning light lights up for 4 seconds after switching on the igni-
tion and then flashes again for 12 seconds afterwards in 2 second inter-
vals.
The following text will be displayed in the information display*:
Airbag belt tensioner deactivated! Front passenger airbags switched off using the switch for front
passenger airbags* in stowage compartment on the front passenger
side:
•The warning light comes on for 4 seconds after the ignition has
been switched on.
•Switching off airbags is indicated in the middle of the dash panel by the
lighting up of the indicator light (airbag switched off)
⇒ page 200.
WARNING
Have the airbag system checked immediately by a specialist
garage if a fault exists. Otherwise, there is a risk of the airbag not
being activated in the event of an accident.
Note
Further information about switching off airbags ⇒page 199.
Coolant temperature/coolant level
The warning light comes on for a few seconds 2) when the ignition is
switched on.
The coolant temperature is too high or the coolant level too low if the
warning light
does not go out or flashes while driving.
3 peeps sound as an additional warning signal.
2)The warning light on vehicles fitted with information display does not come on
after switching the ignition on, but only if the coolant temperature is too high or the
coolant level is too low.
s24s.book Page 35 Thursday, November 24, 2005 12:27 PM
Page 37 of 315
Instruments and Indicator/Warning Lights
36
In this case stop and switch the engine off and check the coolant level;
top up the coolant as necessary.
Do not continue your journey if for some reason it is not possible under
the conditions prevailing to top up with coolant. Keep the engine
switched off and obtain professional assistance from a specialist garage,
otherwise it could lead to severe engine damages.
If the coolant is within the specified range, the increased temperature may
be caused by an operating problem at the coolant fan. Check the fuse for
the coolant fan, replace it if necessary ⇒page 290, “Fuse assignment in
engine compartment - version 1” or ⇒page 291, “Fuse assignment in
engine compartment - version 2”.
Do not continue driving if the warning light does not go off although the
fluid is at the correct level and also the fuse of the fan is in proper order.
Contact a specialist garage to obtain assistance.
Please also refer to the additional instructions ⇒page 253, “Cooling
system”.
The following text will be displayed in the information display*:
STOP Check coolant! Owner's manual (STOP! Check coolant!
Owner's manual)
WARNING
•If you must stop for technical reasons, then park the vehicle at
a safe distance from the traffic and switch off the engine and switch
on the hazard warning light system ⇒page 68.
•Take care when opening the coolant expansion bottle. If the
engine is hot, the cooling system is pressurized - risk of scalding!
It is best to allow the engine to cool down before removing the cap.
•Do not touch the coolant fan The coolant fan may switch on
automatically even if the ignition is off.
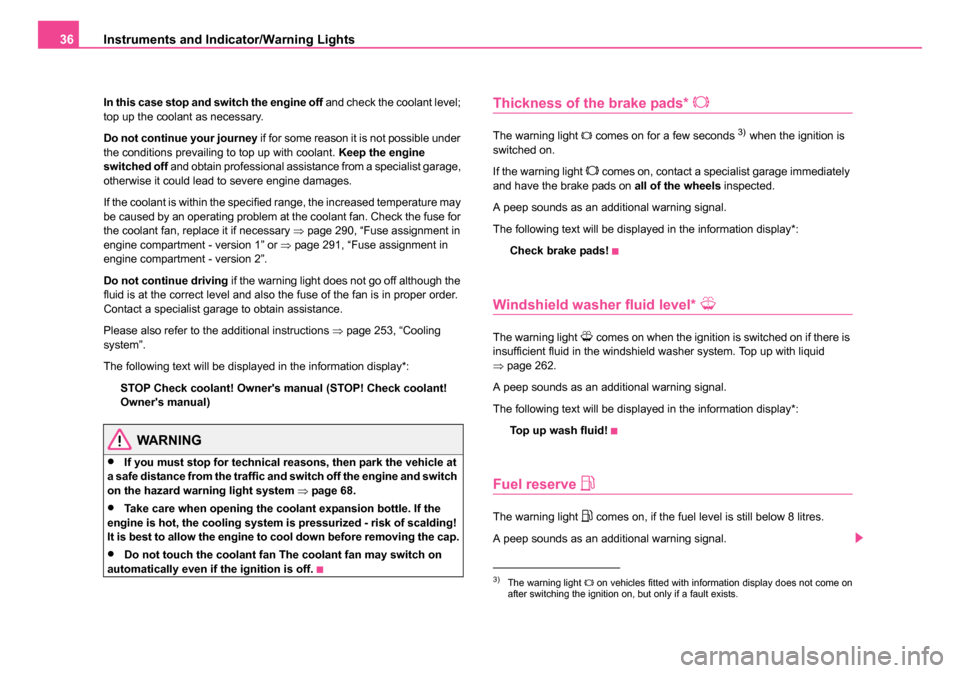
Thickness of the brake pads*
The warning light comes on for a few seconds 3) when the ignition is
switched on.
If the warning light
comes on, contact a specialist garage immediately
and have the brake pads on all of the wheels inspected.
A peep sounds as an additional warning signal.
The following text will be displayed in the information display*: Check brake pads!
Windshield washer fluid level*
The warning light comes on when the ignition is switched on if there is
insufficient fluid in the windshield washer system. Top up with liquid
⇒ page 262.
A peep sounds as an additional warning signal.
The following text will be displayed in the information display*: Top up wash fluid!
Fuel reserve
The warning light comes on, if the fuel level is still below 8 litres.
A peep sounds as an additional warning signal.
3)The warning light on vehicles fitted with information display does not come on
after switching the ignition on, but only if a fault exists.
s24s.book Page 36 Thursday, November 24, 2005 12:27 PM
Page 38 of 315
Instruments and Indicator/Warning Lights37
Using the systemSafetyDriving TipsGeneral MaintenanceBreakdown assistanceTechnical Data
The following text will be displayed in the information display*:
Please refuel!
Note
The Text in the information display* goes out only after refuelling and
driving a short distance.
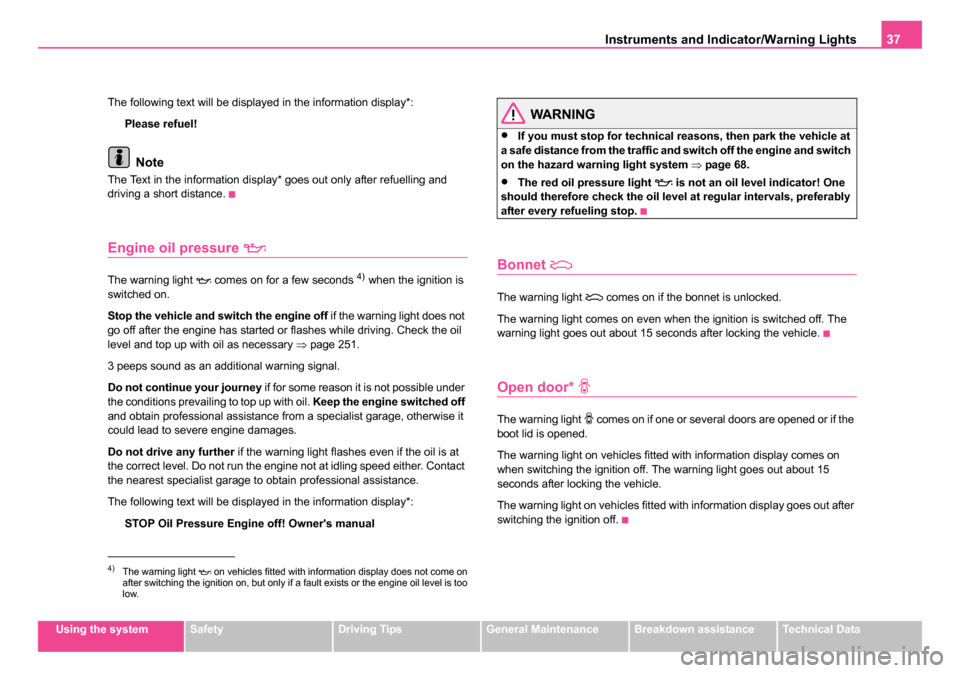
Engine oil pressure
The warning light comes on for a few seconds 4) when the ignition is
switched on.
Stop the vehicle and switch the engine off if the warning light does not
go off after the engine has started or flashes while driving. Check the oil
level and top up with oil as necessary ⇒ page 251.
3 peeps sound as an additional warning signal.
Do not continue your journey if for some reason it is not possible under
the conditions prevailing to top up with oil. Keep the engine switched off
and obtain professional assistance from a specialist garage, otherwise it
could lead to severe engine damages.
Do not drive any further if the warning light flashes even if the oil is at
the correct level. Do not run the engine not at idling speed either. Contact
the nearest specialist garage to obtain professional assistance.
The following text will be displayed in the information display*:
STOP Oil Pressure Engine off! Owner's manual
WARNING
•If you must stop for technical reasons, then park the vehicle at
a safe distance from the traffic and switch off the engine and switch
on the hazard warning light system ⇒page 68.
•The red oil pressure light is not an oil le vel indicator! One
should therefore check the oil level at regular intervals, preferably
after every refueling stop.
Bonnet
The warning light comes on if the bonnet is unlocked.
The warning light comes on even when the ignition is switched off. The
warning light goes out about 15 seconds after locking the vehicle.
Open door*
The warning light comes on if one or several doors are opened or if the
boot lid is opened.
The warning light on vehicles fitted with information display comes on
when switching the ignition off. The warning light goes out about 15
seconds after locking the vehicle.
The warning light on vehicles fitted with information display goes out after
switching the ignition off.
4)The warning light on vehicles fitted with information display does not come on
after switching the ignition on, but only if a fault exists or the engine oil level is too
low.
s24s.book Page 37 Thursday, November 24, 2005 12:27 PM
Page 39 of 315
Instruments and Indicator/Warning Lights
38
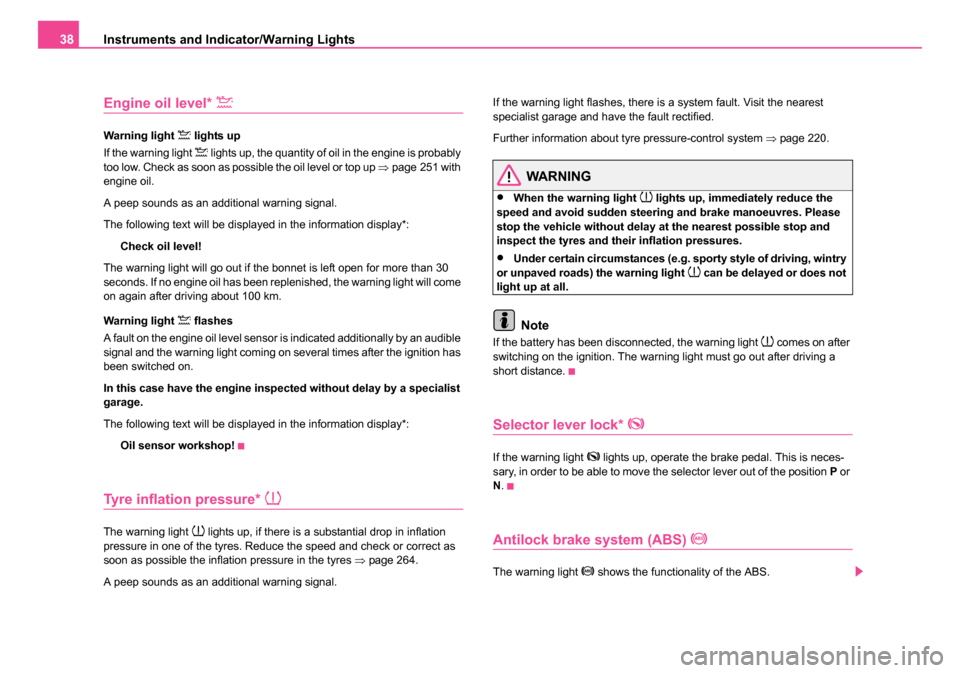
Engine oil level*
Warning light lights up
If the warning light
lights up, the quantity of oil in the engine is probably
too low. Check as soon as possible the oil level or top up ⇒page 251 with
engine oil.
A peep sounds as an additional warning signal.
The following text will be displayed in the information display*:
Check oil level!
The warning light will go out if the bonnet is left open for more than 30
seconds. If no engine oil has been replenished, the warning light will come
on again after driving about 100 km.
Warning light
flashes
A fault on the engine oil level sensor is indicated additionally by an audible
signal and the warning light coming on several times after the ignition has
been switched on.
In this case have the engine inspected without delay by a specialist
garage.
The following text will be displayed in the information display*:
Oil sensor workshop!
Tyre inflation pressure*
The warning light lights up, if there is a substantial drop in inflation
pressure in one of the tyres. Reduce the speed and check or correct as
soon as possible the inflation pressure in the tyres ⇒page 264.
A peep sounds as an additional warning signal. If the warning light flashes, there is a system fault. Visit the nearest
specialist garage and have the fault rectified.
Further information about tyre pressure-control system
⇒page 220.
WARNING
•When the warning light lights up, immediately reduce the
speed and avoid sudden steering and brake manoeuvres. Please
stop the vehicle without delay at the nearest possible stop and
inspect the tyres and their inflation pressures.
•Under certain circumstances (e.g. sporty style of driving, wintry
or unpaved roads) the warning light can be delayed or does not
light up at all.
Note
If the battery has been disconnected, the warning light comes on after
switching on the ignition. The warning light must go out after driving a
short distance.
Selector lever lock*
If the warning light lights up, operate the brake pedal. This is neces-
sary, in order to be able to move the selector lever out of the position P or
N .
Antilock brake system (ABS)
The warning light shows the functionality of the ABS.
s24s.book Page 38 Thursday, November 24, 2005 12:27 PM
Page 41 of 315
Instruments and Indicator/Warning Lights
40
Note
If the battery has been disconnected and reconnected, the warning light comes on after switching on the ignition. The warning light must go out
after driving a short distance.
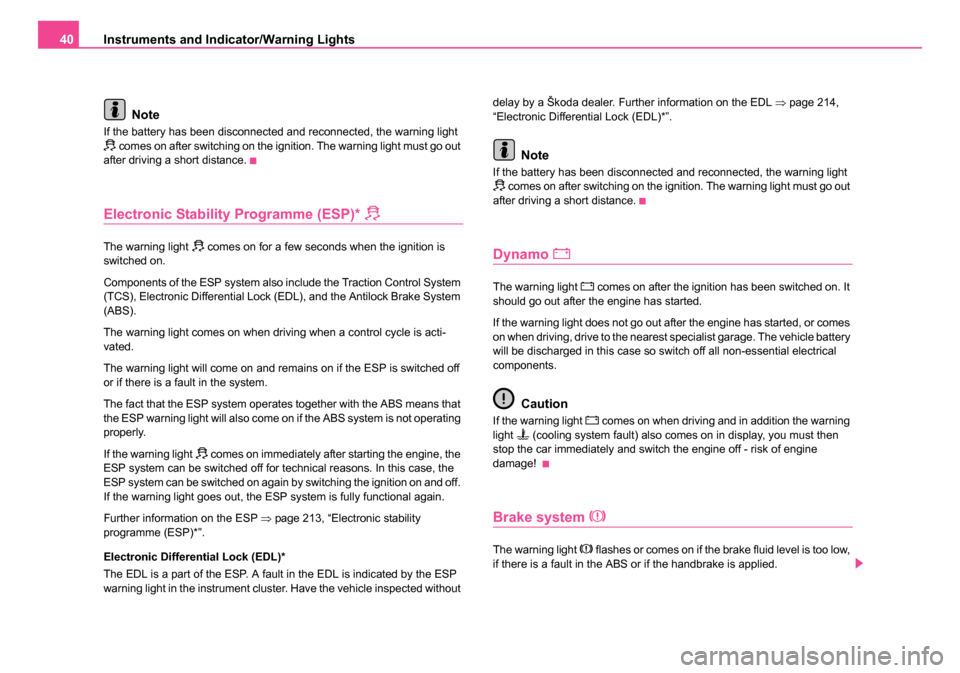
Electronic Stability Programme (ESP)*
The warning light comes on for a few seconds when the ignition is
switched on.
Components of the ESP system also include the Traction Control System
(TCS), Electronic Differential Lock (EDL), and the Antilock Brake System
(ABS).
The warning light comes on when driving when a control cycle is acti-
vated.
The warning lig ht will come on an d remains on if the ESP is switched off
or if there is a fault in the system.
The fact that the ESP system operates together with the ABS means that
the ESP warning light will also come on if the ABS system is not operating
properly.
If the warning light
comes on immediately after starting the engine, the
ESP system can be switched off for technical reasons. In this case, the
ESP system can be switched on again by switching the ignition on and off.
If the warning light goes out, the ESP system is fully functional again.
Further information on the ESP ⇒page 213, “Electronic stability
programme (ESP)*”.
Electronic Differential Lock (EDL)*
The EDL is a part of the ESP. A fault in the EDL is indicated by the ESP
warning light in the instrument cluster. Have the vehicle inspected without delay by a Škoda dealer. Further information on the EDL
⇒page 214,
“Electronic Differential Lock (EDL)*”.
Note
If the battery has been disconnected and reconnected, the warning light comes on after switching on the ignition. The warning light must go out
after driving a short distance.
Dynamo
The warning light comes on after the ignition has been switched on. It
should go out after the engine has started.
If the warning light does not go out after the engine has started, or comes
on when driving, drive to the nearest specialist garage. The vehicle battery
will be discharged in this case so switch off all non-essential electrical
components.
Caution
If the warning light comes on when driving and in addition the warning
light (cooling system fault) also comes on in display, you must then
stop the car immediately and switch the engine off - risk of engine
damage!
Brake system
The warning light flashes or comes on if the brake fluid level is too low,
if there is a fault in the ABS or if the handbrake is applied.
s24s.book Page 40 Thursday, November 24, 2005 12:27 PM
Page 42 of 315
Instruments and Indicator/Warning Lights41
Using the systemSafetyDriving TipsGeneral MaintenanceBreakdown assistanceTechnical Data
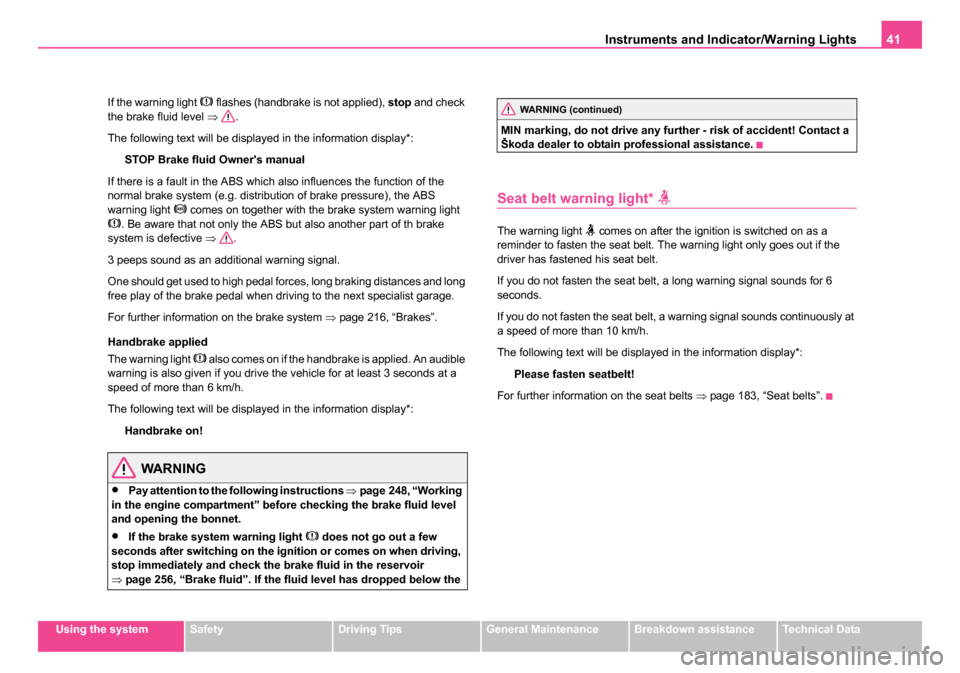
If the warning light
flashes (handbrake is not applied),
stop and check
the brake fluid level ⇒.
The following text will be displayed in the information display*:
STOP Brake fluid Owner's manual
If there is a fault in the ABS which also influences the function of the
normal brake system (e.g. distribution of brake pressure), the ABS
warning light
comes on together with the brake system warning light . Be aware that not only the ABS but also another part of th brake
system is defective ⇒.
3 peeps sound as an additional warning signal.
One should get used to high pedal forces, long braking distances and long
free play of the brake pedal when driving to the next specialist garage.
For further information on the brake system ⇒page 216, “Brakes”.
Handbrake applied
The warning light
also comes on if the handbrake is applied. An audible
warning is also given if you drive the vehicle for at least 3 seconds at a
speed of more than 6 km/h.
The following text will be displayed in the information display*:
Handbrake on!
WARNING
•Pay attention to the following instructions ⇒page 248, “Working
in the engine compartment” before checking the brake fluid level
and opening the bonnet.
•If the brake system warning light does not go out a few
seconds after switching on the ignition or comes on when driving,
stop immediately and check the brake fluid in the reservoir
⇒ page 256, “Brake fluid”. If the fluid level has dropped below the MIN marking, do not drive any further - risk of accident! Contact a
Škoda dealer to obtain professional assistance.
Seat belt warning light*
The warning light comes on after the ignition is switched on as a
reminder to fasten the seat belt. The warning light only goes out if the
driver has fastened his seat belt.
If you do not fasten the seat belt, a long warning signal sounds for 6
seconds.
If you do not fasten the seat belt, a warning signal sounds continuously at
a speed of more than 10 km/h.
The following text will be displayed in the information display*:
Please fasten seatbelt!
For further information on the seat belts ⇒page 183, “Seat belts”.
WARNING (continued)
s24s.book Page 41 Thursday, November 24, 2005 12:27 PM
Page 67 of 315
Lights and Visibility
66
Coming/Leaving Home Function*
This function makes it possible to switch on the lights for a short
time after leaving the vehicle or when approaching the vehicle.
Switching on Coming Home Function
– Switch off the ignition once the low beam is switched on.
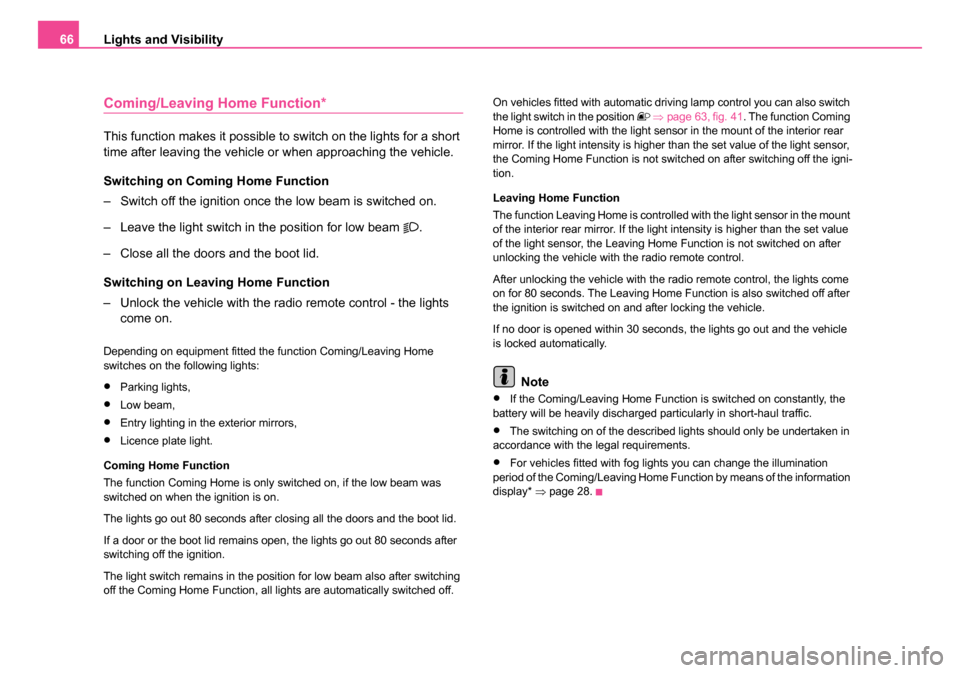
– Leave the light switch in the position for low beam
.
– Close all the doors and the boot lid.
Switching on Leaving Home Function
– Unlock the vehicle with the radio remote control - the lights come on.
Depending on equipment fitted the function Coming/Leaving Home
switches on the following lights:
•Parking lights,
•Low beam,
•Entry lighting in the exterior mirrors,
•Licence plate light.
Coming Home Function
The function Coming Home is only switched on, if the low beam was
switched on when the ignition is on.
The lights go out 80 seconds after closing all the doors and the boot lid.
If a door or the boot lid remains open, the lights go out 80 seconds after
switching off the ignition.
The light switch remains in the position for low beam also after switching
off the Coming Home Function, all lights are automatically switched off. On vehicles fitted with automatic driving lamp control you can also switch
the light switch in the position
⇒ page 63, fig. 41 . The function Coming
Home is controlled with the light sensor in the mount of the interior rear
mirror. If the light intensity is higher than the set value of the light sensor,
the Coming Home Function is not switched on after switching off the igni-
tion.
Leaving Home Function
The function Leaving Home is controlled with the light sensor in the mount
of the interior rear mirror. If the light intensity is higher than the set value
of the light sensor, the Leaving Home Function is not switched on after
unlocking the vehicle with the radio remote control.
After unlocking the vehicle with the radio remote control, the lights come
on for 80 seconds. The Leaving Home Function is also switched off after
the ignition is switched on and after locking the vehicle.
If no door is opened within 30 seconds, the lights go out and the vehicle
is locked automatically.
Note
•If the Coming/Leaving Home Function is switched on constantly, the
battery will be heavily discharged particularly in short-haul traffic.
•The switching on of the described lights should only be undertaken in
accordance with the legal requirements.
•For vehicles fitted with fog lights you can change the illumination
period of the Coming/Leaving Home Function by means of the information
display* ⇒page 28.
s24s.book Page 66 Thursday, November 24, 2005 12:27 PM
Page 68 of 315
Lights and Visibility67
Using the systemSafetyDriving TipsGeneral MaintenanceBreakdown assistanceTechnical Data
Instrument lighting*
You can adjust the brightness of the instrument lighting.
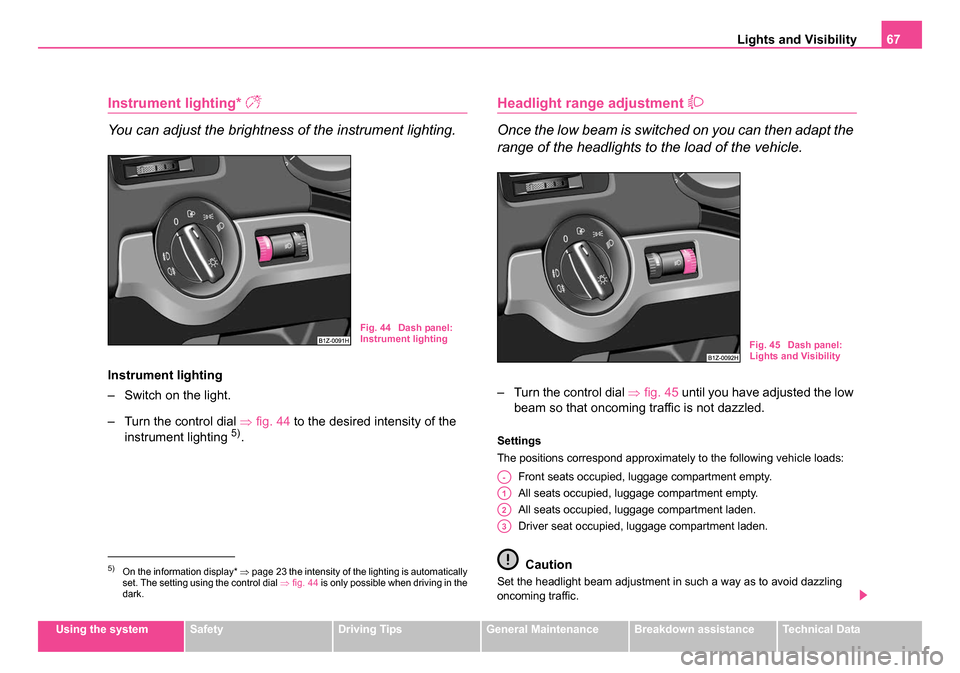
Instrument lighting
– Switch on the light.
– Turn the control dial ⇒fig. 44 to the desired intensity of the
instrument lighting
5).
Headlight range adjustment
Once the low beam is switched on you can then adapt the
range of the headlights to the load of the vehicle.
– Turn the control dial ⇒fig. 45 until you have adjusted the low
beam so that oncoming traffic is not dazzled.
Settings
The positions correspond approximately to the following vehicle loads:
Front seats occupied, luggage compartment empty.
All seats occupied, luggage compartment empty.
All seats occupied, luggage compartment laden.
Driver seat occupied, luggage compartment laden.
Caution
Set the headlight beam adjustment in such a way as to avoid dazzling
oncoming traffic.5)On the information display* ⇒page 23 the intensity of the lighting is automatically
set. The setting using the control dial ⇒fig. 44 is only possible when driving in the
dark.
Fig. 44 Dash panel:
Instrument lighting
Fig. 45 Dash panel:
Lights and Visibility
A-
A1
A2
A3
s24s.book Page 67 Thursday, November 24, 2005 12:27 PM
Page 130 of 315
Heating and air conditioning system 129
Using the systemSafetyDriving TipsGeneral MaintenanceBreakdown assistanceTechnical Data
The air inlet in front of the windscreen must be free of ice, snow or leaves
in order to ensure that the heating and cooling systems operate properly.
The AC compressor is switched off at a high coolant temperature in order
to provide cooling at a high load of the engine.
After switching on the cooling
Condensation from the evaporator of the
air conditioning may drip down and form a puddle below the vehicle. This
is quite normal and not an indication of a leak!
Recommended setting for all periods of the year:
•Set the temperature to 22 °C (72 °F).
•Press the button ⇒page 130, fig. 122 .
•Move the air outlet vents 3 and 4 so that the air flow is directed slightly
upwards ⇒page 133, fig. 123 .
Switching over between degrees Celsius and degrees Fahrenheit
Press and hold the buttons and ⇒page 130, fig. 122 . The
information in the desired temperature measuring unit appears in the
display.
WARNING
•For your own safety and that of other road users, ensure that all
the windows are free of ice, snow and misting. Please familiarize
yourself about how to correctly operate the heating and ventilation
systems, how to demist and defrost the windows, as well as with
the cooling mode.
•You should not leave recirculated air mode on over a longer
period of time. “Stale air” may result in fatigue in the driver and
passengers, reduce attention levels and also cause the windows to
mist up. The risk of having an accident increases. Switch recircu-
lated air mode off as soon as the windows begin misting up.
Note
•If the cooling system has not been switched on for a lengthy period,
odours may be produced at the evaporator because of deposits. Switch
the cooling system on at least once a month for approximately 5 minutes
at the highest blower stage - also during the cold season of the year - in
order to remove such odours. Also open a window for a short time.
•We recommend that you do not smoke in the vehicle when the recir-
culating air mode is operating since the smoke which is drawn at the evap-
orator from the interior of the vehicle forms deposits in the evaporator of
the air conditioning system. This produces a permanent odour when the
air conditioning system is operating which can only be eliminated through
considerable effort and expense (replacement of compressor).
•The used air streams out through the air removal openings in the
luggage compartment.
•The Information of the Climatronic is displayed on the display of the
radio*. You can also switch off this function - see operating instructions for
radio
•Using the cooling economically ⇒page 127.
•Operational problems ⇒page 128.
AUTO
ECONAUTO
s24s.book Page 129 Thursday, November 24, 2005 12:27 PM
Page 131 of 315
Heating and air conditioning system
130
Overview of the controls
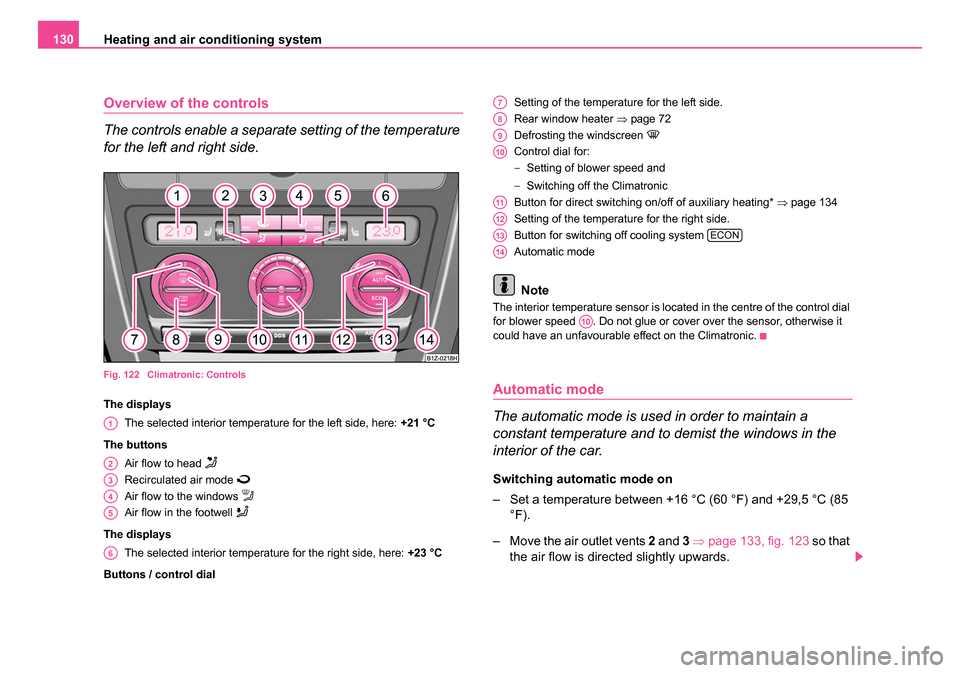
The controls enable a separate setting of the temperature
for the left and right side.
Fig. 122 Climatronic: Controls
The displays
The selected interior temperature for the left side, here: +21 °C
The buttons Air flow to head
Recirculated air mode
Air flow to the windows
Air flow in the footwell
The displaysThe selected interior temperature for the right side, here: +23 °C
Buttons / control dial Setting of the temperature for the left side.
Rear window heater
⇒page 72
Defrosting the windscreen
Control dial for:
− Setting of blower speed and
− Switching off the Climatronic
Button for direct switching on/off of auxiliary heating* ⇒page 134
Setting of the temperature for the right side.
Button for switching off cooling system
Automatic mode
Note
The interior temperature sensor is located in the centre of the control dial
for blower speed . Do not glue or cover over the sensor, otherwise it
could have an unfavourable effect on the Climatronic.
Automatic mode
The automatic mode is used in order to maintain a
constant temperature and to demist the windows in the
interior of the car.
Switching automatic mode on
– Set a temperature between +16 °C (60 °F) and +29,5 °C (85 °F).
– Move the air outlet vents 2 and 3 ⇒ page 133, fig. 123 so that
the air flow is directed slightly upwards.
A1
A2
A3
A4
A5
A6
A7
A8
A9
A10
A11
A12
A13ECON
A14
A10
s24s.book Page 130 Thursday, November 24, 2005 12:27 PM