sensor SKODA OCTAVIA 2008 2.G / (1Z) Columbus Navigation System Manual
[x] Cancel search | Manufacturer: SKODA, Model Year: 2008, Model line: OCTAVIA, Model: SKODA OCTAVIA 2008 2.G / (1Z)Pages: 75, PDF Size: 3.54 MB
Page 16 of 75

Selector key SETUP
14Switching the traffic announcements on or off
A tick in the check box
indicates that the traffic radio function is already switched
on.
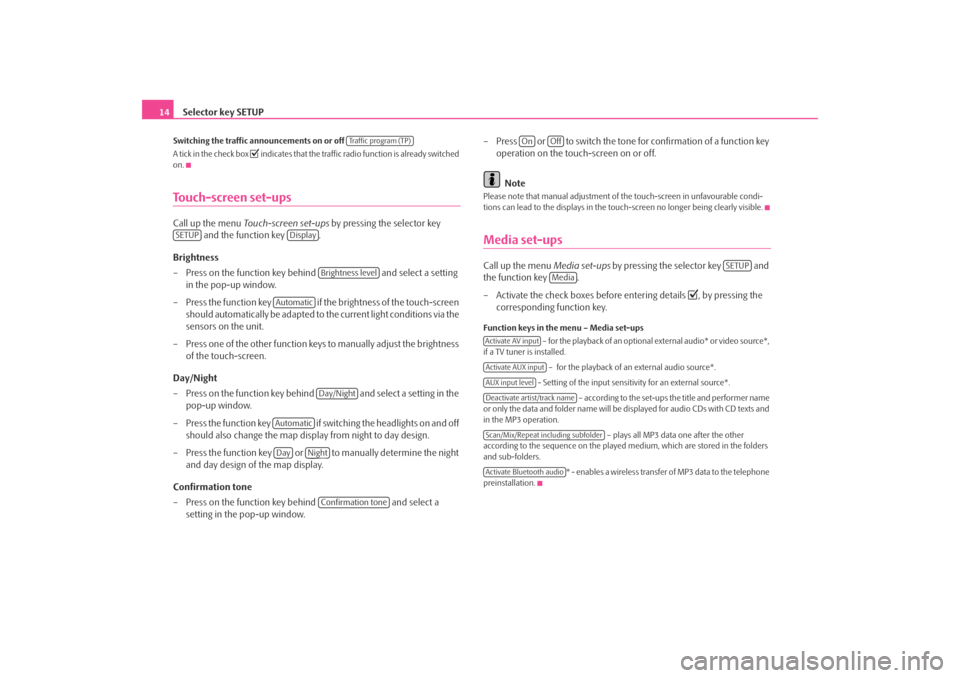
Touch-screen set-upsCall up the menu Touch-screen set-ups by pressing the selector key
and the function key .
Brightness
– Press on the function key behind and select a setting
in the pop-up window.
– Press the function key if the brightness of the touch-screen
should automatically be adapted to the current light conditions via the
sensors on the unit.
– Press one of the other function keys to manually adjust the brightness of the touch-screen.
Day/Night
– Press on the function key behind and select a setting in the pop-up window.
– Press the function key if switching the headlights on and off should also change the map display from night to day design.
– Press the function key or to manually determine the night and day design of the map display.
Confirmation tone
– Press on the function key behind and select a
setting in the pop-up window. – Press or to switch the tone for confirmation of a function key
operation on the touch-screen on or off.
Note
Please note that manual adjustment of the touch-screen in unfavourable condi-
tions can lead to the displays in the touc h-screen no longer being clearly visible.Media set-upsCall up the menu Media set-ups by pressing the selector key and
the function key .
– Activate the check boxes before entering details
, by pressing the
corresponding function key.
Function keys in the menu – Media set-ups
– for the playback of an optional external audio* or video source*,
if a TV tuner is installed.
– for the playback of an external audio source*.
- Setting of the input sensitivity for an external source*. – according to the set-ups the title and performer name
or only the data and folder name will be displayed for audio CDs with CD texts and
in the MP3 operation.
– plays all MP3 data one after the other
according to the sequence on the played medium, which are stored in the folders
and sub-folders.
* - enables a wireless transfer of MP3 data to the telephone
preinstallation.
Traffic program (TP)
SETUP
Display
Brightness level
Automatic
Day/Night
AutomaticDay
Night
Confirmation tone
On
Off
SETUP
Media
Activate AV inputActivate AUX inputAUX input levelDeactivate artist/track nameScan/Mix/Repeat including subfolderActivate Bluetooth audio
s2u4.6.book Page 14 Wednesday, August 13, 2008 7:57 AM
Page 40 of 75

Selector key NAV (Navigation)
38Selector key NAV (Navigation)OverviewSafety information regarding the use of the navigation systemThe route is recalculated each time if you ignore driving recommendations or
change the route. This process takes only a few seconds. Driving recommendations
can only then be re-transmitted.
Incomplete navigation data
The navigation system cannot receive any da ta from GPS satellites if you drive for
longer periods under thick forest canopy or when your vehicle is in a garage, under-
pass or tunnel. In this case, th e navigation system orientates itself solely with the
help of the vehicle sensors.
In regions not at all or only partially digitalised and stored as such on the navigation
DVD, the navigation system will try to provide guidance to the destination. Please
note that under these circumstances the guidance to the destination may not be
completely correct if, for example, one-wa y streets and road categories (motorway,
country road etc.) are not at all or only partially included in the navigation data
used.
WARNING
Always concentrate fully on your drivin g. Inattention by the driver can lead
to accidents and injuries.•
Do not allow yourself to be distracted or loose your concentration, pay
attention to the traffic situation and do not carry out settings or use the radio
navigation system.
•
Only use the radio navigation system if road, weather and traffic situa-
tions permit this and you are not distracted.
•
The various volume settings must be selected in such a way that audible
signals from the outside, such as e.g. a Martins horn from police cars and fire
brigade, can be heard at all times.
WARNING
Please observe the legal requirements for road traffic when following the
driving recommendations provided by your radio navigation system.•
The driving recommendations provided may vary from current situa-
tions, e.g. due to road works or out of date navigation data. In such a case,
always observe the traffic regulations and ignore the driving recommenda-
tions.
•
Traffic signs and traffice regulations al ways have priority over the driving
recommendations provided by the navigation system.
•
Route guidance is subject to constant changes, particularly to informa-
tion relating to one-way streets, pedestrian zones etc. stored on the naviga-
tion DVD. Information on traffic lights, stop and right of way signs, parking
and stopping restrictions as well as lane constrictions and speed restrictions
is not included in the radio navigation system.
•
Adjust your speed to suit weather, road and traffic conditions. Do not
allow the navigation system to make yu drive faster in fog – risk of
accident!
Navigation data and the navigation DVDStoring navigation data in the unit
– Push a navigation DVD with as far as possible into the CD/DVD case
with the written side facing up until it is automatically drawn in. The
unit will compare the data on the navigation DVD with the data in the
navigation system memory. No message will appear if the data in the
navigation system memory of the unit is identical to the data on the
navigation DVD.
– Press the function key , to find out that the storing process has
been completed.
Notify
s2u4.6.book Page 38 Wednesday, August 13, 2008 7:57 AM
Page 55 of 75

Selector key NAV (Navigation)53
– Give a short and clear name to the waypoint tour. Confirm the displayed name by pressing .
– Select an acceptance mode by pressing the respective key.
– Press the function key to a llow the system to automatically
set the waypoints (recommended) during the display.
– Press the function key if you wish to set all waypoints yourself during the display.
– After starting the display, the number of used and still available waypoints as well as the set display mode will be indicated in the
menu Waypoint navigation .
– Press the selector key to change into the map display. Repeated pressing of the selector key will open and close the additional
window ⇒page 52, fig. 21 .
– Press on the selector key to switch back into the main menu Waypoint navigation .
– Press the function key to set the
waypoints manually. When in the ma p display you can find this func-
tion key in the pop-up window for the function key
⇒ page 52, fig. 21 ⇒ page 53, “Function key in the map display”.
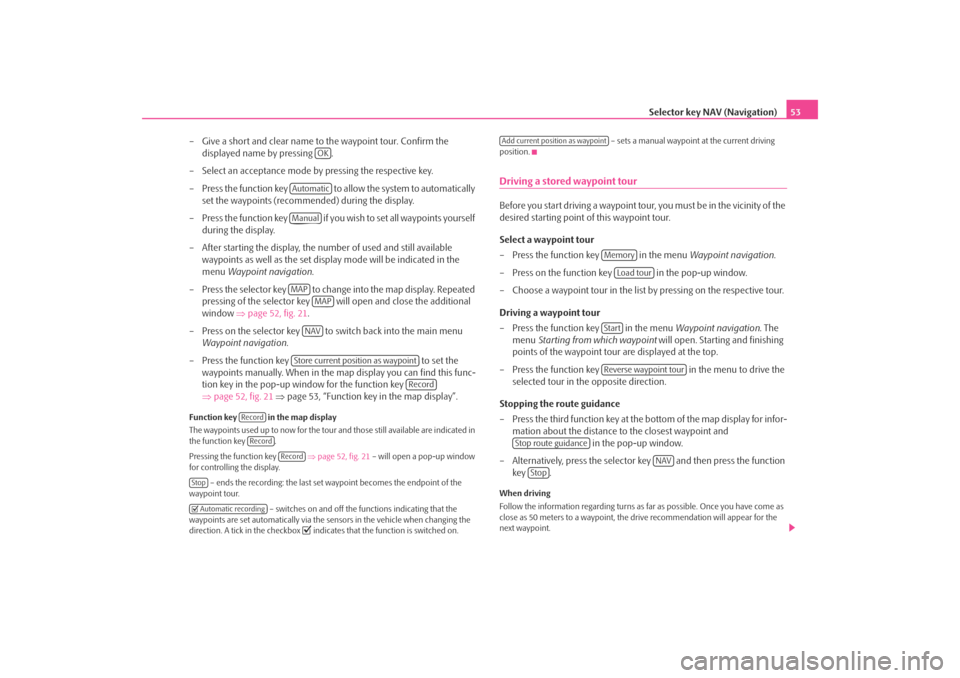
Function key in the map display
The waypoints used up to no w for the tour and those still available are indicated in
the function key .
Pressing the function key ⇒page 52, fig. 21 – will open a pop-up window
for controlling the display.
– ends the recording: the last set waypoint becomes the endpoint of the
waypoint tour.
– switches on and off the functions indicating that the
waypoints are set automatically via the sensors in the vehicle when changing the
direction. A tick in the checkbox
indicates that the function is switched on. – sets a manual waypoint at the current driving
position.
Driving a stored waypoint tourBefore you start driving a waypoint tour , you must be in the vicinity of the
desired starting point of this waypoint tour.
Select a waypoint tour
– Press the function key in the menu Waypoint navigation.
– Press on the function key in the pop-up window.
– Choose a waypoint tour in the list by pressing on the respective tour.
Driving a waypoint tour
– Press the function key in the menu Waypoint navigation. The
menu Starting from which waypoint will open. Starting and finishing
points of the waypoint tour are displayed at the top.
– Press the function key in the menu to drive the
selected tour in the opposite direction.
Stopping the route guidance
– Press the third function key at the bottom of the map display for infor- mation about the distance to the closest waypoint and in the pop-up window.
– Alternatively, press the selector key and then press the function key .When driving
Follow the information regarding turns as far as possible. Once you have come as
close as 50 meters to a waypoint, the drive recommendation will appear for the
next waypoint.
OK
AutomaticManualMAP
MAPNAVStore current position as waypoint
Record
RecordRecord
Record
Stop Automatic recording
Add current position as waypoint
Memory
Load tour
StartReverse waypoint tour
Stop route guidance
NAV
Stop
s2u4.6.book Page 53 Wednesday, August 13, 2008 7:57 AM