remove seats SKODA OCTAVIA 2012 3.G / (5E) User Guide
[x] Cancel search | Manufacturer: SKODA, Model Year: 2012, Model line: OCTAVIA, Model: SKODA OCTAVIA 2012 3.G / (5E)Pages: 222, PDF Size: 13.52 MB
Page 168 of 222

WARNING■Work on your vehicle, which have been carried out unprofessionally, can
cause operational faults – risk of accident!■
We recommend you only use ŠKODA original accessories and ŠKODA original
parts on your vehicle. Only by doing so can you guarantee reliability, safety
and suitability.
■
ŠKODA cannot assume any liability for products which have not been ap-
proved by ŠKODA even though these may be products with a type approval or
have been approved by a nationally recognised testing laboratory.
Note
ŠKODA Original Accessories and ŠKODA Original Parts can be purchased from
ŠKODA Partners who will also professionally undertake the assembly of the pur-
chased parts.
Repairs and technical modifications
First read and observe the introductory information and safety warn-ings
on page 165.
Any damage caused by technical changes made without consent by ŠKODA is ex-
cluded from the warranty – see the warranty certificate.
Interference on the electronic components and their software can lead to opera-
tional faults. This interference can also impair not directly affected systems be- cause of the networking of the electronic components. In other words, the vehi-
cle's roadworthiness may be put at risk and increased wear on parts may arise.
Repairs and technical modifications must comply with ŠKODA guidelines.
WARNING■ Repairs and technical modifications which have been carried out unprofes-
sionally, can cause damage and can seriously impair the effectiveness of driv-
er assist system – risk of accident and serious injury!■
We recommend having these repairs and modifications replaced by a ŠKODA
specialist garage.
For the sake of the environmentTechnical documents regarding changes carried out on the vehicle must be kept
by the vehicle user, in order to be handed over to the recyclers later. This ensures
that vehicle recycling is in accordance with environmental regulations.
Changes and impairments of the airbag system
First read and observe the introductory information and safety warn-ings
on page 165.
We recommend that any modifications and repairs to the front bumper, doors, front seats, headliner or bodywork be carried out by a ŠKODA Partner. These vehi-
cle parts may include system components for the airbag system.
WARNING■ Airbag modules cannot be repaired, but must be replaced.■Repairs and modifications which have been carried out unprofessionally, can
cause damage, operational faults, and can also seriously impair the effective- ness of airbag system – risk of accident and fatal injury!■
Never install any airbag parts into the vehicle that have been removed from
old cars or have been recycled.
■
A modification to the suspension of the vehicle including the use of non-ap-
proved rim-tyre combinations can alter the functioning of the airbag and in-
crease the risk of serious or fatal injuries in an accident.
■
Parts of the airbag system may be damaged during installation/removal of
system parts and when performing other repair work. This may mean that the
airbags will not deploy properly or not at all in the event of an accident.
166General Maintenance
Page 201 of 222

Fuses and light bulbs
Fuses
Introduction
This chapter contains information on the following subjects:
Fuses in the dash panel
200
Fuses in the engine compartment
201
Individual electrical circuits are protected by fuses.
› Switch off the ignition and the appropriate consumer before changing a fuse.
› Find out which fuse belongs to the component that is not operat-
ing » page 200 , Fuses in the dash panel or » page 201 , Fuses in the engine
compartment .
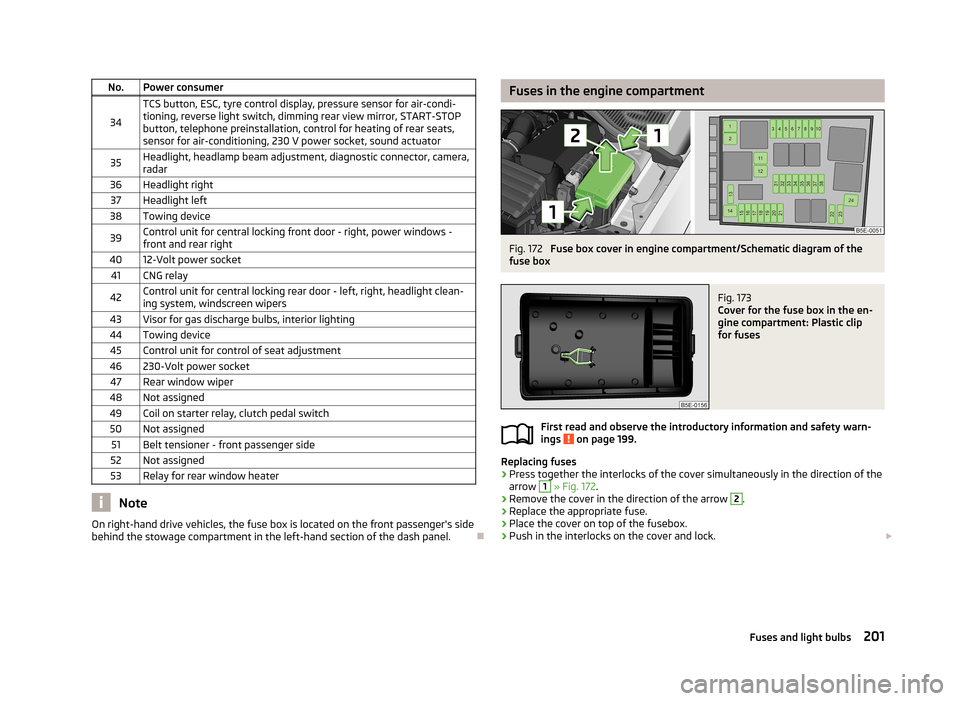
› Take the plastic clip located under the cover of the fuse box in the engine com-
partment, insert into the fuse and remove it » Fig. 173 on page 201.
› A blown fuses is recognisable by the molten metal strip. Replace the faulty fuse
with a new one of the same amperage.
The plastic clip can be found underneath the cover of the fuse box in the engine
compartment » Fig. 173 on page 201.
Electrically adjustable seats are protected by automatic circuit breakers, which
switch on again automatically after a few seconds after the overload has been
eliminated.
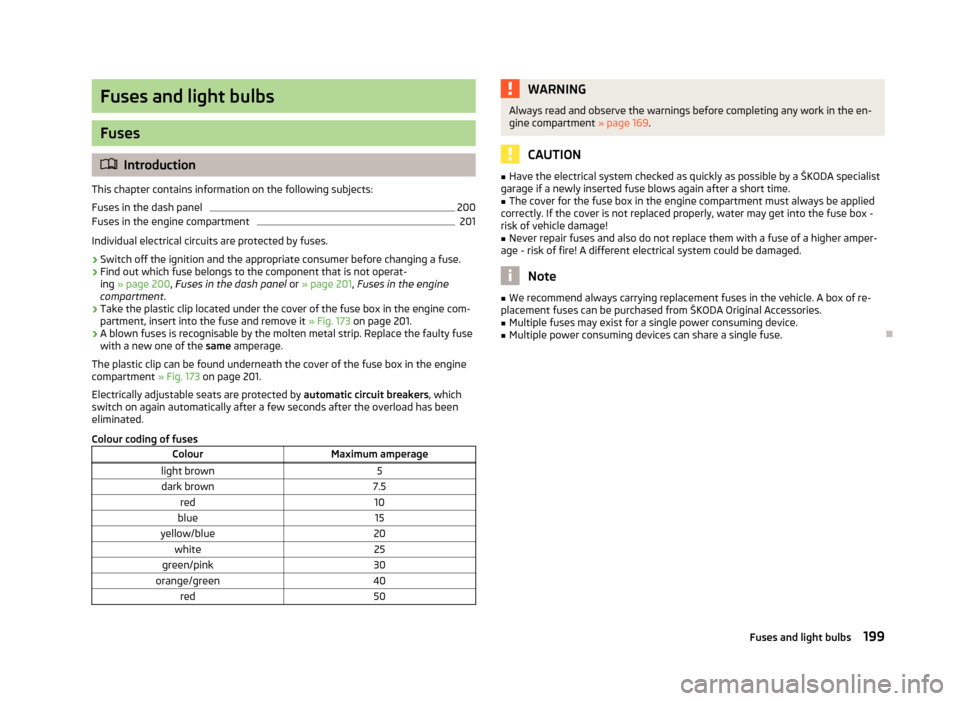
Colour coding of fuses
ColourMaximum amperagelight brown5dark brown7.5red10blue15yellow/blue20white25green/pink30orange/green40red50WARNINGAlways read and observe the warnings before completing any work in the en-
gine compartment » page 169.
CAUTION
■
Have the electrical system checked as quickly as possible by a ŠKODA specialist
garage if a newly inserted fuse blows again after a short time.■
The cover for the fuse box in the engine compartment must always be applied
correctly. If the cover is not replaced properly, water may get into the fuse box -
risk of vehicle damage!
■
Never repair fuses and also do not replace them with a fuse of a higher amper-
age - risk of fire! A different electrical system could be damaged.
Note
■ We recommend always carrying replacement fuses in the vehicle. A box of re-
placement fuses can be purchased from ŠKODA Original Accessories.■
Multiple fuses may exist for a single power consuming device.
■
Multiple power consuming devices can share a single fuse.
199Fuses and light bulbs
Page 203 of 222

No.Power consumer
34
TCS button, ESC, tyre control display, pressure sensor for air-condi-tioning, reverse light switch, dimming rear view mirror, START-STOPbutton, telephone preinstallation, control for heating of rear seats,sensor for air-conditioning, 230 V power socket, sound actuator35Headlight, headlamp beam adjustment, diagnostic connector, camera,
radar36Headlight right37Headlight left38Towing device39Control unit for central locking front door - right, power windows -
front and rear right4012-Volt power socket41CNG relay42Control unit for central locking rear door - left, right, headlight clean-
ing system, windscreen wipers43Visor for gas discharge bulbs, interior lighting44Towing device45Control unit for control of seat adjustment46230-Volt power socket47Rear window wiper48Not assigned49Coil on starter relay, clutch pedal switch50Not assigned51Belt tensioner - front passenger side52Not assigned53Relay for rear window heater
Note
On right-hand drive vehicles, the fuse box is located on the front passenger's side
behind the stowage compartment in the left-hand section of the dash panel.
Fuses in the engine compartmentFig. 172
Fuse box cover in engine compartment/Schematic diagram of the
fuse box
Fig. 173
Cover for the fuse box in the en-
gine compartment: Plastic clip
for fuses
First read and observe the introductory information and safety warn-
ings on page 199.
Replacing fuses
›
Press together the interlocks of the cover simultaneously in the direction of the
arrow
1
» Fig. 172 .
›
Remove the cover in the direction of the arrow
2
.
›
Replace the appropriate fuse.
›
Place the cover on top of the fusebox.
›
Push in the interlocks on the cover and lock.
201Fuses and light bulbs