engine overheat SKODA OCTAVIA 2012 3.G / (5E) Owner's Manual
[x] Cancel search | Manufacturer: SKODA, Model Year: 2012, Model line: OCTAVIA, Model: SKODA OCTAVIA 2012 3.G / (5E)Pages: 222, PDF Size: 13.52 MB
Page 12 of 222
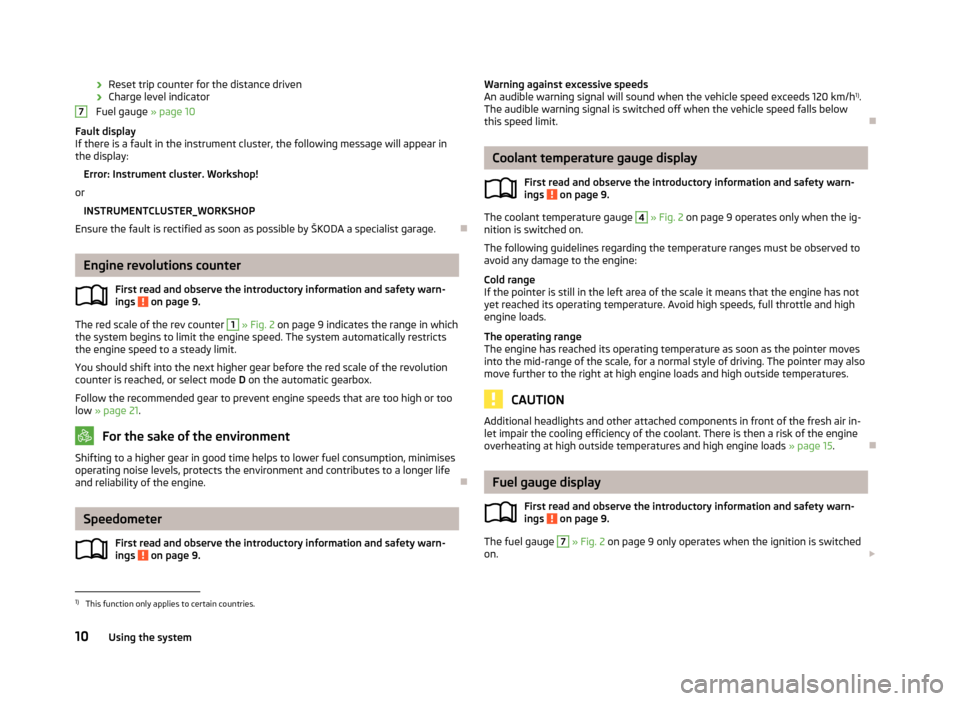
›Reset trip counter for the distance driven
› Charge level indicator
Fuel gauge » page 10
Fault display
If there is a fault in the instrument cluster, the following message will appear in the display:
Error: Instrument cluster. Workshop!
or INSTRUMENTCLUSTER_WORKSHOP
Ensure the fault is rectified as soon as possible by ŠKODA a specialist garage.
Engine revolutions counter
First read and observe the introductory information and safety warn-ings
on page 9.
The red scale of the rev counter
1
» Fig. 2 on page 9 indicates the range in which
the system begins to limit the engine speed. The system automatically restricts
the engine speed to a steady limit.
You should shift into the next higher gear before the red scale of the revolution counter is reached, or select mode D on the automatic gearbox.
Follow the recommended gear to prevent engine speeds that are too high or too low » page 21 .
For the sake of the environment
Shifting to a higher gear in good time helps to lower fuel consumption, minimises
operating noise levels, protects the environment and contributes to a longer lifeand reliability of the engine.
Speedometer
First read and observe the introductory information and safety warn-
ings
on page 9.
7Warning against excessive speeds
An audible warning signal will sound when the vehicle speed exceeds 120 km/h 1)
.
The audible warning signal is switched off when the vehicle speed falls below
this speed limit.
Coolant temperature gauge display
First read and observe the introductory information and safety warn-
ings
on page 9.
The coolant temperature gauge
4
» Fig. 2 on page 9 operates only when the ig-
nition is switched on.
The following guidelines regarding the temperature ranges must be observed to avoid any damage to the engine:
Cold range
If the pointer is still in the left area of the scale it means that the engine has not
yet reached its operating temperature. Avoid high speeds, full throttle and high
engine loads.
The operating range
The engine has reached its operating temperature as soon as the pointer moves
into the mid-range of the scale, for a normal style of driving. The pointer may also
move further to the right at high engine loads and high outside temperatures.
CAUTION
Additional headlights and other attached components in front of the fresh air in-
let impair the cooling efficiency of the coolant. There is then a risk of the engine
overheating at high outside temperatures and high engine loads » page 15.
Fuel gauge display
First read and observe the introductory information and safety warn-
ings
on page 9.
The fuel gauge
7
» Fig. 2 on page 9 only operates when the ignition is switched
on.
1)
This function only applies to certain countries.
10Using the system
Page 16 of 222
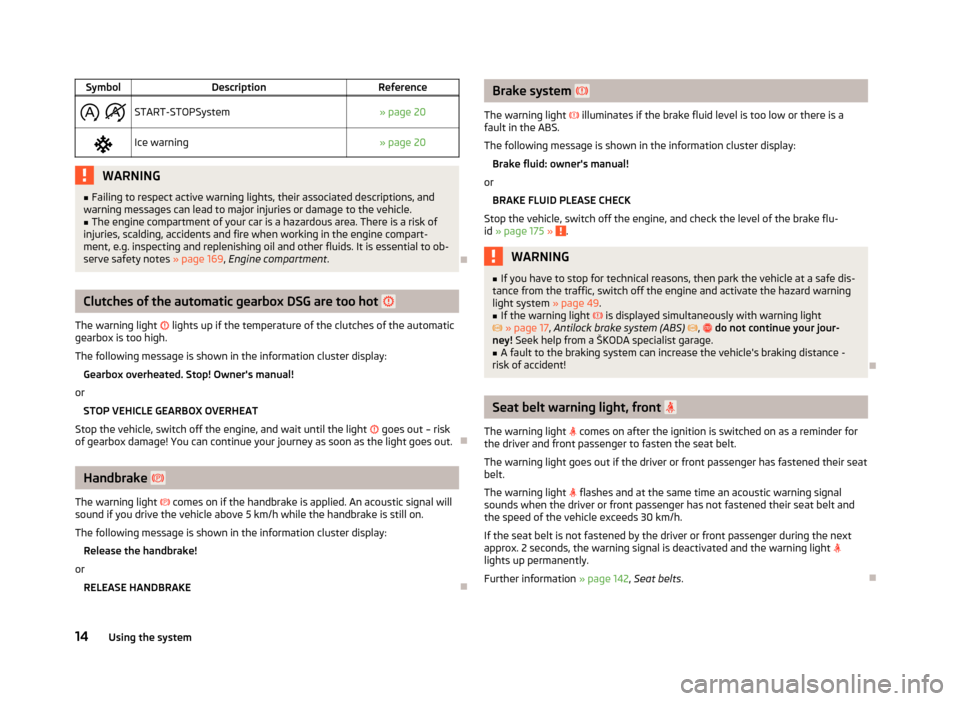
SymbolDescriptionReference
START-STOPSystem» page 20Ice warning» page 20WARNING■
Failing to respect active warning lights, their associated descriptions, and
warning messages can lead to major injuries or damage to the vehicle.■
The engine compartment of your car is a hazardous area. There is a risk of
injuries, scalding, accidents and fire when working in the engine compart-
ment, e.g. inspecting and replenishing oil and other fluids. It is essential to ob-
serve safety notes » page 169, Engine compartment .
Clutches of the automatic gearbox DSG are too hot
The warning light
lights up if the temperature of the clutches of the automatic
gearbox is too high.
The following message is shown in the information cluster display: Gearbox overheated. Stop! Owner's manual!
or STOP VEHICLE GEARBOX OVERHEAT
Stop the vehicle, switch off the engine, and wait until the light
goes out – risk
of gearbox damage! You can continue your journey as soon as the light goes out.
Handbrake
The warning light
comes on if the handbrake is applied. An acoustic signal will
sound if you drive the vehicle above 5 km/h while the handbrake is still on.
The following message is shown in the information cluster display: Release the handbrake!
or RELEASE HANDBRAKE
Brake system
The warning light illuminates if the brake fluid level is too low or there is a
fault in the ABS.
The following message is shown in the information cluster display: Brake fluid: owner's manual!
or BRAKE FLUID PLEASE CHECK
Stop the vehicle, switch off the engine, and check the level of the brake flu-
id » page 175 »
.
WARNING■
If you have to stop for technical reasons, then park the vehicle at a safe dis-
tance from the traffic, switch off the engine and activate the hazard warning
light system » page 49.■
If the warning light is displayed simultaneously with warning light
» page 17 , Antilock brake system (ABS) , do not continue your jour-
ney! Seek help from a ŠKODA specialist garage.
■
A fault to the braking system can increase the vehicle's braking distance -
risk of accident!
Seat belt warning light, front
The warning light
comes on after the ignition is switched on as a reminder for
the driver and front passenger to fasten the seat belt.
The warning light goes out if the driver or front passenger has fastened their seat
belt.
The warning light
flashes and at the same time an acoustic warning signal
sounds when the driver or front passenger has not fastened their seat belt and
the speed of the vehicle exceeds 30 km/h.
If the seat belt is not fastened by the driver or front passenger during the next
approx. 2 seconds, the warning signal is deactivated and the warning light
lights up permanently.
Further information » page 142, Seat belts .
14Using the system
Page 100 of 222
WARNING■Greater physical effort for braking is required when the engine is switched
off – risk of accident!■
During the braking procedure on a vehicle with manual transmission, when
the vehicle is in gear and at low revs, press the clutch pedal. If you fail to do
so, the functionality of the brake booster can be impaired – risk of accident!
■
If a front spoiler, full wheel trim, etc. is mounted retrospectively, it must be
ensured that the air supply to the front wheel brakes is not reduced. The front
brakes may overheat which can have a negative impact on the functioning of
the braking system - risk of accident!
CAUTION
■ Observe the recommendations on the new brake pads » page 100.■Never let the brakes slip with light pressure on the pedal if braking is not neces-
sary. This causes the brakes to overheat and can also result in a longer braking distance and excessive wear.
Note
■ If the brakes are applied in full and the control unit for the braking system con-
siders the situation to be dangerous for the following traffic, the brake light
flashes automatically. After the speed was reduced below around 10 km/h or the vehicle was stopped, the brake light stops flashing and the hazard warning light
system switches on. The hazard warning light system is switched off automatical-
ly after accelerating or driving off again.■
Before negotiating a steep downhill section, reduce the speed, shift down into
the next lower gear (manual gearbox) or select a lower drive position (automatic
gearbox). As a result, the braking effect of the engine will be used, reducing the
load on the brakes. Any additional braking should be completed intermittently, not continuously.
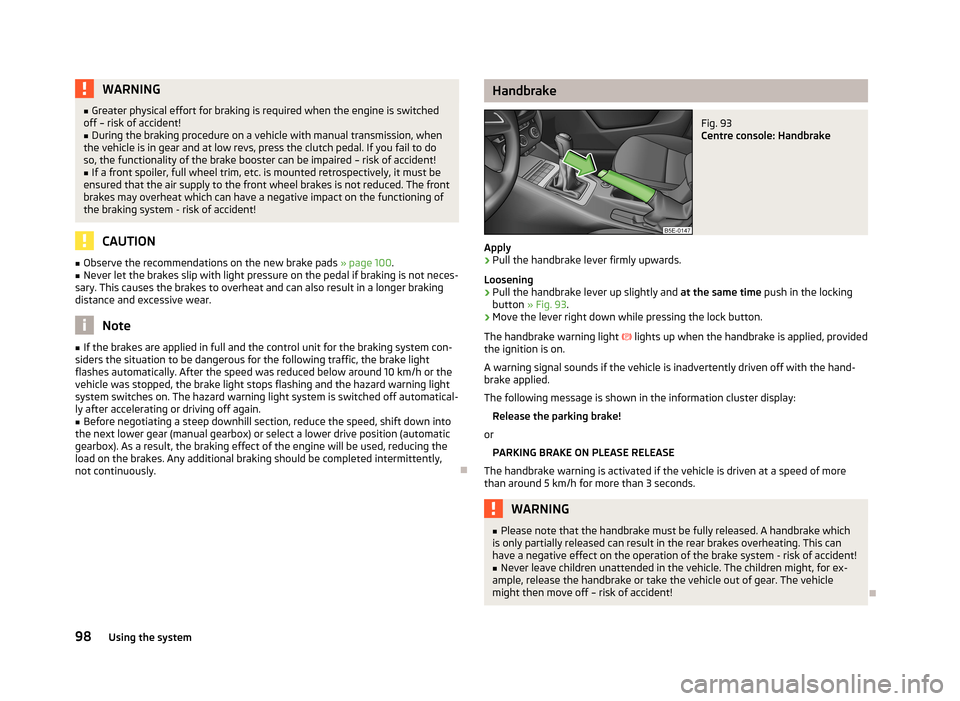
HandbrakeFig. 93
Centre console: Handbrake
Apply
›
Pull the handbrake lever firmly upwards.
Loosening
›
Pull the handbrake lever up slightly and at the same time push in the locking
button » Fig. 93 .
›
Move the lever right down while pressing the lock button.
The handbrake warning light
lights up when the handbrake is applied, provided
the ignition is on.
A warning signal sounds if the vehicle is inadvertently driven off with the hand-
brake applied.
The following message is shown in the information cluster display:
Release the parking brake!
or
PARKING BRAKE ON PLEASE RELEASE
The handbrake warning is activated if the vehicle is driven at a speed of more than around 5 km/h for more than 3 seconds.
WARNING■ Please note that the handbrake must be fully released. A handbrake which
is only partially released can result in the rear brakes overheating. This can
have a negative effect on the operation of the brake system - risk of accident!■
Never leave children unattended in the vehicle. The children might, for ex-
ample, release the handbrake or take the vehicle out of gear. The vehicle
might then move off – risk of accident!
98Using the system
Page 112 of 222
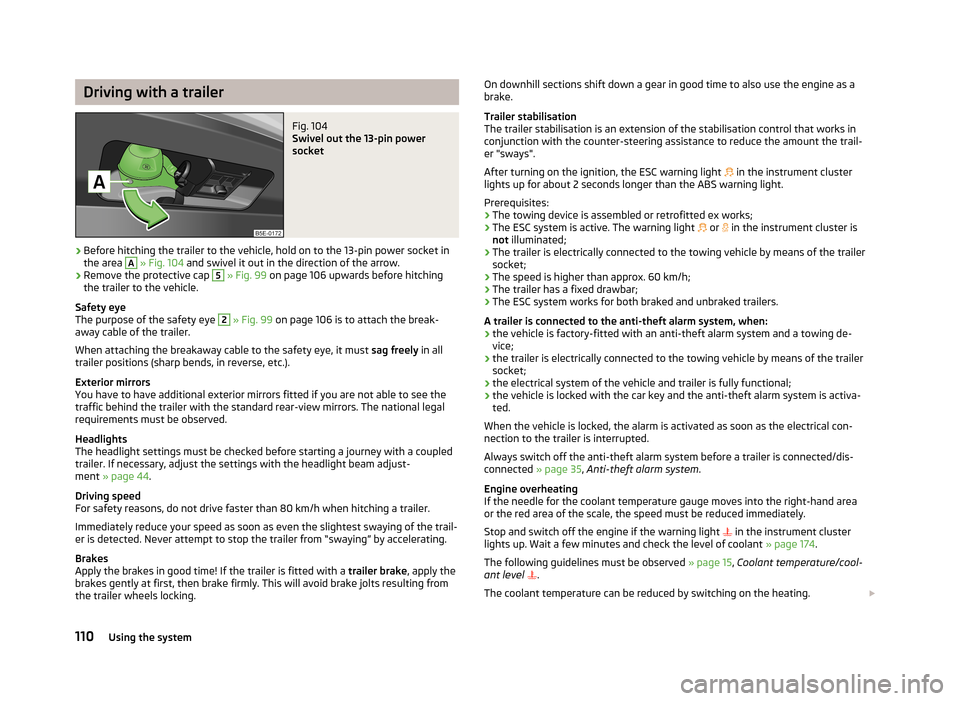
Driving with a trailerFig. 104
Swivel out the 13-pin power
socket
›
Before hitching the trailer to the vehicle, hold on to the 13-pin power socket in the area
A
» Fig. 104 and swivel it out in the direction of the arrow.
›
Remove the protective cap
5
» Fig. 99 on page 106 upwards before hitching
the trailer to the vehicle.
Safety eye
The purpose of the safety eye
2
» Fig. 99 on page 106 is to attach the break-
away cable of the trailer.
When attaching the breakaway cable to the safety eye, it must sag freely in all
trailer positions (sharp bends, in reverse, etc.).
Exterior mirrors
You have to have additional exterior mirrors fitted if you are not able to see the
traffic behind the trailer with the standard rear-view mirrors. The national legal
requirements must be observed.
Headlights
The headlight settings must be checked before starting a journey with a coupled
trailer. If necessary, adjust the settings with the headlight beam adjust-
ment » page 44 .
Driving speed
For safety reasons, do not drive faster than 80 km/h when hitching a trailer.
Immediately reduce your speed as soon as even the slightest swaying of the trail- er is detected. Never attempt to stop the trailer from “swaying” by accelerating.
Brakes
Apply the brakes in good time! If the trailer is fitted with a trailer brake, apply the
brakes gently at first, then brake firmly. This will avoid brake jolts resulting from
the trailer wheels locking.
On downhill sections shift down a gear in good time to also use the engine as a
brake.
Trailer stabilisation
The trailer stabilisation is an extension of the stabilisation control that works in
conjunction with the counter-steering assistance to reduce the amount the trail-
er "sways".
After turning on the ignition, the ESC warning light in the instrument cluster
lights up for about 2 seconds longer than the ABS warning light.
Prerequisites: › The towing device is assembled or retrofitted ex works;
› The ESC system is active. The warning light
or in the instrument cluster is
not illuminated;
› The trailer is electrically connected to the towing vehicle by means of the trailer
socket;
› The speed is higher than approx. 60 km/h;
› The trailer has a fixed drawbar;
› The ESC system works for both braked and unbraked trailers.
A trailer is connected to the anti-theft alarm system, when: › the vehicle is factory-fitted with an anti-theft alarm system and a towing de-
vice;
› the trailer is electrically connected to the towing vehicle by means of the trailer
socket;
› the electrical system of the vehicle and trailer is fully functional;
› the vehicle is locked with the car key and the anti-theft alarm system is activa-
ted.
When the vehicle is locked, the alarm is activated as soon as the electrical con-
nection to the trailer is interrupted.
Always switch off the anti-theft alarm system before a trailer is connected/dis- connected » page 35, Anti-theft alarm system .
Engine overheating
If the needle for the coolant temperature gauge moves into the right-hand area or the red area of the scale, the speed must be reduced immediately.
Stop and switch off the engine if the warning light
in the instrument cluster
lights up. Wait a few minutes and check the level of coolant » page 174.
The following guidelines must be observed » page 15, Coolant temperature/cool-
ant level
.
The coolant temperature can be reduced by switching on the heating. 110Using the system
Page 131 of 222
Automatic gearbox
Automatic transmission
Introduction
This chapter contains information on the following subjects:
Introductory information
129
Starting-off and driving
130
Selector lever positions
130
Manual shifting of gears (Tiptronic)
131
Selector lever lock
131
Kickdown function
132
Dynamic shift programme
132
Emergency programme
132
Selector lever-emergency unlocking
133WARNING■ Do not depress the accelerator if changing the position of the selector lever
when the vehicle is stationary and the engine is running – risk of accident!■
Never move the selector lever into position R or P when driving – risk of an
accident!
■
When the vehicle is stationery and the engine is running, stopping the vehi-
cle requires you pressing the brake pedal in all selector lever settings. When
the engine is idling, the power transmission is never completely interrupted -
the vehicle creeps.
■
The selector lever must be placed into position P and the handbrake firmly
applied before the bonnet can be opened and work on the running engine can
be completed – risk of accident! The safety guidelines must always be ob-
served » page 169 , Engine compartment .
■
If stopping on a hill (downhill gradient), never try to maintain the vehicle sta-
tionary with the gear engaged by means of the accelerator pedal, i.e. by let-
ting the clutch slip - This can lead to overheating of the clutch. If there is a risk
of overheating of the clutch due to overload, the clutch is opened automati-
cally and the vehicle rolls backward – risk of accident!
WARNING (Continued)■ If you have to stop on a slope, depress and hold the brake pedal to prevent
the vehicle from rolling back.■
On a smooth or slippery road surface using the kickdown function can cause
the driven wheels to spin – risk of skidding!
Note
If the driving mode Sport or Eco » page 124 is selected and the selector lever is in
position D/S, the gearbox is automatically set to mode S or E. The mode is indica-
ted in the instrument cluster display » Fig. 120 on page 130.
Introductory information
First read and observe the introductory information and safety warn-
ings
on page 129.
Starting
The engine can only be started when the selector lever is in position P or N .
When the steering is locked, when the ignition is turned on or off, or when start-
ing the engine, If the selector lever is not in the positions P or N, the following
message appears in the instrument cluster display Move the selector lever to Po-
sition P/N! or ENGAGE N OR P .
Shifting gears
Shifting up and down through the gears is performed automatically. The gearbox
can also be switched to Tiptronic mode. This mode makes it possible for you to
also shift gears manually » page 131.
If the selector lever position N is accidentally selected while driving, it is first nec-
essary to release pressure on the accelerator pedal and wait for the idling speed of the engine to be reached before the selector lever can be engaged in the driveposition.
At temperatures below -10 °C the engine can only be started in the selector lever position P.
Parking
When parking on a level road surface, it suffices to engage selector lever position
P .
129Automatic gearbox
Page 177 of 222
CAUTION■Do not fill the coolant above the mark A » Fig. 150 .■If a fault causes the engine to overheat, we recommend visiting a ŠKODA Part-
ner, otherwise serious engine damage may occur.
Replenishing the coolant
First read and observe the introductory information and safety warn-ings
on page 169.
Only refill with new coolant.
›
Switch off the engine.
›
Allow the engine to cool.
›
Place a cloth over the cap of the coolant expansion reservoir and unscrew the
cap carefully .
›
Replenish the coolant.
›
Turn the cap until it clicks into place.
Do not use an alternative additive if the specified coolant is not available in an emergency. In this case, just use water and have the correct mixing ratio of water
and the coolant additive restored by a ŠKODA specialist garage as soon as possi-
ble.
Radiator fan
First read and observe the introductory information and safety warn-
ings
on page 169.
After switching off the ignition, the fan can intermittently continue to operate for
approx. 10 minutes.
The radiator fan is powered by an electric motor. Operation is controlled accord-
ing to the temperature of the coolant.
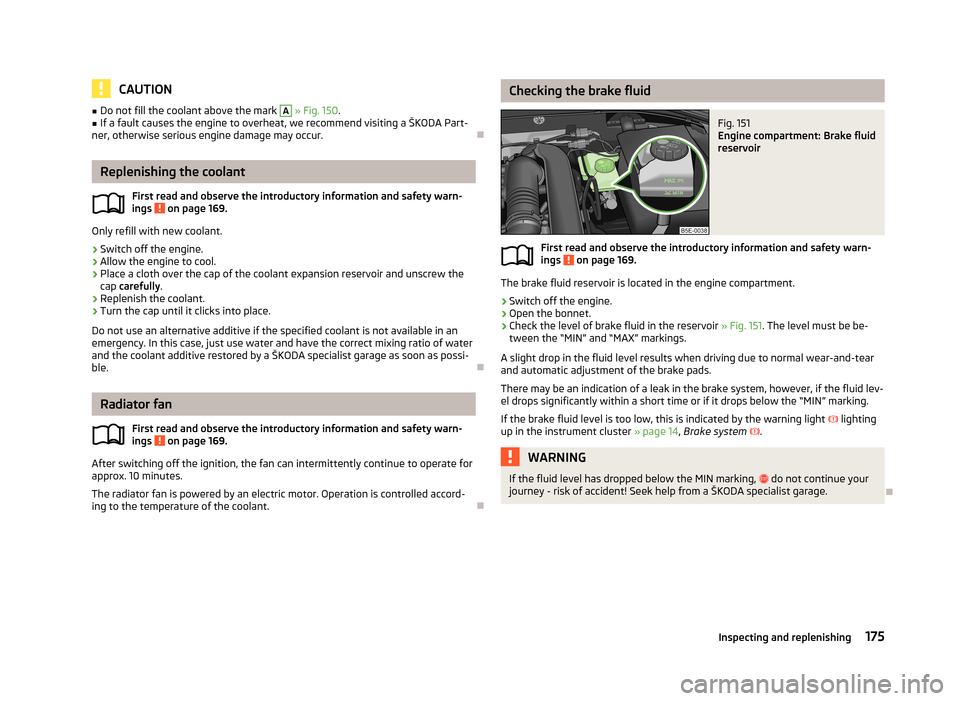
Checking the brake fluidFig. 151
Engine compartment: Brake fluid
reservoir
First read and observe the introductory information and safety warn-
ings on page 169.
The brake fluid reservoir is located in the engine compartment.
›
Switch off the engine.
›
Open the bonnet.
›
Check the level of brake fluid in the reservoir » Fig. 151. The level must be be-
tween the “MIN” and “MAX” markings.
A slight drop in the fluid level results when driving due to normal wear-and-tear and automatic adjustment of the brake pads.
There may be an indication of a leak in the brake system, however, if the fluid lev-
el drops significantly within a short time or if it drops below the “MIN” marking.
If the brake fluid level is too low, this is indicated by the warning light
lighting
up in the instrument cluster » page 14, Brake system
.
WARNINGIf the fluid level has dropped below the MIN marking, do not continue your
journey - risk of accident! Seek help from a ŠKODA specialist garage.
175Inspecting and replenishing
Page 196 of 222
Sealing and inflating tyresFirst read and observe the introductory information and safety warn-ings
on page 192.
Sealing
›
Forcefully shake the tyre inflator bottle
10
» Fig. 166 on page 193 several times.
›
Firmly screw the inflation hose
3
onto the tyre inflator bottle
10
clockwise.
The film on the cap is pierced automatically.
›
Remove the plug from the inflation hose
3
and plug the open end fully onto
the tyre valve.
›
Hold the bottle
10
with the bottom facing upwards and fill all of the sealing
agent from the tyre inflator bottle into the tyre.
›
Remove the empty tyre inflator bottle from the valve.
›
Screw the valve core back into the tyre valve using the valve remover
1
.
Inflating
›
Screw the tyre inflation hose
5
» Fig. 166 on page 193 of the air compressor
firmly onto the tyre valve.
›
Check that the air release valve
7
is closed.
›
Start the engine and run it in idle.
›
Plug the connector
9
into 12 Volt socket » page 71.
›
Switch on the air compressor with the ON and OFF switch
8
.
›
Allow the air compressor to run until a pressure of 2.0 - 2.5 bar is achieved. Max-
imum run time of 8 minutes » !
›
Switch off the air compressor.
›
If you cannot reach an air pressure of 2.0 – 2.5 bar, unscrew the tyre inflation
hose
5
from the tyre valve.
›
Drive the vehicle 10 metres forwards or backwards to allow the sealing agent to
“distribute” in the tyre.
›
Firmly screw the tyre inflation hose
5
back onto the tyre valve and repeat the
inflation process.
›
If you cannot reach the required tyre inflation pressure here either, this means
the tyre has sustained too much damage. You cannot seal with tyre with the breakdown kit »
.
›
Switch off the air compressor.
›
Remove the tyre inflation hose
5
from the tyre valve.
Once a tyre inflation pressure of 2.0 – 2.5 bar is achieved, continue the journey at
a maximum speed of 80 km/h.
Check the tyre inflation pressure after driving for 10 minutes » page 194.
WARNING■
During inflation, the tyre inflation hose and air compressor may get hot- risk
of injury!■
Do not place the hot tyre inflation hose or hot air compressor on flammable
materials – risk of fire!
■
If you cannot inflate the tyre to at least 2.0 bar, this means the damage sus-
tained was too serious. The sealing agent cannot be used to seal the tyre.
Do not drive the vehicle. Seek help from a ŠKODA specialist garage!
CAUTION
Switch off the air compressor after running 8 minutes at the latest – danger of
overheating! Allow the air compressor to cool a few minutes before switching it
on again.
Check after driving for 10 minutes
First read and observe the introductory information and safety warn-
ings
on page 192.
Check the tyre inflation pressure after driving for 10 minutes!
If the tyre inflation pressure is 1.3 bar or less:
›
Do not drive the vehicle! You cannot properly seal with tyre with the break-
down kit.
›
Seek help from a ŠKODA specialist garage.
If the tyre inflation pressure is 1.3 bar or more:
›
Adjust the tyre inflation pressure to the correct value (see inside of fuel filler cap).
›
Continue driving carefully to the nearest ŠKODA specialist garage at a maximum
speed of 80 km/h.
194Do-it-yourself