sensor SKODA OCTAVIA 2015 3.G / (5E) Owner's Guide
[x] Cancel search | Manufacturer: SKODA, Model Year: 2015, Model line: OCTAVIA, Model: SKODA OCTAVIA 2015 3.G / (5E)Pages: 268, PDF Size: 37.54 MB
Page 157 of 268
Information messagesRead and observe
on page 150 first.
The information messages are shown in the instrument cluster display.
ACC: no sensor view!
The sensor is soiled or covered.
Stop the vehicle, switch off the engine and clean the sensor or remove the
item causing the lack of visibility » Fig. 154 on page 135 .
If the message appears again after starting the engine, the position of the lev- er should be
» Fig. 171 on page 152 adjusted.
ACC not available.
The ACC is not available for an unknown reason.
Stop the vehicle, switch off the engine and then start it again. If the ACC is still
not available, push the lever into position . Seek help from a specialist ga-
rage.
Error: ACC
There is an ACC system error.
Push the lever into position . press. Seek help from a specialist garage.
Speed limit
Increase the speed accordingly and start control
» page 152.
Front Assist
Introduction
This chapter contains information on the following subjects:
Operation
155
Distance warning (dangerous distance)
156
Warning and automatic braking
156
Disable/enable
156
Information messages
157The Front Assist (hereinafter referred to as system) warns you of the danger of
a collision with a vehicle or another obstacle in front of the vehicle, and tries to
avoid a collision or mitigate its consequences by automatically applying the
brakes where necessary.
The area in front of the vehicle is monitored by a radar sensor » page 135.WARNING■
The general information relating to the use of assistance systems must
be observed » page 135, in section Introduction .■
The system does not respond to crossing or oncoming objects.
CAUTION
In case of failure of more than one brake light on the vehicle or on the electri-
cally connected trailer, the system becomes unavailable.
Operation
Read and observe
and on page 155 first.
The system support is provided in the following manner.▶ Alerts you about a dangerous proximity to the vehicle ahead.
▶ Warns you of an impending collision.
▶ Prepares the brakes for emergency braking prior to a detected danger.
▶ Assists with a brake action triggered by the driver.
▶ If the driver fails to respond to a detected danger, automatic braking is per-
formed.
The system can work only if the following basic conditions are met. The system is activated.
TCS is enabled » page 135, Braking and stabilisation systems .
The vehicle is travelling forwards at a speed of more than approx. 5 km/h.
Note
The system can be impaired or may not be available, for example when driving
in “sharp ”curves or with an ESC engagement » page 136.155Assist systems
Page 159 of 268
The system should only be disabled in exceptional cases » .
The system can be activated or deactivated in one of two ways. ▶ In the instrument cluster display » page 48, Menu itemAssist systems
.
▶ Infotainment » Owner´s Manual Infotainment , chapter CAR - vehicle set-
tings .
The following functions can be activated or deactivated separately in infotain-
ment. ▶ Distance warning
▶ Advance warning
f the distance-warning function was deactivated before switching off the igni-
tion, it remains deactivated after switching on the ignition.
WARNINGIn the following situations, Front Assist should be switched off for safety
reasons.■
When the vehicle is being towed away.
■
When the vehicle is on a rolling test bench.
■
If an unfounded warning was issued or a system action carried out.
■
When on a truck, car ferry or similar.
Information messages
Read and observe
and on page 155 first.
The information messages are shown in the instrument cluster display.
Front Assist: no sensor view.
The sensor is soiled or covered.
Stop the vehicle, switch off the engine and clean the sensor or remove the ob-
stacle causing the lack of visibility » page 135, Radar sensor .
If after engine start the message persists, then the help of a professional or-
ganisation is required.
Front Assist not available.
The system is not available for an unknown reason.
Stop the vehicle, switch off the engine and then start it again.
If after engine start the message persists, then the help of a professional or- ganisation is required.
Selection of the driving mode (Driving Mode Selection)
Introduction
This chapter contains information on the following subjects:
Normal157Sport
mode
157Eco
mode
158Individual
mode
158Off-road
mode
158
Mode selection and Infotainment display
159Individual
mode settings
159
By selecting the driving mode, the driving behaviour can be adapted to the de-
sired mode of operation.
The following modes of operation are available
Normal
,
Sport
,
Eco
,
Individual
and
Off-road
.
The mode
Off-road
is only available on the vehicles Octavia SCOUT.
WARNINGThe general information relating to the use of assistance systems must be
observed » page 135, in section Introduction .
Normal
Read and observe on page 157 first.
This mode is suitable for a conventional driving.
Sport
mode
Read and observe
on page 157 first.
This mode is suitable for a sporty driving.
Selecting this mode primarily affects the function of the following systems.
Steering
The power steering is reduced slightly, i.e., the driver needs to exert more
force for steering .
157Assist systems
Page 164 of 268
The boundary lines are clearly visible (appropriate longitudinal markings).
The boundary line of at least one side of the lane is detected.
The driver's hands are on the steering wheel.
The lane is more than 2.5 m in width.
If the turn signal is switched on prior to driving over the boundary line (e.g.
when making a turn), no steering intervention takes place when the vehicle
approaches the boundary line. The system regards the situation as an inten-
ded lane change.
Warning lights in the instrument clusterWarning lightMeaningThe system is active, but not ready to intervene.The system is active and ready to intervene or is currently
intervening.
Adaptive lane assist
Adaptive lane assist helps to keep the vehicle in the position between the
boundary lines selected by the driver, by means of steering intervention.
If the system detects only one boundary line, it will help to maintain the selec-
ted proximity from said boundary line.
If the proximity to the detected boundary line is changed, the system quickly
adapts and maintains the newly-selected position.
WARNINGThe system function may be restricted if, for example there is danger due
to ruts on a downhill road or in a crosswind.
Activation / deactivation
Read and observe
and on page 161 first.
The activation or deactivation of the system can be carried out in one of two
ways. ▶ In the instrument cluster display » page 48, Menu item
Assist systems
.
▶ Infotainment » Owner´s Manual Infotainment , chapter CAR - vehicle set-
tings .
Adaptive tracking can also be enabled or disabled In Infotainment.
After switching off and switching on the ignition, the system setting is re-
tained.
Information messages
Read and observe
and on page 161 first.
The information messages are shown in the instrument cluster display.
Lane Assist currently not available. No sensor view.
The windscreen is dirty, iced over or misted up in the camera viewing range.
Clean the windscreen or remove the obstacles.
Lane Assist currently not available.
The system has limited functionality due to a temporary error. Try to re-acti-
vate the machine.
Error: Lane Assist
A system error has occurred. Seek help from a specialist garage.
Lane Assist: take over steering!
The system has detected that there are no hands on the steering wheel. In
this case the Assist system is not ready to intervene. Place your hands on the
steering wheel.
Traffic sign recognition
Introduction
This chapter contains information on the following subjects:
Function
163
Additional display
164
Information messages
164
The road sign recognition system (hereinafter referred to as system) shows
certain road signs on the instrument cluster display.
162Driving
Page 183 of 268
WARNING■No modifications of any kind must be made to parts of the airbag system.■Any work on the airbag system including the installation and removal of
system components due to other repair work (e.g. removal of the steering
wheel) must only be carried out by a specialist garage.■
Never make any changes to the front bumper or the bodywork.
■
It is prohibited to manipulate individual parts of the airbag system, as this
might result in the airbag being deployed.
■
The protective function of the airbag system is sufficient for only one ac-
cident. The airbag system must then be replaced if the airbag has been de-
ployed.
WARNINGThe airbag system operates using pressure sensors located in the front
doors. For this reason, no adjustments may be carried out to the doors or
door panels (e.g. installation of additional loudspeakers). Resulting damage
can have a negative impact on the function of the airbag system. Any work
on the front doors and their door panels must be carried out by a specialist
garage. The following guidelines must be observed.■
Never drive with inner door panels removed.
■
Never drive if parts of the inner door panel have been removed and the
resulting openings have not been properly sealed.
■
Never drive if the loudspeakers in the doors have been removed, unless
the loudspeaker openings have been properly sealed.
■
Always make sure that the openings are covered or filled if additional
loudspeakers or other equipment parts have been installed in the inner
door panels.
Acceptance and recycling of used vehicles
Read and observe
on page 178 first.
ŠKODA meets the requirements of the brand and its products with regard to
protecting the environment and the preserving resources. All new ŠKODA ve-
hicles are 95% recyclable.
Note
You can find more detailed information about the trade-in and recycling of old
cars from a specialist garage.Washing vehicle
Introduction
This chapter contains information on the following subjects:
Washing by hand
181
Automatic car wash systems
182
Washing with a high-pressure cleaner
182
The best way to protect your vehicle against harmful environmental influences
is frequent washing.
The longer insect residues, bird droppings, road salt and other aggressive de-
posits remain on the paintwork of your vehicle, the more detrimental their de-
structive effect can be. High temperatures, such as those caused by intensive
sun's rays, accentuate this caustic effect.
It is essential to also thoroughly clean the underside of the vehicle at the end
of the winter.
WARNINGWhen washing your vehicle in the winter: Water and ice in the braking sys-
tem can affect the braking efficiency – risk of accident!
CAUTION
The temperature of the water used for cleaning must not exceed 60 °C – risk
of damaging the vehicle.
For the sake of the environment
Only wash the vehicle at washing bays intended for this purpose.
Washing by hand
Read and observe
and on page 181 first.
Soak the dirt with plenty of water and rinse as well as possible.
Clean the vehicle with a soft sponge, a washing glove or a washing brush.
Work from the top to the bottom – starting with the roof.
For stubborn dirt, agents specifically intended for this purpose are to be used. Wash out the sponge or washing glove thoroughly at short intervals.
181Care and maintenance
Page 184 of 268
Clean wheels, door sills and similar parts last. Use a second sponge for such
areas.
Give the vehicle a good rinse after washing it and dry it off using a chamois
leather.WARNINGProtect your hands and arms from sharp-edged metal parts when cleaning
the underfloor or the inside of the wheel housings or the wheel trims – risk
of cuts!
CAUTION
■ Only apply slight pressure when cleaning the vehicle's paintwork.■Do not wash your vehicle in bright sunlight – risk of paint damage.
Automatic car wash systems
Read and observe
and on page 181 first.
The usual precautionary measures must be taken before washing the vehicle
in an automatic car wash system (e.g. closing the windows and the sliding/tilt-
ing roof etc.).
If your vehicle is fitted with any particular attached parts, such as a spoiler,
roof rack system, two-way radio aerial etc., it is best to consult the operator of
the car wash system beforehand.
After an automatic wash with wax treatment, the lips of the wipers should be
cleaned with cleaning agents specially designed for the purpose, and then de-
greased.
CAUTION
Before driving through a car wash fold in the exterior mirrors - there is a risk of
damage.
Washing with a high-pressure cleaner
Read and observe
and on page 181 first.
When washing the vehicle with a high-pressure cleaner, the instructions for
use of the equipment must be observed. This applies in particular to the pres-
sure used and to the spraying distance .
Maintain a sufficiently large distance to the parking aid sensors and soft mate-
rials such as rubber hoses or insulation material.
CAUTION
■ The films should not be washed with any high-pressure cleaners - there is a
risk of damage » page 183.■
Do not aim the water jet directly at the lock cylinders or the door or opening
joints when washing the vehicle in the winter – there is a risk of freezing.
■
The sensors of the parking aid can be sprayed only for a short time and there
must be a minimum distance of 10 cm - there is a risk of damage.
Cleaning vehicle exterior
Introduction
This chapter contains information on the following subjects:
Vehicle paint work
183
Films
183
Plastic parts
184
Rubber seals
184
Chrome and anodized parts
184
Windows and external mirrors
184
Headlight glasses
185
Camera lens
185
Door closing cylinder
185
Cavity protection
185
Jack
185
Wheels
185
Towing hitch and mounting recess
186
Under-body protection
186
Wiper blades
186
We recommend using vehicle care products from ŠKODA Original Accessories.
These are available from ŠKODA Partners. The usage instructions on the pack-
age must be observed.
182General Maintenance
Page 230 of 268
›Insert a new fuse.›Replace the bracket at the original position.
Installing the storage compartment›
Move the stop buffer
B
of the storage compartment behind the brackets
C
» Fig. 239 .
›
Push in the storage compartment in the opposite direction of the arrow
5
.
›
Insert the brake rod and lock it against the arrow
4
with a screwdriver.
›
Push in the side cover against the direction of the arrow
2
.
›
Press the side cover fully against the direction of the arrow
1
.
›
Close the storage compartment.
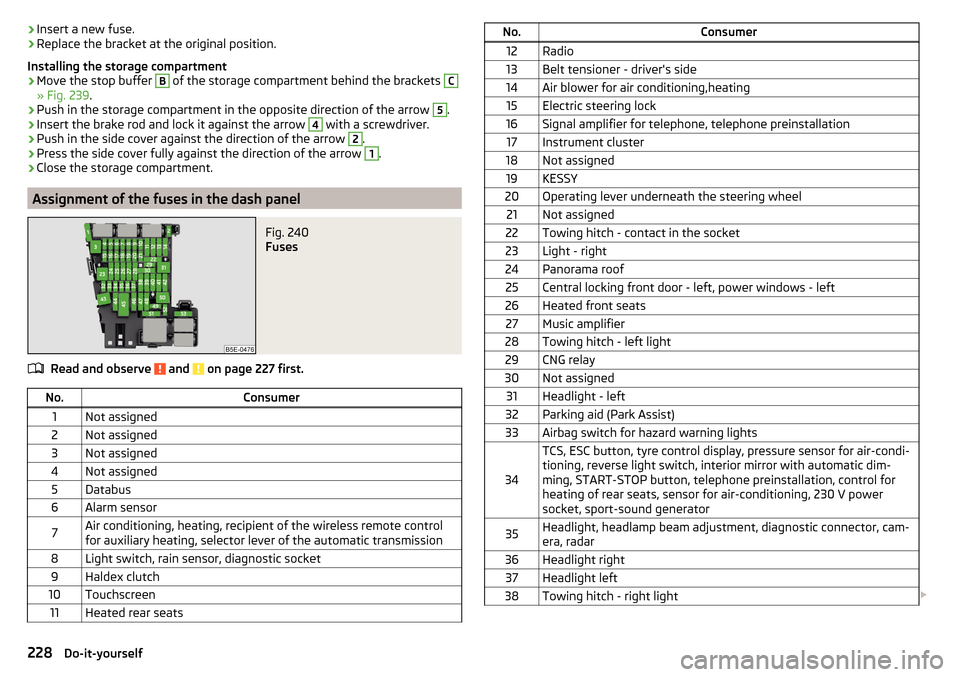
Assignment of the fuses in the dash panel
Fig. 240
Fuses
Read and observe and on page 227 first.
No.Consumer1Not assigned2Not assigned3Not assigned4Not assigned5Databus6Alarm sensor7Air conditioning, heating, recipient of the wireless remote control
for auxiliary heating, selector lever of the automatic transmission8Light switch, rain sensor, diagnostic socket9Haldex clutch10Touchscreen11Heated rear seatsNo.Consumer12Radio13Belt tensioner - driver's side14Air blower for air conditioning,heating15Electric steering lock16Signal amplifier for telephone, telephone preinstallation17Instrument cluster18Not assigned19KESSY20Operating lever underneath the steering wheel21Not assigned22Towing hitch - contact in the socket23Light - right24Panorama roof25Central locking front door - left, power windows - left26Heated front seats27Music amplifier28Towing hitch - left light29CNG relay30Not assigned31Headlight - left32Parking aid (Park Assist)33Airbag switch for hazard warning lights
34
TCS, ESC button, tyre control display, pressure sensor for air-condi-
tioning, reverse light switch, interior mirror with automatic dim-
ming, START-STOP button, telephone preinstallation, control for
heating of rear seats, sensor for air-conditioning, 230 V power
socket, sport-sound generator35Headlight, headlamp beam adjustment, diagnostic connector, cam-
era, radar36Headlight right37Headlight left38Towing hitch - right light 228Do-it-yourself
Page 231 of 268
No.Consumer39Central locking front door - right, power windows - front and rear
right4012-Volt power socket41Not assigned42Central locking rear door - left, right, headlight washer system,
windscreen washer system43Visor for gas discharge bulbs, interior lighting44Towing hitch - contact in the socket45Operating the seat adjustment46230-Volt power socket47Rear window wiper48Not assigned49Coil on starter relay, clutch pedal switch50Opening the boot lid51Belt tensioner - front passenger side52Not assigned53Relay for rear window heater
Fuses in the engine compartment
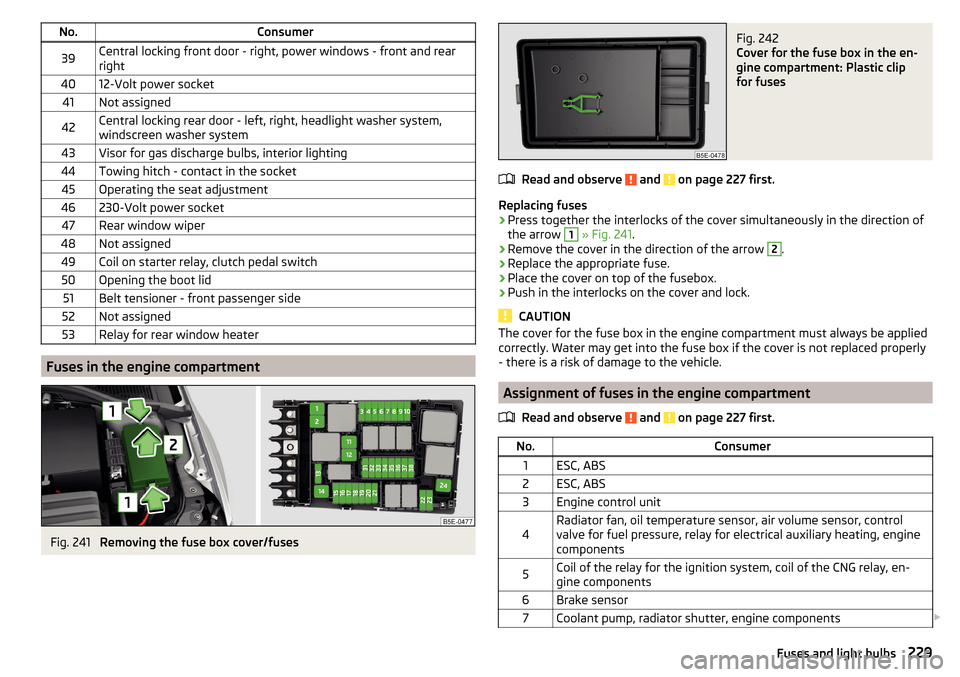
Fig. 241
Removing the fuse box cover/fuses
Fig. 242
Cover for the fuse box in the en-
gine compartment: Plastic clip
for fuses
Read and observe and on page 227 first.
Replacing fuses
›
Press together the interlocks of the cover simultaneously in the direction of
the arrow
1
» Fig. 241 .
›
Remove the cover in the direction of the arrow
2
.
›
Replace the appropriate fuse.
›
Place the cover on top of the fusebox.
›
Push in the interlocks on the cover and lock.
CAUTION
The cover for the fuse box in the engine compartment must always be applied
correctly. Water may get into the fuse box if the cover is not replaced properly
- there is a risk of damage to the vehicle.
Assignment of fuses in the engine compartment
Read and observe
and on page 227 first.
No.Consumer1ESC, ABS2ESC, ABS3Engine control unit4Radiator fan, oil temperature sensor, air volume sensor, control
valve for fuel pressure, relay for electrical auxiliary heating, engine
components5Coil of the relay for the ignition system, coil of the CNG relay, en-
gine components6Brake sensor7Coolant pump, radiator shutter, engine components 229Fuses and light bulbs
Page 251 of 268
Index
A
abroad lead-free petrol
190
Abroad Headlights
74
ABS Operation
136
Warning light34
ACC150
Control symbol32
Warning lights40
Acceptance and recycling of used vehicles181
Accessories178
Adaptive cruise control automatic stop-start
151
Information messages155
Operation150
Operation Overview152
Set/change the desired speed.153
special driving conditions154
Start control152
Stop/resume control152
Adaptive Cruise Control150
Radar sensor135
Set the clearance level153
Warning lights40
Adaptive headlight see xenon headlight
70
Adjust Auxiliary heating (auxiliary heating and ventila-tion)
118
Adjusting Exterior mirrors
80
head restraints82
seats82
Steering wheel9
the seats electronically82
Adjusting the seats8
Adjusting the seats electronically82
Adjustment Headlight beam
68
Advance warning/emergency braking Warning light
40
AHL see xenon headlight
70
Air-conditioning system Air outlet vents
116
Airbag14
Deactivating19
Deactivating the front passenger airbag19
Deployment15
Front airbag15
Head airbag18
Knee airbag17
Modifications and damage to the airbag system 180
Side airbag
17
Warning light35
Airbag system14
Air conditioning112
Air distribution control115
Climatronic114
Manual air conditioning113
Air distribution control115
Air outlet vents116
Alarm Enable/disable
58
Switch off58
Trailer177
Triggering58
Alcantara cleaning
187
Anodized parts Refer to vehicle maintenance
184
Anti-lock braking system (ABS)136
Anti-theft alarm system Enable/disable
58
Trailer177
Anti-theft wheel bolts214
Armrest Front
86
Rear86
artificial leather187
Ashtray92
Assembling the bar ball, Step 1
169
bar ball, Step 2169
Assistance systems OFF ROAD-mode
138
Assistance Systems High-beam assistant
71
Assist systems135
Auto-check control40
Automatic driving lamp control70
Automatic gearbox129
Selector lever-emergency unlocking225
Selector lever lock130
Starting-off and driving131
Tiptronic130
Using the selector lever129
Automatic gearbox modes129
Automatic load deactivation204
automatic transmission selector lever lock defect
130
Automatic transmission Kickdown
131
Launch control131
Malfunction37
Selector lever lock130
Warning light37
Warning messages37
AUX99
Auxiliary heating (auxiliary heating and ventila- tion)
117
Adjust118
Switching on/off118
Auxiliary heating (heating and ventilation) Radio remote control
119
249Index
Page 255 of 268
Fog lights72
Warning light36
Fold in passenger's mirror80
Footmats128
see footmats128
Force limit Electric boot lid
60
Power windows63
Sliding/tilting roof65
Front airbag15
Front Assist155
Disable/enable156
Distance warning156
Information messages157
Operation155
Radar sensor135
Warning and automatic braking156
Warning light40
Front door warning light75
fuel lead-free petrol
190
Fuel189
CNG193
Diesel191
Natural gas reserve display30
Petrol / Diesel reserve display30
refer to Fuel189
Refuelling189
Refuelling - natural gas192
Warning light36
Fuel consumption239
Fuel filter Warning messages
39
Fuel reserve Warning light
36
Fuses Assignment
226
Assignment of fuses in the dash panel228
Colour coding226
Fuse assignment in the engine compartment 229
Plastic clip229
Replacing226
G
Gear change Gear recommendation
41
Information on the selected gear41
Gear changing Gear stick
128
General view Cockpit
27
Genuine parts179
Glasses compartment95
Glow plug system Warning light
34
H
Handbrake
127
Warning light32
Hazard warning light system73
HBA137
Head airbag18
Headlight cleaning system Headlight cleaning system
78
Headlights Bulb arrangement
231
Driving abroad74
Headlight cleaning system78
Headlights with CORNER function73
Headrest Removing and installing
83
Head restraints82
Adjust height82
Heater Windscreen and rear window
76
Heating112
Air distribution control115
Controls113
Exterior mirrors80
Seats85
HHC137
High-beam assistant71
High beam assistant Warning light
39
Hill Start Assist (HHC)137
Hitch167
Drawback load167
Hook103
Horn27
I
Ice scrapers
184
Ignition lock121
Immobilizer120
Individual settings Locking
56
Unlocking56
Inertia reel13
Information system40
Compass point display49
Door warning40
Eco-tips49
Gear recommendation41
Lap timer48
MAXI DOT display44
Multifunction display41
operation42
Service interval display49
Stop watch48
Information system operation42
Infotainment4
Instrument cluster28
Auto-check control40
Counter for distance driven30
Display29
Overview28
Revolutions counter29
253Index