SKODA ROOMSTER 2012 1.G Repair Manual
Manufacturer: SKODA, Model Year: 2012, Model line: ROOMSTER, Model: SKODA ROOMSTER 2012 1.GPages: 194, PDF Size: 4.8 MB
Page 61 of 194
WARNING
■ The items which you transport on the roof bar system must be reliably at-
tached - risk of accident!
■ Always secure the load with appropriate and undamaged lashing straps or
tensioning straps. ■ Distribute the load evenly over the roof rack system.
■ The handling properties of your vehicle change when you transport heavy or
bulky items on the roof bar system as a result of the displacement of the cen-
tre of gravity and the increased wind attack area - risk of accident! The style
of driving and speed must therefore be adapted to the current circumstances. ■ Avoid abrupt and sudden driving/braking manoeuvres.
■ Adjust the speed and driving style to the visibility, weather, road and traffic
conditions. ■ The permissible roof load, permissible axle loads and gross permissible
weight of your vehicle must not be exceeded under any circumstances - risk
of accident! CAUTION
■ Only use roof rack systems approved by ŠKODA.
■ If other roof rack systems are used or if the roof bars are not fitted correctly,
any resulting damage to the vehicle is not covered by the warranty. It is therefore
essential that the supplied fitting instructions for the roof rack system are ob-
served.
■ Ensure that the boot lid does not hit the roof load when opened.
■ The height of the vehicle changes after mounting a roof luggage rack system
and the load that is secured to it. Compare the vehicle height with available clear-
ances, such as underpasses and garage doors. ■ Always remove the roof luggage rack system before entering an automated car
wash.
■ Ensure the roof aerial is not impaired by the secured load. For the sake of the environment
The increased aerodynamic drag results in a higher fuel consumption. Note
If the vehicle is not factory-equipped with a roof rack, it can be purchased from
the
ŠKODA Original Accessories. Ð Cup holders
Fig. 57
Cup holder
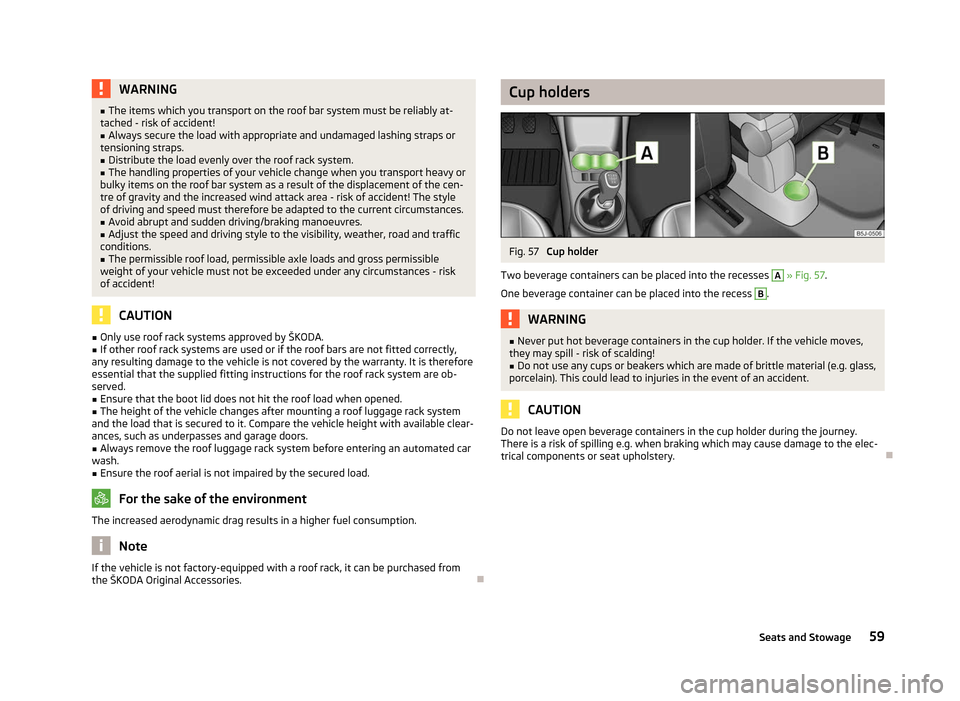
Two beverage containers can be placed into the recesses A
» Fig. 57.
One beverage container can be placed into the recess B
.
WARNING
■ Never put hot beverage containers in the cup holder. If the vehicle moves,
they may spill - risk of scalding!
■ Do not use any cups or beakers which are made of brittle material (e.g. glass,
porcelain). This could lead to injuries in the event of an accident. CAUTION
Do not leave open beverage containers in the cup holder during the journey.
There is a risk of spilling e.g. when braking which may cause damage to the elec-
trical components or seat upholstery. Ð
59
Seats and Stowage
Page 62 of 194
Ashtray
Fig. 58
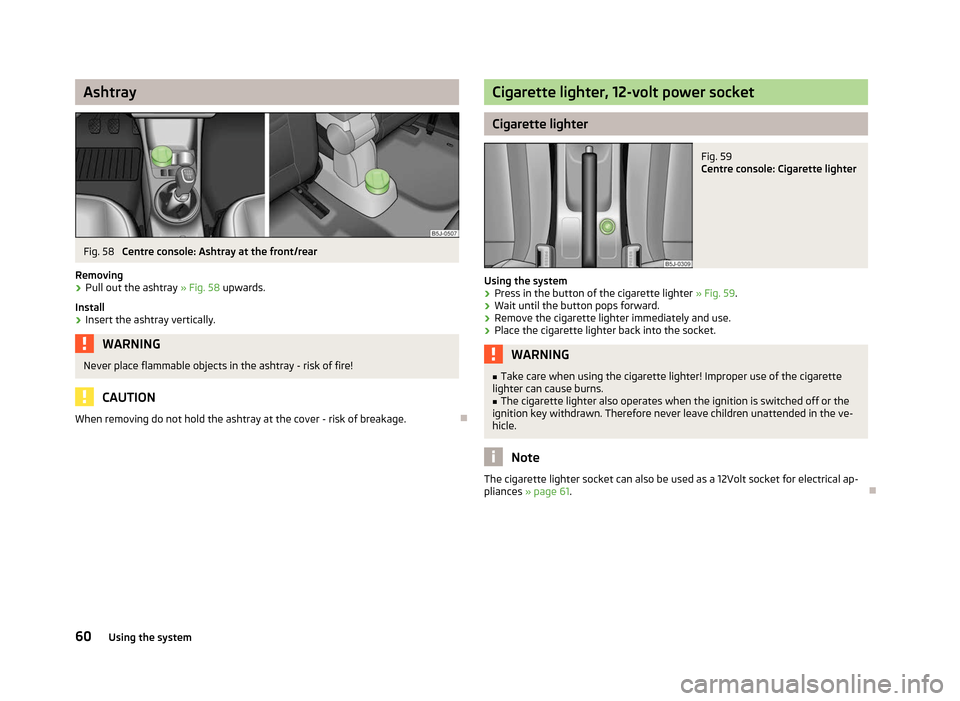
Centre console: Ashtray at the front/rear
Removing › Pull out the ashtray
» Fig. 58 upwards.
Install
› Insert the ashtray vertically. WARNING
Never place flammable objects in the ashtray - risk of fire! CAUTION
When removing do not hold the ashtray at the cover - risk of breakage. Ð Cigarette lighter, 12-volt power socket
Cigarette lighter
Fig. 59
Centre console: Cigarette lighter
Using the system › Press in the button of the cigarette lighter
» Fig. 59.
› Wait until the button pops forward.
› Remove the cigarette lighter immediately and use.
› Place the cigarette lighter back into the socket. WARNING
■ Take care when using the cigarette lighter! Improper use of the cigarette
lighter can cause burns. ■ The cigarette lighter also operates when the ignition is switched off or the
ignition key withdrawn. Therefore never leave children unattended in the ve-
hicle. Note
The cigarette lighter socket can also be used as a 12Volt socket for electrical ap-
pliances » page 61. Ð
60 Using the system
Page 63 of 194
12-volt power socket
Fig. 60
Boot: Power socket
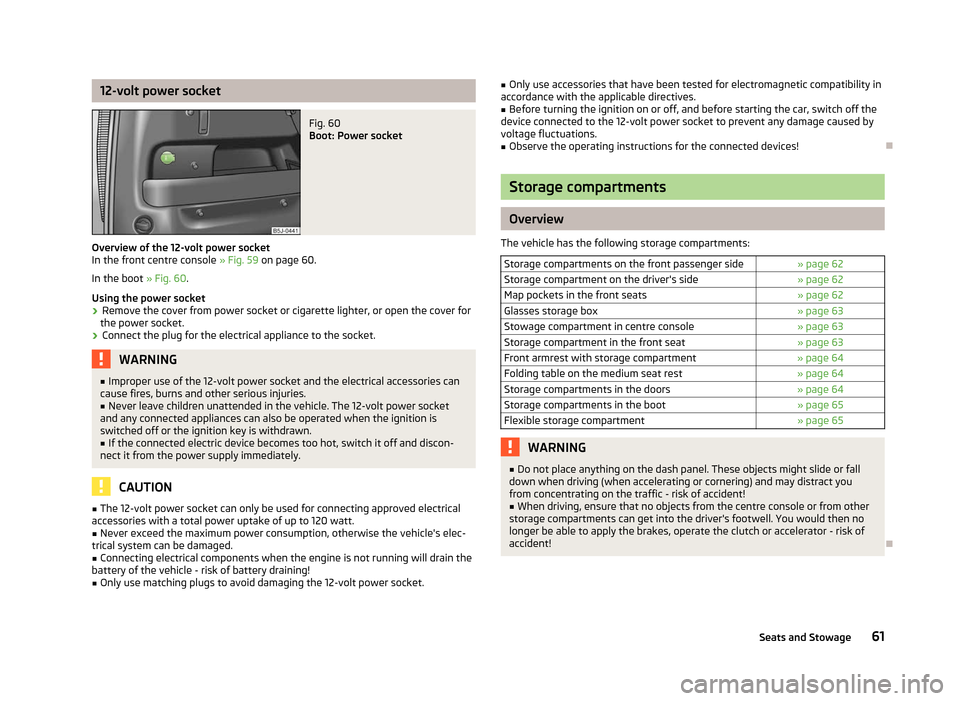
Overview of the 12-volt power socket
In the front centre console » Fig. 59 on page 60.
In the boot » Fig. 60.
Using the power socket
› Remove the cover from power socket or cigarette lighter, or open the cover for
the power socket.
› Connect the plug for the electrical appliance to the socket. WARNING
■ Improper use of the 12-volt power socket and the electrical accessories can
cause fires, burns and other serious injuries.
■ Never leave children unattended in the vehicle. The 12-volt power socket
and any connected appliances can also be operated when the ignition is
switched off or the ignition key is withdrawn.
■ If the connected electric device becomes too hot, switch it off and discon-
nect it from the power supply immediately. CAUTION
■ The 12-volt power socket can only be used for connecting approved electrical
accessories with a total power uptake of up to 120
watt.
■ Never exceed the maximum power consumption, otherwise the vehicle's elec-
trical system can be damaged.
■ Connecting electrical components when the engine is not running will drain the
battery of the vehicle - risk of battery draining! ■ Only use matching plugs to avoid damaging the 12-volt power socket. ■
Only use accessories that have been tested for electromagnetic compatibility in
accordance with the applicable directives.
■ Before turning the ignition on or off, and before starting the car, switch off the
device connected to the 12-volt power socket to prevent any damage caused by
voltage fluctuations.
■ Observe the operating instructions for the connected devices! Ð Storage compartments
Overview
The vehicle has the following storage compartments: Storage compartments on the front passenger side » page 62
Storage compartment on the driver's side » page 62
Map pockets in the front seats » page 62
Glasses storage box » page 63
Stowage compartment in centre console » page 63
Storage compartment in the front seat » page 63
Front armrest with storage compartment » page 64
Folding table on the medium seat rest » page 64
Storage compartments in the doors » page 64
Storage compartments in the boot » page 65
Flexible storage compartment » page 65 WARNING
■ Do not place anything on the dash panel. These objects might slide or fall
down when driving (when accelerating or cornering) and may distract you
from concentrating on the traffic - risk of accident!
■ When driving, ensure that no objects from the centre console or from other
storage compartments can get into the driver's footwell. You would then no
longer be able to apply the brakes, operate the clutch or accelerator - risk of
accident! Ð
61
Seats and Stowage
Page 64 of 194
Storage compartments on the front passenger side
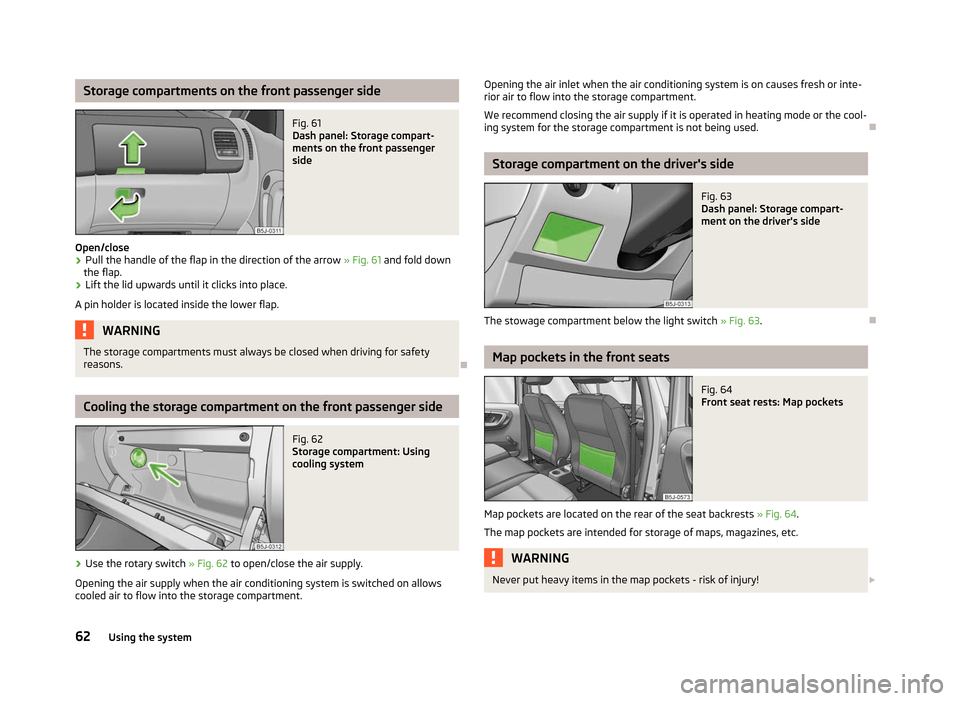
Fig. 61
Dash panel: Storage compart-
ments on the front passenger
side
Open/close
› Pull the handle of the flap in the direction of the arrow
» Fig. 61 and fold down
the flap.
› Lift the lid upwards until it clicks into place.
A pin holder is located inside the lower flap. WARNING
The storage compartments must always be closed when driving for safety
reasons. ÐCooling the storage compartment on the front passenger side
Fig. 62
Storage compartment: Using
cooling system
› Use the rotary switch
» Fig. 62 to open/close the air supply.
Opening the air supply when the air conditioning system is switched on allows
cooled air to flow into the storage compartment. Opening the air inlet when the air conditioning system is on causes fresh or inte-
rior air to flow into the storage compartment.
We recommend closing the air supply if it is operated in heating mode or the cool-
ing system for the storage compartment is not being used. Ð Storage compartment on the driver's side
Fig. 63
Dash panel: Storage compart-
ment on the driver's side
The stowage compartment below the light switch » Fig. 63.Ð Map pockets in the front seats
Fig. 64
Front seat rests: Map pockets
Map pockets are located on the rear of the seat backrests » Fig. 64.
The map pockets are intended for storage of maps, magazines, etc. WARNING
Never put heavy items in the map pockets - risk of injury! £
62 Using the system
Page 65 of 194
CAUTION
Do not put any large items such as bottles or sharp objects into the map pockets,
as the pockets and the seat covers could be damaged. ÐGlasses storage box
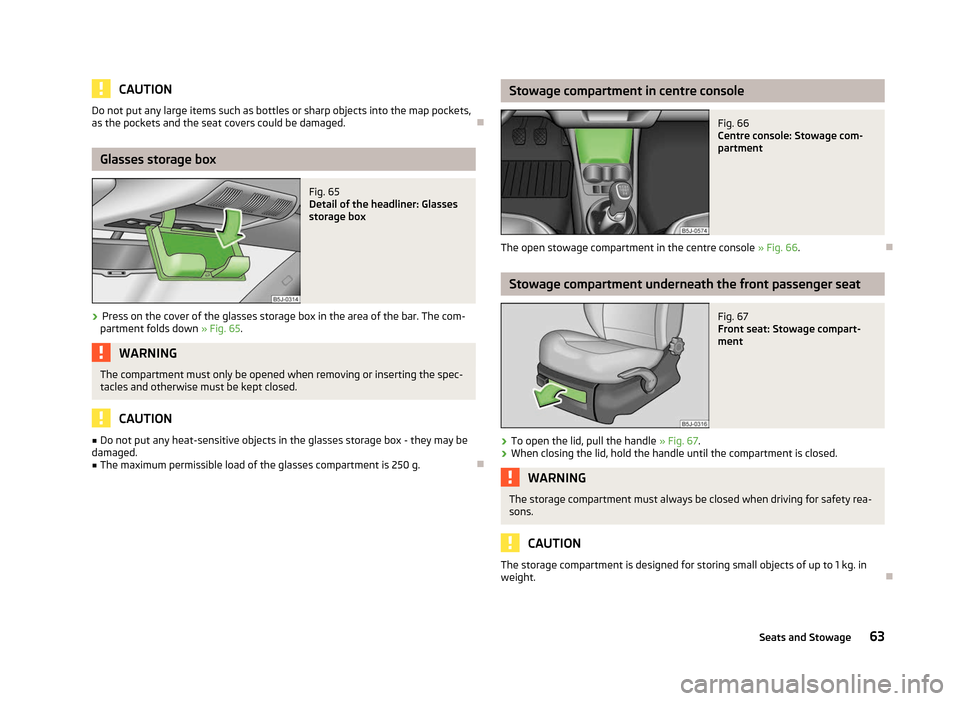
Fig. 65
Detail of the headliner: Glasses
storage box
› Press on the cover of the glasses storage box in the area of the bar. The com-
partment folds down » Fig. 65. WARNING
The compartment must only be opened when removing or inserting the spec-
tacles and otherwise must be kept closed. CAUTION
■ Do not put any heat-sensitive objects in the glasses storage box - they may be
damaged.
■ The maximum permissible load of the glasses compartment is 250 g. Ð Stowage compartment in centre console
Fig. 66
Centre console: Stowage com-
partment
The open stowage compartment in the centre console » Fig. 66. Ð Stowage compartment underneath the front passenger seat
Fig. 67
Front seat: Stowage compart-
ment
› To open the lid, pull the handle
» Fig. 67.
› When closing the lid, hold the handle until the compartment is closed. WARNING
The storage compartment must always be closed when driving for safety rea-
sons. CAUTION
The storage compartment is designed for storing small objects of up to 1 kg. in
weight. Ð
63
Seats and Stowage
Page 66 of 194
Front armrest with storage compartment
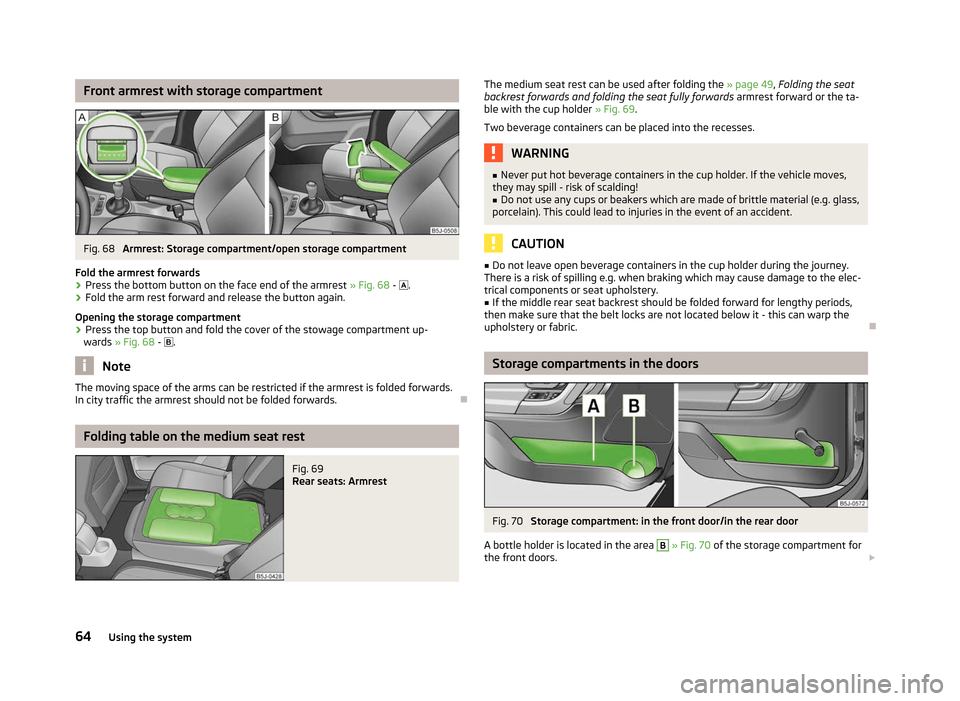
Fig. 68
Armrest: Storage compartment/open storage compartment
Fold the armrest forwards
› Press the bottom button on the face end of the armrest
» Fig. 68 - .
› Fold the arm rest forward and release the button again.
Opening the storage compartment
› Press the top button and fold the cover of the stowage compartment up-
wards » Fig. 68 - . Note
The moving space of the arms can be restricted if the armrest is folded forwards.
In city traffic the armrest should not be folded forwards. ÐFolding table on the medium seat rest
Fig. 69
Rear seats: Armrest The medium seat rest can be used after folding the
»
page 49, Folding the seat
backrest forwards and folding the seat fully forwards armrest forward or the ta-
ble with the cup holder » Fig. 69.
Two beverage containers can be placed into the recesses. WARNING
■ Never put hot beverage containers in the cup holder. If the vehicle moves,
they may spill - risk of scalding!
■ Do not use any cups or beakers which are made of brittle material (e.g. glass,
porcelain). This could lead to injuries in the event of an accident. CAUTION
■ Do not leave open beverage containers in the cup holder during the journey.
There is a risk of spilling e.g. when braking which may cause damage to the elec-
trical components or seat upholstery.
■ If the middle rear seat backrest should be folded forward for lengthy periods,
then make sure that the belt locks are not located below it - this can warp the
upholstery or fabric. Ð Storage compartments in the doors
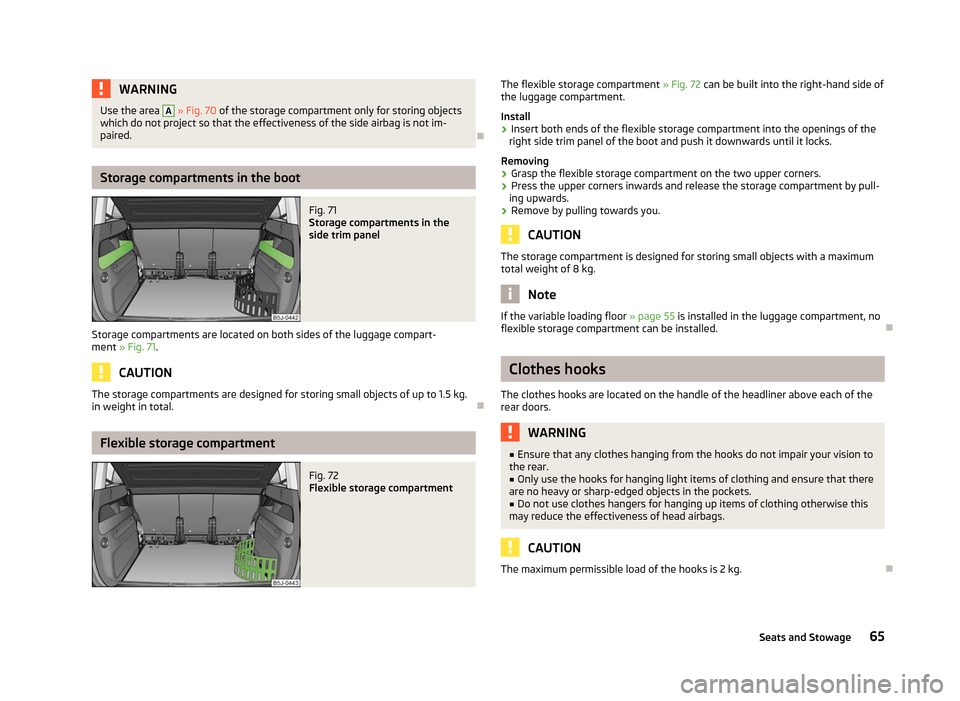
Fig. 70
Storage compartment: in the front door/in the rear door
A bottle holder is located in the area B
» Fig. 70 of the storage compartment for
the front doors. £
64 Using the system
Page 67 of 194
WARNING
Use the area A
» Fig. 70 of the storage compartment only for storing objects
which do not project so that the effectiveness of the side airbag is not im-
paired. ÐStorage compartments in the boot
Fig. 71
Storage compartments in the
side trim panel
Storage compartments are located on both sides of the luggage compart-
ment » Fig. 71. CAUTION
The storage compartments are designed for storing small objects of up to 1.5 kg.
in weight in total. ÐFlexible storage compartment
Fig. 72
Flexible storage compartment The flexible storage compartment
» Fig. 72 can be built into the right-hand side of
the luggage compartment.
Install
› Insert both ends of the flexible storage compartment into the openings of the
right side trim panel of the boot and push it downwards until it locks.
Removing
› Grasp the flexible storage compartment on the two upper corners.
› Press the upper corners inwards and release the storage compartment by pull-
ing upwards.
› Remove by pulling towards you. CAUTION
The storage compartment is designed for storing small objects with a maximum
total weight of 8 kg. Note
If the variable loading floor » page 55 is installed in the luggage compartment, no
flexible storage compartment can be installed. Ð Clothes hooks
The clothes hooks are located on the handle of the headliner above each of the
rear doors. WARNING
■ Ensure that any clothes hanging from the hooks do not impair your vision to
the rear.
■ Only use the hooks for hanging light items of clothing and ensure that there
are no heavy or sharp-edged objects in the pockets.
■ Do not use clothes hangers for hanging up items of clothing otherwise this
may reduce the effectiveness of head airbags. CAUTION
The maximum permissible load of the hooks is 2 kg. Ð
65
Seats and Stowage
Page 68 of 194
Parking ticket holder
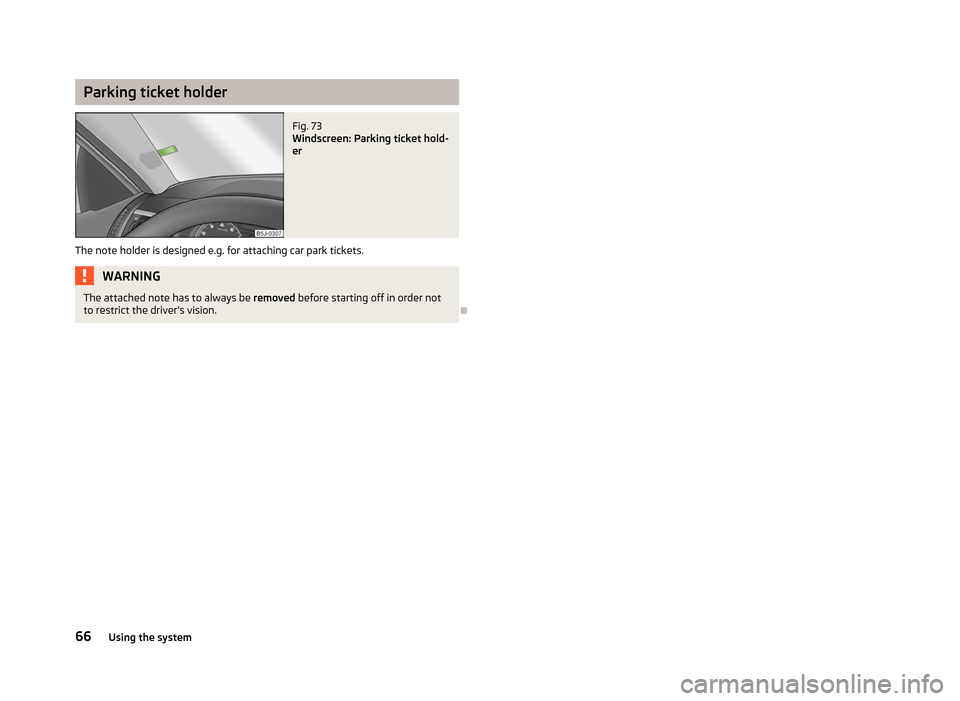
Fig. 73
Windscreen: Parking ticket hold-
er
The note holder is designed e.g. for attaching car park tickets. WARNING
The attached note has to always be removed before starting off in order not
to restrict the driver's vision. Ð66
Using the system
Page 69 of 194
Heating and air conditioning system
Heating and air conditioning system
Introductory information
The heating effect is dependent upon the coolant temperature, thus full heat
output only occurs when the engine has reached its operating temperature.
If the cooling system is switched on, the temperature and air humidity drops in
the vehicle. The well-being of the occupants of the car is enhanced as a result of
this particularly at high outside temperatures and a high air humidity. The system
prevents the windows misting up during the cold season of the year.
It is possible to briefly activate recirculated air mode to enhance the cooling ef-
fect.
Please refer to the information regarding recirculated air mode for the air-condi-
tioning system » page 72 or for Climatronic »
page 74.
The air inlet in front of the windscreen must be free of ice, snow or leaves to en-
sure that the heating and cooling system operates properly.
After switching on the cooling Condensation from the evaporator of the air condi-
tioning may drip down and form a puddle below the vehicle. This is quite normal
and not an indication of a leak! WARNING
■ For your own safety and that of other road users, ensure that all the win-
dows are free of ice, snow and misting. Please familiarize yourself about how
to correctly operate the heating and ventilation systems, how to demist and
defrost the windows, as well as with the cooling mode.
■ Do not leave recirculated air mode on over a longer period of time, as “stale”
air can cause fatigue of the driver and passengers, reduce attention levels and
also cause the windows to mist up. The risk of having an accident increases.
Switch off recirculated air mode as soon as the windows start to mist up. Note
■ The used air streams out through the vents in the boot.
■ We recommend that you do not smoke in the vehicle when the recirculating air
mode is operating since the smoke which is drawn at the evaporator from the in-
terior of the vehicle forms deposits in the evaporator of the air conditioning sys-
tem. This produces a permanent odour when the air conditioning system is oper-
ating which can only be eliminated through considerable effort and expense (re-
placement of compressor). ■ To ensure that the heating and air conditioning systems work properly, do not
block up the air outlet vents with any objects. Ð Using the air conditioning system economically
The compressor on the air conditioning system uses power from the engine when
in cooling mode which will effect the fuel consumption.
It recommended to open the windows or the doors of a vehicle for which the inte-
rior has been strongly heated through the effect of direct sunlight in order to al-
low the heated air to escape.
The cooling system should not be switched on while travelling when the window
is open.
If the desired interior temperature can also be achieved without activating the
cooling system, fresh air mode should be selected. For the sake of the environment
Pollutant emissions are also reduced when fuel is saved. Ð Operational problems
If the cooling system does not operate at outside temperatures higher than +5 °C,
there is a problem in the system. The reasons for this may be.
› One of the fuses has blown. Check the fuse and replace if necessa-
ry »
page 166 .
› The cooling system has switched off automatically for a short time because the
coolant temperature of the engine is too hot » page 9. £
67
Heating and air conditioning system
Page 70 of 194
If you cannot rectify the functional fault yourself, or the cooling capacity decrea-
ses, the cooling system must be switched off. Seek help from a
ŠKODA specialist
garage. ÐAir outlet vents
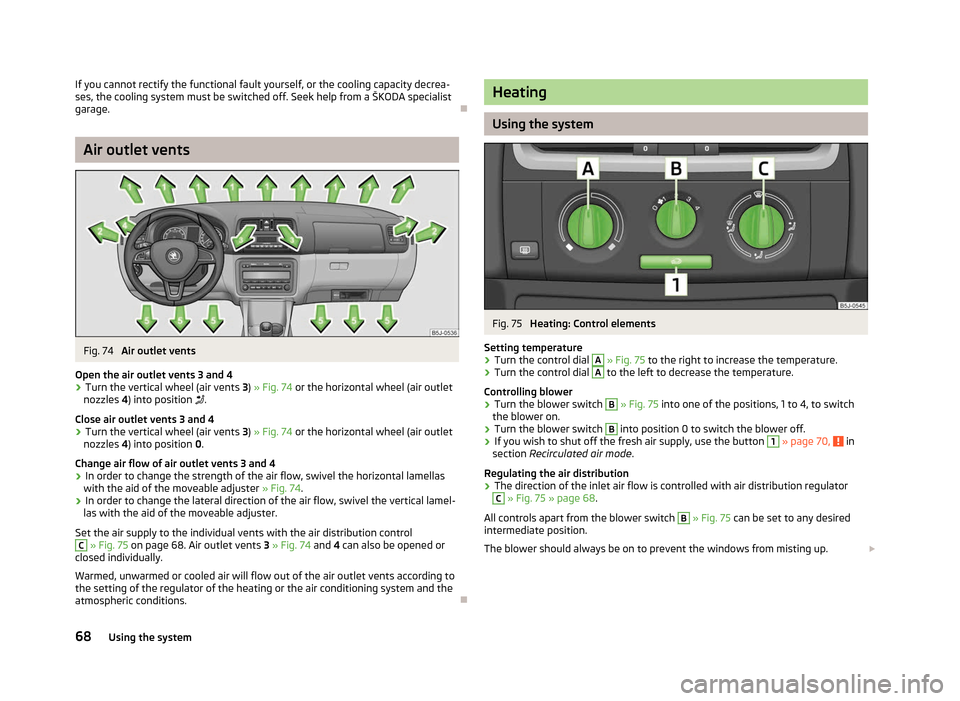
Fig. 74
Air outlet vents
Open the air outlet vents 3 and 4
› Turn the vertical wheel (air vents
3) » Fig. 74 or the horizontal wheel (air outlet
nozzles 4) into position .
Close air outlet vents 3 and 4
› Turn the vertical wheel (air vents
3) » Fig. 74 or the horizontal wheel (air outlet
nozzles 4) into position 0 .
Change air flow of air outlet vents 3 and 4
› In order to change the strength of the air flow, swivel the horizontal lamellas
with the aid of the moveable adjuster » Fig. 74 .
› In order to change the lateral direction of the air flow, swivel the vertical lamel-
las with the aid of the moveable adjuster.
Set the air supply to the individual vents with the air distribution control C
» Fig. 75 on page 68. Air outlet vents
3 » Fig. 74 and 4 can also be opened or
closed individually.
Warmed, unwarmed or cooled air will flow out of the air outlet vents according to
the setting of the regulator of the heating or the air conditioning system and the
atmospheric conditions. Ð Heating
Using the system
Fig. 75
Heating: Control elements
Setting temperature › Turn the control dial A
» Fig. 75
to the right to increase the temperature.
› Turn the control dial A
to the left to decrease the temperature.
Controlling blower
› Turn the blower switch B
» Fig. 75 into one of the positions, 1 to 4, to switch
the blower on.
› Turn the blower switch B
into position 0 to switch the blower off.
› If you wish to shut off the fresh air supply, use the button 1
»
page 70, in
section Recirculated air mode .
Regulating the air distribution
› The direction of the inlet air flow is controlled with air distribution regulator C
» Fig. 75 » page 68.
All controls apart from the blower switch B
» Fig. 75
can be set to any desired
intermediate position.
The blower should always be on to prevent the windows from misting up. £
68 Using the system