sensor SKODA SUPERB 2003 1.G / (B5/3U) User Guide
[x] Cancel search | Manufacturer: SKODA, Model Year: 2003, Model line: SUPERB, Model: SKODA SUPERB 2003 1.G / (B5/3U)Pages: 259
Page 170 of 259

Intelligent Technology169
Using the systemSafetyDriving TipsGeneral MaintenanceBreakdown assistanceTechnical Data
Driving Tips
Intelligent Technology
Electronic stability programme (ESP)*
General
General
The ESP aids you maintain control of your vehicle in situations in border-
line driving situations such as when negotiating a curve too fast. The risk
of skidding is reduced and your car thus offers greater driving stability
depending on the conditions of the road surface. This occurs at all speeds.
The following systems are integrated into the electronic stability
programme:
•Electronic Differential Lock (EDL)
•Traction control system (TCS)
•Antilock brake system ABS
•Brake Assist
Operating principle
The ESP switches on automatically when the engine is started and then
conducts a self-test. The ESP control unit processes data from the indi-
vidual systems. It also processes additional measurement data which are
supplied by highly sensitive sensors: the rotational velocity of the vehicle
about its vertical axis, the lateral acceleration of the vehicle, the braking
pressure and the steering angle.
The direction which the driver wishes to take is determined based on the
steering angle and the speed of the vehicle and is constantly compared
with the actual behaviour of the vehicle. If differences exist, such as the
car beginning to skid, the ESP will automatically brake the appropriate
wheel and reduce the engine speed.
The car is stabilised again by the forces which take effect when the wheel
is braked. Intervention into the brake system takes place primarily on the
outer front wheel of a vehicle which tends to oversteer (tendency for the
rear of the vehicle to break away) while occurs this is on the inner rear
wheel of a vehicle which tends to understeer (tendency to shift out of the
curve). This braking control cycle is accompanied by noises.
The ESP operates in combination with the ABS ⇒page 173. If there is a
fault in the ABS system, the ESP also does not operate.
Fig. 145 ESP switch
Page 171 of 259

Intelligent Technology
170
The ESP warning light ⇒page 34 lights up in the instrument cluster when
there is a fault on the ESP.
Switching off
You can switch the ESP off and on again as you wish, by pressing the
button ⇒page 169, fig. 145 . The ESP warning light ⇒page 34 lights up
in the instrument cluster when the ESP is switched off.
The ESP should normally always be switched on. It may be good practice
to switch the system off only in particular exceptional situations if you
desire wheel slip.
Examples:
•when driving with snow chains
•when driving in deep snow or on a loose surface
•when it is necessary to rock a car free when it has become stuck
then you should switch on the ESP again.
Note
•All four wheels must be fitted with the same tyres in order to achieve
problem-free operation of the ESP. Differing rolling circumferences of the
tyres can lead to an undesirable reduction in the engine output.
•Changes to vehicle (e.g. on engine, on the brakes, on chassis or other
assignment of tyres and wheels) can influence the function of the ESP
⇒ page 226.
Traction control system (TCS)*
The traction control system prevents the driven wheels
from spinning when accelerating.
General
The TCS makes it much easier, and sometimes at all possible, to start off,
accelerate and climb a steep hill when the conditions of the road surface
are unfavourable.
Operating principle
The TCS switches on automatically when the engine is started and then
conducts a self-test. The system monitors the speeds of the driven wheels
with the aid of the ABS sensors. If the wheels are spinning, the force trans-
WARNING
It is also not possible for the ESP to overcome the physical limits
of the vehicle. Even if a vehicle fitted with ESP you should still
always adapt your style of driving to the condition of the road
surface and the traffic situation. This particularly applies when
driving on slippery and wet roads. The increased safety offered
must not tempt you to take greater risks than otherwise - risk of an
accident!
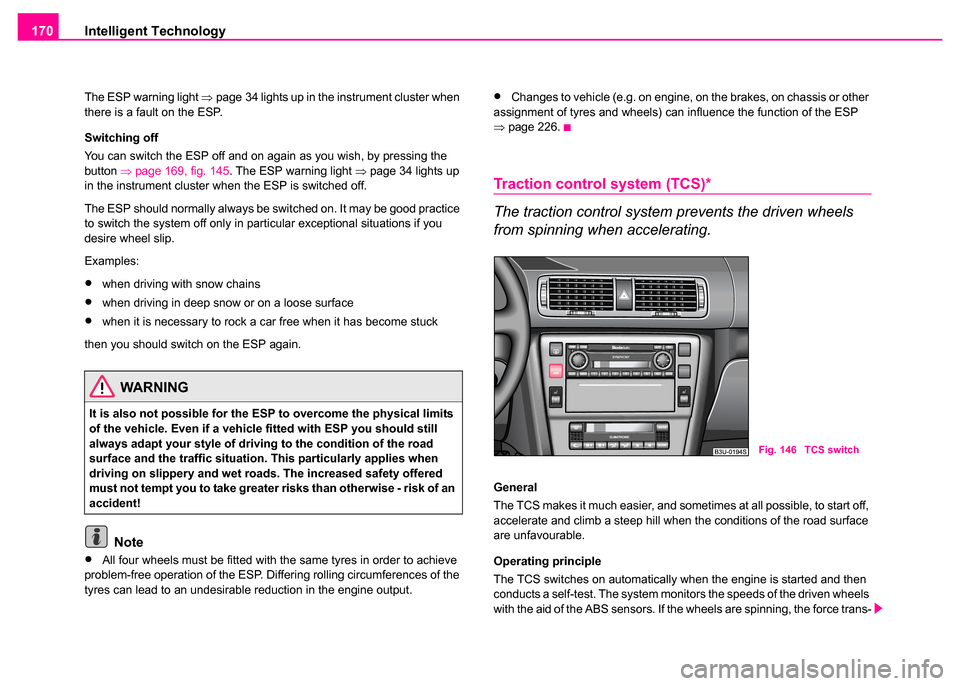
Fig. 146 TCS switch
Page 172 of 259

Intelligent Technology171
Using the systemSafetyDriving TipsGeneral MaintenanceBreakdown assistanceTechnical Data
mitted to the road surface is automatically adapted by reducing the engine
speed. This occurs at all speeds.
The TCS operates in combination with the ABS
⇒page 173. The TCS will
not function if a fault exists in the ABS system.
The TCS warning light ⇒page 34 lights up in the instrument cluster when
there is a fault on the TCS.
Switching off
You can switch the TCS off and on again as you wish by pressing the
button ⇒page 170, fig. 146 . The TCS warning light ⇒page 28 lights up
in the instrument cluster when the TCS is switched off.
The TCS should normally always be switched on. It may be good practice
to switch the system off only in particular exceptional situations if you
desire wheel slip.
Examples:
•when driving with snow chains
•when driving in deep snow or on a loose surface
•when it is necessary to rock a car free when it has become stuck
then you should switch on the TCS again.
The EDL ⇒page 171 is a part of the TCS. THE EDL operates independ-
ently of the TCS (also when the TCS has been switched off using the TCS
button).
Note
•All four wheels must be fitted with the same tyres in order to achieve
problem-free operation of the TCS. Differing rolling circumferences of the
tyres can lead to an undesirable reduction in the engine output.
•Changes to vehicle (e.g. on engine, on the brakes, on chassis or other
assignment of tyres and wheels) can influence the function of the TCS
⇒ page 226.
Electronic Differential Lock (EDL)*
The electronic differential lock prevents an individual
wheel from slipping.
General
The EDL makes it much easier, and sometimes at all possible, to start off,
accelerate and climb a steep hill when the conditions of the road surface
are unfavourable.
Operating principle
The EDL is activated automatically, that is without any action on the part
of the driver. It monitors the speeds of the driven wheels with the aid of the
ABS sensors. Should only one drive wheel begin spinning on a slippery
surface there will be an appreciable difference in the speed of the driven
wheels. The EDL function brakes the slipping wheel and the differential
transmits a greater driving force to the other driven wheel. This control
process is also accompanied by noises.
Overheating of the brakes
The EDL switches off automatically if unusually severe stresses exist in
order to avoid excessive heat generation in the disc brake on the wheel
which is being braked. The vehicle can continue to be driven and has the
same characteristics as a vehicle not fitted with EDL.
WARNING
You should always adjust your style of driving to the conditions of
the road surface and the traffic situation. The increased safety
offered must not tempt you to take greater risks than otherwise -
risk of an accident!
Page 248 of 259

Fuses and light bulbs247
Using the systemSafetyDriving TipsGeneral MaintenanceBreakdown assistanceTechnical Data
Changing the bulb for interior light of vehicles without an
electric sliding/tilting roof
– Insert a small screwdriver into the slot next to the light
⇒page 246, fig. 187.
– Carefully press out the light and remove it from the headliner.
– Take the faulty bulb out of and insert a new one.
– First of all place the lights in the mounts at the rear and press them into the headliner, until they lock into place.
Changing the bulb for interior light of vehicles with an
electric sliding/tilting roof
– Position a small screwdriver carefully against the rear edge of the cover of the power roof drive - arrows 1- ⇒page 246,
fig. 188 .
– Lever off the cover down carefully.
– Insert a small screwdriver into the slot next to the light - arrow 2-.
– Carefully press out the light and remove it from the headliner.
– Take the faulty bulb out of and insert a new one.
– First of all place the lights in the side plastic mounts and press them upwards, until they lock into place.
– Press on the cover again by first of all inserting the plastic lugs and then pushing the cover up.Interior lights at the rear
Changing the bulb for lights without interior monitoring
sensors
– Insert a small screwdriver into the slot next to the light cover ⇒fig. 189 and carefully lever the cover off.
– Take the faulty bulb out of and insert a new one.
– Insert the cover and press it in fully until it locks in place.
Changing the bulb for lights with interior monitoring
sensors
– We recommend having these bulbs replaced by a Škoda dealer.
Fig. 189 The interior
light at the rear without
interior monitoring
sensors