tow SKODA SUPERB 2005 1.G / (B5/3U) DX Navigation System Manual
[x] Cancel search | Manufacturer: SKODA, Model Year: 2005, Model line: SUPERB, Model: SKODA SUPERB 2005 1.G / (B5/3U)Pages: 75, PDF Size: 3.09 MB
Page 37 of 75

RADIO NAVIGATION SYSTEM36
NAVIGATION
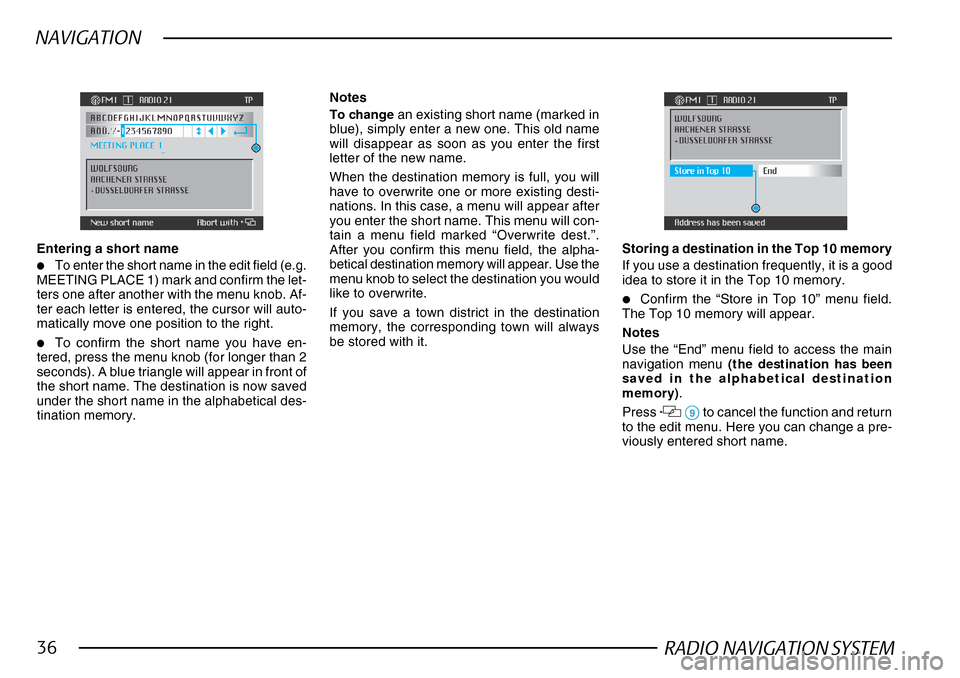
Entering a short name
•To enter the short name in the edit field (e.g.
MEETING PLACE 1) mark and confirm the let-
ters one after another with the menu knob. Af-
ter each letter is entered, the cursor will auto-
matically move one position to the right.
•To confirm the short name you have en-
tered, press the menu knob (for longer than 2
seconds). A blue triangle will appear in front of
the short name. The destination is now saved
under the short name in the alphabetical des-
tination memory.
Notes
To change an existing short name (marked in
blue), simply enter a new one. This old name
will disappear as soon as you enter the first
letter of the new name.
When the destination memory is full, you will
have to overwrite one or more existing desti-
nations. In this case, a menu will appear after
you enter the short name. This menu will con-
tain a menu field marked “Overwrite dest.”.
After you confirm this menu field, the alpha-
betical destination memory will appear. Use the
menu knob to select the destination you would
like to overwrite.
If you save a town district in the destination
memory, the corresponding town will always
be stored with it. Storing a destination in the Top 10 memory
If you use a destination frequently, it is a good
idea to store it in the Top 10 memory.
•Confirm the “Store in Top 10” menu field.
The Top 10 memory will appear.
Notes
Use the “End” menu field to access the main
navigation menu (the destination has been
saved in the alphabetical destination
memory) .
Press
99 99
9 to cancel the function and return
to the edit menu. Here you can change a pre-
viously entered short name.
Page 42 of 75

RADIO NAVIGATION SYSTEM41
NAVIGATION
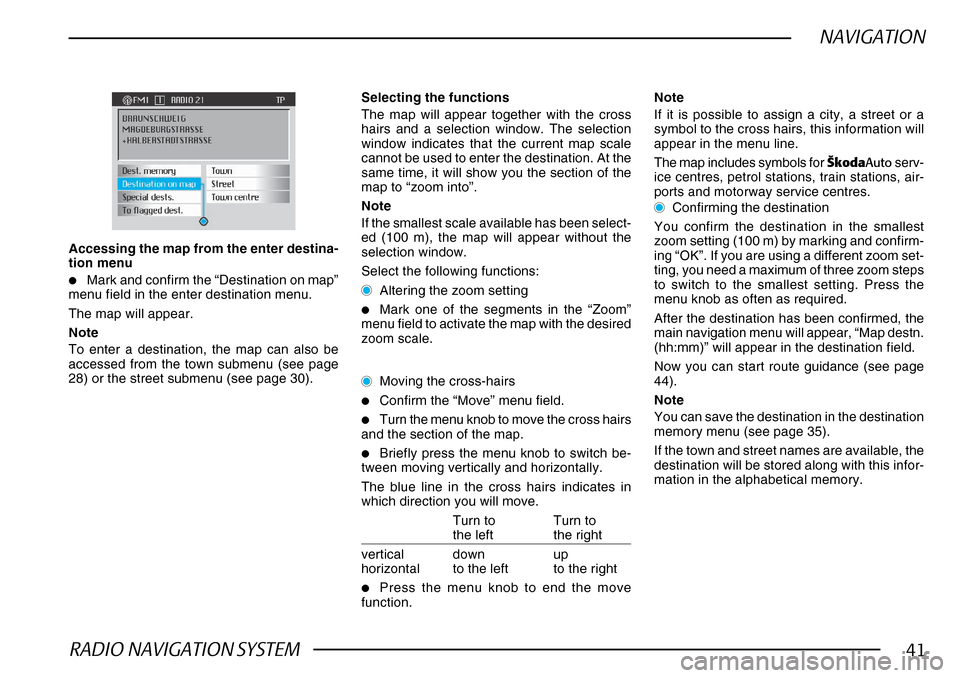
Accessing the map from the enter destina-
tion menu
•Mark and confirm the “Destination on map”
menu field in the enter destination menu.
The map will appear.
Note
To enter a destination, the map can also be
accessed from the town submenu (see page
28) or the street submenu (see page 30).
Selecting the functions
The map will appear together with the cross
hairs and a selection window. The selection
window indicates that the current map scale
cannot be used to enter the destination. At the
same time, it will show you the section of the
map to “zoom into”.
Note
If the smallest scale available has been select-
ed (100 m), the map will appear without the
selection window.
Select the following functions:
Altering the zoom setting
•Mark one of the segments in the “Zoom”
menu field to activate the map with the desired
zoom scale.
Moving the cross-hairs
•Confirm the “Move” menu field.
•Turn the menu knob to move the cross hairs
and the section of the map.
•Briefly press the menu knob to switch be-
tween moving vertically and horizontally.
The blue line in the cross hairs indicates in
which direction you will move.
Turn to Turn to
the left the right
vertical down up
horizontal to the left to the right
•Press the menu knob to end the move
function. Note
If it is possible to assign a city, a street or a
symbol to the cross hairs, this information will
appear in the menu line.
The map includes symbols for
·kodaAuto serv-
ice centres, petrol stations, train stations, air-
ports and motorway service centres.
Confirming the destination
You confirm the destination in the smallest
zoom setting (100 m) by marking and confirm-
ing “OK”. If you are using a different zoom set-
ting, you need a maximum of three zoom steps
to switch to the smallest setting. Press the
menu knob as often as required.
After the destination has been confirmed, the
main navigation menu will appear, “Map destn.
(hh:mm)” will appear in the destination field.
Now you can start route guidance (see page
44).
Note
You can save the destination in the destination
memory menu (see page 35).
If the town and street names are available, the
destination will be stored along with this infor-
mation in the alphabetical memory.
Page 47 of 75

RADIO NAVIGATION SYSTEM46
NAVIGATION
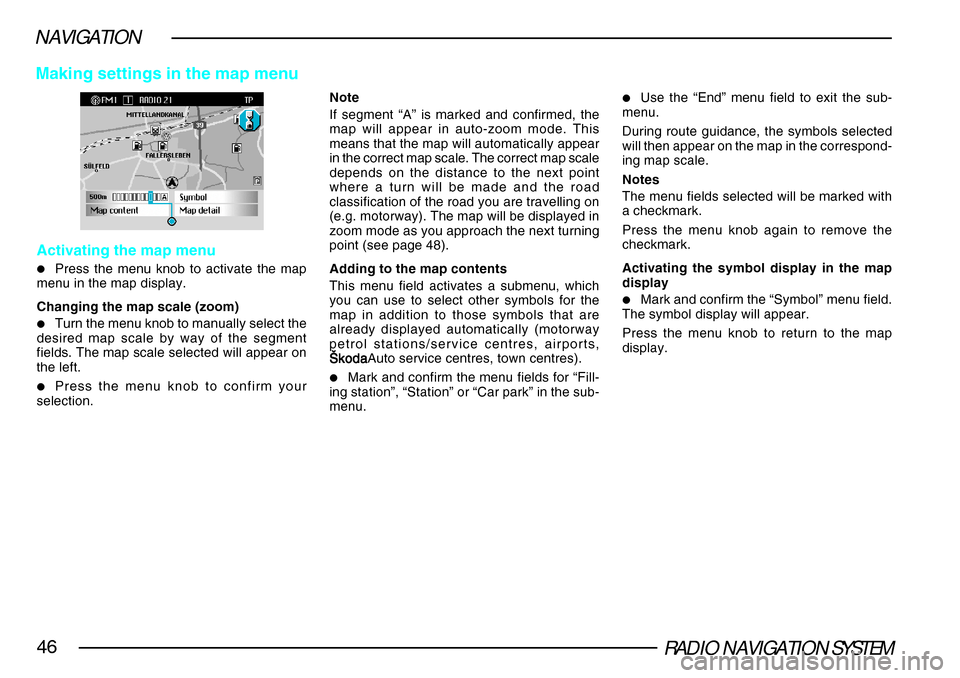
Activating the map menu
•Press the menu knob to activate the map
menu in the map display.
Changing the map scale (zoom)
•Turn the menu knob to manually select the
desired map scale by way of the segment
fields. The map scale selected will appear on
the left.
•Press the menu knob to confirm your
selection. Note
If segment “A” is marked and confirmed, the
map will appear in auto-zoom mode. This
means that the map will automatically appear
in the correct map scale. The correct map scale
depends on the distance to the next point
where a turn will be made and the road
classification of the road you are travelling on
(e.g. motorway). The map will be displayed in
zoom mode as you approach the next turning
point (see page 48).
Adding to the map contents
This menu field activates a submenu, which
you can use to select other symbols for the
map in addition to those symbols that are
already displayed automatically (motorway
petrol stations/service centres, airports,
·koda·koda ·koda·koda
·kodaAuto service centres, town centres).•Mark and confirm the menu fields for “Fill-
ing station”, “Station” or “Car park” in the sub-
menu.
•Use the “End” menu field to exit the sub-
menu.
During route guidance, the symbols selected
will then appear on the map in the correspond-
ing map scale.
Notes
The menu fields selected will be marked with
a checkmark.
Press the menu knob again to remove the
checkmark.
Activating the symbol display in the map
display
•Mark and confirm the “Symbol” menu field.
The symbol display will appear.
Press the menu knob to return to the map
display.
Making settings in the map menu
Page 63 of 75

RADIO NAVIGATION SYSTEM62
NAVIGATION
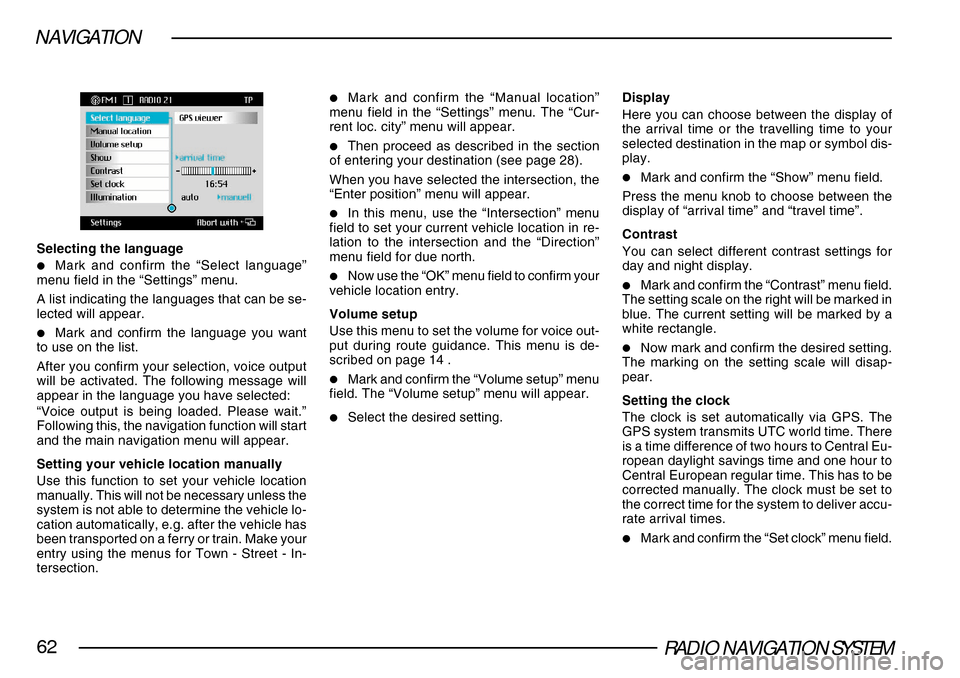
Selecting the language
•Mark and confirm the “Select language”
menu field in the “Settings” menu.
A list indicating the languages that can be se-
lected will appear.
•Mark and confirm the language you want
to use on the list.
After you confirm your selection, voice output
will be activated. The following message will
appear in the language you have selected:
“Voice output is being loaded. Please wait.”
Following this, the navigation function will start
and the main navigation menu will appear.
Setting your vehicle location manually
Use this function to set your vehicle location
manually. This will not be necessary unless the
system is not able to determine the vehicle lo-
cation automatically, e.g. after the vehicle has
been transported on a ferry or train. Make your
entry using the menus for Town - Street - In-
tersection.
•Mark and confirm the “Manual location”
menu field in the “Settings” menu. The “Cur-
rent loc. city” menu will appear.
•Then proceed as described in the section
of entering your destination (see page 28).
When you have selected the intersection, the
“Enter position” menu will appear.
•In this menu, use the “Intersection” menu
field to set your current vehicle location in re-
lation to the intersection and the “Direction”
menu field for due north.
•Now use the “OK” menu field to confirm your
vehicle location entry.
Volume setup
Use this menu to set the volume for voice out-
put during route guidance. This menu is de-
scribed on page 14 .
•Mark and confirm the “Volume setup” menu
field. The “Volume setup” menu will appear.
•Select the desired setting. Display
Here you can choose between the display of
the arrival time or the travelling time to your
selected destination in the map or symbol dis-
play.
•Mark and confirm the “Show” menu field.
Press the menu knob to choose between the
display of “arrival time” and “travel time”.
Contrast
You can select different contrast settings for
day and night display.
•Mark and confirm the “Contrast” menu field.
The setting scale on the right will be marked in
blue. The current setting will be marked by a
white rectangle.
•Now mark and confirm the desired setting.
The marking on the setting scale will disap-
pear.
Setting the clock
The clock is set automatically via GPS. The
GPS system transmits UTC world time. There
is a time difference of two hours to Central Eu-
ropean daylight savings time and one hour to
Central European regular time. This has to be
corrected manually. The clock must be set to
the correct time for the system to deliver accu-
rate arrival times.
•Mark and confirm the “Set clock” menu field.