infotainment SKODA SUPERB 2015 3.G / (B8/3V) Owner's Manual
[x] Cancel search | Manufacturer: SKODA, Model Year: 2015, Model line: SUPERB, Model: SKODA SUPERB 2015 3.G / (B8/3V)Pages: 276, PDF Size: 42.14 MB
Page 3 of 276
Preface
You have opted for a ŠKODA – our sincere thanks for your confidence in us.
This Owner's Manual contains instructions about the vehicle operation, important information about
safety, vehicle care, maintenance and self-help and technical vehicle data.
The operation of some functions and vehicle systems is undertaken via Infotainment.
Please do not read just this manual, but also the Infotainment Owner's Manual carefully as well. The
procedure in accordance with the two instructions is a prerequisite for the correct use of the vehicle.
When using the vehicle, the universally applicable country-specific legal requirements (e.g. for trans-
porting children, deactivating the airbag, tyre use, road traffic etc.) must always be observed.
We hope you enjoy driving your ŠKODA, and wish you a pleasant journey at all times.
Your ŠKODA AUTO a.s. (hereinafter referred to as ŠKODA or manufacturer)
Page 6 of 276
On-board literature
You will always find this Owner's Manual and the Service Plan included in the
on-board literature for your vehicle.
Depending on the equipment, the on-board literature can also include the In-
fotainment Owner´s Manual and in some countries also the brochure On the
road .
Owner's Manual
These Owner´s Manual apply to all body variants of the vehicle and all related
model versions as well as all equipment levels .
This Owner's Manual describes all possible equipment variants without identi-
fying them as special equipment, model variants or market-dependent equip-
ment. Consequently, this vehicle does not contain all of the equipment com-
ponents described in this Owner's Manual.
The level of equipment in your vehicle refers to your purchase contract for the vehicle. For any questions regarding the scope of equipment, please contact a
ŠKODA Partner.
The Pictures in this Owner's Manual are for illustrative purposes only. The il-
lustrations can differ in minor details from your vehicle; they are only intended
to provide general information.
ŠKODA AUTO a.s. pursues a policy of ongoing product and model development
with all vehicles. Changes in terms of supply scope are possible at any time
with regard to design, equipment and technology. The information listed in
this Owner's Manual corresponds to the information available at the time of
going to press.
Therefore legal claims cannot be made based on the technical data, illustra-
tions and information contained in this Owner's Manual.
We recommend that the web pages that are referred to in this Owner's Man-
ual are displayed using the classic view. If the web pages are displayed using
the mobile view, they may not contain all necessary information.
Service schedule
The service schedule includes the documentation of the vehicle handover,
warranty information and service events.
Infotainment Owner´s Manual
The Infotainment Owner's Manual contains a description of the Infotainment
service and possibly also some functions and vehicle systems.On-the-road brochure
The On The Move brochure contains the importer's customer service number
and the service number in the individual countries as well as the emergency
numbers.
Online user manualsFig. 1
This QR code opens a web page with a model overview of the ŠKODA brand.
The page can also be accessed by entering the following address in the web
browser.
http://www.skoda-auto.com/en/mini-apps/owners-manuals/
▶ Select the desired model - a menu with the user manuals is displayed.
▶ Select the construction period as well as the language.
▶ Select the desired manual - it can be displayed either online or in pdf format.
4On-board literature
Page 29 of 276
Using the system
Cockpit
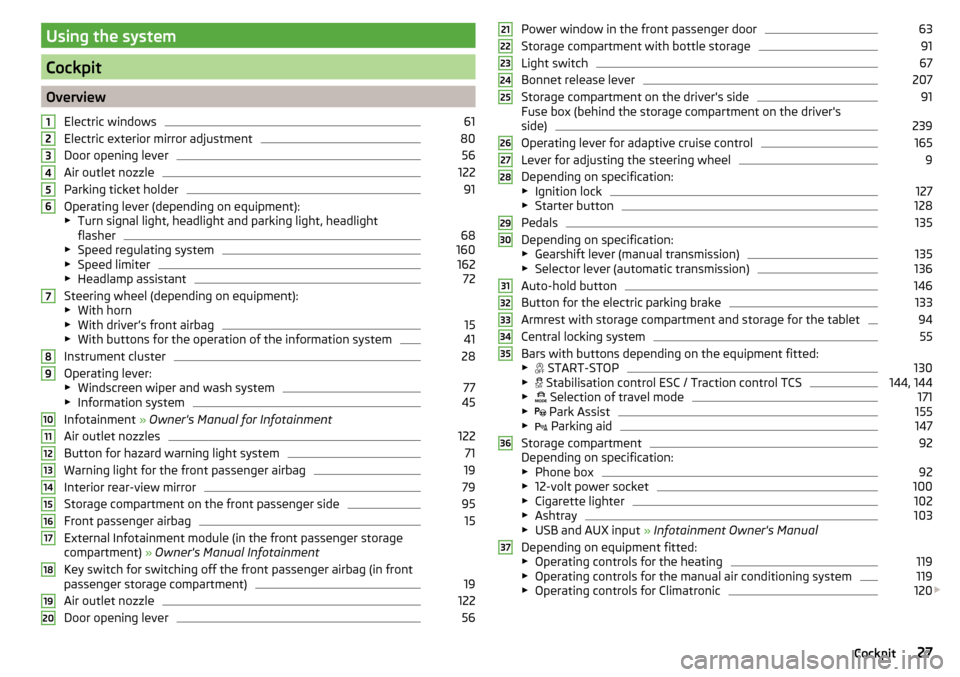
OverviewElectric windows
61
Electric exterior mirror adjustment
80
Door opening lever
56
Air outlet nozzle
122
Parking ticket holder
91
Operating lever (depending on equipment):
▶ Turn signal light, headlight and parking light, headlight
flasher
68
▶ Speed regulating system
160
▶Speed limiter
162
▶Headlamp assistant
72
Steering wheel (depending on equipment):
▶ With horn
▶ With driver’s front airbag
15
▶With buttons for the operation of the information system
41
Instrument cluster
28
Operating lever:
▶ Windscreen wiper and wash system
77
▶Information system
45
Infotainment » Owner's Manual for Infotainment
Air outlet nozzles
122
Button for hazard warning light system
71
Warning light for the front passenger airbag
19
Interior rear-view mirror
79
Storage compartment on the front passenger side
95
Front passenger airbag
15
External Infotainment module (in the front passenger storage
compartment) » Owner's Manual Infotainment
Key switch for switching off the front passenger airbag (in front
passenger storage compartment)
19
Air outlet nozzle
122
Door opening lever
561234567891011121314151617181920Power window in the front passenger door63
Storage compartment with bottle storage
91
Light switch
67
Bonnet release lever
207
Storage compartment on the driver's side
91
Fuse box (behind the storage compartment on the driver's
side)
239
Operating lever for adaptive cruise control
165
Lever for adjusting the steering wheel
9
Depending on specification:
▶ Ignition lock
127
▶Starter button
128
Pedals
135
Depending on specification:
▶ Gearshift lever (manual transmission)
135
▶Selector lever (automatic transmission)
136
Auto-hold button
146
Button for the electric parking brake
133
Armrest with storage compartment and storage for the tablet
94
Central locking system
55
Bars with buttons depending on the equipment fitted:
▶ START-STOP
130
▶
Stabilisation control ESC / Traction control TCS
144, 144
▶
Selection of travel mode
171
▶
Park Assist
155
▶
Parking aid
147
Storage compartment
92
Depending on specification:
▶ Phone box
92
▶12-volt power socket
100
▶Cigarette lighter
102
▶Ashtray
103
▶USB and AUX input » Infotainment Owner's Manual
Depending on equipment fitted: ▶ Operating controls for the heating
119
▶Operating controls for the manual air conditioning system
119
▶Operating controls for Climatronic
120
212223242526272829303132333435363727Cockpit
Page 33 of 276
Counter for distance drivenFig. 26
Display: MAXI DOT display / Seg-
ment Display
Read and observe on page 28 first.
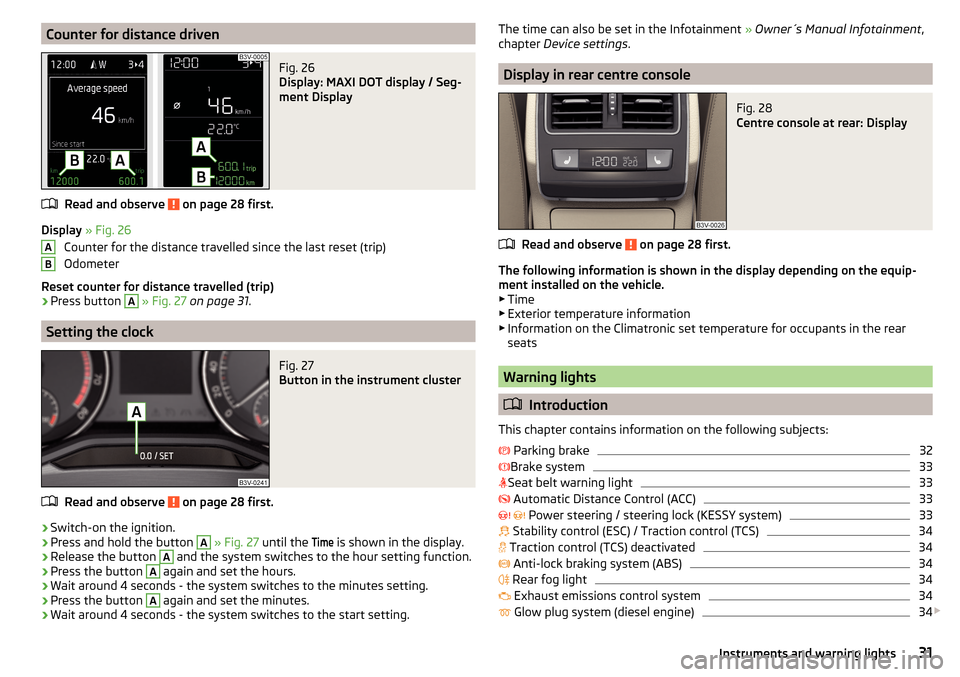
Display » Fig. 26
Counter for the distance travelled since the last reset (trip)
Odometer
Reset counter for distance travelled (trip)
›
Press button
A
» Fig. 27 on page 31 .
Setting the clock
Fig. 27
Button in the instrument cluster
Read and observe on page 28 first.
›
Switch-on the ignition.
›
Press and hold the button
A
» Fig. 27 until the
Time
is shown in the display.
›
Release the button
A
and the system switches to the hour setting function.
›
Press the button
A
again and set the hours.
›
Wait around 4 seconds - the system switches to the minutes setting.
›
Press the button
A
again and set the minutes.
›
Wait around 4 seconds - the system switches to the start setting.
ABThe time can also be set in the Infotainment » Owner´s Manual Infotainment ,
chapter Device settings .
Display in rear centre console
Fig. 28
Centre console at rear: Display
Read and observe on page 28 first.
The following information is shown in the display depending on the equip-
ment installed on the vehicle. ▶ Time
▶ Exterior temperature information
▶ Information on the Climatronic set temperature for occupants in the rear
seats
Warning lights
Introduction
This chapter contains information on the following subjects:
Parking brake
32
Brake system
33
Seat belt warning light
33
Automatic Distance Control (ACC)
33
Power steering / steering lock (KESSY system)
33
Stability control (ESC) / Traction control (TCS)
34
Traction control (TCS) deactivated
34
Anti-lock braking system (ABS)
34
Rear fog light
34
Exhaust emissions control system
34
Glow plug system (diesel engine)
34
31Instruments and warning lights
Page 35 of 276
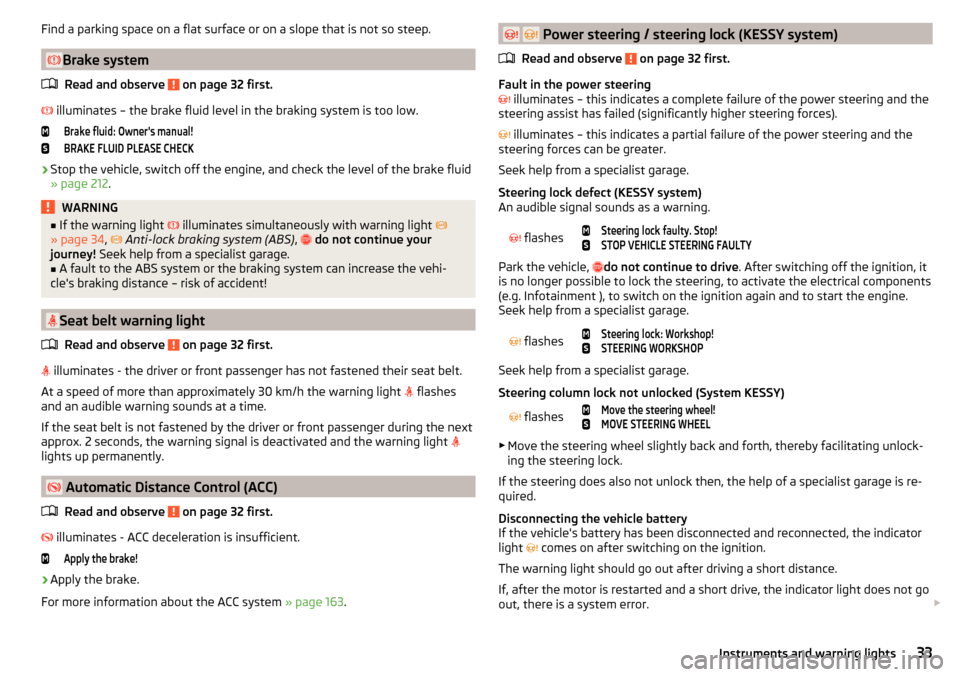
Find a parking space on a flat surface or on a slope that is not so steep.
Brake systemRead and observe
on page 32 first.
illuminates – the brake fluid level in the braking system is too low.
Brake fluid: Owner's manual!BRAKE FLUID PLEASE CHECK›
Stop the vehicle, switch off the engine, and check the level of the brake fluid
» page 212 .
WARNING■
If the warning light illuminates simultaneously with warning light
» page 34 , Anti-lock braking system (ABS) , do not continue your
journey! Seek help from a specialist garage.■
A fault to the ABS system or the braking system can increase the vehi-
cle's braking distance – risk of accident!
Seat belt warning light
Read and observe
on page 32 first.
illuminates - the driver or front passenger has not fastened their seat belt.
At a speed of more than approximately 30 km/h the warning light flashes
and an audible warning sounds at a time.
If the seat belt is not fastened by the driver or front passenger during the next
approx. 2 seconds, the warning signal is deactivated and the warning light
lights up permanently.
Automatic Distance Control (ACC)
Read and observe
on page 32 first.
illuminates - ACC deceleration is insufficient.
Apply the brake!›
Apply the brake.
For more information about the ACC system » page 163.
Power steering / steering lock (KESSY system)
Read and observe
on page 32 first.
Fault in the power steering
illuminates – this indicates a complete failure of the power steering and the
steering assist has failed (significantly higher steering forces).
illuminates – this indicates a partial failure of the power steering and the
steering forces can be greater.
Seek help from a specialist garage.
Steering lock defect (KESSY system)
An audible signal sounds as a warning.
flashes
Steering lock faulty. Stop!STOP VEHICLE STEERING FAULTY
Park the vehicle, do not continue to drive
. After switching off the ignition, it
is no longer possible to lock the steering, to activate the electrical components
(e.g. Infotainment ), to switch on the ignition again and to start the engine.
Seek help from a specialist garage.
flashes
Steering lock: Workshop!STEERING WORKSHOP
Seek help from a specialist garage.
Steering column lock not unlocked (System KESSY)
flashes
Move the steering wheel!MOVE STEERING WHEEL
▶ Move the steering wheel slightly back and forth, thereby facilitating unlock-
ing the steering lock.
If the steering does also not unlock then, the help of a specialist garage is re-
quired.
Disconnecting the vehicle battery
If the vehicle's battery has been disconnected and reconnected, the indicator
light comes on after switching on the ignition.
The warning light should go out after driving a short distance.
If, after the motor is restarted and a short drive, the indicator light does not go
out, there is a system error.
33Instruments and warning lights
Page 44 of 276

While the operational faults remain unrectified, the messages are always indi-
cated again. After they are displayed for the first time, the warning lights
(danger) or
(warning) continue to be indicated without information for the
driver.
Overspeed warning at 120 km/h
Read and observe
on page 41 first.
This function only applies to certain countries.
An audible warning signal will sound when the vehicle speed exceeds 120
km/h. The audible warning signal is switched off when the vehicle speed falls
below 120 km/h.
Gear recommendation
Fig. 29
Information on the selected
gear / Gear recommendation
Read and observe on page 41 first.
A suitable gear is engaged, if necessary, a recommendation to shift to high or
lower gear is displayed.
A suitably engaged gear helps to reduce the fuel consumption and assist the
service life and reliability of the engine.
Display » Fig. 29
Optimal gear engaged
Recommended gear
Recommended gear
Besides showing the engaged gear, the arrow icon and the recommended
gear are displayed.
For instance, if
appears in this display, this means it is recommended that
you shift from 3 rd to 4 th gear .
For vehicles with automatic transmission the recommended gear will be
shown provided the mode for manual switching (Tiptronic) is selected.WARNINGThe driver is always responsible for selecting the correct gear in different
driving situations, such as overtaking.
Driving data (Multifunction display)
Introduction
This chapter contains information on the following subjects:
Operation
43
Information overview
43
Warning when exceeding the set speed
44
Memory
44
The driving data display is only possible with the ignition switched on.
After the ignition is switched on, the function that was last selected before
switching off the ignition is displayed.
For vehicles with a MAXI DOT display, the menu item
Driving data
must be selec-
ted and confirmed in the main menu » page 45, MAXI DOT display .
The setting of the units and the switching on / off the display of some infor-
mation is available possible in the Infotainment » Owner´s Manual Infotain-
ment , chapter CAR - Vehicle Settings .
WARNINGConcentrate fully at all times on your driving! As the driver you are fully re-
sponsible for the operation of your vehicle.42Using the system
Page 47 of 276

Long-term ( ) And “2” ( )
The memory gathers driving information from any number of individual jour-
neys up to a total of 99 hours and 59 minutes driving or 9,999 kilometres driv-
en.
The indicator is automatically set back to zero if one of the indicated values is
exceeded.Since refuel
(
) or “3” (
)
The memory gathers driving information since the last refuelling.
The memory is erased automatically the next time you fill up.
Select memory
▶ Select the driving data information desired.
▶ Confirm details again to select the desired memory.
Resetting ▶ Select the driving data information desired.
▶ Select the desired memory.
▶ Reset the selected memory with a long acknowledgement (holding pressed).
Note
Disconnecting the vehicle battery will delete all memory data.
MAXI DOT display
Introduction
This chapter contains information on the following subjects:
Main menu
45
Operation using the operating lever
46
Operation using the multifunction steering wheel
46
Menu item
Navigation47
Menu item
Audio47
Menu item
Telephone47
Menu item
Assist systems48
Compass point display
48
Eco-tips
49
The MAXI DOT display (following as display) is a user interface which, depend-
ing on the equipment configuration, delivers information about the Infotain-
ment, the multifunction display, the assistance systems etc.
WARNINGConcentrate fully at all times on your driving! As the driver you are fully re-
sponsible for the operation of your vehicle.
Main menu
Read and observe
on page 45 first.
Call up the main menu
›
Press and hold the button
A
on the operating lever » Fig. 32 on page 46 .
or
›
Press and hold the dial
G
on the multifunction steering wheel » Fig. 33 on
page 46 .
Main menu items (depending on vehicle equipment) ■
Driving data
» page 42
■
Assist systems
» page 48
■
Navigation
» page 47
■
Audio
» page 47
■
Telephone
» page 47 ;
■
Vehicle
» page 41 , Auto-check control
The menus can be opened using the buttons on the control lever » Fig. 32 on
page 46 or on the multi-function steering wheel » Fig. 33 on page 46 .
Note
■
If warning messages are displayed, these messages must first be confirmed
to access the main menu.■
The travel mode can be set in the Infotainment » Owner´s Manual Infotain-
ment , chapter Vehicle settings (SETUP button) .
45Information system
Page 49 of 276

Button /dialActionOperationG
Press brieflyConfirm menu item / menu / Repeat
the last navigation announcement or clarify / interrupt traffic report
Turn up
Previous menu item / track b)
/ Show
available list (e.g. list of available
channels, list of the last destinations, call list)Turn downNext menu item / track / View availa-
ble list (e.g. List of available channels, list the last destinations, call list)HPress brieflyReturn to a previous level in the menuPress and hold buttonDisplay main menua)
» Infotainment Owner's Manual
b)
Valid for pressing within about 4 s from the beginning of the given track. Pressing after about 4 seconds
from the beginning of the track, starts the playback from the beginning of the track.
Note
Depending on equipment not all functions may be available. The system indi-
cates this through a text message on the display.
Menu item
Navigation
Read and observe on page 45 first.
Select menu item
Navigation›
Select and confirm
Navigation
in the main menu.
Route guidance takes place
Graphical driving recommendations and other route and destination informa-
tion are displayed after selection.
No route guidance is carried out
A compass/vehicle symbol is shown to display the current vehicle position in
relation to the compass after selection.
Then turn dial
G
» Fig. 33 on page 46 on the multifunction steering wheel to
display the
Last destinations
menu.
The menu shows the
Home address
menu item and a list of recent destinations.
When you select one of the menu items, the destination name and the follow-
ing items are displayed.
■OK
- Start navigation
■
Cancel
- Return to the Navigation menu – the compass/vehicle symbol will be
displayed
If the home address is not defined when the menu item
Home address
is selec-
ted, the following message appears:
Please enter the home address on the infotain-ment system.
Menu item
Audio
Read and observe on page 45 first.
Select menu item
Audio›
Select and confirm
Audio
in the main menu.
The following information can be displayed in the display.
■ Radio
■ Currently played station (name/frequency)
■ The selected frequency range (e.g. FM) optionally with the number of the
station button (e.g. FM3), if the station is stored in the memory list
■ List of available station (if more than 5 stations can be received)
■ TP traffic announcements.
■ Media
■ Name of the track being played, if necessary, further information regarding
title (e.g. artist, album name), if this information is stored as a so called ID3
tag on the audio source.
Menu item
Telephone
Read and observe on page 45 first.
Select menu item
Telephone›
Select and confirm
Telephone
in the main menu.
›
Turn dial
G
» Fig. 33 on page 46 .
The system displays a call list.
If the call list includes no entries, the following message appears
No entries avail-able.
47Information system
Page 51 of 276
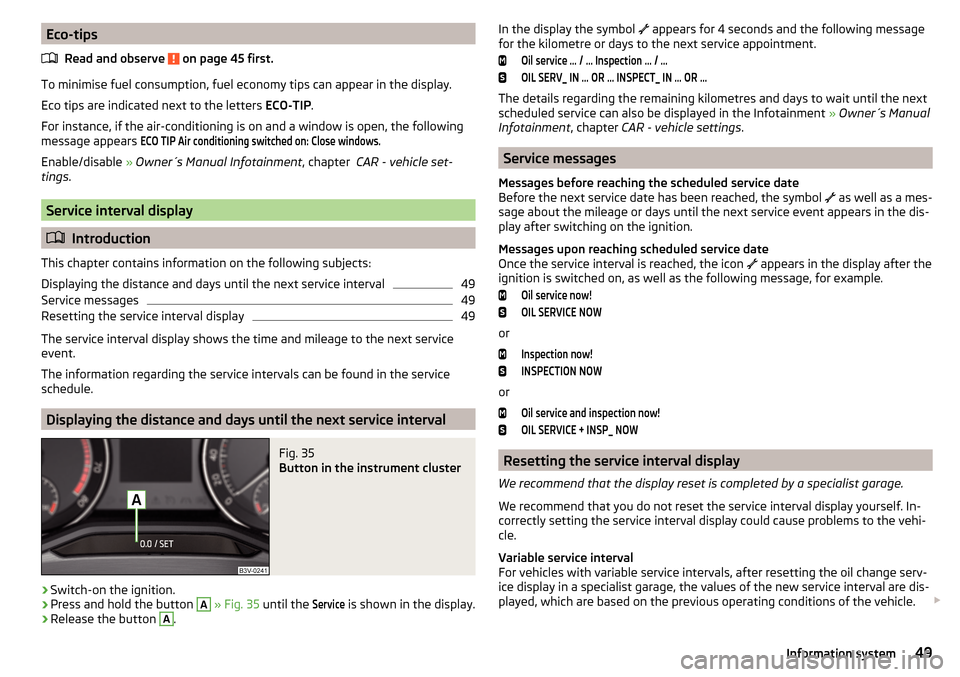
Eco-tipsRead and observe
on page 45 first.
To minimise fuel consumption, fuel economy tips can appear in the display.
Eco tips are indicated next to the letters ECO-TIP.
For instance, if the air-conditioning is on and a window is open, the following
message appears
ECO TIP Air conditioning switched on: Close windows.
Enable/disable » Owner´s Manual Infotainment , chapter CAR - vehicle set-
tings .
Service interval display
Introduction
This chapter contains information on the following subjects:
Displaying the distance and days until the next service interval
49
Service messages
49
Resetting the service interval display
49
The service interval display shows the time and mileage to the next service
event.
The information regarding the service intervals can be found in the service
schedule.
Displaying the distance and days until the next service interval
Fig. 35
Button in the instrument cluster
›
Switch-on the ignition.
›
Press and hold the button
A
» Fig. 35 until the
Service
is shown in the display.
›
Release the button
A
.
In the display the symbol appears for 4 seconds and the following message
for the kilometre or days to the next service appointment.Oil service … / … Inspection … / …OIL SERV_ IN … OR … INSPECT_ IN … OR …
The details regarding the remaining kilometres and days to wait until the next
scheduled service can also be displayed in the Infotainment » Owner´s Manual
Infotainment , chapter CAR - vehicle settings .
Service messages
Messages before reaching the scheduled service date
Before the next service date has been reached, the symbol as well as a mes-
sage about the mileage or days until the next service event appears in the dis-
play after switching on the ignition.
Messages upon reaching scheduled service date
Once the service interval is reached, the icon appears in the display after the
ignition is switched on, as well as the following message, for example.
Oil service now!OIL SERVICE NOW
or
Inspection now!INSPECTION NOW
or
Oil service and inspection now!OIL SERVICE + INSP_ NOW
Resetting the service interval display
We recommend that the display reset is completed by a specialist garage.
We recommend that you do not reset the service interval display yourself. In-
correctly setting the service interval display could cause problems to the vehi-
cle.
Variable service interval
For vehicles with variable service intervals, after resetting the oil change serv-
ice display in a specialist garage, the values of the new service interval are dis-
played, which are based on the previous operating conditions of the vehicle.
49Information system
Page 58 of 276

Individual settingsRead and observe
and on page 53 first.
The following functions of the central locking system can be set individually in
the Infotainment » Owner´s Manual Infotainment , chapter CAR - Car settings.
Opening a single door
The function allows you to unlock only the driver's door and the fuel filler flap
with the radio remote control. KESSY makes possible the release of individual
doors as well as the fuel filler flap, depending on the area in which the key is
located. The other doors and the boot lid are only unlocked when the unlock-
ing is repeated.
Unlocking a vehicle side door
This function enables you to unlock both doors on the driver's side and the
fuel filler flap with the radio remote control unit. KESSY makes possible the re-
lease of both doors on one side as well as the fuel filler flap, depending on the
area in which the key is located. The other doors and the boot lid are only un-
locked when the unlocking is repeated.
Unlock all doors
The function allows you to unlock all doors, the boot lid and the fuel filler flap.
Automatic locking/unlocking
The function allows you to lock all doors and the boot lid from a speed of
about 15 km / h. The button in the boot lid handle is deactivated.
Renewed automatic unlocking of all doors as well as the luggage compartment
door when removing the ignition key or by opening any of the doors. In vehi-
cles with the system KESSY this is when any door is opened.
The vehicle can also be unlocked by pressing the Central Locking Button in
the centre console » page 55.
Acoustic signals when locking / unlocking
For vehicles with an anti-theft alarm system, the acoustic signals can be ena-
bled / disabled in the Infotainment » Owner´s Manual Infotainment , chap-
ter CAR - Vehicle Settings .
Opening/closing a doorFig. 41
Door handle/door opening lever
Read and observe
and on page 53 first.
Opening from the outside
›
Unlock the vehicle.
›
Pull on the door handle
A
in the direction of the arrow » Fig. 41.
Opening from the inside
›
Pull on door opening lever
B
of the door and push the door away from you.
Closing from the inside
›
Grasp pull handle
C
and close the door.
WARNING■ Make sure that the door has closed correctly as it can open suddenly
while driving – risk of death!■
Only open and close the door when there is no one in the opening/closing
range – risk of injury!
■
An opened door can close automatically if there is a strong wind or the
vehicle is on an incline – risk of injury!
■
Never drive with the doors open - it can be fatal!
56Using the system