turn signal bulb SKODA SUPERB 2016 3.G / (B8/3V) Owner's Manual
[x] Cancel search | Manufacturer: SKODA, Model Year: 2016, Model line: SUPERB, Model: SKODA SUPERB 2016 3.G / (B8/3V)Pages: 336, PDF Size: 53.89 MB
Page 40 of 336

Other incidents
The illumination of the warning light ’āć can have the following reasons.
Ō¢Č The vehicle is loaded on one side. Distribute the load evenly.
Ō¢Č The wheels of one axle are loaded more heavily (e.g. when towing a trailer or
when driving uphill or downhill).
Ō¢Č Snow chains are mounted.
Ō¢Č A wheel has been changed.
CAUTION
Under certain circumstances (e.g. sporty style of driving, wintry or unpaved
roads) the warning light ’āć can be delayed or does not light up at all.
’ü® Brake linings
Read and observe
on page 34 first.
’ü® illuminates - the brake pads are worn.
Ō¢Č You can drive on, exercising appropriate caution. Seek assistance from a spe-
cialist garage immediately.
’üē Fuel reserve
Read and observe
on page 34 first.
’üē illuminates ŌĆō the fuel level in the fuel tank is at the reserve level (approxi-
mately 6 litres).
An audible signal sounds as a warning. Ō¢Č Please refuel ┬╗ page 265.
Note
The text in the display goes out after refuelling and driving a short distance.
’āŠ ’āŠ Lane Departure Warning (Lane Assist)
Read and observe
on page 34 first.
The warning lights ’āŠ
’āŠ
indicates the state of the Lane Assist system.
More information about the Lane Assist System ┬╗ page 243.
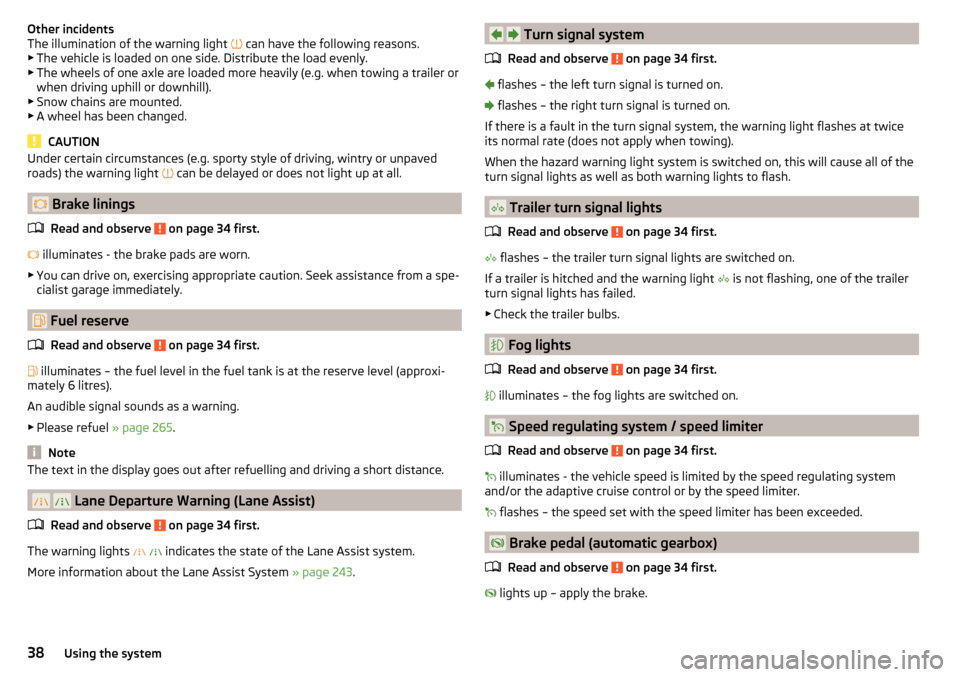
’āż’āż’āż’üČ ’āČ Turn signal system
Read and observe
on page 34 first.
’üČ flashes ŌĆō the left turn signal is turned on.
’āČ flashes ŌĆō the right turn signal is turned on.
If there is a fault in the turn signal system, the warning light flashes at twice
its normal rate (does not apply when towing).
When the hazard warning light system is switched on, this will cause all of the turn signal lights as well as both warning lights to flash.
’ĆŻ Trailer turn signal lights
Read and observe
on page 34 first.
’ĆŻ flashes ŌĆō the trailer turn signal lights are switched on.
If a trailer is hitched and the warning light ’ĆŻ is not flashing, one of the trailer
turn signal lights has failed.
Ō¢Č Check the trailer bulbs.
’Ć® Fog lights
Read and observe
on page 34 first.
’Ć® illuminates ŌĆō the fog lights are switched on.
’üØ Speed regulating system / speed limiter
Read and observe
on page 34 first.
’üØ illuminates - the vehicle speed is limited by the speed regulating system
and/or the adaptive cruise control or by the speed limiter.
’üØ flashes ŌĆō the speed set with the speed limiter has been exceeded.
’ü½ Brake pedal (automatic gearbox)
Read and observe
on page 34 first.
’ü½ lights up ŌĆō apply the brake.
’āż’āż’āż’āż’āż38Using the system
Page 301 of 336

No.Consumer17ESC, engine control unit, main relay coil18Databus, battery data module19Windscreen wipers20Anti-theft alarm21Not assigned22Engine control system, voltage stabilizer for taxi vehicles23Starter24Electrical auxiliary heating system31Not assigned32Not assigned33SCR34Not assigned35Not assigned36Not assigned37Aux. heating38Not assigned
Bulbs
’āżIntroduction
This chapter contains information on the following subjects:
Bulb arrangement in the headlights
300
Replacing a bulb for low beam and main beam (halogen headlights)
300
Bulb for turn signal switch (halogen headlight)
300
Changing light bulbs for fog lights
301
Removing/installing tail light
301
Replacing the bulbs in the rear light
302
For this reason, we recommend having bulbs replaced by a specialist garage or
seeking other expert help in the event of any uncertainties.
Ō¢Č Switch off the ignition and all of the lights before replacing a bulb.
Ō¢Č Faulty bulbs must only be replaced with the same type of bulbs. The designa-
tion is located on the light socket or the glass bulb.
We recommend having the headlight settings checked by a specialist garage
after replacing a bulb in the low, high or fog beam.
In the case of failure of a Xenon gas discharge bulb or an LED diode, visit a
specialist garage.WARNINGŌ¢Ā Always read and observe the warnings before completing any work in the
engine compartment ┬╗ page 268.Ō¢Ā
Accidents can be caused if the road in front of the vehicle is not suffi-
ciently illuminated and the vehicle cannot or can only be seen with difficul-
ty by other road users.
Ō¢Ā
H7 and H8 bulbs are pressurised and may burst when changing the bulb -
risk of injury! We therefore recommended wearing gloves and safety
glasses when changing a bulb.
Ō¢Ā
Do not carry out any work on the xenon gas discharge lamps - risk of
death!
CAUTION
Ō¢Ā Do not take hold of the glass bulb with naked fingers (even the smallest
amount of dirt reduces the working life of the light bulb). Use a clean cloth,
napkin, or similar.Ō¢Ā
The cap of the filament bulb must always be seated correctly in the head-
light, otherwise this may allow water and debris to enter the headlight - risk of
damage to the headlights.
Note
Ō¢Ā This Owner's Manual only describes the replacement of bulbs where it is pos-
sible to replace the bulbs on your own without any complications arising. Other
bulbs must be replaced by a specialist garage.Ō¢Ā
We recommend that a box of replacement bulbs always be carried in the ve-
hicle.
299Fuses and light bulbs
Page 302 of 336

Bulb arrangement in the headlightsFig. 363
Left headlight
Read and observe and on page 299 first.
The vehicle is equipped with headlights with halogen lamps or with a xenon
discharge lamp and an LED lighting element.
Bulb arrangement ┬╗ Fig. 363
Flashing
Low beam with halogen bulb or Xenon gas discharge bulb
Main beam
Replacing a bulb for low beam and main beam (halogen headlights)
Fig. 364
Removing bulbs for low and main beam
Read and observe
and on page 299 first.
ŌĆ║
Remove the protective caps
B
and
C
┬╗ Fig. 363 on page 300 .
ŌĆ║
Turn the holder with the bulb in the direction of arrow
1
┬╗ Fig. 364 .
ŌĆ║
Remove the holder with the bulb in the direction of arrow
2
.
’āżABC’āżŌĆ║Remove the bulb from the holder in the direction of the arrow 3.ŌĆ║Insert a new bulb into the connector so that the lug A on the connector
snaps into the groove on the bulb.ŌĆ║
Insert the connector with the new bulb into the headlight in the opposite di-
rection to the arrow
2
.
ŌĆ║
Turn the connector with the new bulb in the opposite direction to the arrow
1
until it stops.
ŌĆ║
Use the protective caps
B
and
C
┬╗ Fig. 363 on page 300 .
Bulb for turn signal switch (halogen headlight)
Fig. 365
Changing the bulb for the turn signal light
Read and observe
and on page 299 first.
ŌĆ║
Remove the protective cap
A
┬╗ Fig. 363 on page 300 .
ŌĆ║
Remove the bulb holder with the bulb by jiggling it out in the direction of the
arrow
1
┬╗ Fig. 365 .
ŌĆ║
Hold the socket with the bulb at the position shown by the arrows.
ŌĆ║
Remove the faulty bulb from the holder in the direction of the arrow
2
.
ŌĆ║
Push a new bulb into the bulb holder up to the stop.
ŌĆ║
Slide the socket with the bulb with the fixing lug
B
upwards so that it fits
into the recess on the reflector.
ŌĆ║
Fit the protective cap
A
┬╗ Fig. 363 on page 300 .
’āż300Do-it-yourself
Page 321 of 336

Hazard warning light system70
Headlight assistant71
Headlight cleaning system77
Parking light70
Replacing bulbs299
Turn signal/main beam68
Xenon headlight69
Light Assist71
Lighting Entry space
71
Interior lighting72
Luggage compartment101
Lights Automatic driving light control
68
Dipped beam67
Driving abroad71
Headlight range control67
Parking lights67
Switching on and off67
Warning lights33
List of available stations
143
of available stations (TV tuner)157
of telephone contacts169
With folder / track list148
List of paired external devices164
List of traffic reports196
Load305
Lock Individual settings
56
KESSY55
Locking Central locking button
55
in case of emergency293
Remote control54
Lock steering lock199
Long cargo channel95
Longitude180
Luggage compartment101
Cover104
Fastening elements101
Fastening the flooring103
Fixing nets102
Floor covering on both sides103
foldable hook103
Lighting101
Net on the luggage compartment cover103
Net partition111
Removable light109
Roll-up cover105
Side pockets106
Storage compartments under the floor cover- ing
107
tray with cargo element106
unlock manually293
Unlock the boot lid293
Variable loading floor109
Luggage compartment cover104
Roll-up cover105
Luggage storage Multi-function pocket
108
M
Main beam
68
Warning light39
Main menu Android Auto
177
Apple CarPlay178
CAR198
Images153
Media146
Media Command158
MirrorLink®179
Navigation181
Radio142
SmartLink176
SMS172
TV tuner156
Video DVD155
Waypoint mode194
Manage favourites141
Manage Favourites136
Manage memory137
Managing paired devices164
Managing saved routes194
Manoeuvre Graphical driving recommendations
191
Nav. announcements192
Manoeuvring216
Manual air conditioning Air distribution control
117
Controls114
Manual gear changing See Gear changing
206
Map automatic scale
188
Display181
Display of road signs137
Display options187
Display options in the split screen189
Fast Map188
Lane recommendation137
Main menu181
Manual scale188
Map alignment189
Operation181
POI display137
Road sign189
Show POI187
|Alignment188
MAXI DOT See MAXI DOT display
48
MAXI DOT display Assist systems menu item
48
Audio menu item48
Main menu48
319Index