transmission fluid SKODA SUPERB 2016 3.G / (B8/3V) Owner's Manual
[x] Cancel search | Manufacturer: SKODA, Model Year: 2016, Model line: SUPERB, Model: SKODA SUPERB 2016 3.G / (B8/3V)Pages: 336, PDF Size: 53.89 MB
Page 5 of 336
Radio142Operation142
Media
146
Operation
146
Audio sources
149
Images
153
Image viewer
153
Video DVD
155
Video player
155
TV tuner
156
TV function
156
Media Command
158
Operation
158
Telephone
160
Introductory information
160
Pair and connect
163
Use the SIM card in the external module
166
rSAP
167
Telephone functions
168
Text messages (SMS)
172
Hotspot (WLAN) and data connection
174
Hotspot (WLAN)
174
Data connection
175
SmartLink
176
Introductory information
176
Android Auto
177
Apple CarPlay
178
MirrorLink®
178
Navigation
180
Introductory information
180
Search for destination and enter
182
Import my destinations
186
Map
187
Route guidance
190Route192Waypoint mode194
Traffic reports
196
vehicle systems
198
CAR - Vehicle settings
198
Driving
Starting-off and Driving
199
Starting and stopping the engine
199
START-STOPsystem
201
Brakes and Parking
203
Manual gear changing and pedals
205
Automatic transmission
206
Running in the engine and economical
driving
209
Avoiding damage to your vehicle
211
Assist systems
212
General information
212
Braking and stabilisation systems
212
Parking aid (ParkPilot)
215
Rear traffic alert and wizard for “Blind
spot”Monitoring
218
Reversing camera
221
Park Assist
225
Cruise Control System
229
Speed limiter
231
Adaptive Cruise Control (ACC)
233
Front Assist
237
Select the driving mode (Driving Mode
Selection)
240
Proactive occupant protection (Crew Protect
Assist)
242
Lane Departure Warning (Lane Assist)
243
Traffic jam assistant
245
Assistant for emergencies
246
Traffic sign recognition
246Fatigue detection248Tyre pressure monitoring249
Towing device and trailer
250
Hitch
250
Using hitch
252
General Maintenance
Care and maintenance
256
Service work, adjustments and technical
alterations
256
Service intervals
258
Cleaning and care
260
Inspecting and replenishing
264
Fuel
264
AdBlue ®
and its refilling
267
Engine compartment
268
Engine oil
270
Coolant
271
Brake fluid
273
Vehicle battery
273
Wheels
276
Wheels and tyres
276
Operating in winter conditions
278
Do-it-yourself
Emergency equipment and self-help
280
Emergency equipment
280
Changing a wheel
282
Puncture repair kit
285
Jump-starting
287
Towing the vehicle
288
Remote control and removable light -
replacing the battery/batteries
2903Table of Contents
Page 205 of 336
Brakes and Parking
Introduction
This chapter contains information on the following subjects:
Electric parking brake
203
Auto Hold function
204
Parking
205
The wear of the brake pads is dependent on the operating conditions and driv-
ing style. Under difficult conditions (e.g. urban, sporty driving style) the condi-
tion of the brakes should also be checked by a specialist garage between the
service intervals.
The performance of the brakes can be delayed if the brakes are damp, iced up
in winter or if covered in a layer of salt . The brakes are cleaned and dried by
applying the brakes several times »
.
Corrosion on the brake discs and dirt on the brake pads occur if the vehicle has
been parked for a long period and if you do not make much use of the braking
system. The brakes are cleaned by applying the brakes several times »
.
Before travelling a long distance with a steep gradient , reduce speed and
shift into the next lowest gear. As a result, the braking effect of the engine will
be used, reducing the load on the brakes. If you do have to brake, this should
be carried out at intervals.
Emergency braking display - when an emergency braking is performed, the
automatic flashing of the brake lights are used to alert the traffic behind.
New brake pads must first be “worn in” because these do not initially have the
best possible braking effect. Drive especially carefully for the first 200 km or
so.
A too low brake fluid level can cause faults in the braking system , the warn-
ing light illuminates in the instrument cluster
» page 35,
Brake system
. If
the warning light does not illuminate and an extended stopping distance is re-
quired, then driving should be adapted according to the unknown cause of
fault and restricted braking effect - seek the assistance of a specialist garage
immediately.
The brake booster increases the pressure generated with the brake pedal. The
brake booster only operates when the engine is running.
WARNING■ Greater physical effort is required for braking when the engine is switch-
ed off – risk of accident!■
During the braking procedure on a vehicle with manual transmission,
when the vehicle is in gear and at low revs, press the clutch pedal. Other-
wise, the functionality of the brake system may be impaired – risk of acci-
dent!
■
Do not press the brake pedal if braking is now required. This causes the
brakes to overheat and can also result in a longer braking distance and ex-
cessive wear - risk of accident!
■
Braking for the purpose of drying and cleaning the brake discs should be
carried out only if the traffic conditions permit. Do not place any other road
users in jeopardy.
■
Recommendations for new brake pads have to be observed.
■
When stopping and parking, the parking brake should always be on, oth-
erwise the vehicle could move off - there is the risk of an accident!
■
If a front spoiler, full wheel trim, etc. is mounted retrospectively, it must
be ensured that the air supply to the front wheel brakes is not reduced.
Otherwise, the functionality of the brake system may be impaired – risk of
accident!
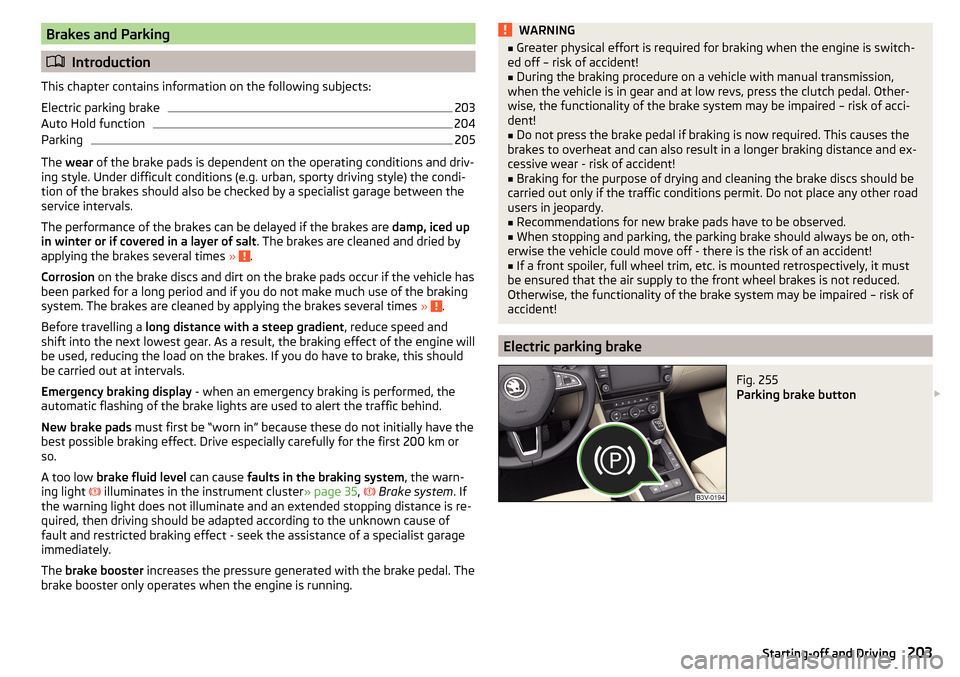
Electric parking brake
Fig. 255
Parking brake button
203Starting-off and Driving
Page 270 of 336
We recommend when refilling using refill bottles that you use refill bottles
from ŠKODA Original Accessories.
When adding AdBlue ®
take note of the minimum and maximum AdBlue ®
tank
capacity shown in the display of the instrument cluster » page 40.
Refill AdBlue ®
under the following conditions.
The vehicle is on a horizontal surface.
The ignition is switched off.
Refilling›
Press the fuel filler flap in direction of arrow
1
and fold in the direction of
arrow
2
» Fig. 317 .
›
Unscrew the tank cap in the direction of arrow
3
.
›
Remove the tank cap and place in the recess on top of the fuel filler flap in
the direction of arrow
4
.
›
Refill AdBlue ®
in the neck
A
by means of a refill or a fuel nozzle refill (follow
the instructions on the container or the instructions of the petrol station op-
erator).
The AdBlue ®
- tank is full when no AdBlue ®
flows from the refill bottle or as
soon as the correctly operated pump cuts out for the first time. Do not contin-
ue refilling AdBlue ®
.
›
After refilling AdBlue ®
put the cap on the fuel filler neck and turn in the oppo-
site direction of the arrow
3
until it engages.
›
Close the fuel filler flap until it clicks into place.
Before continuing your journey , switch on just the ignition for 30 s so that the
refilling can be recognized by the system. Only then start the engine.
Engine compartment
Introduction
This chapter contains information on the following subjects:
Open the bonnet and close
269
Engine compartment overview
269
Windscreen washer fluid
270WARNINGNever cover the engine with additional insulation material (e.g. with a cov-
er) – risk of fire!WARNINGWhen working in the engine compartment, the following instructions must
be observed - risk of injury or fire. The engine compartment of your car is a
hazardous area!WARNINGInstructions before beginning work in the engine compartment■Stop the engine and remove the ignition key, on vehicles with the KESSY
system, open the driver's door.■
Switch on the parking brake.
■
For vehicles with manual transmission the lever into the neutral position.
On vehicles with automatic transmission , place the selector lever in the P
position.
■
Allow the engine to cool.
■
Never open the bonnet if you can see steam or coolant flowing out of the
engine compartment – risk of scalding! Wait until the steam or coolant has
stopped escaping.
WARNINGInformation for working in the engine room■Keep everyone away from the engine compartment.■
Do not touch any hot engine parts – risk of burns!
■
Never touch the radiator fan. The radiator fan suddenly switch on approx.
10 minutes after switching off the ignition!
■
Do not smoke or use open flames in the vicinity of the engine.
■
Do not leave any items (e.g. cloths or tools) in the engine compartment.
This presents a fire hazard and the risk of engine damage.
■
Read and observe the information and warning instructions on the fluid
containers.
WARNINGInformation for working in the engine compartment with the engine run-
ning■
If it is necessary to work on the engine compartment with the engine run-
ning, then observe the rotating engine parts and electrical plants - it can
be fatal!
■
Never touch the electric wiring on the ignition system.
■
Avoid short circuits in the electrical system, particularly on the vehicle's
battery.
268General Maintenance
Page 306 of 336
The approved tyres and rim sizes for your vehicle are listed in the vehicle's
technical documentation (the so called COC document) and this also states the
declaration of conformity.
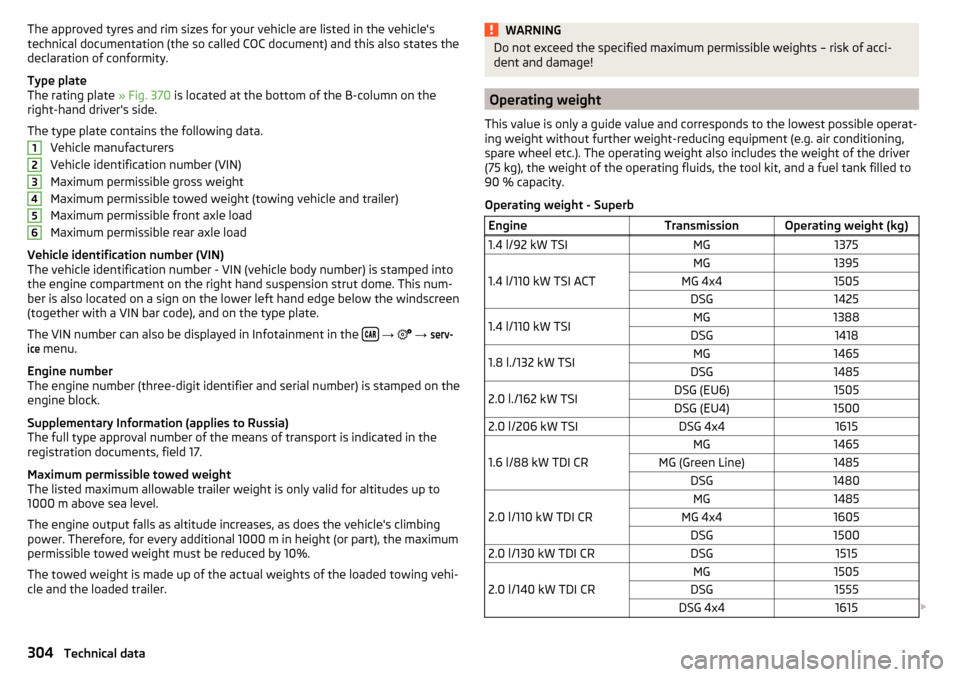
Type plate
The rating plate » Fig. 370 is located at the bottom of the B-column on the
right-hand driver's side.
The type plate contains the following data. Vehicle manufacturers
Vehicle identification number (VIN)
Maximum permissible gross weight
Maximum permissible towed weight (towing vehicle and trailer)
Maximum permissible front axle load
Maximum permissible rear axle load
Vehicle identification number (VIN)
The vehicle identification number - VIN (vehicle body number) is stamped into
the engine compartment on the right hand suspension strut dome. This num-
ber is also located on a sign on the lower left hand edge below the windscreen
(together with a VIN bar code), and on the type plate.
The VIN number can also be displayed in Infotainment in the
→
→
serv-ice
menu.
Engine number
The engine number (three-digit identifier and serial number) is stamped on the
engine block.
Supplementary Information (applies to Russia)
The full type approval number of the means of transport is indicated in the
registration documents, field 17.
Maximum permissible towed weight
The listed maximum allowable trailer weight is only valid for altitudes up to
1000 m above sea level.
The engine output falls as altitude increases, as does the vehicle's climbing
power. Therefore, for every additional 1000 m in height (or part), the maximum
permissible towed weight must be reduced by 10%.
The towed weight is made up of the actual weights of the loaded towing vehi-
cle and the loaded trailer.
123456WARNINGDo not exceed the specified maximum permissible weights – risk of acci-
dent and damage!
Operating weight
This value is only a guide value and corresponds to the lowest possible operat-
ing weight without further weight-reducing equipment (e.g. air conditioning,
spare wheel etc.). The operating weight also includes the weight of the driver
(75 kg), the weight of the operating fluids, the tool kit, and a fuel tank filled to
90 % capacity.
Operating weight - Superb
EngineTransmissionOperating weight (kg)1.4 l/92 kW TSIMG1375
1.4 l/110 kW TSI ACT
MG1395MG 4x41505DSG14251.4 l/110 kW TSIMG1388DSG14181.8 l./132 kW TSIMG1465DSG14852.0 l./162 kW TSIDSG (EU6)1505DSG (EU4)15002.0 l/206 kW TSIDSG 4x41615
1.6 l/88 kW TDI CR
MG1465MG (Green Line)1485DSG1480
2.0 l/110 kW TDI CR
MG1485MG 4x41605DSG15002.0 l/130 kW TDI CRDSG1515
2.0 l/140 kW TDI CR
MG1505DSG1555DSG 4x41615 304Technical data
Page 316 of 336
Selector lever emergency unlocking293
Selector lever lock207
Start and run208
Tiptronic208
Warning light39
Automatic transmission206
AUX90, 150
Settings135
Auxiliary heating (auxiliary heating and ventila- tion)
118
Avoiding damage to your vehicle211
B
Battery Changing batteries for the removable light
292
Changing in key290, 291
Replace the battery in the remote control in the auxiliary heating
291
Belts15
Belt tensioners17
Bluetooth A2DP / AVRCP
133
Name133
on / off133
Paired external devices133
rSAP167
Set140
set to133, 136
Set to133
Switch on/off140
Update131, 134
Updates140
Visibility133, 140
Bluetooth Player151
Bluetooth profile164
Bluetooth® update164
Bonnet Close
269
Open269
Boot Class N1 vehicles109
Boot lid59
Automatic locking59
Contactless open/close61
Open/close59, 60
See boot lid59
Boot lid contactless open/close61
Brake Assist (HBA)214
Brake booster203
Brake fluid273
Check273
specification273
Brake linings Warning light
38
Brake pads new
203
Brake pedal (automatic gearbox) Warning light
38
Brakes Brake booster
203
Brake fluid273
Braking and stabilisation systems212
Information on braking203
Parking brake203
Running in209
Warning light35
Brake system212
Breakdown call168
Broadcasting143
See main menu142
Bulbs Replacing
299
Buttons on the driver door Electric windows
62
C
Call list Call list
170
CameraSee reversing camera221
CAR198
Car battery automatic consumer shutdown
273
Check condition274
Cover274
Disconnecting and reconnecting275
Replacing275
Winter operation274
CAR button198
Car care260
Exterior263
Interior263
Car computer see multifunction display
46
Care and maintenance256
Cargo element106
CAR menu198
Car park184
Carrier112
Car wash260
Exterior263
Panes263
CD149
Central locking53
Problems57
Central locking button55
Changing Batteries for the removable light
292
Battery290, 291
Wheels282
Windscreen wiper blades295
Changing a wheel282
Changing gear Selector lever
207
Tiptronic208
Charging a vehicle battery275
314Index
Page 324 of 336
Pop-up windowMap189
Power steering35
Practical equipment 230-volt socket
97
Practical features 12-volt socket in the interior
96
12 volt socket in luggage compartment97
Ashtray98
Cigarette lighter99
Parking ticket holder88
Pockets94
Reflective vest280
Seat backrest with long cargo channel95
Storage compartment87
Storage compartment for umbrella93
Storage compartment under the front passen- ger seat
93
Waste container91
Preferred contacts170
Preheating unit36
Preset list TV tuner
157
Principles of Infotainment125
Proactive occupant protection242
Proactive passenger protection Warning light
37
Puncture repair kit285
R
Radiator shutters
210
radio Select station
143
Radio Broadcasting
143
DAB - settings141
DAB settings134
FM - settings134, 141
L-band135
List of available stations143
Main menu142
Operation142
Preface142
Radio station logo145
Save station144
Scan143
Search stations143
Set140
set to134
Station buttons144
Traffic program (TP)145
Voice control128
Radio station logo145
Radio station logos Update
134
Radio stations Choose
143
Logo145
Save station144
Search stations143
Select station143
Station buttons144
Raising the vehicle284
Rear fog light69
Warning light36
Rear seats83
Rear traffic alert218
Rear Traffic Alert Activation / deactivation
221
Malfunctions221
Operation219
Rear view mirror77
Rear window - heating74
Record waypoints195
Refill Windscreen washer fluid
270
refilling AdBlue
267
RefillingCoolant272
Engine oil271
Reflective vest280
Refuelling265
Fuel265
Regulation Headlight beam
67
Remote control Auxiliary heating (auxiliary heating and ventila- tion)
120
Changing battery290
Synchronisation process57
Unlocking/locking54
Remote transmission of SIM data167
Removable light109
Changing batteries292
Removable through-loading bag95
Repairs and technical alterations256
Replace Battery
291
Replacing Bulbs
299
Fuses295
Windscreen wiper blades294
Reproduction Media
147
Video DVD155
Restart Infotainment126
Restaurant184
Reversible seat belts17
Reversing camera221
Activation / deactivation222
Function surfaces223
Mode- Driving up to a trailer / Distance moni- toring
225
Mode- Monitoring the area behind the vehicle 225
Mode - Parallel parking
224
Operation222
Orientation lines and roadway223
322Index