SUZUKI ALTO 2014 Repair Manual
Manufacturer: SUZUKI, Model Year: 2014, Model line: ALTO, Model: SUZUKI ALTO 2014Pages: 139, PDF Size: 2.22 MB
Page 61 of 139
62
76G-74E
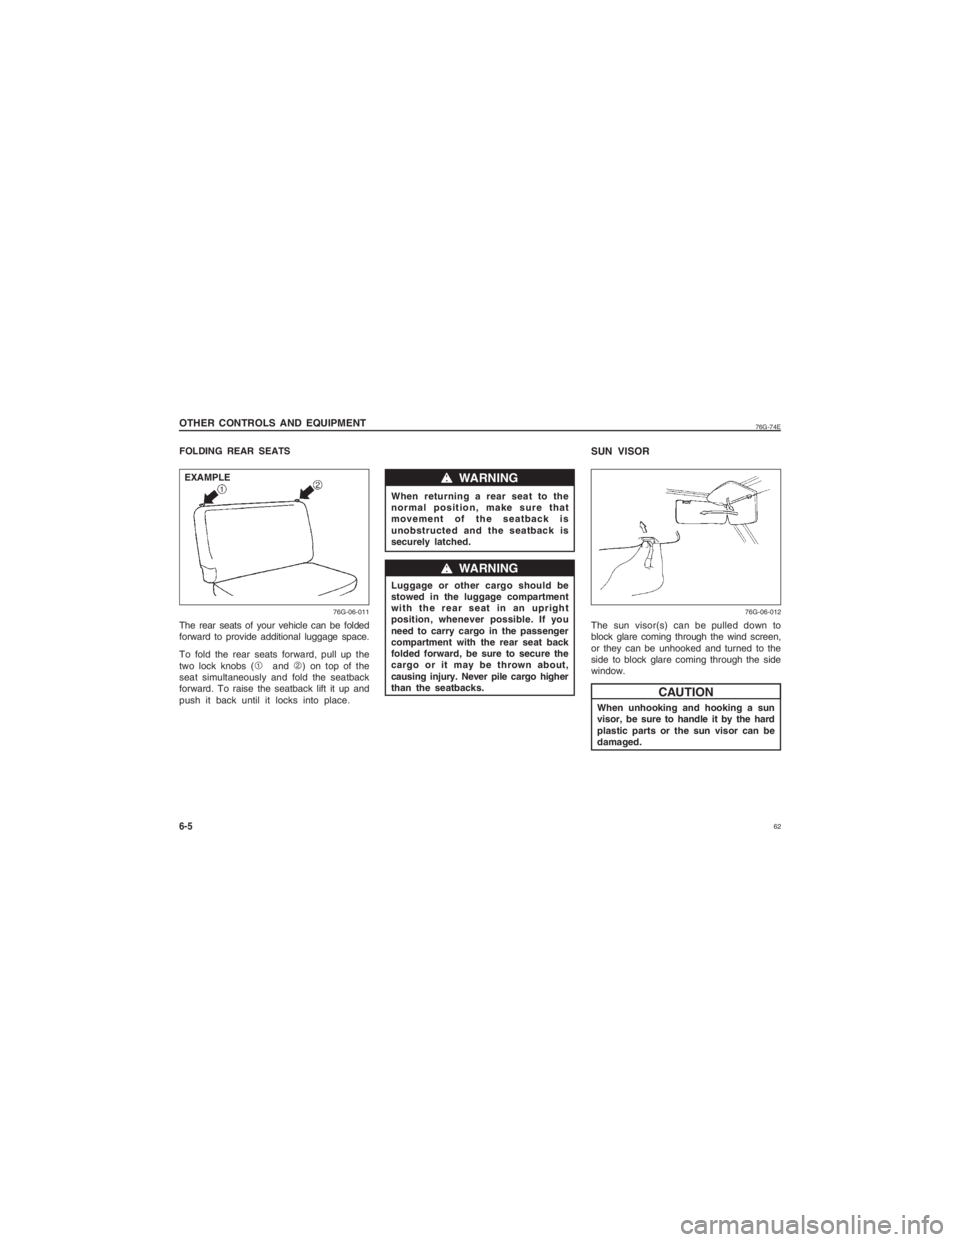
6-5OTHER CONTROLS AND EQUIPMENTThe rear seats of your vehicle can be folded
forward to provide additional luggage space.
To fold the rear seats forward, pull up the
two lock knobs (1 and 2) on top of the
seat simultaneously and fold the seatback
forward. To raise the seatback lift it up and
push it back until it locks into place. When returning a rear seat to the
normal position, make sure that
movement of the seatback is
unobstructed and the seatback is
securely latched.
ww ww
w WARNING
76G-06-011
EXAMPLE
Luggage or other cargo should be
stowed in the luggage compartment
with the rear seat in an upright
position, whenever possible. If you
need to carry cargo in the passenger
compartment with the rear seat back
folded forward, be sure to secure the
cargo or it may be thrown about,
causing injury. Never pile cargo higher
than the seatbacks.
ww ww
w WARNING
SUN VISORThe sun visor(s) can be pulled down to
block glare coming through the wind screen,
or they can be unhooked and turned to the
side to block glare coming through the side
window.
When unhooking and hooking a sun
visor, be sure to handle it by the hard
plastic parts or the sun visor can be
damaged.
CAUTION
76G-06-012
FOLDING REAR SEATS
Page 62 of 139
6376G-74E
6-6
OTHER CONTROLS AND EQUIPMENT
INTERIOR LIGHT SWITCH
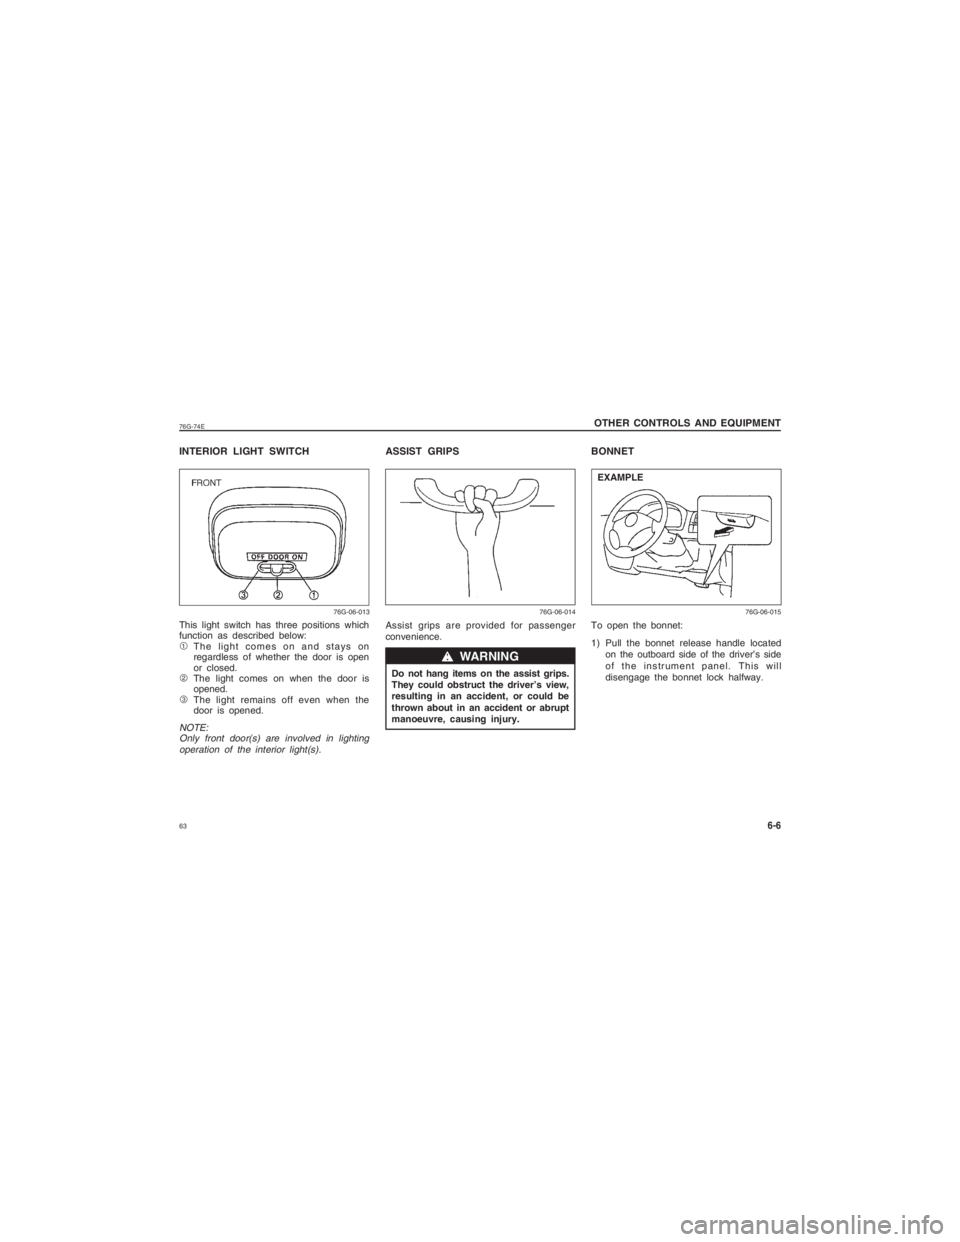
This light switch has three positions which
function as described below:
1 The light comes on and stays on
regardless of whether the door is open
or closed.
2 The light comes on when the door is
opened.
3 The light remains off even when the
door is opened.NOTE:
Only front door(s) are involved in lighting
operation of the interior light(s).
76G-06-013
ASSIST GRIPSAssist grips are provided for passenger
convenience.
Do not hang items on the assist grips.
They could obstruct the driver’s view,
resulting in an accident, or could be
thrown about in an accident or abrupt
manoeuvre, causing injury.
ww ww
w WARNING
BONNETTo open the bonnet:
1) Pull the bonnet release handle located
on the outboard side of the driver’s side
of the instrument panel. This will
disengage the bonnet lock halfway.
76G-06-014 76G-06-015
EXAMPLE
Page 63 of 139
64
76G-74E
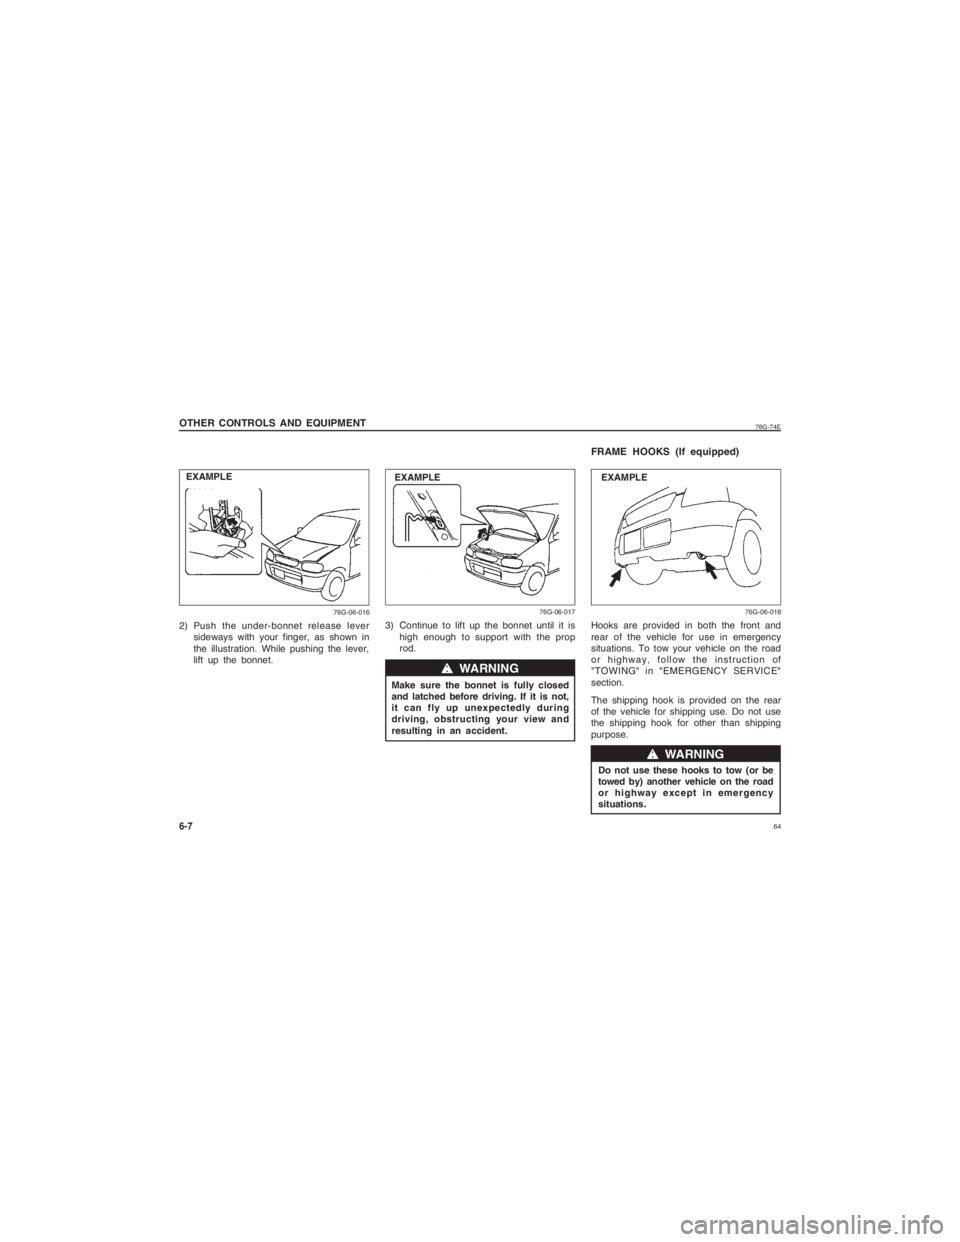
6-7OTHER CONTROLS AND EQUIPMENT2) Push the under-bonnet release leversideways with your finger, as shown in
the illustration. While pushing the lever,
lift up the bonnet.
76G-06-016
3) Continue to lift up the bonnet until it ishigh enough to support with the prop
rod.
Make sure the bonnet is fully closed
and latched before driving. If it is not,
it can fly up unexpectedly during
driving, obstructing your view and
resulting in an accident.
ww ww
w WARNING
FRAME HOOKS (If equipped)
ww
ww
w WARNING
Hooks are provided in both the front and
rear of the vehicle for use in emergency
situations. To tow your vehicle on the road
or highway, follow the instruction of
"TOWING" in "EMERGENCY SERVICE"
section.
The shipping hook is provided on the rear
of the vehicle for shipping use. Do not use
the shipping hook for other than shipping
purpose.
76G-06-017 76G-06-018
EXAMPLE
EXAMPLE EXAMPLE
Do not use these hooks to tow (or be
towed by) another vehicle on the road
or highway except in emergency
situations.
Page 64 of 139
6576G-74E
6-8
OTHER CONTROLS AND EQUIPMENT
76G-06-019
CUP HOLDER (if equipped)
ww ww
w WARNING
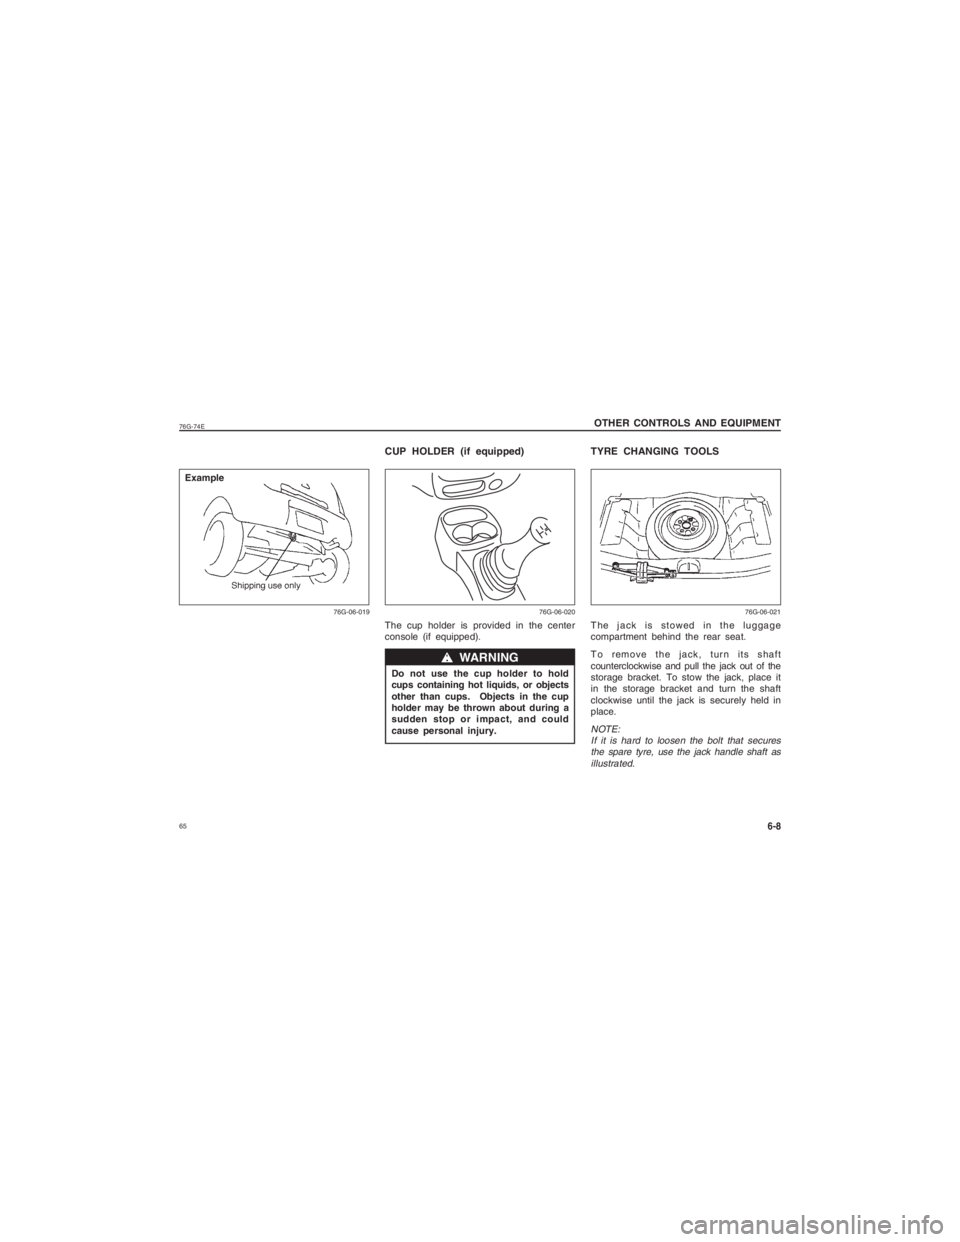
The cup holder is provided in the center
console (if equipped).
Do not use the cup holder to hold
cups containing hot liquids, or objects
other than cups. Objects in the cup
holder may be thrown about during a
sudden stop or impact, and could
cause personal injury.
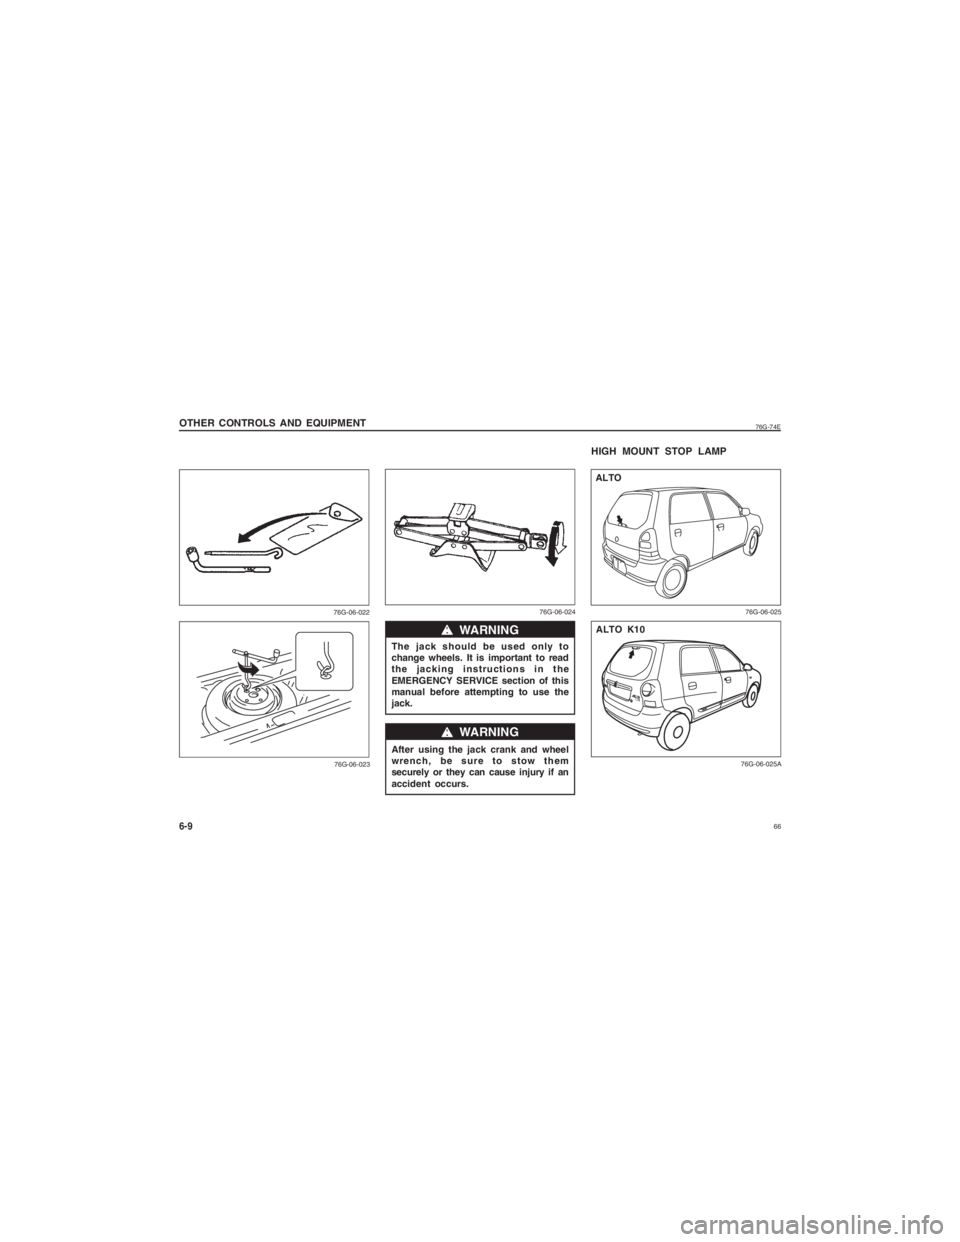
TYRE CHANGING TOOLSThe jack is stowed in the luggage
compartment behind the rear seat.
To remove the jack, turn its shaft
counterclockwise and pull the jack out of the
storage bracket. To stow the jack, place it
in the storage bracket and turn the shaft
clockwise until the jack is securely held in
place.NOTE:If it is hard to loosen the bolt that securesthe spare tyre, use the jack handle shaft as
illustrated.
76G-06-020 76G-06-021
Example
Page 65 of 139
66
76G-74E
6-9OTHER CONTROLS AND EQUIPMENT
76G-06-02276G-06-023
The jack should be used only to
change wheels. It is important to read
the jacking instructions in the
EMERGENCY SERVICE section of this
manual before attempting to use the
jack.
After using the jack crank and wheel
wrench, be sure to stow them
securely or they can cause injury if an
accident occurs.
ww ww
w WARNINGww
ww
w WARNING
HIGH MOUNT STOP LAMP
76G-06-024 76G-06-025
ALTO
76G-06-025A
ALTO K10
Page 66 of 139
6776G-74E
6-10
OTHER CONTROLS AND EQUIPMENT
High mount stop lamp is provided with your
vehicle and is fitted on back door. The stop
lamp will glow as when the brake pedal will
be depressed.
To change the bulb of the stop lamp,
remove the clips at both sides of the cover,
by pressing the inner pin inside so that the
clip gets loose and remove the bulb on
turning it anticlockwise.
There is one bulb in high mount stop lamp.
Page 67 of 139
68
76G-74E
MEMO
6-11
Page 68 of 139
6976G-74E
OPERATING YOUR VEHICLE
7
OPERATING YOUR VEHICLE
Exhaust Gas Warning
........................................................................\
............... 7-1
Daily Inspection Checklist ........................................................................\
........ 7-1
Starting the Engine ........................................................................\
................... 7-2
Using the Transmission ........................................................................\
............ 7-3
Braking ........................................................................\
......................................... 7-4
Running-in ........................................................................\
.................................... 7-5
Catalytic Converter ........................................................................\
.................... 7-5
Improving Fuel Economy ........................................................................\
......... 7-6
Trailer Towing ........................................................................\
............................. 7-7
Page 69 of 139
70
76G-74E
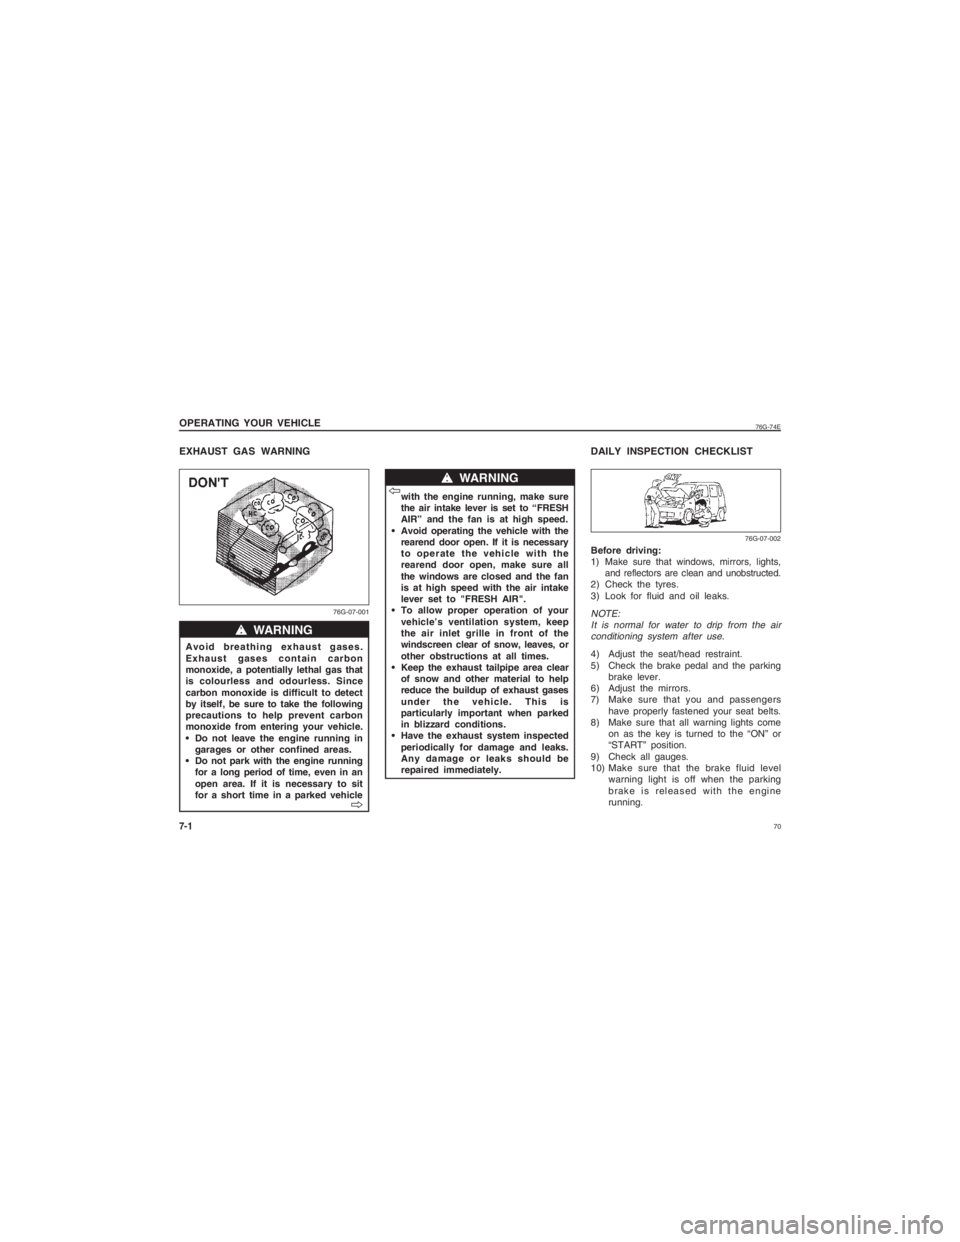
EXHAUST GAS WARNING
with the engine running, make sure
the air intake lever is set to “FRESH
AIR” and the fan is at high speed.
Avoid operating the vehicle with the rearend door open. If it is necessary
to operate the vehicle with the
rearend door open, make sure all
the windows are closed and the fan
is at high speed with the air intake
lever set to "FRESH AIR".
To allow proper operation of your vehicle’s ventilation system, keep
the air inlet grille in front of the
windscreen clear of snow, leaves, or
other obstructions at all times.
Keep the exhaust tailpipe area clear of snow and other material to help
reduce the buildup of exhaust gases
under the vehicle. This is
particularly important when parked
in blizzard conditions.
Have the exhaust system inspected
periodically for damage and leaks.
Any damage or leaks should be
repaired immediately.
DAILY INSPECTION CHECKLIST
ww ww
w WARNING
7-1
ww
ww
w WARNING
Before driving:
1)
Make sure that windows, mirrors, lights,
and reflectors are clean and unobstructed.
2) Check the tyres.
3) Look for fluid and oil leaks.NOTE:
It is normal for water to drip from the air
conditioning system after use.4) Adjust the seat/head restraint.
5) Check the brake pedal and the parking brake lever.
6) Adjust the mirrors.
7) Make sure that you and passengers have properly fastened your seat belts.
8) Make sure that all warning lights come on as the key is turned to the “ON” or
“START” position.
9) Check all gauges.
10) Make sure that the brake fluid level warning light is off when the parking
brake is released with the engine
running.
OPERATING YOUR VEHICLEAvoid breathing exhaust gases.
Exhaust gases contain carbon
monoxide, a potentially lethal gas that
is colourless and odourless. Since
carbon monoxide is difficult to detect
by itself, be sure to take the following
precautions to help prevent carbon
monoxide from entering your vehicle.
Do not leave the engine running ingarages or other confined areas.
Do not park with the engine running for a long period of time, even in an
open area. If it is necessary to sit
for a short time in a parked vehicle
VV VV
V
VV
VV
V
76G-07-001 76G-07-002
Page 70 of 139
7176G-74E
Before starting the engine:
1) Make sure the parking brake is appliedfully.
2) Manual Transmission - Shift into “N” (neutral) and depress the clutch pedal all
the way to the floor. Hold it while starting
the engine.
Make sure that the parking brake is
applied fully and the transmission is
in Neutral before attempting to start
the engine.
Stop turning the starter immediately after the engine has started or the
starter system can be damaged.
Do not crank the engine for more than 15 seconds at a time. If the
engine doesn’t start on the first try,
wait about 15 seconds before trying
again.
7-2
STARTING THE ENGINE
ww ww
w WARNING
OPERATING YOUR VEHICLE
Once a week, or each time you fill your fuel
tank, perform the following under-bonnet
checks:
1) Engine oil level.
2) Coolant level.
3) Brake fluid level.
4) Windscreen washer fluid level.
5) Battery solution level.
6) Bonnet latch operation.
Pull the bonnet release handle inside the
vehicle. Make sure that you can not
open the hood all the way without
releasing the secondary latch. Be sure
to close the hood securely after checking
for proper operation. See "All Latches,
Hinges & Locks" of "PERIODIC
MAINTENANCE SCHEDULE" in the
"INSPECTION AND MAINTENANCE"
section for lubrication schedule.
Make sure the bonnet is fully closed
and latched before driving. If it is not,
it can fly up unexpectedly during
driving, obstructing your view and
resulting in an accident.
ww ww
w WARNING
Starting a Cold Engine
Engine which is started after 6 hours should
be treated as cold engine.
For Electronic fuel injection models
With your foot off the accelerator pedal,
crank the engine by turning the ignition
key to “START”. Release the key when
the engine starts.
If the engine does not start after 15 seconds of cranking, wait about 15
seconds, then press down the
accelerator pedal to 1/3 of its travel and
try cranking the engine again. Release
the key and accelerator pedal when the
engine starts.
If the engine still does not start, try holding the accelerator pedal all the way
to the floor while cranking. This should
clear the engine if it is flooded.
Starting a Warm Engine
For Electronic fuel injection models:
Use the same procedure as for “Starting a
Cold Engine”.
CAUTION