4 wheel drive SUZUKI GRAND VITARA 2018 User Guide
[x] Cancel search | Manufacturer: SUZUKI, Model Year: 2018, Model line: GRAND VITARA, Model: SUZUKI GRAND VITARA 2018Pages: 482, PDF Size: 21 MB
Page 152 of 482
3-12
OPERATING YOUR VEHICLE
54P00-01E
Clutch pedal (1)
A clutch pedal is used to disengage the
drive to the wheels when starting the
engine, stopping, or shifting the gearshift
lever. Depressing the pedal disengages
the clutch.
Brake pedal (2)
Your SUZUKI vehicle is equipped with front
and rear disc brakes. Depressing a brake
pedal applies both sets of brakes.
You may hear occasional brake squeal
when you apply the brakes. This is a nor-
mal condition caused by environmental
factors such as cold, wet, snow, etc.
Accelerator pedal (3)
An accelerator pedal controls the speed of
the engine. Depressing the accelerator
pedal increases power output and speed.
Starting engine
(vehicle without keyless push
start system)
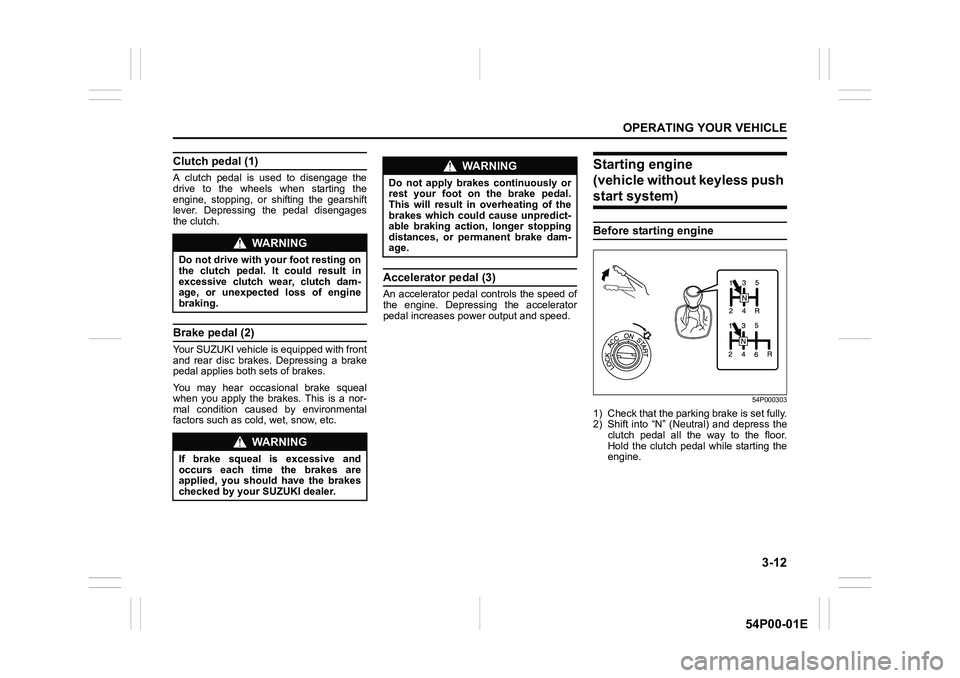
Before starting engine
54P000303
1) Check that the parking brake is set fully.
2) Shift into “N” (Neutral) and depress the
clutch pedal all the way to the floor.
Hold the clutch pedal while starting the
engine.
WA R N I N G
Do not drive with your foot resting on
the clutch pedal. It could result in
excessive clutch wear, clutch dam-
age, or unexpected loss of engine
braking.
WA R N I N G
If brake squeal is excessive and
occurs each time the brakes are
applied, you should have the brakes
checked by your SUZUKI dealer.
WA R N I N G
Do not apply brakes continuously or
rest your foot on the brake pedal.
This will result in overheating of the
brakes which could cause unpredict-
able braking action, longer stopping
distances, or permanent brake dam-
age.
Page 163 of 482
3-23
OPERATING YOUR VEHICLE
54P00-01E
Four-mode 4WD system
(if equipped)
54P000305
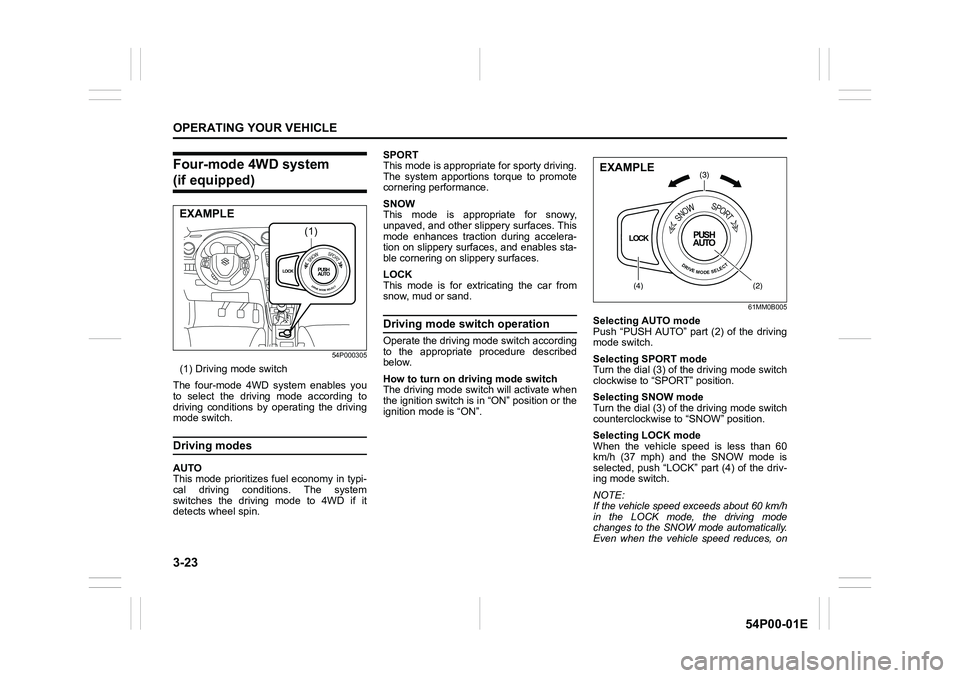
(1) Driving mode switch
The four-mode 4WD system enables you
to select the driving mode according to
driving conditions by operating the driving
mode switch.
Driving modes
AUTO
This mode prioritizes fuel economy in typi-
cal driving conditions. The system
switches the driving mode to 4WD if it
detects wheel spin.SPORT
This mode is appropriate for sporty driving.
The system apportions torque to promote
cornering performance.
SNOW
This mode is appropriate for snowy,
unpaved, and other slippery surfaces. This
mode enhances traction during accelera-
tion on slippery surfaces, and enables sta-
ble cornering on slippery surfaces.
LOCK
This mode is for extricating the car from
snow, mud or sand.
Driving mode switch operation
Operate the driving mode switch according
to the appropriate procedure described
below.
How to turn on driving mode switch
The driving mode switch will activate when
the ignition switch is in “ON” position or the
ignition mode is “ON”.
61MM0B005
Selecting AUTO mode
Push “PUSH AUTO” part (2) of the driving
mode switch.
Selecting SPORT mode
Turn the dial (3) of the driving mode switch
clockwise to “SPORT” position.
Selecting SNOW mode
Turn the dial (3) of the driving mode switch
counterclockwise to “SNOW” position.
Selecting LOCK mode
When the vehicle speed is less than 60
km/h (37 mph) and the SNOW mode is
selected, push “LOCK” part (4) of the driv-
ing mode switch.
NOTE:
If the vehicle speed exceeds about 60 km/h
in the LOCK mode, the driving mode
changes to the SNOW mode automatically.
Even when the vehicle speed reduces, on
LOCKPUSH
AUTOSNOWSPORT
DRIVEMODESELECT
(1)
EXAMPLE
LOCKPUSH
AUTO
SNOWSPORT
DRIVEMODESELECT
(3)
(4)(2)
EXAMPLE
Page 164 of 482
3-24
OPERATING YOUR VEHICLE
54P00-01E
the other hand, the driving mode does not
return to the LOCK mode automatically. You
should select the LOCK mode according to
the driving conditions.
NOTE:
• The information display shows current
driving mode.
• When the ignition switch is turned to
“ON” position or the engine switch is
pressed to change the ignition mode to
“ON”, the AUTO mode is selected auto-
matically.
• The driving mode switch can be oper-
ated when the vehicle is either stopped
or moving.
• Check that the front wheels are in the
straight ahead position when operating
the driving mode switch.
• While making turns or accelerating and
decelerating, operating the driving mode
switch, turning the ignition switch to
“ACC” or “LOCK” position or pressing
the engine switch to change the ignition
mode to “ACC” or “LOCK” may cause a
shock, but this is not a system malfunc-
tion.
• When you operate your vehicle under
conditions that involve wheel spin, such
as driving off-road in the sand or water
or when a wheel has run off the road, the
difference in the amount of revolution
between front wheels and rear wheels
increases (wheels run idle). If this state
continues, the oil temperature of the
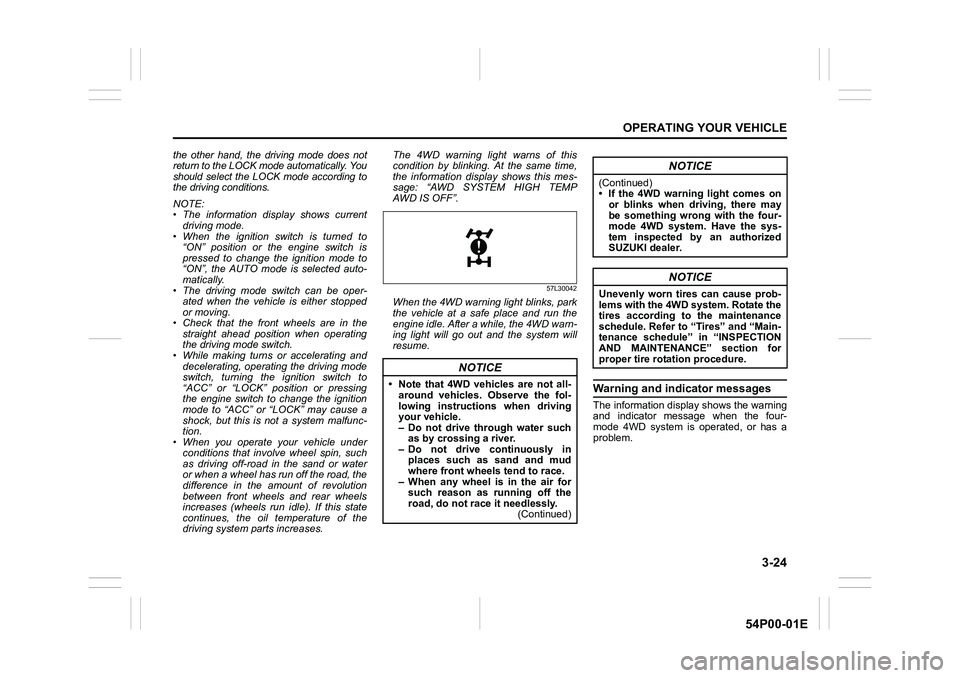
driving system parts increases. The 4WD warning light warns of this
condition by blinking. At the same time,
the information display shows this mes-
sage: “AWD SYSTEM HIGH TEMP
AWD IS OFF”.
57L30042
When the 4WD warning light blinks, park
the vehicle at a safe place and run the
engine idle. After a while, the 4WD warn-
ing light will go out and the system will
resume.
Warning and indicator messages
The information display shows the warning
and indicator message when the four-
mode 4WD system is operated, or has a
problem.
NOTICE
• Note that 4WD vehicles are not all-
around vehicles. Observe the fol-
lowing instructions when driving
your vehicle.
– Do not drive through water such
as by crossing a river.
– Do not drive continuously in
places such as sand and mud
where front wheels tend to race.
– When any wheel is in the air for
such reason as running off the
road, do not race it needlessly.
(Continued)
NOTICE
(Continued)
• If the 4WD warning light comes on
or blinks when driving, there may
be something wrong with the four-
mode 4WD system. Have the sys-
tem inspected by an authorized
SUZUKI dealer.
NOTICE
Unevenly worn tires can cause prob-
lems with the 4WD system. Rotate the
tires according to the maintenance
schedule. Refer to “Tires” and “Main-
tenance schedule” in “INSPECTION
AND MAINTENANCE” section for
proper tire rotation procedure.
Page 215 of 482
3-75
OPERATING YOUR VEHICLE
54P00-01E
Brake assist system
When you slam the brakes on, the brake
assist system determines it to be an emer-
gency stop and provides more powerful
braking for a driver who cannot hold down
the brake pedal firmly.
NOTE:
If you quickly and forcefully depress the
brakes, you may hear a clicking sound in
the brake pedal. This is normal and indi-
cates that the brake assist system is acti-
vated properly.
Anti-lock brake system (ABS)
ABS will help you avoid skidding by elec-
tronically controlling braking pressure. It
will also help you maintain steering control
when braking on slippery surfaces or when
braking hard.
The ABS works automatically, so you do
not need any special braking technique.
Just push the brake pedal down without
pumping. The ABS will operate wheneverit senses that the wheels are locking up.
You may feel the brake pedal move a little
while the ABS is operating.
NOTE:
The ABS will not work if vehicle speed is
under about 9 km/h (6 mph).63J081
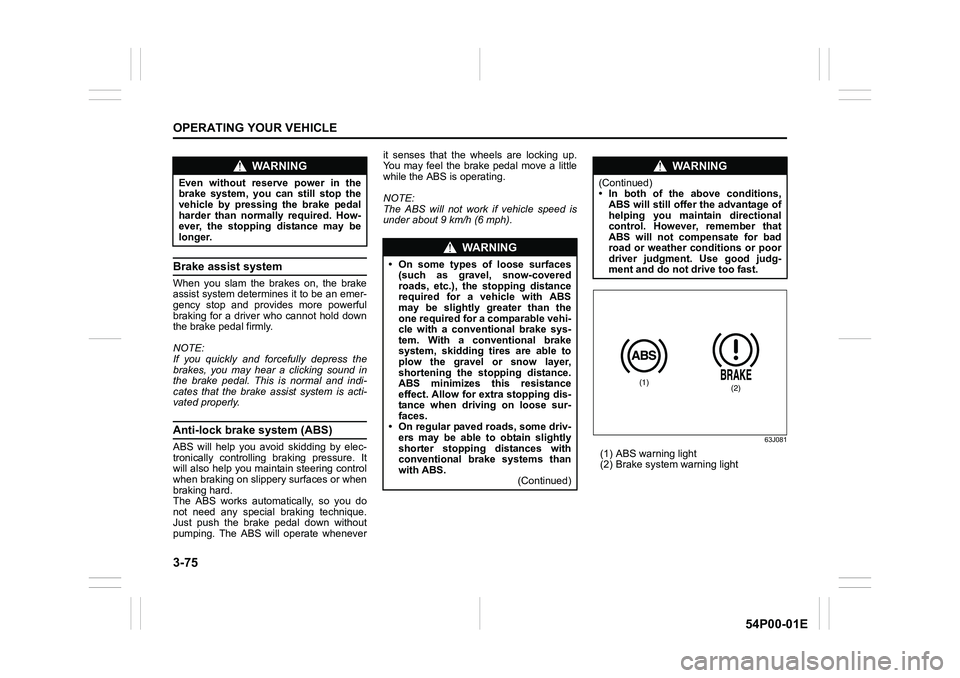
(1) ABS warning light
(2) Brake system warning light
WA R N I N G
Even without reserve power in the
brake system, you can still stop the
vehicle by pressing the brake pedal
harder than normally required. How-
ever, the stopping distance may be
longer.
WA R N I N G
• On some types of loose surfaces
(such as gravel, snow-covered
roads, etc.), the stopping distance
required for a vehicle with ABS
may be slightly greater than the
one required for a comparable vehi-
cle with a conventional brake sys-
tem. With a conventional brake
system, skidding tires are able to
plow the gravel or snow layer,
shortening the stopping distance.
ABS minimizes this resistance
effect. Allow for extra stopping dis-
tance when driving on loose sur-
faces.
• On regular paved roads, some driv-
ers may be able to obtain slightly
shorter stopping distances with
conventional brake systems than
with ABS.
(Continued)
WA R N I N G
(Continued)
• In both of the above conditions,
ABS will still offer the advantage of
helping you maintain directional
control. However, remember that
ABS will not compensate for bad
road or weather conditions or poor
driver judgment. Use good judg-
ment and do not drive too fast.
(1)(2)
Page 216 of 482
3-76
OPERATING YOUR VEHICLE
54P00-01E
How ABS works
A computer continuously monitors wheel
speed. The computer compares the
changes in wheel speed when braking. If
the wheels slow suddenly, indicating a
skidding situation, the computer will
change braking pressure several times
each second to prevent the wheels from
locking. When you start your vehicle or
when you accelerate after a hard stop, you
may hear a momentary motor or clicking
noise as the system resets or checks itself.
Electronic stability program
(ESP®)
ESP® is a registered trademark of Daimler
AG.
The Electronic Stability Program (ESP
®)
helps to control the vehicle during corner-
ing if front wheels or rear wheels skid. It
also assists you in maintaining traction
while accelerating on loose or slippery
road surfaces. It does this by regulating
the engine’s output, and by selectively
applying the brakes. In addition, ESP
®
helps to avoid skidding by controlling brak-
ing pressure.
WA R N I N G
• If the ABS warning light (1) on the
instrument cluster comes on and
stays on while driving, there may
be a problem with the ABS system.
Ask your SUZUKI dealer to inspect
the ABS system immediately. If the
ABS system becomes inoperative,
the brake system will function as
an ordinary brake system that has
no ABS.
• If the ABS warning light (1) and the
brake system warning light (2) on
the instrument cluster simultane-
ously stay on or come on while
driving, both anti-lock function and
rear brake force control function
(proportioning valve function) of
the ABS system may have failed. If
so, the rear wheels may easily skid
or the vehicle can even spin in the
worst case when braking on a slip-
pery road or when hard braking
even on a dry paved road. Ask your
SUZUKI dealer to inspect the ABS
system immediately. Drive care-
fully, avoiding hard braking as
much as possible.
WA R N I N G
The ABS may not work properly if
tires or wheels other than those
specified in the owner’s manual are
used. This is because the ABS works
by comparing changes in wheel
speed. When replacing tires or
wheels, use only the size and type
specified in this owner’s manual.
WA R N I N G
The ESP® cannot enhance the vehi-
cle’s driving stability in all situations
and does not control your vehicle’s
entire braking system. The ESP
® can-
not prevent accidents, including
those resulting from excessive speed
in turns, or hydroplaning. Only safe
and attentive drive can prevent acci-
dents. The capabilities of an ESP
®-
equipped vehicle must never be used
as a substitute for careful driving.
Page 218 of 482
3-78
OPERATING YOUR VEHICLE
54P00-01E
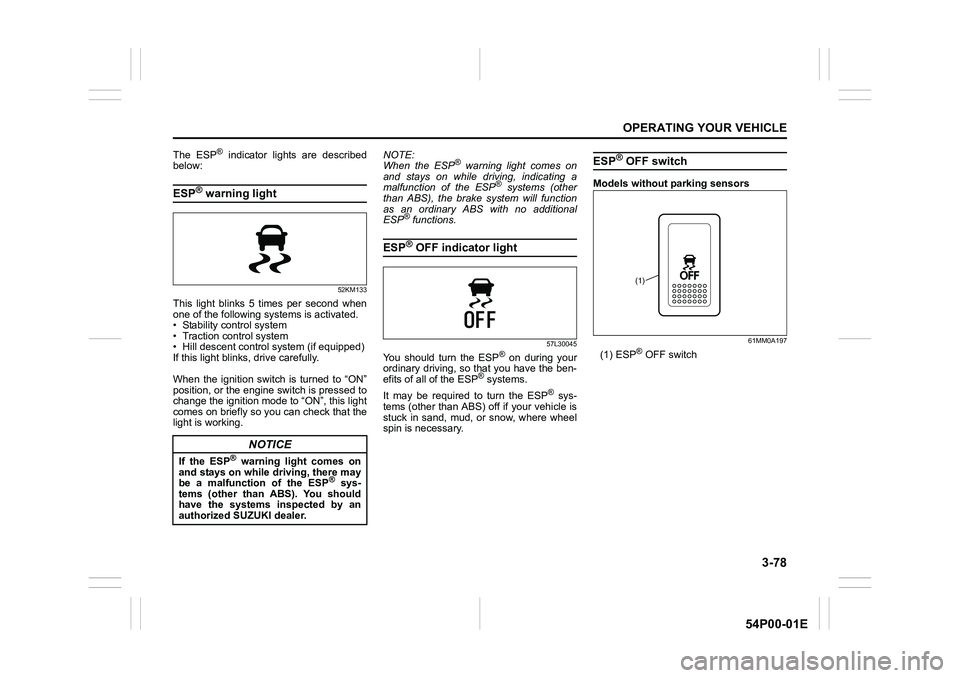
The ESP® indicator lights are described
below:
ESP® warning light
52KM133
This light blinks 5 times per second when
one of the following systems is activated.
• Stability control system
• Traction control system
• Hill descent control system (if equipped)
If this light blinks, drive carefully.
When the ignition switch is turned to “ON”
position, or the engine switch is pressed to
change the ignition mode to “ON”, this light
comes on briefly so you can check that the
light is working.NOTE:
When the ESP
® warning light comes on
and stays on while driving, indicating a
malfunction of the ESP
® systems (other
than ABS), the brake system will function
as an ordinary ABS with no additional
ESP
® functions.
ESP® OFF indicator light
57L30045
You should turn the ESP® on during your
ordinary driving, so that you have the ben-
efits of all of the ESP
® systems.
It may be required to turn the ESP
® sys-
tems (other than ABS) off if your vehicle is
stuck in sand, mud, or snow, where wheel
spin is necessary.
ESP® OFF switch
Models without parking sensors
61MM0A197
(1) ESP® OFF switch
NOTICE
If the ESP® warning light comes on
and stays on while driving, there may
be a malfunction of the ESP
® sys-
tems (other than ABS). You should
have the systems inspected by an
authorized SUZUKI dealer.
(1)
Page 225 of 482
3-85
OPERATING YOUR VEHICLE
54P00-01E
The low tire pressure warning light can
come on due to normal causes such as
natural air leakage and pressure changes
caused by changes in temperature or
atmospheric pressure. Adjusting the air
pressure in the tires to the pressure shown
on the tire information placard should
cause the low tire pressure warning light to
turn off.
To make the low tire pressure warning light
go off, adjust the tire pressures when the
tires are cold, and drive the vehicle for
about 10 minutes.
When the adjusted tire pressure is recog-
nized, the low tire pressure warning light
will go off and the information display
shows the current tire pressure (if you
select the TPMS monitor).If the light turns on again shortly after
adjusting the pressure in your tires, you
may have a flat tire. If you have a flat tire,
replace it with the spare tire (if equipped).
Refer to “Jacking instructions” in “EMER-
GENCY SERVICE” section. Refer to
“Replacing tires and/or wheels” for instruc-
tions on how to restore normal operation of
the tire pressure monitoring system after
you have had a flat tire.
WA R N I N G
Continuing to drive with the low tire
pressure warning light on can lead to
an accident, resulting in severe injury
or death.
If the low tire pressure warning light
comes on and stays on, reduce your
speed and avoid abrupt steering and
braking. Be aware that driving on a
significantly under-inflated tire can
cause the tire to overheat and can
lead to tire failure, and may affect
steering control and brake effective-
ness. Stop in a safe place as soon as
possible and check your tires.
• If you have a flat tire, replace it with
the spare tire (if equipped). Refer to
“Jacking instructions” in “EMER-
GENCY SERVICE” section for tire
replacement. Also refer to “Replac-
ing tires and/or wheels” for instruc-
tions on how to restore normal
operation of the TPMS after you
have had a flat tire.
(Continued)
WA R N I N G
(Continued)
• If your vehicle is equipped with a
flat tire repair kit instead of a spare
tire, refer to “Flat tire repair kit” in
“EMERGENCY SERVICE” section
for instructions on how to perform
an emergency repair of a flat tire.
• If one or more of your tires is
under-inflated, adjust the inflation
pressure in all of your tires to the
recommended inflation pressure as
soon as possible.
NOTICE
If the low tire pressure warning light
does not go off even when you drive
for more than 10 minutes after adjust-
ing the cold tire pressure, there may
be a problem with the TPMS. Have
your vehicle inspected by an autho-
rized SUZUKI dealer.
Page 226 of 482
3-86
OPERATING YOUR VEHICLE
54P00-01E
61MM0A198
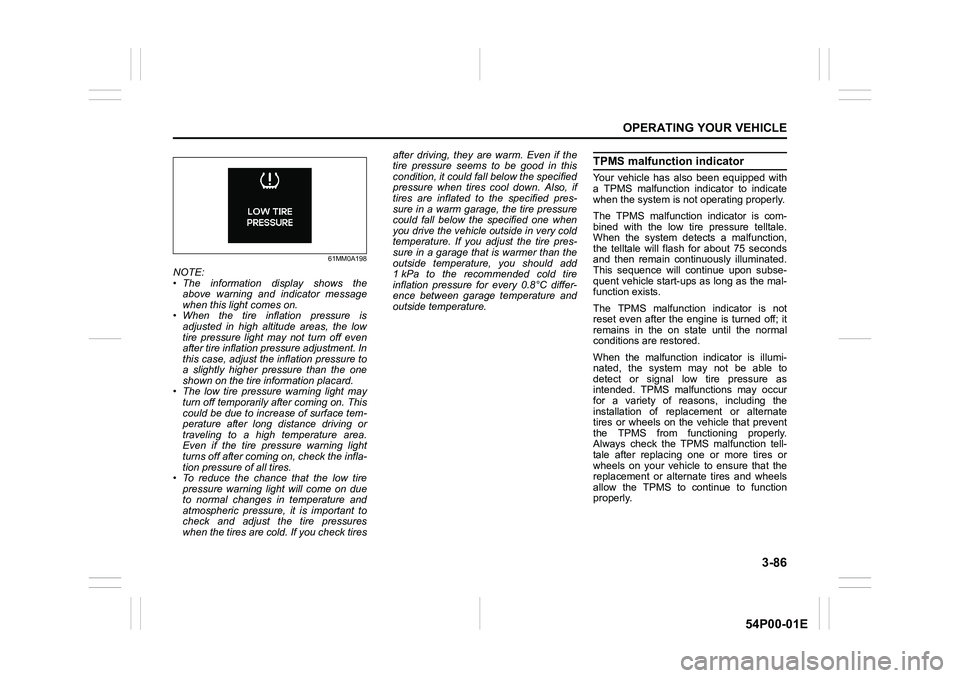
NOTE:
• The information display shows the
above warning and indicator message
when this light comes on.
• When the tire inflation pressure is
adjusted in high altitude areas, the low
tire pressure light may not turn off even
after tire inflation pressure adjustment. In
this case, adjust the inflation pressure to
a slightly higher pressure than the one
shown on the tire information placard.
• The low tire pressure warning light may
turn off temporarily after coming on. This
could be due to increase of surface tem-
perature after long distance driving or
traveling to a high temperature area.
Even if the tire pressure warning light
turns off after coming on, check the infla-
tion pressure of all tires.
• To reduce the chance that the low tire
pressure warning light will come on due
to normal changes in temperature and
atmospheric pressure, it is important to
check and adjust the tire pressures
when the tires are cold. If you check tiresafter driving, they are warm. Even if the
tire pressure seems to be good in this
condition, it could fall below the specified
pressure when tires cool down. Also, if
tires are inflated to the specified pres-
sure in a warm garage, the tire pressure
could fall below the specified one when
you drive the vehicle outside in very cold
temperature. If you adjust the tire pres-
sure in a garage that is warmer than the
outside temperature, you should add
1 kPa to the recommended cold tire
inflation pressure for every 0.8°C differ-
ence between garage temperature and
outside temperature.
TPMS malfunction indicator
Your vehicle has also been equipped with
a TPMS malfunction indicator to indicate
when the system is not operating properly.
The TPMS malfunction indicator is com-
bined with the low tire pressure telltale.
When the system detects a malfunction,
the telltale will flash for about 75 seconds
and then remain continuously illuminated.
This sequence will continue upon subse-
quent vehicle start-ups as long as the mal-
function exists.
The TPMS malfunction indicator is not
reset even after the engine is turned off; it
remains in the on state until the normal
conditions are restored.
When the malfunction indicator is illumi-
nated, the system may not be able to
detect or signal low tire pressure as
intended. TPMS malfunctions may occur
for a variety of reasons, including the
installation of replacement or alternate
tires or wheels on the vehicle that prevent
the TPMS from functioning properly.
Always check the TPMS malfunction tell-
tale after replacing one or more tires or
wheels on your vehicle to ensure that the
replacement or alternate tires and wheels
allow the TPMS to continue to function
properly.
Page 238 of 482
4-4
DRIVING TIPS
54P00-01E
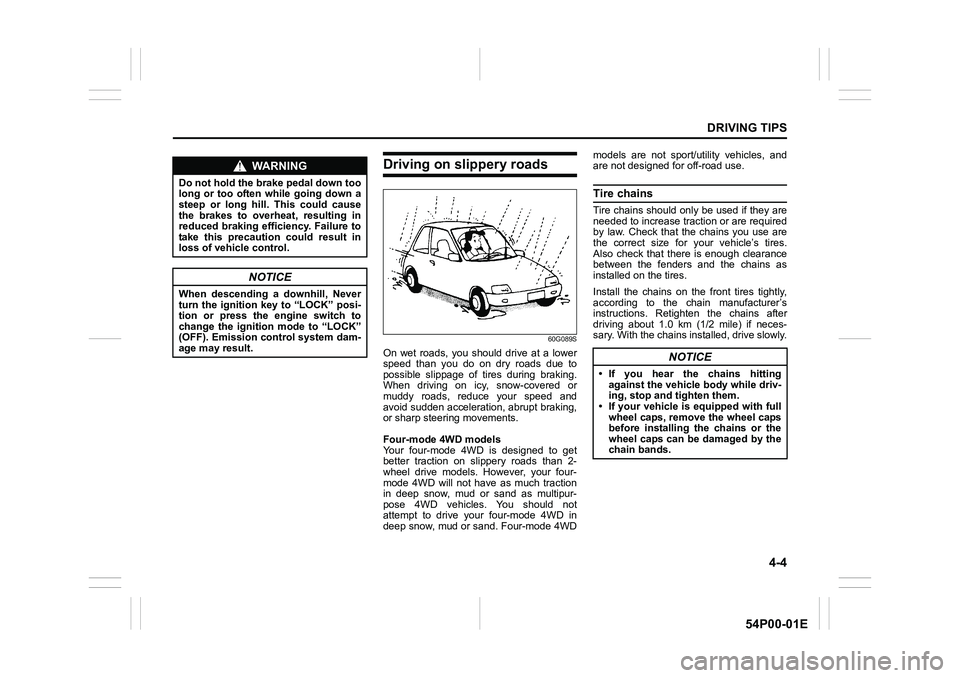
Driving on slippery roads
60G089S
On wet roads, you should drive at a lower
speed than you do on dry roads due to
possible slippage of tires during braking.
When driving on icy, snow-covered or
muddy roads, reduce your speed and
avoid sudden acceleration, abrupt braking,
or sharp steering movements.
Four-mode 4WD models
Your four-mode 4WD is designed to get
better traction on slippery roads than 2-
wheel drive models. However, your four-
mode 4WD will not have as much traction
in deep snow, mud or sand as multipur-
pose 4WD vehicles. You should not
attempt to drive your four-mode 4WD in
deep snow, mud or sand. Four-mode 4WDmodels are not sport/utility vehicles, and
are not designed for off-road use.
Tire chains
Tire chains should only be used if they are
needed to increase traction or are required
by law. Check that the chains you use are
the correct size for your vehicle’s tires.
Also check that there is enough clearance
between the fenders and the chains as
installed on the tires.
Install the chains on the front tires tightly,
according to the chain manufacturer’s
instructions. Retighten the chains after
driving about 1.0 km (1/2 mile) if neces-
sary. With the chains installed, drive slowly.
WA R N I N G
Do not hold the brake pedal down too
long or too often while going down a
steep or long hill. This could cause
the brakes to overheat, resulting in
reduced braking efficiency. Failure to
take this precaution could result in
loss of vehicle control.
NOTICE
When descending a downhill, Never
turn the ignition key to “LOCK” posi-
tion or press the engine switch to
change the ignition mode to “LOCK”
(OFF). Emission control system dam-
age may result.
NOTICE
• If you hear the chains hitting
against the vehicle body while driv-
ing, stop and tighten them.
• If your vehicle is equipped with full
wheel caps, remove the wheel caps
before installing the chains or the
wheel caps can be damaged by the
chain bands.
Page 240 of 482
4-6
DRIVING TIPS
54P00-01E
WA R N I N G
(Continued)
• Do not use tires other than those
specified by SUZUKI. Never use dif-
ferent sizes or types of tires on the
front and rear wheels. For informa-
tion regarding the specified tires,
refer to the tire information label
located on the driver’s door lock
pillar.
• Never use oversized tires or spe-
cial shock absorbers and springs
to raise (jack up) your vehicle. This
will change the handling character-
istics. Oversized tires may also rub
against the fender over bumps,
causing vehicle damage or tire fail-
ure.
• After driving through water, test the
brakes while driving at a slow
speed to see if they have main-
tained their normal effectiveness. If
the brakes are less effective than
normal, dry them by repeatedly
applying the brakes while driving
slowly until the brakes have
regained their normal effective-
ness.