SUZUKI JIMNY 2022 Owners Manual
Manufacturer: SUZUKI, Model Year: 2022, Model line: JIMNY, Model: SUZUKI JIMNY 2022Pages: 421, PDF Size: 6.35 MB
Page 371 of 421

Wiper blades
54G129
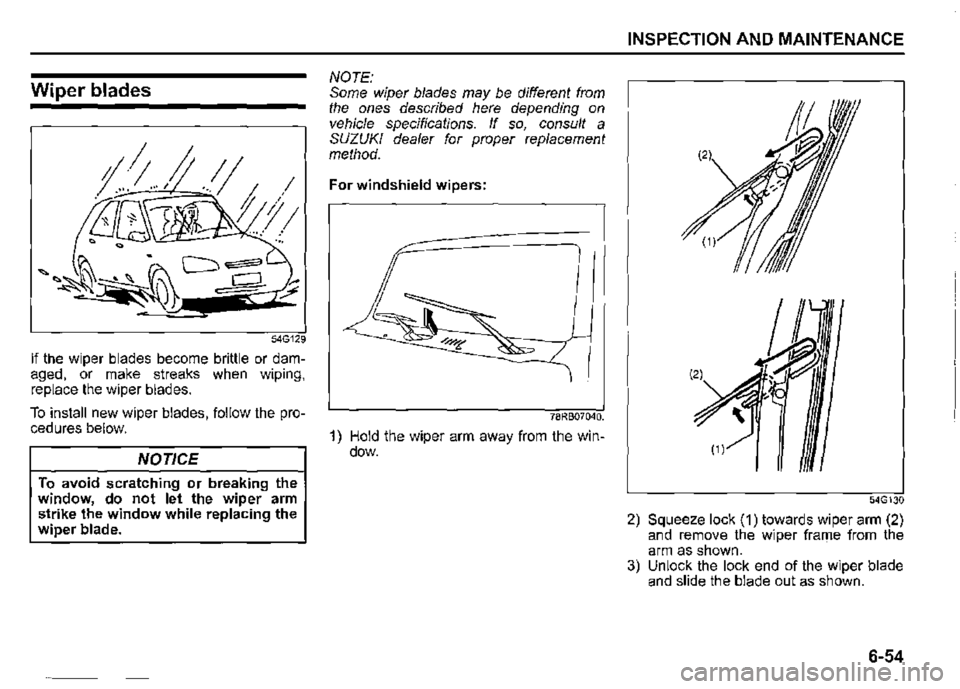
If the wiper blades become brittle or damaged, or make streaks when wiping, replace the wiper blades.
To install new wiper blades, follow the procedures below.
NOTICE
To avoid scratching or breaking the window, do not let the wiper arm strike the window while replacing the wiper blade.
NOTE: Some wiper blades may be different from the ones described here depending on vehicle specifications. If so, consult a SUZUKI dealer for proper replacement method.
For windshield wipers:
78RB07040.
1) Hold the wiper arm away from the window.
INSPECTION AND MAINTENANCE
54G130
2) Squeeze lock (1) towards wiper arm (2) and remove the wiper frame from the arm as shown. 3) Unlock the lock end of the wiper blade and slide the blade out as shown.
6-54
Page 372 of 421

INSPECTION AND MAINTENANCE
(Removal)
78RB07045.
(Installation)
a
54G132
6-55
(3) Retainer
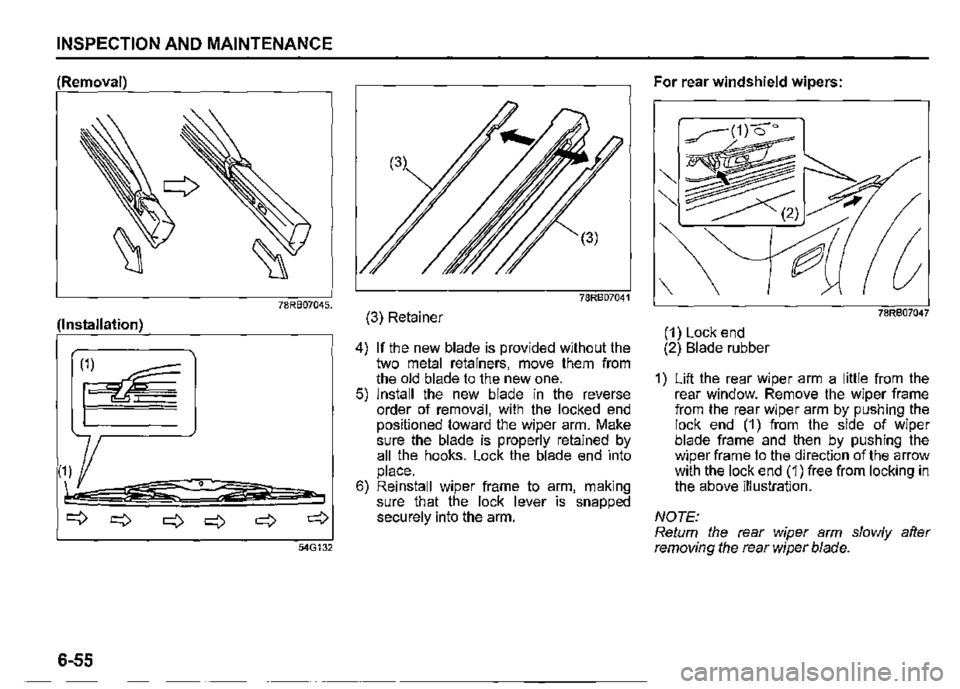
4) If the new blade is provided without the two metal retainers, move them from the old blade to the new one. 5) Install the new blade in the reverse order of removal, with the locked end positioned toward the wiper arm. Make sure the blade is properly retained by all the hooks. Lock the blade end into place. 6) Reinstall wiper frame to arm, making sure that the lock lever is snapped securely into the arm.
For rear windshield wipers:
78R807047
(1) Lock end (2) Blade rubber
1) Lift the rear wiper arm a little from the rear window. Remove the wiper frame from the rear wiper arm by pushing the lock end (1) from the side of wiper blade frame and then by pushing the wiper frame to the direction of the arrow with the lock end (1) free from locking in the above illustration.
NOTE: Return the rear wiper arm slowly after removing the rear wiper blade.
Page 373 of 421

77R60050
(3) Stopper (4) Hook (5) Retainer
2) Pull and remove the wiper blade rubber from the wiper frame until the stopper (3) of the wiper frame is taken out of the hook (4). Remove the retainers (5) from the wiper blade.
63R60160
3) If the new blade is provided without the two metal retainers, install them from the old blade to the new one.
,.....,
c
77R60030
4) Install the retainers along the direction of camber as shown in the illustration.
INSPECTION AND MAINTENANCE
63R60180
5) Slide the new wiper blade into the wiper frame. When installing the blade rubber, put into the side that has no stopper on the wiper blade.
6-56
Page 374 of 421

INSPECTION AND MAINTENANCE
77R60060
(6) Stopper (7) Hook
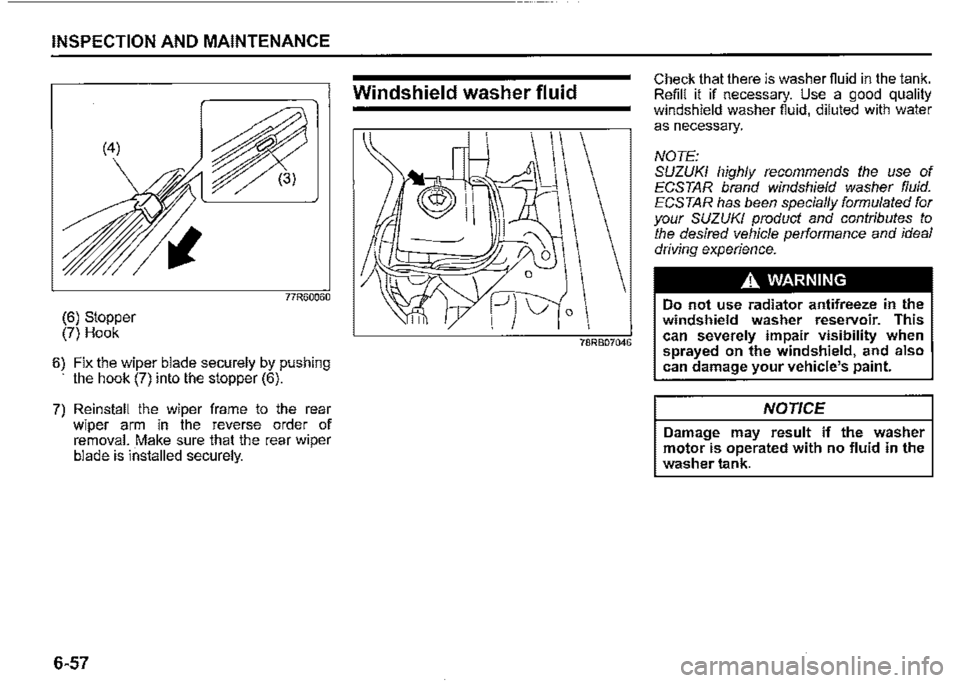
6) Fix the wiper blade securely by pushing · the hook (7) into the stopper (6).
7) Reinstall the wiper frame to the rear wiper arm in the reverse order of removal. Make sure that the rear wiper blade is installed securely.
6-57
Windshield washer fluid Check that there is washer fiuid in the tank. Refill it if necessary. Use a good quality windshield washer fiuid, diluted with water
as necessary.
NOTE: SUZUKI highly recommends the use of ECSTAR brand windshield washer fluid. ECSTAR has been specially formulated for your SUZUKI product and contributes to the desired vehicle performance and ideal driving experience.
A WARNING
Do not use radiator antifreeze in the windshield washer reservoir. This can severely impair visibility when sprayed on the windshield, and also can damage your vehicle's paint.
NOTICE
Damage may result if the washer motor is operated with no fluid in the washer tank.
Page 375 of 421

Air conditioning system
If you do not use the air conditioner for a long period, such as during winter, it may not give the best performance when you start using it again. To help maintain optimum performance and durability of your air conditioner, it needs to be run periodically. Operate the air conditioner at least once a month for one minute with the engine idling. This circulates the refrigerant and oil and helps protect the internal components.
Air conditioner filter replacement
Since special procedures are required, ask a SUZUKI dealer for this job.
78RB07042
1) To approach the air conditioner filter, remove the glove box by pressing both sides of the glove box inward and pulling it out.
INSPECTION AND MAINTENANCE
(2)
(1)
78RB07043
2) Remove the cover (1) and pull out the air conditioner filter (2).
NOTE: When you install a new filter, check that the UP mark (3) faces upward.
6-58
Page 376 of 421

INSPECTION AND MAINTENANCE
MEMO
------------------------------------------------------
------------------------------------------------------
------------------------------------------------------
------------------------------------------------------
------------------------------------------------------
------------------------------------------------------
------------------------------------------------------
------------------------------------------------------
6-59
Page 377 of 421

EMERGENCY SERVICE
EMERGENCY SERVICE
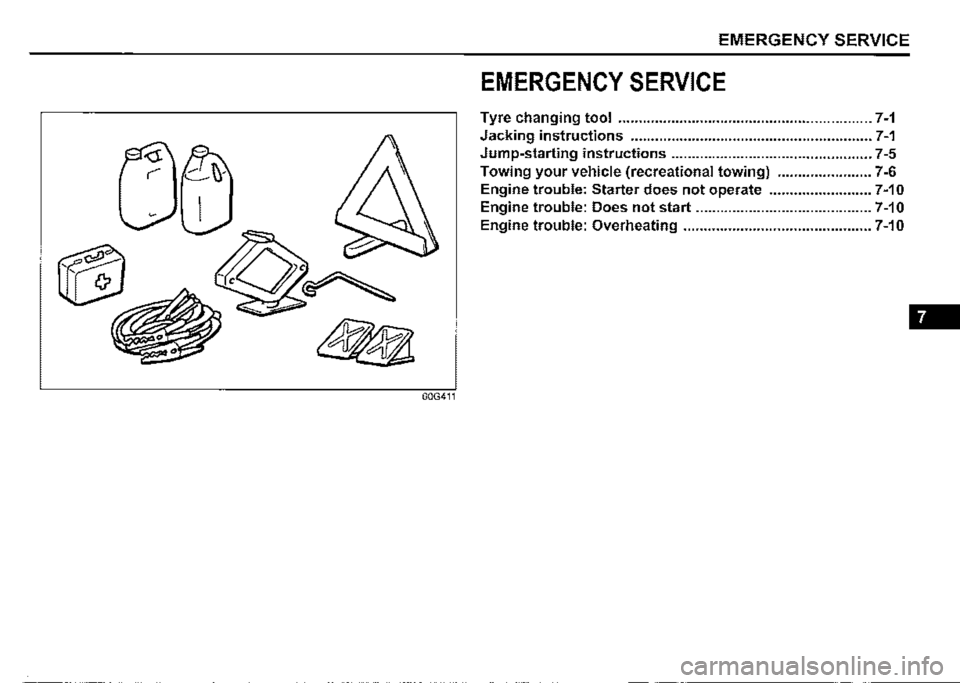
Tyre changing tool .............................................................. 7-1
CJ~
Jacking instructions ........................................................... 7-1
Jump-starting instructions ................................................. 7-5
Towing your vehicle (recreational towing) ....................... 7-6
Engine trouble: Starter does not operate ......................... 7-10
Engine trouble: Does not start ........................................... 7-10
Engine trouble: Overheating .............................................. 7-10
·. ~ -
60G411
Page 378 of 421

EMERGENCY SERVICE
Tyre changing tool
0
57
(3) (1) (2)
78RB08001
(1) Jack (2) Jack handle (3) Wheel wrench
The tyre changing tools are stowed in the luggage compartment. Refer to "LUGGAGE COMPARTMENT" in "ILLUSTRATED TABLE OF CONTENTS" section.
7-1
Jacking instructions
75F062
1) Place the vehicle on level, hard ground. 2) Set the parking brake firmly and shift into "P" (Park) if your vehicle has an automatic transmission, or shift int6 "R" (Reverse) if your vehicle has a manual transmission.
A WARNING
Shift into "P" (Park) for an automatic transmission, or into "R" (Reverse) for a manual transmission vehicle when you jack up the vehicle. • Never jack up the vehicle with the transmission in 11N" (Neutral). Otherwise, unstable jack may cause an accident.
3) Turn on the hazard warning switch if your vehicle is near traffic. 4) Block the front and rear of the wheel diagonally opposite of the wheel being lifted. 5) Place the spare wheel near the wheel being lifted as shown in the illustration in case that the jack is slipped.
Page 379 of 421

Front wheel/Rear wheel
54G277
(1) Boss
6) Position the jack vertically and raise the jack by turning the jack handle clockwise until the jack head hole fits into the boss (1) of the body as the illustration. 7) Continue to raise the jack slowly and smoothly until the tyre clears the ground. Do not raise the vehicle more than necessary.
A WARNING
• Use the jack only to change wheels on level, hard ground. • Never jack up the vehicle on an inclined surface. • Never raise the vehicle with the jack in a location other than between the frame bosses near the wheel to be changed. • Make sure that the jack is raised at least 51 mm (2 inches) before it contacts the boss. Use of the jack when it is within 51 mm (2 inches) of being fully collapsed may result in failure of the jack. No person should place any portion of their body under a vehicle that is supported by a jack. • Never run the engine when the vehicle is supported by the jack and never allow passengers to remain in the vehicle.
EMERGENCY SERVICE
7-2
Page 380 of 421

EMERGENCY SERVICE
Raising vehicle with garage jack
• Apply the garage jack to one of the points indicated below. • Always support the raised vehicle with jack stands (commercially available) at the points indicated below.
7-3
(1)
(1)
..
(1)
(1) Front (2) Rear (3) Jack stand
(5)
78RB08002
(4) Garage jack (5) Jacking point for garage jack