SUZUKI SX4 2008 1.G Owners Manual
Manufacturer: SUZUKI, Model Year: 2008, Model line: SX4, Model: SUZUKI SX4 2008 1.GPages: 278, PDF Size: 4.07 MB
Page 151 of 278
5-14
OTHER CONTROLS AND EQUIPMENT
80J21-03E
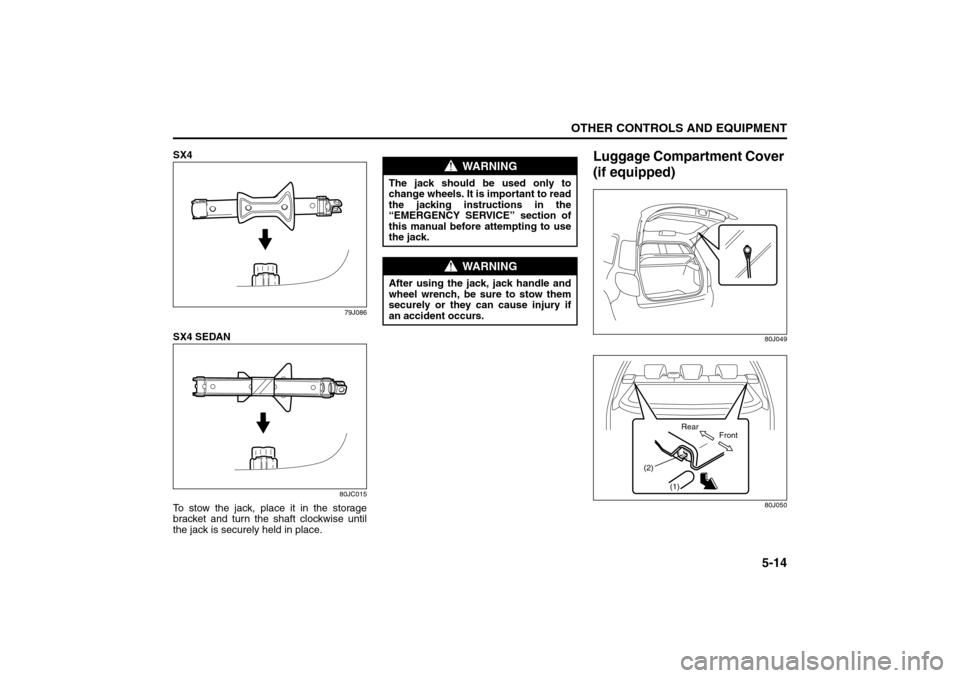
SX4
79J086
SX4 SEDAN
80JC015
To stow the jack, place it in the storage
bracket and turn the shaft clockwise until
the jack is securely held in place.
Luggage Compartment Cover
(if equipped)
80J049
80J050
WARNING
The jack should be used only to
change wheels. It is important to read
the jacking instructions in the
“EMERGENCY SERVICE” section of
this manual before attempting to use
the jack.
WARNING
After using the jack, jack handle and
wheel wrench, be sure to stow them
securely or they can cause injury if
an accident occurs.
(1) (2)
Front Rear
Accessory Socket: 8
Frame Hooks: 5, 6
Page 152 of 278
5-15OTHER CONTROLS AND EQUIPMENT
80J21-03E
Luggage or other cargo placed in the lug-
gage compartment can be hidden from
view by a luggage compartment cover.
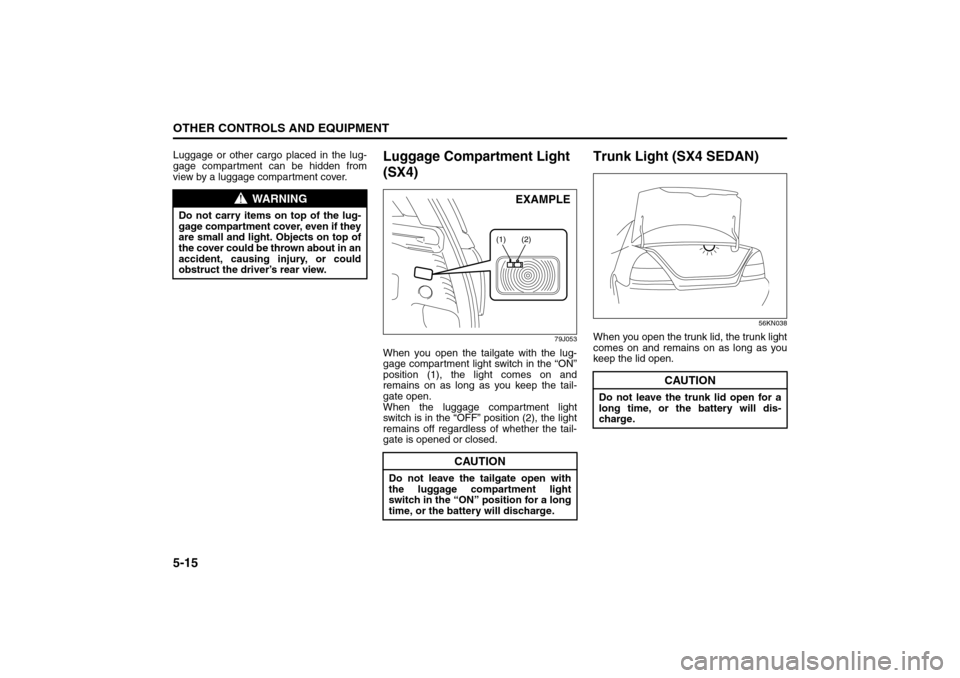
Luggage Compartment Light
(SX4)
79J053
When you open the tailgate with the lug-
gage compartment light switch in the “ON”
position (1), the light comes on and
remains on as long as you keep the tail-
gate open.
When the luggage compartment light
switch is in the “OFF” position (2), the light
remains off regardless of whether the tail-
gate is opened or closed.
Trunk Light (SX4 SEDAN)
56KN038
When you open the trunk lid, the trunk light
comes on and remains on as long as you
keep the lid open.
WARNING
Do not carry items on top of the lug-
gage compartment cover, even if they
are small and light. Objects on top of
the cover could be thrown about in an
accident, causing injury, or could
obstruct the driver’s rear view.
CAUTION
Do not leave the tailgate open with
the luggage compartment light
switch in the “ON” position for a long
time, or the battery will discharge.
(1) (2)
EXAMPLE
CAUTION
Do not leave the trunk lid open for a
long time, or the battery will dis-
charge.
Frame Hooks: 5, 6
Page 153 of 278
5-16
OTHER CONTROLS AND EQUIPMENT
80J21-03E
Radio AntennaSX4
63J055
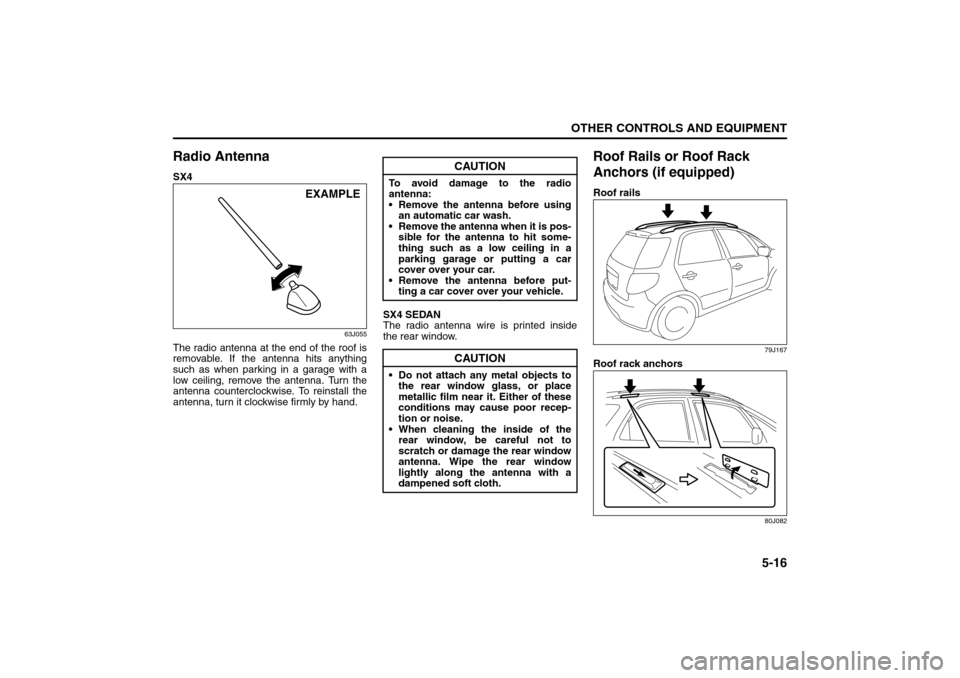
The radio antenna at the end of the roof is
removable. If the antenna hits anything
such as when parking in a garage with a
low ceiling, remove the antenna. Turn the
antenna counterclockwise. To reinstall the
antenna, turn it clockwise firmly by hand.SX4 SEDAN
The radio antenna wire is printed inside
the rear window.
Roof Rails or Roof Rack
Anchors (if equipped)Roof rails
79J167
Roof rack anchors
80J082
EXAMPLE
CAUTION
To avoid damage to the radio
antenna:
Remove the antenna before using
an automatic car wash.
Remove the antenna when it is pos-
sible for the antenna to hit some-
thing such as a low ceiling in a
parking garage or putting a car
cover over your car.
Remove the antenna before put-
ting a car cover over your vehicle.
CAUTION
Do not attach any metal objects to
the rear window glass, or place
metallic film near it. Either of these
conditions may cause poor recep-
tion or noise.
When cleaning the inside of the
rear window, be careful not to
scratch or damage the rear window
antenna. Wipe the rear window
lightly along the antenna with a
dampened soft cloth.
Page 154 of 278
5-17OTHER CONTROLS AND EQUIPMENT
80J21-03E
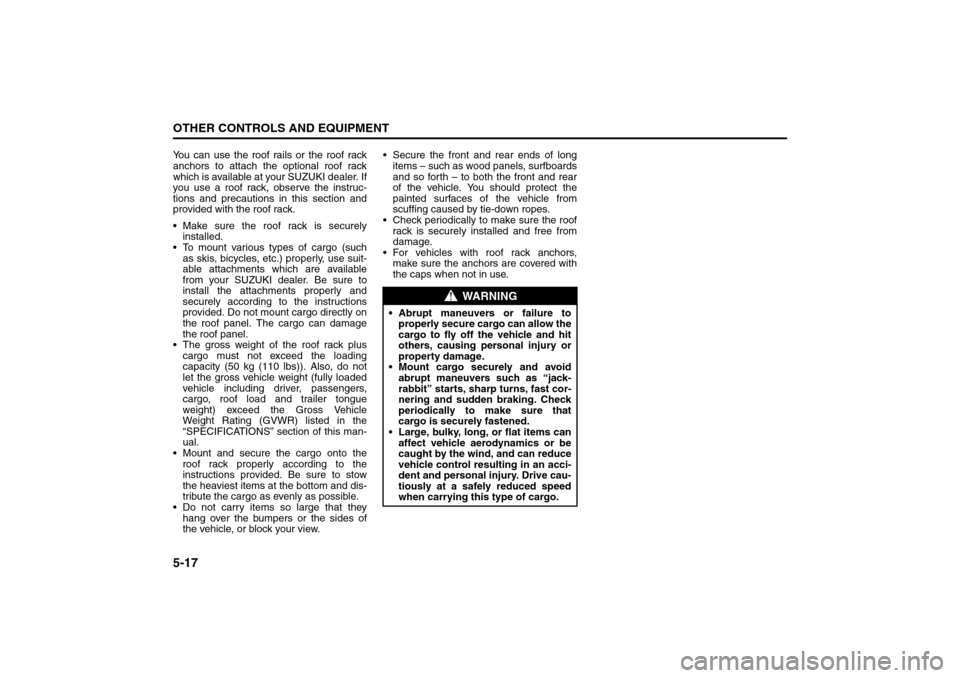
You can use the roof rails or the roof rack
anchors to attach the optional roof rack
which is available at your SUZUKI dealer. If
you use a roof rack, observe the instruc-
tions and precautions in this section and
provided with the roof rack.
Make sure the roof rack is securely
installed.
To mount various types of cargo (such
as skis, bicycles, etc.) properly, use suit-
able attachments which are available
from your SUZUKI dealer. Be sure to
install the attachments properly and
securely according to the instructions
provided. Do not mount cargo directly on
the roof panel. The cargo can damage
the roof panel.
The gross weight of the roof rack plus
cargo must not exceed the loading
capacity (50 kg (110 lbs)). Also, do not
let the gross vehicle weight (fully loaded
vehicle including driver, passengers,
cargo, roof load and trailer tongue
weight) exceed the Gross Vehicle
Weight Rating (GVWR) listed in the
“SPECIFICATIONS” section of this man-
ual.
Mount and secure the cargo onto the
roof rack properly according to the
instructions provided. Be sure to stow
the heaviest items at the bottom and dis-
tribute the cargo as evenly as possible.
Do not carry items so large that they
hang over the bumpers or the sides of
the vehicle, or block your view. Secure the front and rear ends of long
items – such as wood panels, surfboards
and so forth – to both the front and rear
of the vehicle. You should protect the
painted surfaces of the vehicle from
scuffing caused by tie-down ropes.
Check periodically to make sure the roof
rack is securely installed and free from
damage.
For vehicles with roof rack anchors,
make sure the anchors are covered with
the caps when not in use.
WARNING
Abrupt maneuvers or failure to
properly secure cargo can allow the
cargo to fly off the vehicle and hit
others, causing personal injury or
property damage.
Mount cargo securely and avoid
abrupt maneuvers such as “jack-
rabbit” starts, sharp turns, fast cor-
nering and sudden braking. Check
periodically to make sure that
cargo is securely fastened.
Large, bulky, long, or flat items can
affect vehicle aerodynamics or be
caught by the wind, and can reduce
vehicle control resulting in an acci-
dent and personal injury. Drive cau-
tiously at a safely reduced speed
when carrying this type of cargo.
Page 155 of 278
OPERATING YOUR VEHICLE
6
80J21-03E
60G408
OPERATING YOUR VEHICLEExhaust Gas Warning ......................................................... 6-1
Daily Inspection Checklist .................................................. 6-1
Starting the Engine ............................................................. 6-2
Engine Block Heater (if equipped) ..................................... 6-4
Using the Transaxle ............................................................ 6-5
Using the 2WD/i-AWD (intelligent All Wheel Drive)
Switch (if equipped) ............................................................ 6-7
Braking ................................................................................. 6-9
Electronic Stability Program (ESP®) (if equipped) .......... 6-12
Tire Pressure Monitoring System (TPMS) ........................ 6-14
Break-In ................................................................................ 6-18
Catalytic Converter ............................................................. 6-19
Improving Fuel Economy ................................................... 6-20
Page 156 of 278
6-1OPERATING YOUR VEHICLE
80J21-03E
Exhaust Gas Warning
52D334
Daily Inspection ChecklistBefore Driving1) Make sure that windows, mirrors, lights
and reflectors are clean and unob-
structed.
2) Visually check the tires for the following
points:
– the depth of the tread groove
– abnormal wear, cracks and damage
– loose wheel nuts
– existence of foreign material such as
nails, stones, etc.
Refer to “Tires” in “INSPECTION AND
MAINTENANCE” section for details.
3) Look for fluid, oil leaks.
NOTE:
It is normal for water to drip from the air
conditioning system after use.
4) Make sure the hood is fully closed and
latched.
5) Check the headlights, turn signal lights,
brake lights and horn for proper opera-
tion.
6) Lock all doors.
7) Adjust the seat and adjustable head
restraints (if equipped).
8) Check the brake pedal.
9) Adjust the mirrors.
10)Make sure that you and all passengers
have properly fastened your seat belts.
11)Make sure that all warning lights come
on as the key is turned to the “ON” or
“START” position.
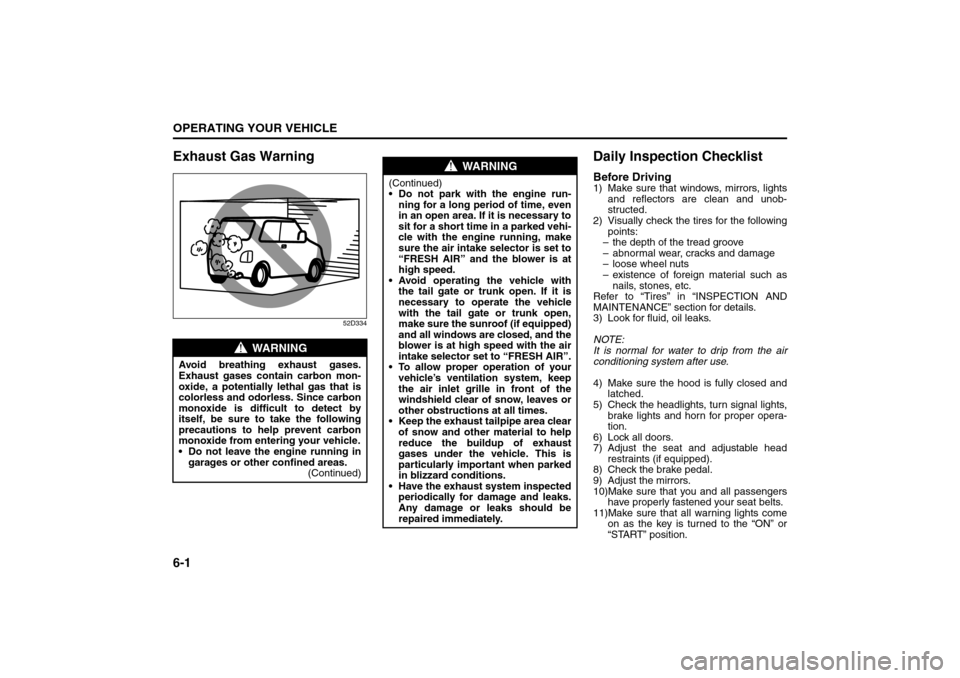
WARNING
Avoid breathing exhaust gases.
Exhaust gases contain carbon mon-
oxide, a potentially lethal gas that is
colorless and odorless. Since carbon
monoxide is difficult to detect by
itself, be sure to take the following
precautions to help prevent carbon
monoxide from entering your vehicle.
Do not leave the engine running in
garages or other confined areas.
(Continued)
WARNING
(Continued)
Do not park with the engine run-
ning for a long period of time, even
in an open area. If it is necessary to
sit for a short time in a parked vehi-
cle with the engine running, make
sure the air intake selector is set to
“FRESH AIR” and the blower is at
high speed.
Avoid operating the vehicle with
the tail gate or trunk open. If it is
necessary to operate the vehicle
with the tail gate or trunk open,
make sure the sunroof (if equipped)
and all windows are closed, and the
blower is at high speed with the air
intake selector set to “FRESH AIR”.
To allow proper operation of your
vehicle’s ventilation system, keep
the air inlet grille in front of the
windshield clear of snow, leaves or
other obstructions at all times.
Keep the exhaust tailpipe area clear
of snow and other material to help
reduce the buildup of exhaust
gases under the vehicle. This is
particularly important when parked
in blizzard conditions.
Have the exhaust system inspected
periodically for damage and leaks.
Any damage or leaks should be
repaired immediately.
Exhaust Gas Warning: NO
Daily Inspection Checklist: NO
Page 157 of 278
6-2
OPERATING YOUR VEHICLE
80J21-03E
12)Check all gauges.
13)Make sure that the BRAKE light turns
off when the parking brake is released.
Once a week, or each time you fill your fuel
tank, perform the following under-hood
checks:
1) Engine oil level
2) Coolant level
3) Brake fluid level
4) Power steering (if equipped) fluid level
5) Windshield washer fluid level
6) Hood latch operation
Pull the hood release handle inside the
vehicle. Make sure that you cannot
open the hood all the way without
releasing the secondary latch. Be sure
to close the hood securely after check-
ing for proper latch operation. See the
item “All latches, hinges and locks” of
“CHASSIS AND BODY” in the “Periodic
Maintenance Schedule” section in the
“INSPECTION AND MAINTENANCE”
section for lubrication schedule.
Starting the EngineBefore Starting the Engine1) Make sure the parking brake is set fully.
2) Manual Transaxle – Shift into “N” (Neu-
tral) and depress the clutch pedal all
the way to the floor.
Hold the clutch pedal while starting the
engine.
Automatic Transaxle – If the gearshift
lever is not in “P” (Park) position, shift
into “P”. (If you need to re-start the
engine while the vehicle is moving, shift
into “N”.)
NOTE:
The engine of manual transaxle vehicle will
not start unless the clutch pedal is
depressed.
NOTE:
Automatic transaxle vehicles have a starter
interlock device which is designed to keep
the starter from operating if the transaxle is
in any of the drive positions.
Starting a Cold EngineWith your foot off the accelerator pedal,
crank the engine by turning the ignition key
to “START”. Release the key when the
engine starts.
If the engine does not start after 15 sec-
onds of cranking, wait about 15 seconds,
then press down the accelerator pedal to
1/3 of its travel and try cranking the engine
again. Release the key and accelerator
pedal when the engine starts.
If the engine still does not start, try holding
the accelerator pedal all the way to the
floor while cranking. This should clear the
engine if it is flooded.
If you are unable to start the engine using
this procedure, consult your SUZUKI
dealer.Starting a Warm EngineUse the same procedure as for “Starting a
Cold Engine”.
WARNING
Make sure the hood is fully closed
and latched before driving. If it is not,
it can fly up unexpectedly during
driving, obstructing your view and
resulting in an accident.
WARNING
Make sure that the parking brake is
set fully and the transaxle is in Neu-
tral (or Park for vehicles with an auto-
matic transaxle) before attempting to
start the engine.
CAUTION
Stop turning the starter immedi-
ately after the engine has started or
the starter system can be dam-
aged.
Do not crank the engine for more
than 15 seconds at a time. If the
engine doesn’t start on the first try,
wait about 15 seconds before try-
ing again.
Daily Inspection Checklist: NO
Starting the Engine: 1
Page 158 of 278
6-3OPERATING YOUR VEHICLE
80J21-03E
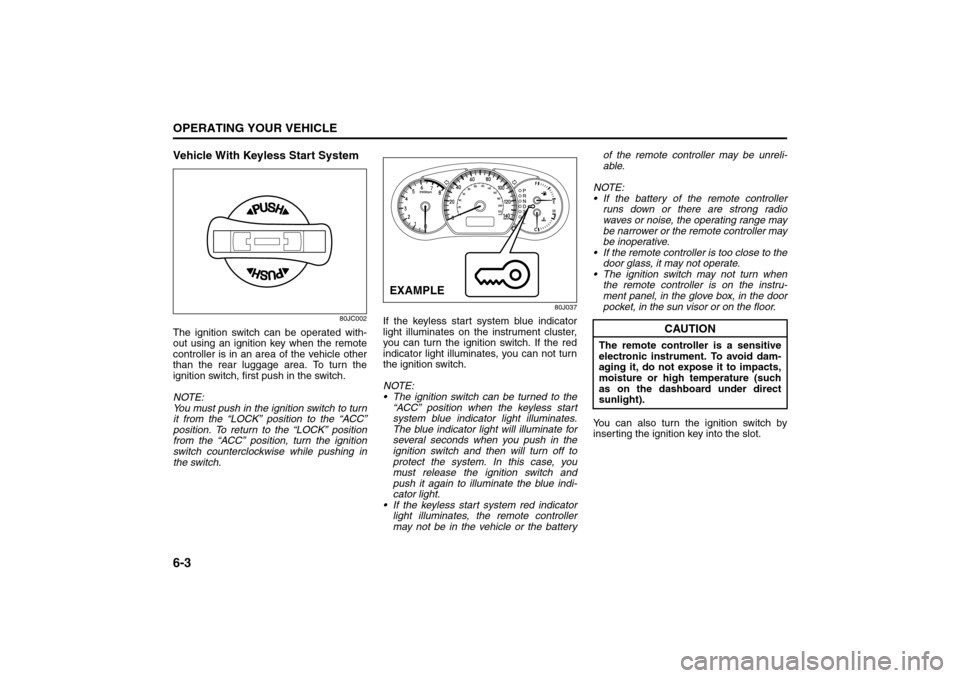
Vehicle With Keyless Start System
80JC002
The ignition switch can be operated with-
out using an ignition key when the remote
controller is in an area of the vehicle other
than the rear luggage area. To turn the
ignition switch, first push in the switch.
NOTE:
You must push in the ignition switch to turn
it from the “LOCK” position to the “ACC”
position. To return to the “LOCK” position
from the “ACC” position, turn the ignition
switch counterclockwise while pushing in
the switch.
80J037
If the keyless start system blue indicator
light illuminates on the instrument cluster,
you can turn the ignition switch. If the red
indicator light illuminates, you can not turn
the ignition switch.
NOTE:
The ignition switch can be turned to the
“ACC” position when the keyless start
system blue indicator light illuminates.
The blue indicator light will illuminate for
several seconds when you push in the
ignition switch and then will turn off to
protect the system. In this case, you
must release the ignition switch and
push it again to illuminate the blue indi-
cator light.
If the keyless start system red indicator
light illuminates, the remote controller
may not be in the vehicle or the batteryof the remote controller may be unreli-
able.
NOTE:
If the battery of the remote controller
runs down or there are strong radio
waves or noise, the operating range may
be narrower or the remote controller may
be inoperative.
If the remote controller is too close to the
door glass, it may not operate.
The ignition switch may not turn when
the remote controller is on the instru-
ment panel, in the glove box, in the door
pocket, in the sun visor or on the floor.
You can also turn the ignition switch by
inserting the ignition key into the slot.EXAMPLE
CAUTION
The remote controller is a sensitive
electronic instrument. To avoid dam-
aging it, do not expose it to impacts,
moisture or high temperature (such
as on the dashboard under direct
sunlight).
Engine Block Heater: 1
Page 159 of 278
6-4
OPERATING YOUR VEHICLE
80J21-03E
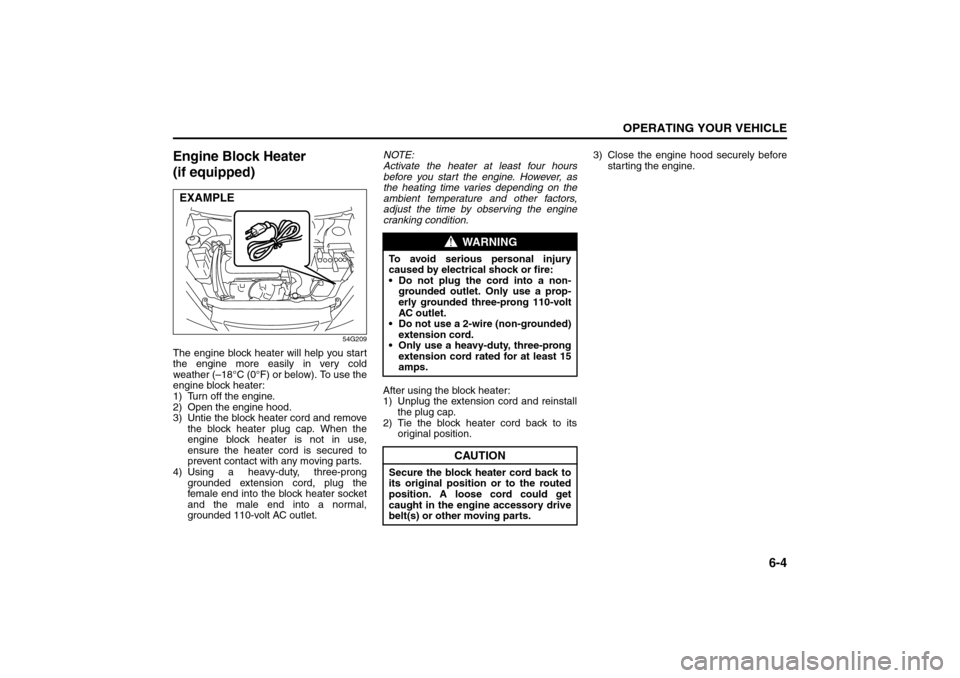
Engine Block Heater
(if equipped)
54G209
The engine block heater will help you start
the engine more easily in very cold
weather (–18°C (0°F) or below). To use the
engine block heater:
1) Turn off the engine.
2) Open the engine hood.
3) Untie the block heater cord and remove
the block heater plug cap. When the
engine block heater is not in use,
ensure the heater cord is secured to
prevent contact with any moving parts.
4) Using a heavy-duty, three-prong
grounded extension cord, plug the
female end into the block heater socket
and the male end into a normal,
grounded 110-volt AC outlet.NOTE:
Activate the heater at least four hours
before you start the engine. However, as
the heating time varies depending on the
ambient temperature and other factors,
adjust the time by observing the engine
cranking condition.
After using the block heater:
1) Unplug the extension cord and reinstall
the plug cap.
2) Tie the block heater cord back to its
original position.3) Close the engine hood securely before
starting the engine.EXAMPLE
WARNING
To avoid serious personal injury
caused by electrical shock or fire:
Do not plug the cord into a non-
grounded outlet. Only use a prop-
erly grounded three-prong 110-volt
AC outlet.
Do not use a 2-wire (non-grounded)
extension cord.
Only use a heavy-duty, three-prong
extension cord rated for at least 15
amps.
CAUTION
Secure the block heater cord back to
its original position or to the routed
position. A loose cord could get
caught in the engine accessory drive
belt(s) or other moving parts.
Using the Transaxle: 10
Page 160 of 278
6-5OPERATING YOUR VEHICLE
80J21-03E
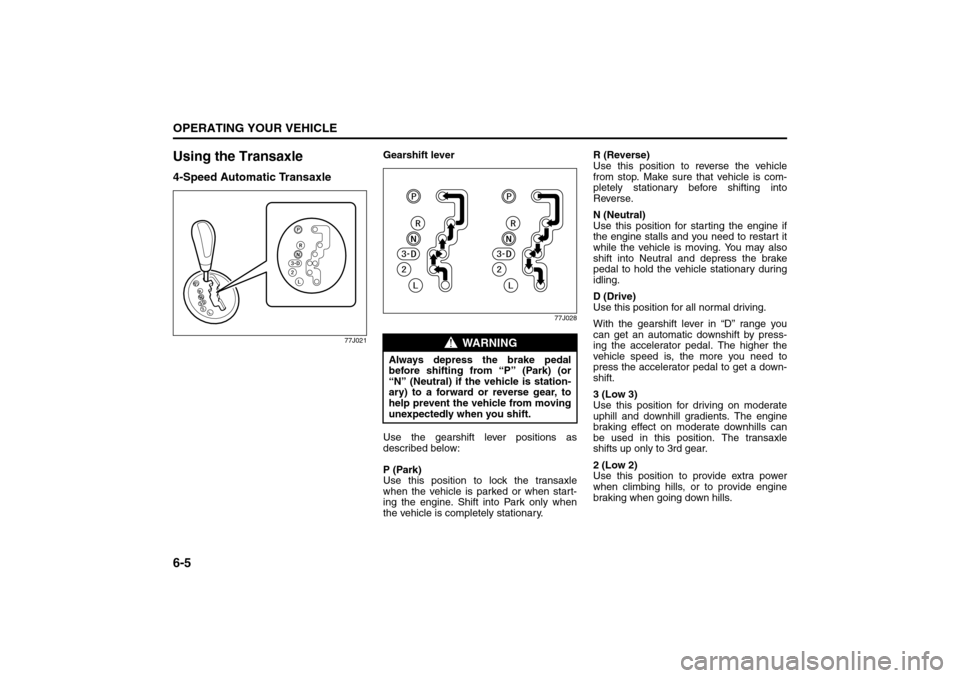
Using the Transaxle4-Speed Automatic Transaxle
77J021
Gearshift lever
77J028
Use the gearshift lever positions as
described below:
P (Park)
Use this position to lock the transaxle
when the vehicle is parked or when start-
ing the engine. Shift into Park only when
the vehicle is completely stationary.R (Reverse)
Use this position to reverse the vehicle
from stop. Make sure that vehicle is com-
pletely stationary before shifting into
Reverse.
N (Neutral)
Use this position for starting the engine if
the engine stalls and you need to restart it
while the vehicle is moving. You may also
shift into Neutral and depress the brake
pedal to hold the vehicle stationary during
idling.
D (Drive)
Use this position for all normal driving.
With the gearshift lever in “D” range you
can get an automatic downshift by press-
ing the accelerator pedal. The higher the
vehicle speed is, the more you need to
press the accelerator pedal to get a down-
shift.
3 (Low 3)
Use this position for driving on moderate
uphill and downhill gradients. The engine
braking effect on moderate downhills can
be used in this position. The transaxle
shifts up only to 3rd gear.
2 (Low 2)
Use this position to provide extra power
when climbing hills, or to provide engine
braking when going down hills.
WARNING
Always depress the brake pedal
before shifting from “P” (Park) (or
“N” (Neutral) if the vehicle is station-
ary) to a forward or reverse gear, to
help prevent the vehicle from moving
unexpectedly when you shift.
Using the Transaxle: 10