display TESLA MODEL X 2022 Owner´s Manual
[x] Cancel search | Manufacturer: TESLA, Model Year: 2022, Model line: MODEL X, Model: TESLA MODEL X 2022Pages: 212, PDF Size: 5.07 MB
Page 90 of 212
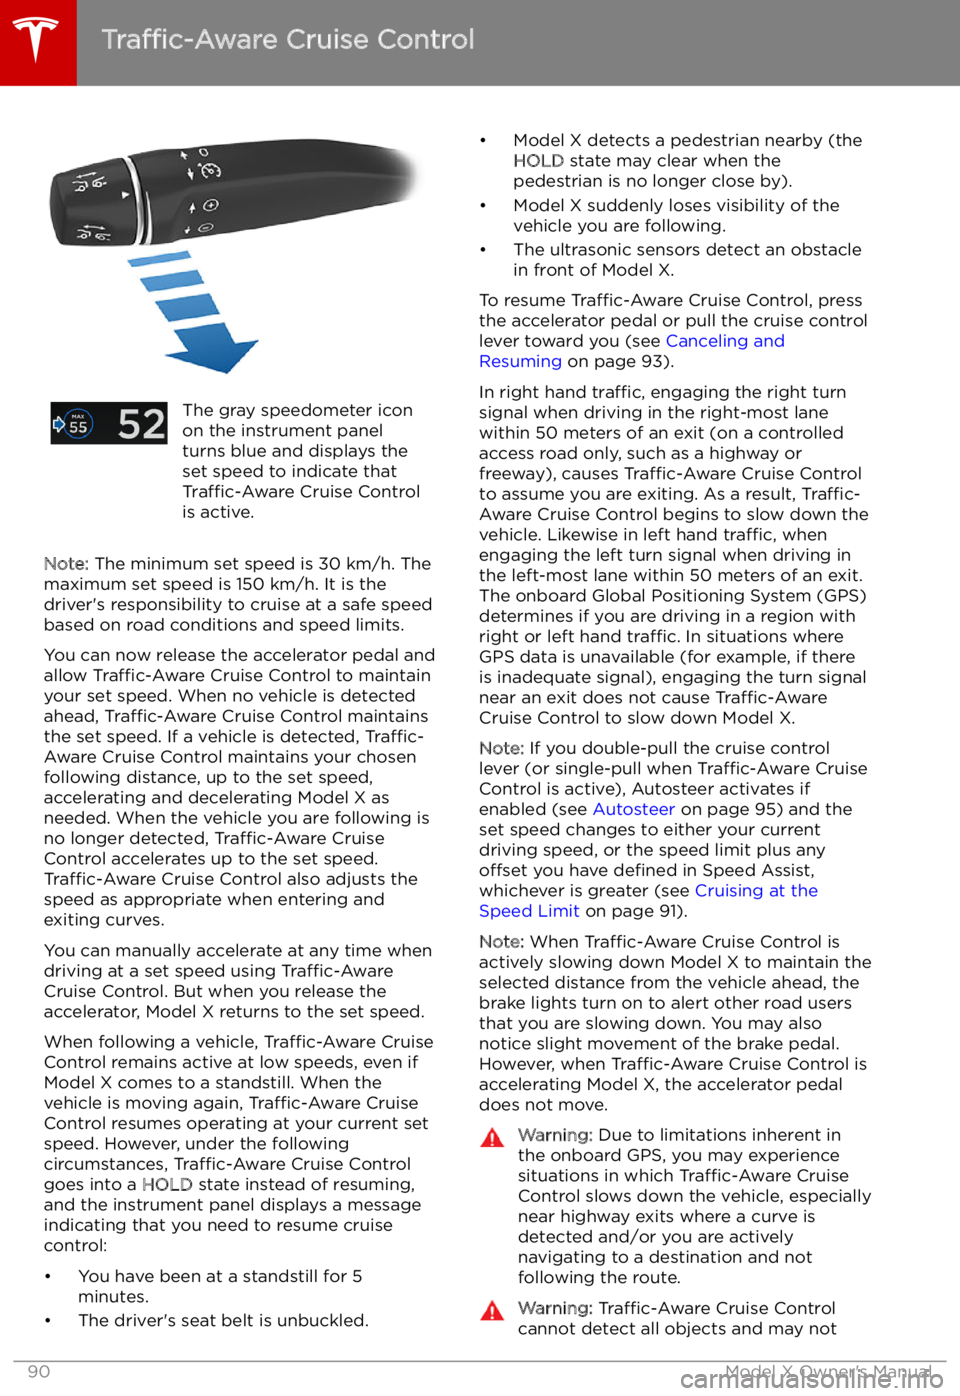
The gray speedometer icon
on the instrument panel
turns blue and displays the
set speed to indicate that
Traffic-Aware Cruise Control
is active.
Note: The minimum set speed is 30 km/h. The
maximum set speed is 150 km/h. It is the
driver
Page 92 of 212
Note: Your set speed will use your current
driving speed if you move the cruise control lever up or down.
Note: If Speed Assist is unable to determine a
speed limit, your set speed does not change
when you pull the cruise control lever toward
you.Warning: Do not rely on Speed Assist or
Traffic-Aware Cruise Control to determine
an accurate or appropriate cruising
speed. Always cruise at a safe speed
based on road conditions and applicable
speed limits.
Changing the Set Speed
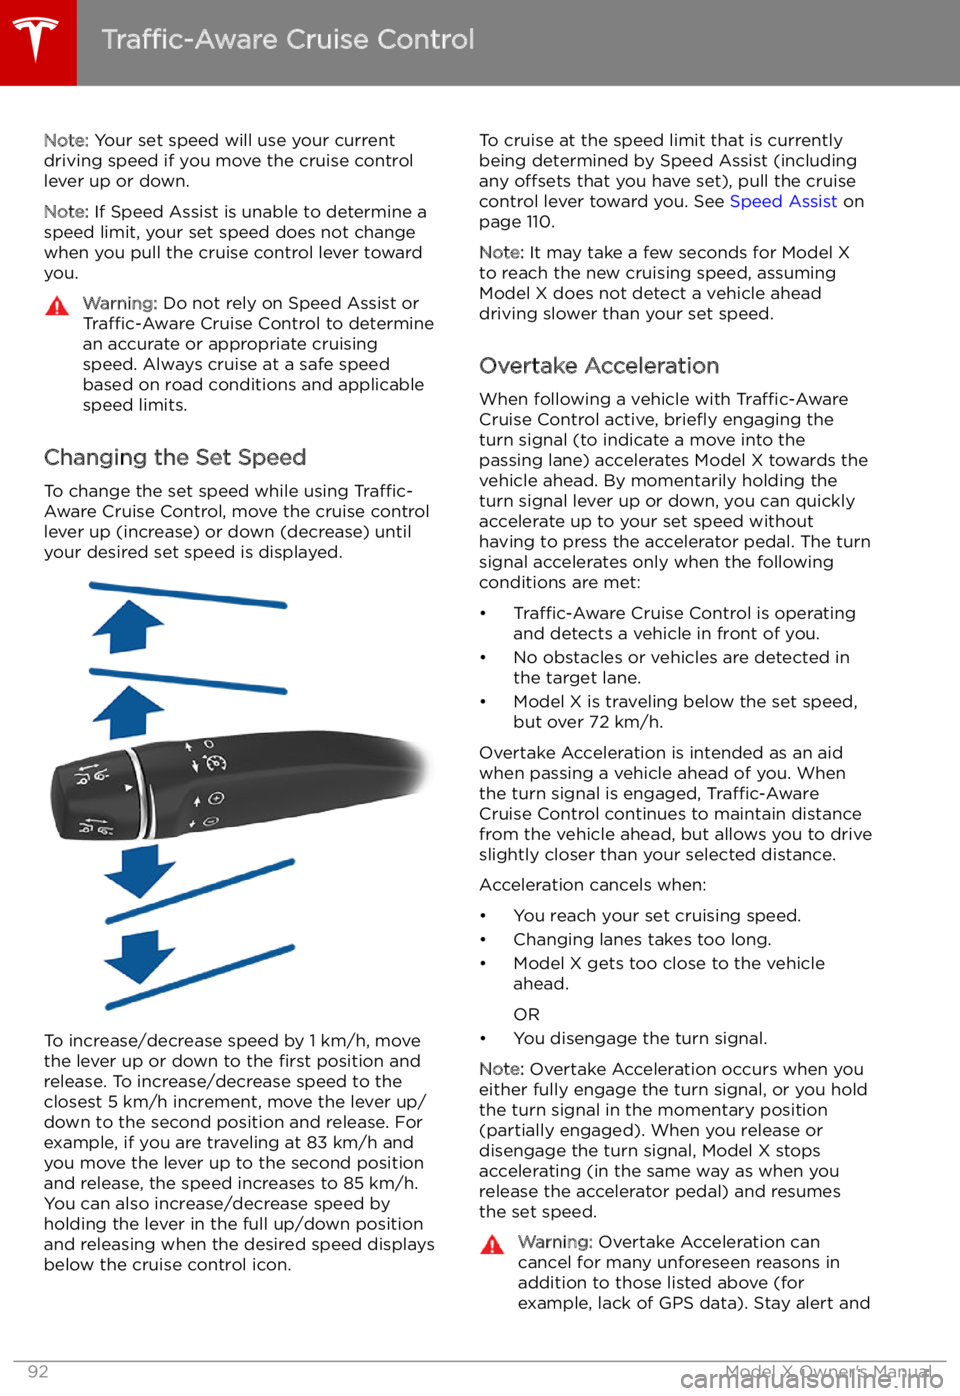
To change the set speed while using Traffic-
Aware Cruise Control, move the cruise control
lever up (increase) or down (decrease) until
your desired set speed is displayed.
To increase/decrease speed by 1 km/h, move
the lever up or down to the first position and
release. To increase/decrease speed to the closest 5 km/h increment, move the lever up/
down to the second position and release. For
example, if you are traveling at 83 km/h and you move the lever up to the second positionand release, the speed increases to 85 km/h.
You can also increase/decrease speed by
holding the lever in the full up/down position
and releasing when the desired speed displays
below the cruise control icon.
To cruise at the speed limit that is currently
being determined by Speed Assist (including any offsets that you have set), pull the cruise
control lever toward you. See Speed Assist on
page 110.
Note: It may take a few seconds for Model X
to reach the new cruising speed, assuming
Model X does not detect a vehicle ahead
driving slower than your set speed.
Overtake Acceleration
When following a vehicle with Traffic-Aware
Cruise Control active, brie
Page 99 of 212
Note: Auto Lane Change assists in moving
Model X one lane at a time. Moving into an
additional lane requires you to engage the
turn signal a second time after the first lane
change is complete.Warning: If Auto Lane Change aborts
during a lane change (for example, Auto
Lane Change cannot detect the outside
of the target lane midway through the
lane change), Model X returns to its
original driving lane.
When Auto Lane Change is active, it is
important to monitor its performance by
watching the driving path in front of you and
the surrounding area. Stay prepared to take
over steering at any time. As you are crossing
over into the adjacent lane, the instrument
panel displays the lane marking as a dashed
blue line. Once in your new lane, lane markings
are displayed as solid blue lines again.
In situations where Auto Lane Change is
unable to operate at optimal performance, or
cannot operate due to inadequate data, the
instrument panel displays a series of warnings.
Therefore, when using Auto Lane Change,
always pay attention to the instrument panel
and be prepared to manually steer Model X.
Warning: When Auto Lane Change is
actively assisting in steering Model X, the steering wheel moves accordingly.
Although you must have your hands on
the steering wheel, any significant
restriction of or force on the steering wheel
Page 109 of 212
staying alert, paying attention, and taking
corrective action as early as possible.Caution: If a fault occurs with a Collision
Avoidance Assist feature, Model X
displays an alert. Contact Tesla Service.
Collision Avoidance Assist
Driver Assistance109
Page 110 of 212
Speed Assist
How Speed Assist Works
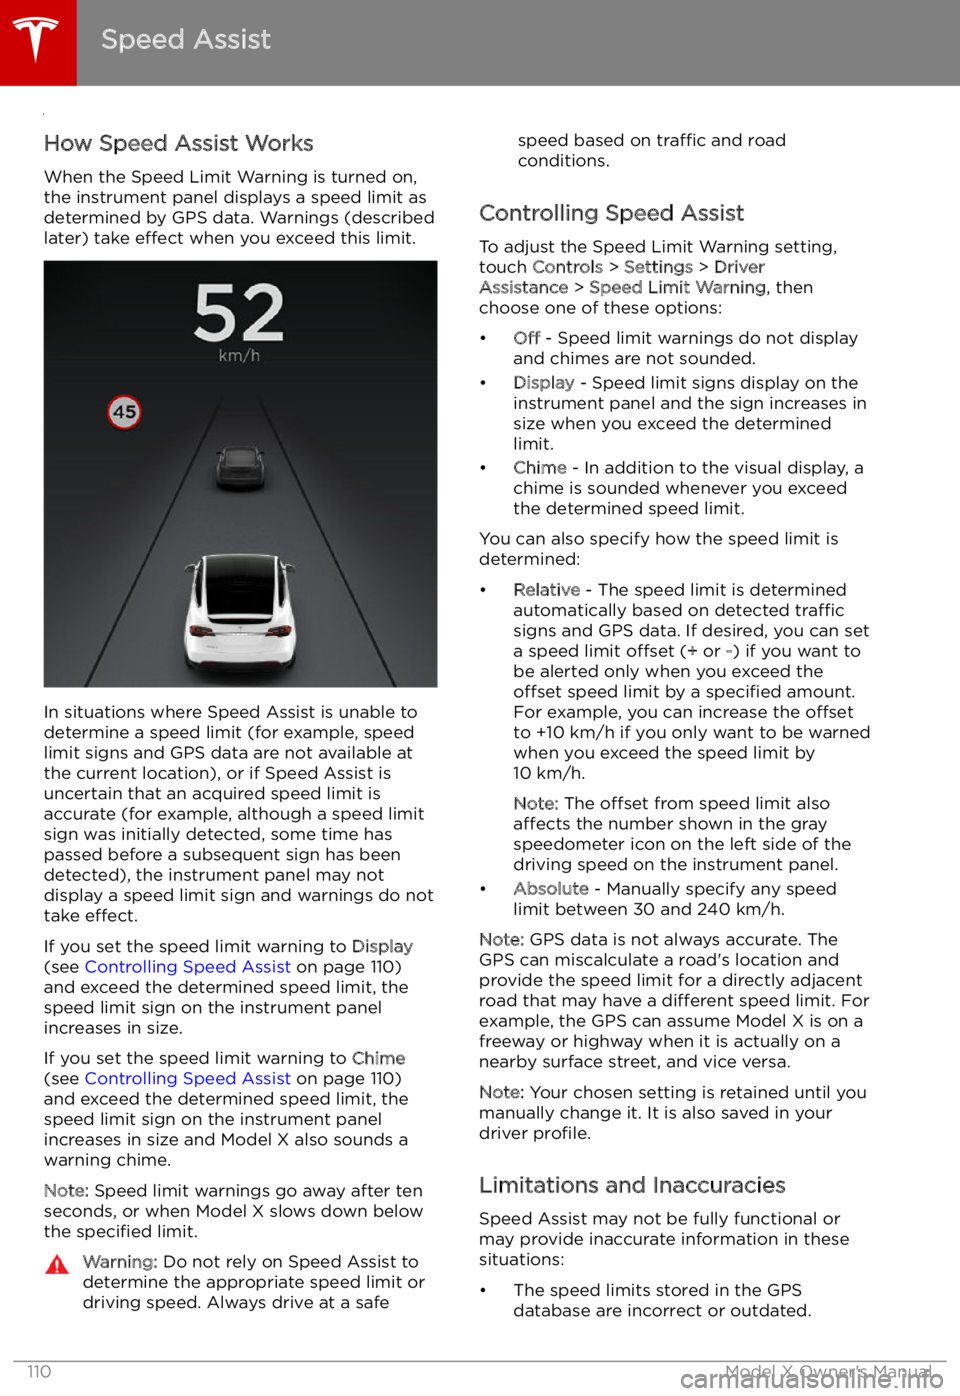
When the Speed Limit Warning is turned on,
the instrument panel displays a speed limit as
determined by GPS data. Warnings (described
later) take effect when you exceed this limit.
In situations where Speed Assist is unable to
determine a speed limit (for example, speed
limit signs and GPS data are not available at
the current location), or if Speed Assist is
uncertain that an acquired speed limit is
accurate (for example, although a speed limit sign was initially detected, some time has
passed before a subsequent sign has been
detected), the instrument panel may not
display a speed limit sign and warnings do not take effect.
If you set the speed limit warning to Display
(see Controlling Speed Assist on page 110)
and exceed the determined speed limit, the
speed limit sign on the instrument panel
increases in size.
If you set the speed limit warning to Chime
(see Controlling Speed Assist on page 110)
and exceed the determined speed limit, the speed limit sign on the instrument panelincreases in size and Model X also sounds a
warning chime.
Note: Speed limit warnings go away after ten
seconds, or when Model X slows down below
the specified limit.
Warning:
Do not rely on Speed Assist to
determine the appropriate speed limit or driving speed. Always drive at a safespeed based on traffic and road
conditions.
Controlling Speed Assist
To adjust the Speed Limit Warning setting,
touch Controls > Settings > Driver
Assistance > Speed Limit Warning , then
choose one of these options:
Page 112 of 212

Using the Touchscreen
Touchscreen Overview
The Big Picture The main components of the touchscreen are shown here. To manually control the brightness and
contrast, touch Controls > Displays . When set to Auto, the touchscreen changes between the Day
(light background) and Night (dark background) setting depending on ambient lighting conditions.
Note: The following illustration is provided for demonstration purposes only. Depending on vehicle
options, software version and market region, your touchscreen may appear slightly different.
Touchscreen Overview
112Model X Owner
Page 114 of 212

1.Status bar
The top line displays provides shortcuts to lock/unlock Model X, to access HomeLink (if equipped) and Driver Profiles, display vehicle information (the Tesla “T”), download software
updates, display network strength and Bluetooth
Page 115 of 212
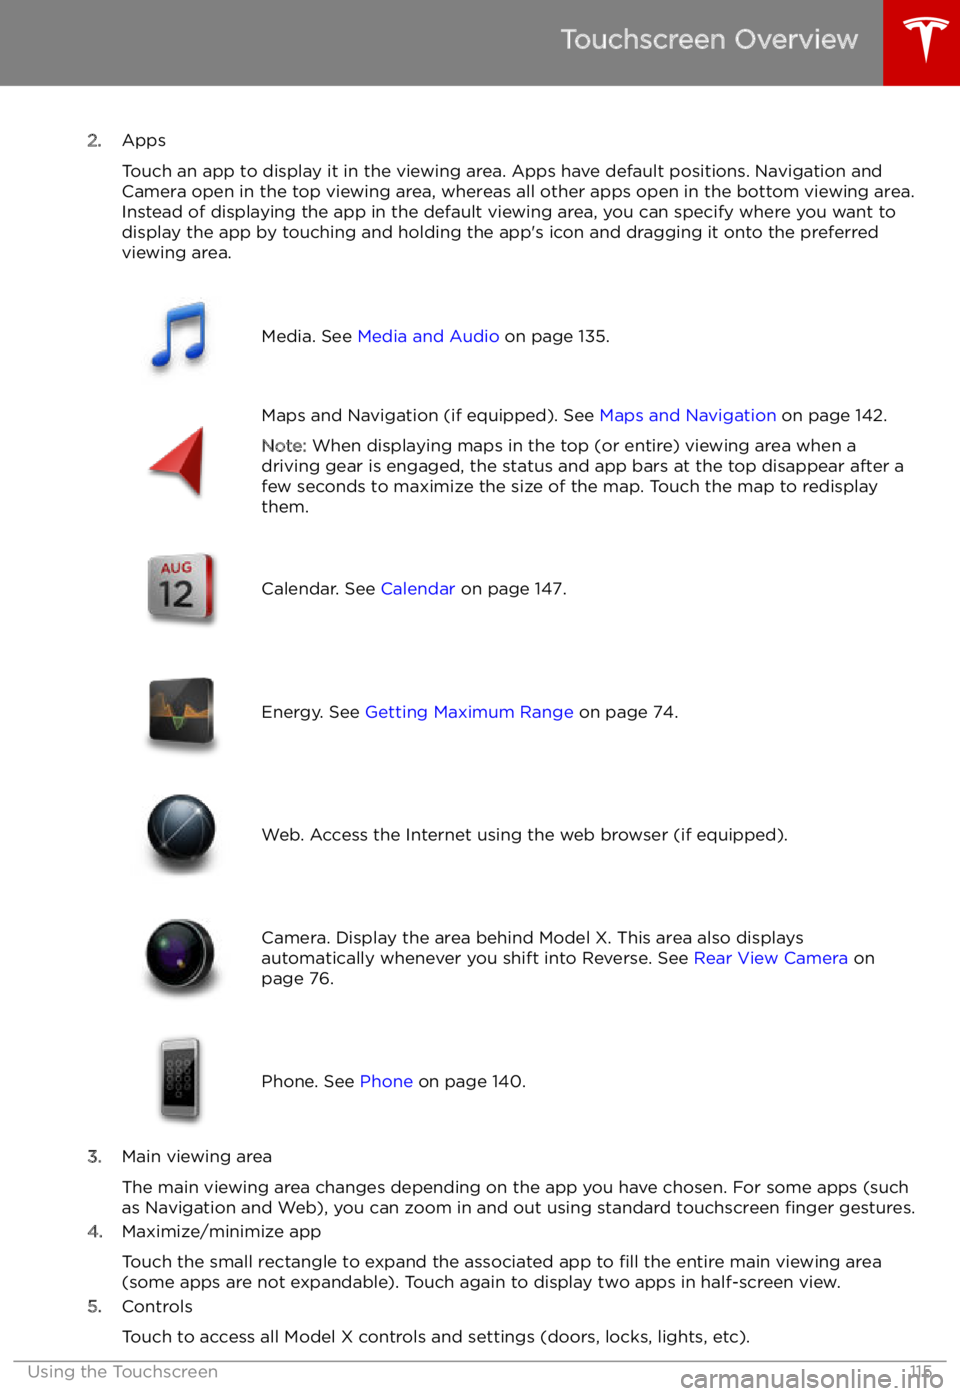
2.Apps
Touch an app to display it in the viewing area. Apps have default positions. Navigation and
Camera open in the top viewing area, whereas all other apps open in the bottom viewing area.
Instead of displaying the app in the default viewing area, you can specify where you want to display the app by touching and holding the app
Page 116 of 212
6.Climate controls (see Climate Controls on page 126).
7. Volume control
Touch the up and down arrows to increase or decrease the volume of the speakers. You can
also adjust the volume using the scroll wheel on the left side of the steering wheel.
8. Reverse the position of the two currently displayed apps.Warning: Paying attention to road and traffic conditions must always be the driver
Page 122 of 212
1.Adjust settings associated with installed apps (applications). Settings associated with apps
that are either unavailable on Model X, or have no settings that you can adjust at this time, are
grayed out.
2. Manage driver profiles (see Driver Profiles on page 44).
3. Language & Units
Adjust how Model X displays: