display TESLA MODEL X 2022 Owner´s Manual
[x] Cancel search | Manufacturer: TESLA, Model Year: 2022, Model line: MODEL X, Model: TESLA MODEL X 2022Pages: 212, PDF Size: 5.07 MB
Page 15 of 212
Front Trunk
Opening
To open the front trunk:
1. Ensure that the area around the hood is
free of obstacles.
2. Touch Controls > Front Trunk on the
touchscreen, touch the front trunk button
on the mobile app, or double-click the front trunk button on the key.
3. Pull the hood up.
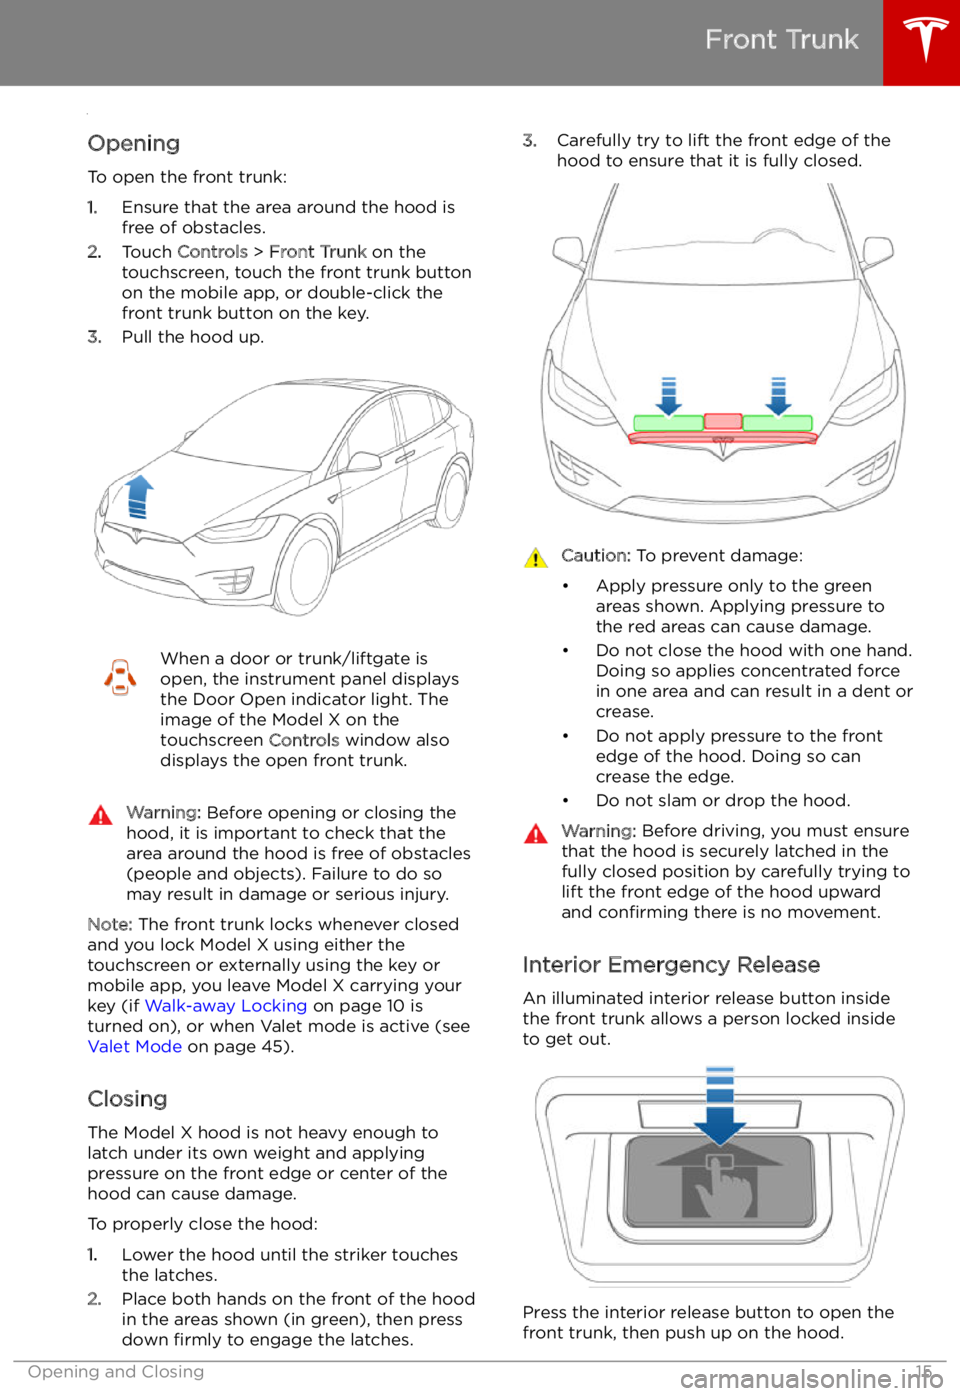
When a door or trunk/liftgate is
open, the instrument panel displays
the Door Open indicator light. The
image of the Model X on the
touchscreen Controls window also
displays the open front trunk.Warning: Before opening or closing the
hood, it is important to check that the area around the hood is free of obstacles
(people and objects). Failure to do so
may result in damage or serious injury.
Note: The front trunk locks whenever closed
and you lock Model X using either the
touchscreen or externally using the key or
mobile app, you leave Model X carrying your key (if Walk-away Locking on page 10 is
turned on), or when Valet mode is active (see Valet Mode on page 45).
Closing
The Model X hood is not heavy enough to
latch under its own weight and applying pressure on the front edge or center of the
hood can cause damage.
To properly close the hood:
1. Lower the hood until the striker touches
the latches.
2. Place both hands on the front of the hood
in the areas shown (in green), then press
down firmly to engage the latches.
3.
Carefully try to lift the front edge of the
hood to ensure that it is fully closed.Caution: To prevent damage:
Page 22 of 212
1.Move seat forward/backward (up/down
on the control) and adjust the backrest
(left/right on the control).
2. Move seat forward/backward.
3. Adjust backrest.
Note: The backrest locks into position when
you release the lever. If a backrest is not
locked into position when a driving gear is engaged, the instrument panel displays analert for the unlocked backrest. Adjust the
backrest again, ensuring it locks into position.Warning: Riding in a moving vehicle with
the seat back reclined can result in
serious injuries in a collision, as you could
slide under the lap belt or be propelled into the seat belt. Ensure the backs of
occupied seats are reclined no more than 30 degrees when the vehicle is moving.Adjusting Second Row Seat Backs
(Bench Seats)
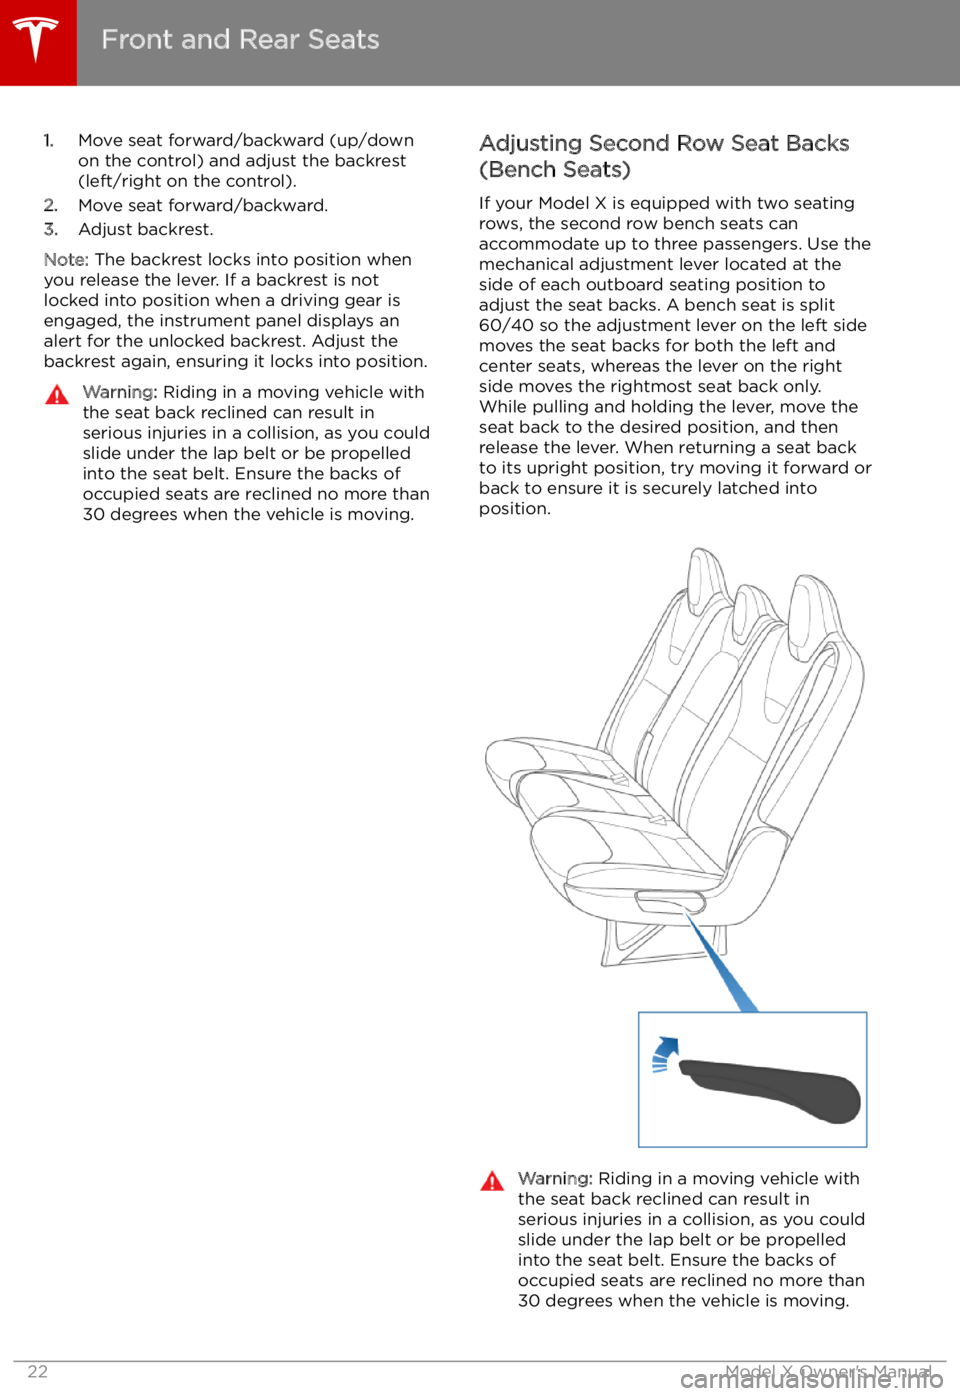
If your Model X is equipped with two seating
rows, the second row bench seats can
accommodate up to three passengers. Use the
mechanical adjustment lever located at the side of each outboard seating position toadjust the seat backs. A bench seat is split
60/40 so the adjustment lever on the left side
moves the seat backs for both the left and
center seats, whereas the lever on the right
side moves the rightmost seat back only.
While pulling and holding the lever, move the
seat back to the desired position, and then
release the lever. When returning a seat back
to its upright position, try moving it forward or
back to ensure it is securely latched into
position.Warning: Riding in a moving vehicle with
the seat back reclined can result in
serious injuries in a collision, as you could
slide under the lap belt or be propelled into the seat belt. Ensure the backs of
occupied seats are reclined no more than 30 degrees when the vehicle is moving.
Front and Rear Seats
22Model X Owner
Page 50 of 212
Starting and Powering
Off
Starting When you open a door, Model X powers on
the instrument panel and touchscreen and you
can operate all controls.
To drive Model X:
1. PRESS THE BRAKE PEDAL - Model X
powers on and is ready to drive.
2. SELECT A GEAR - Move the gear lever all
the way down for Drive and all the way up
for Reverse. See Shifting Gears on page
52.
Note: If Passive Entry is off and you do not
press the brake pedal to start Model X within
approximately five minutes, a message
displays on the instrument panel and you must
use the key to lock then unlock Model X again before starting the vehicle.
Everything you need to know when driving
Model X displays on the instrument panel.
Key Not Inside
If Model X does not detect a key when you
press the brake, the instrument panel displays
a message telling you that a key is not inside.
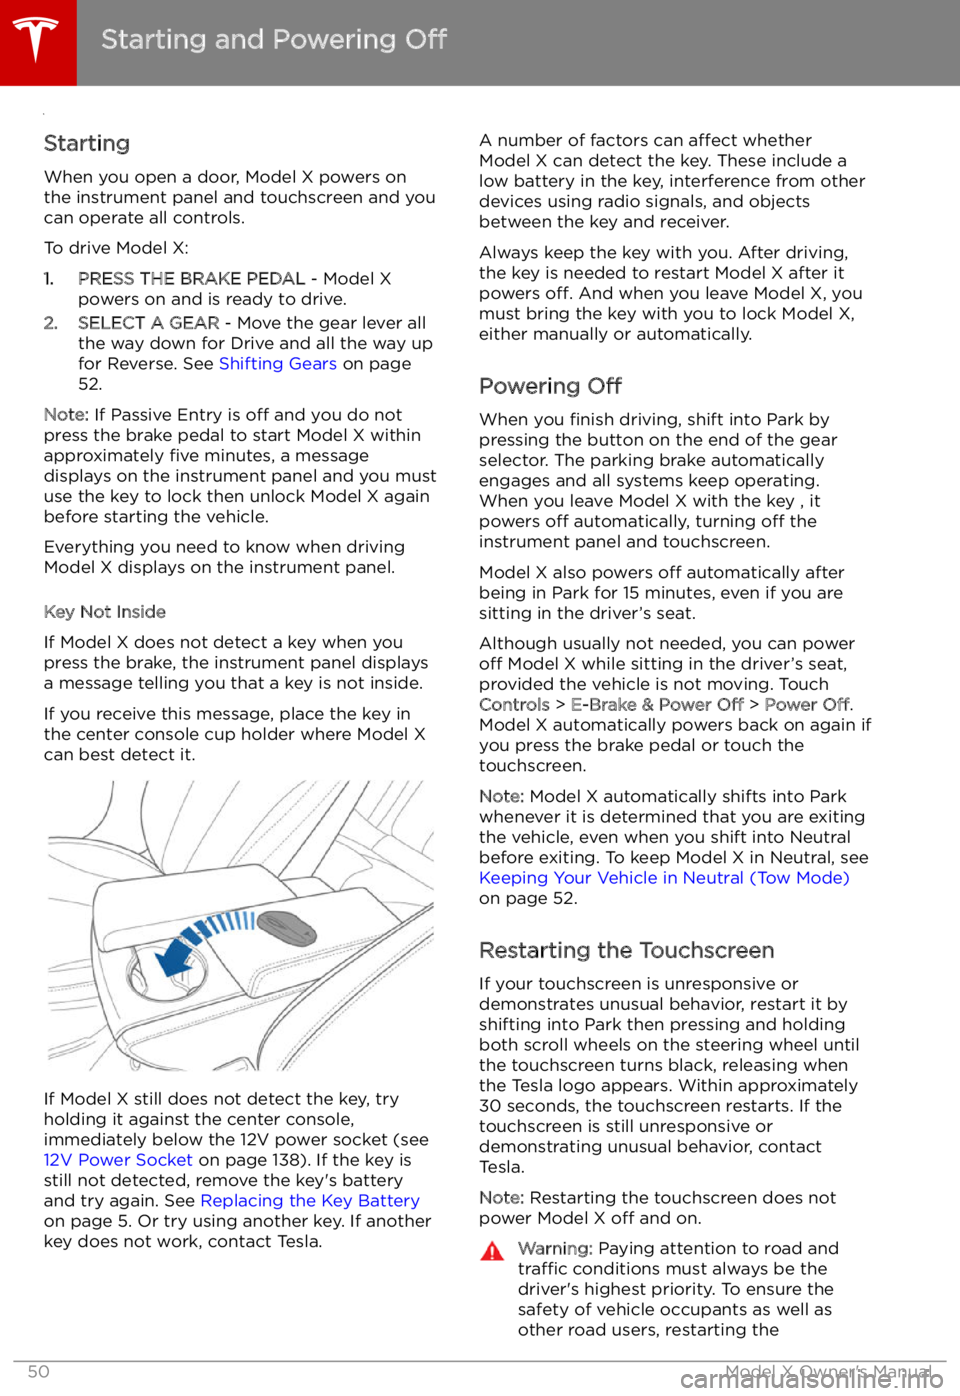
If you receive this message, place the key in
the center console cup holder where Model X can best detect it.
If Model X still does not detect the key, try
holding it against the center console,
immediately below the 12V power socket (see
12V Power Socket on page 138). If the key is
still not detected, remove the key
Page 58 of 212
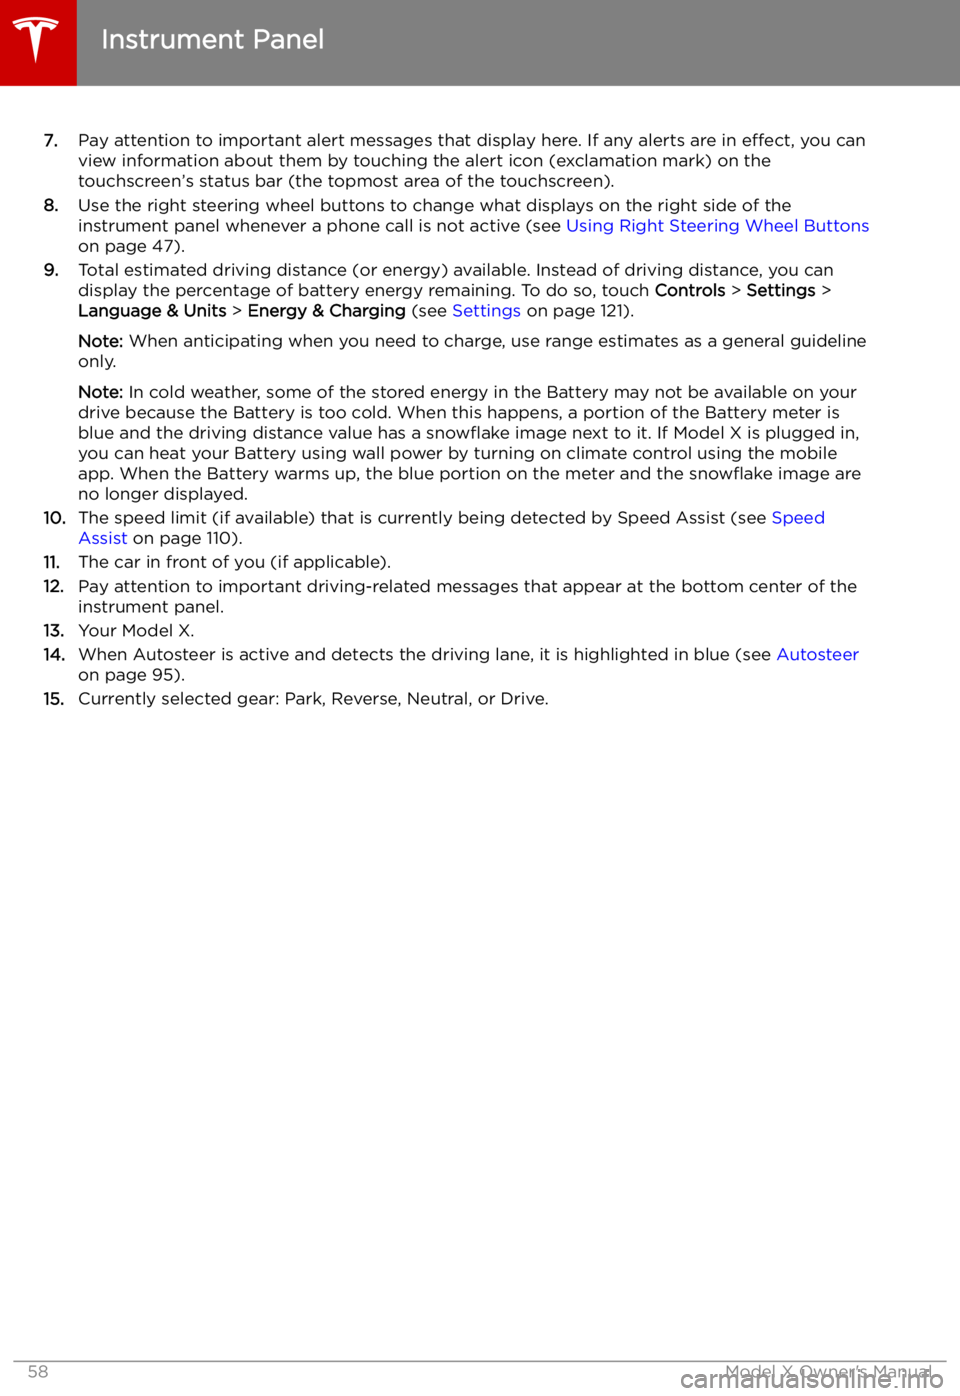
7.Pay attention to important alert messages that display here. If any alerts are in effect, you can
view information about them by touching the alert icon (exclamation mark) on the touchscreen
Page 60 of 212
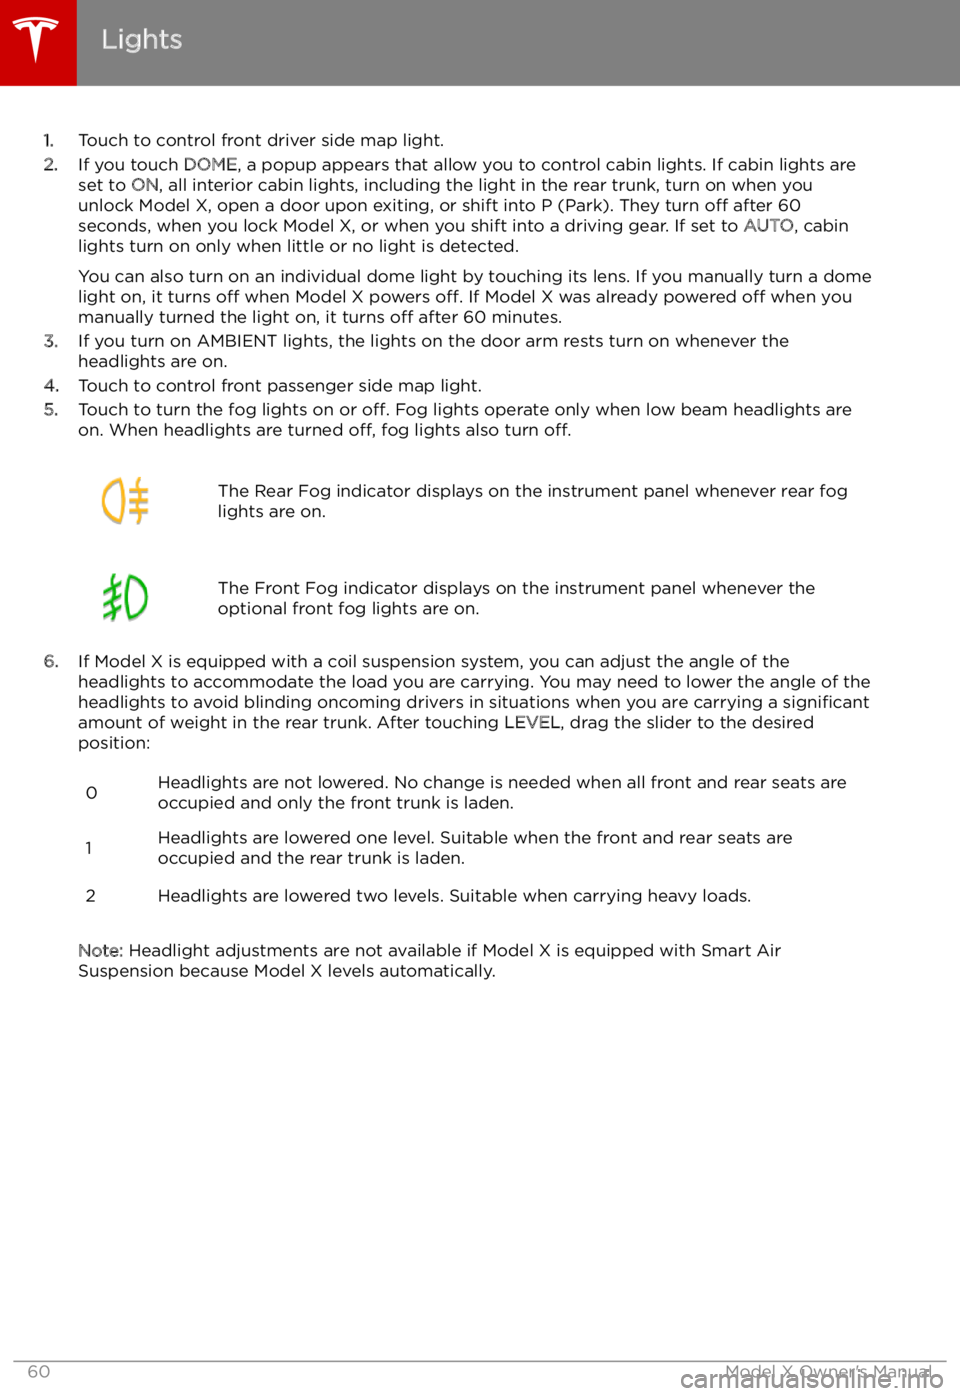
1.Touch to control front driver side map light.
2. If you touch DOME, a popup appears that allow you to control cabin lights. If cabin lights are
set to ON, all interior cabin lights, including the light in the rear trunk, turn on when you
unlock Model X, open a door upon exiting, or shift into P (Park). They turn off after 60
seconds, when you lock Model X, or when you shift into a driving gear. If set to AUTO, cabin
lights turn on only when little or no light is detected.
You can also turn on an individual dome light by touching its lens. If you manually turn a domelight on, it turns off when Model X powers off. If Model X was already powered off when you
manually turned the light on, it turns off after 60 minutes.
3. If you turn on AMBIENT lights, the lights on the door arm rests turn on whenever the
headlights are on.
4. Touch to control front passenger side map light.
5. Touch to turn the fog lights on or off. Fog lights operate only when low beam headlights are
on. When headlights are turned off, fog lights also turn off.
The Rear Fog indicator displays on the instrument panel whenever rear fog
lights are on.The Front Fog indicator displays on the instrument panel whenever the
optional front fog lights are on.
6. If Model X is equipped with a coil suspension system, you can adjust the angle of the
headlights to accommodate the load you are carrying. You may need to lower the angle of theheadlights to avoid blinding oncoming drivers in situations when you are carrying a significant
amount of weight in the rear trunk. After touching LEVEL, drag the slider to the desired
position:
0Headlights are not lowered. No change is needed when all front and rear seats are
occupied and only the front trunk is laden.1Headlights are lowered one level. Suitable when the front and rear seats are occupied and the rear trunk is laden.2Headlights are lowered two levels. Suitable when carrying heavy loads.
Note: Headlight adjustments are not available if Model X is equipped with Smart Air
Suspension because Model X levels automatically.
Lights
60Model X Owner
Page 66 of 212
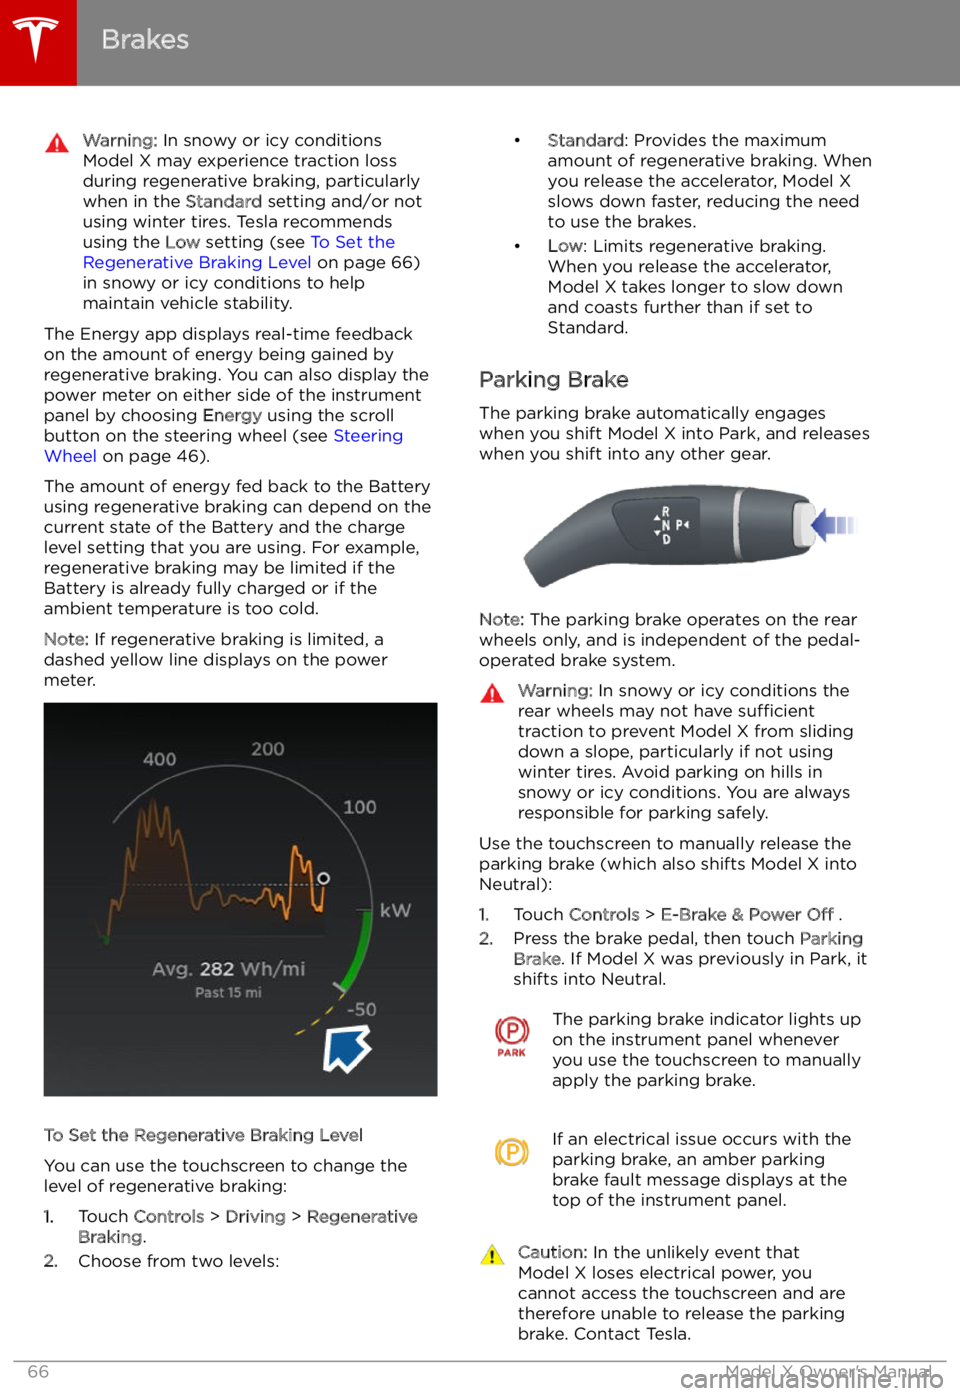
Warning: In snowy or icy conditions
Model X may experience traction loss
during regenerative braking, particularly
when in the Standard setting and/or not
using winter tires. Tesla recommends
using the Low setting (see To Set the
Regenerative Braking Level on page 66)
in snowy or icy conditions to help maintain vehicle stability.
The Energy app displays real-time feedbackon the amount of energy being gained by
regenerative braking. You can also display the
power meter on either side of the instrument
panel by choosing Energy using the scroll
button on the steering wheel (see Steering
Wheel on page 46).
The amount of energy fed back to the Battery using regenerative braking can depend on the
current state of the Battery and the charge
level setting that you are using. For example,
regenerative braking may be limited if the Battery is already fully charged or if the
ambient temperature is too cold.
Note: If regenerative braking is limited, a
dashed yellow line displays on the power
meter.
To Set the Regenerative Braking Level
You can use the touchscreen to change the
level of regenerative braking:
1. Touch Controls > Driving > Regenerative
Braking .
2. Choose from two levels:
Page 68 of 212
Park Assist
How Park Assist Works
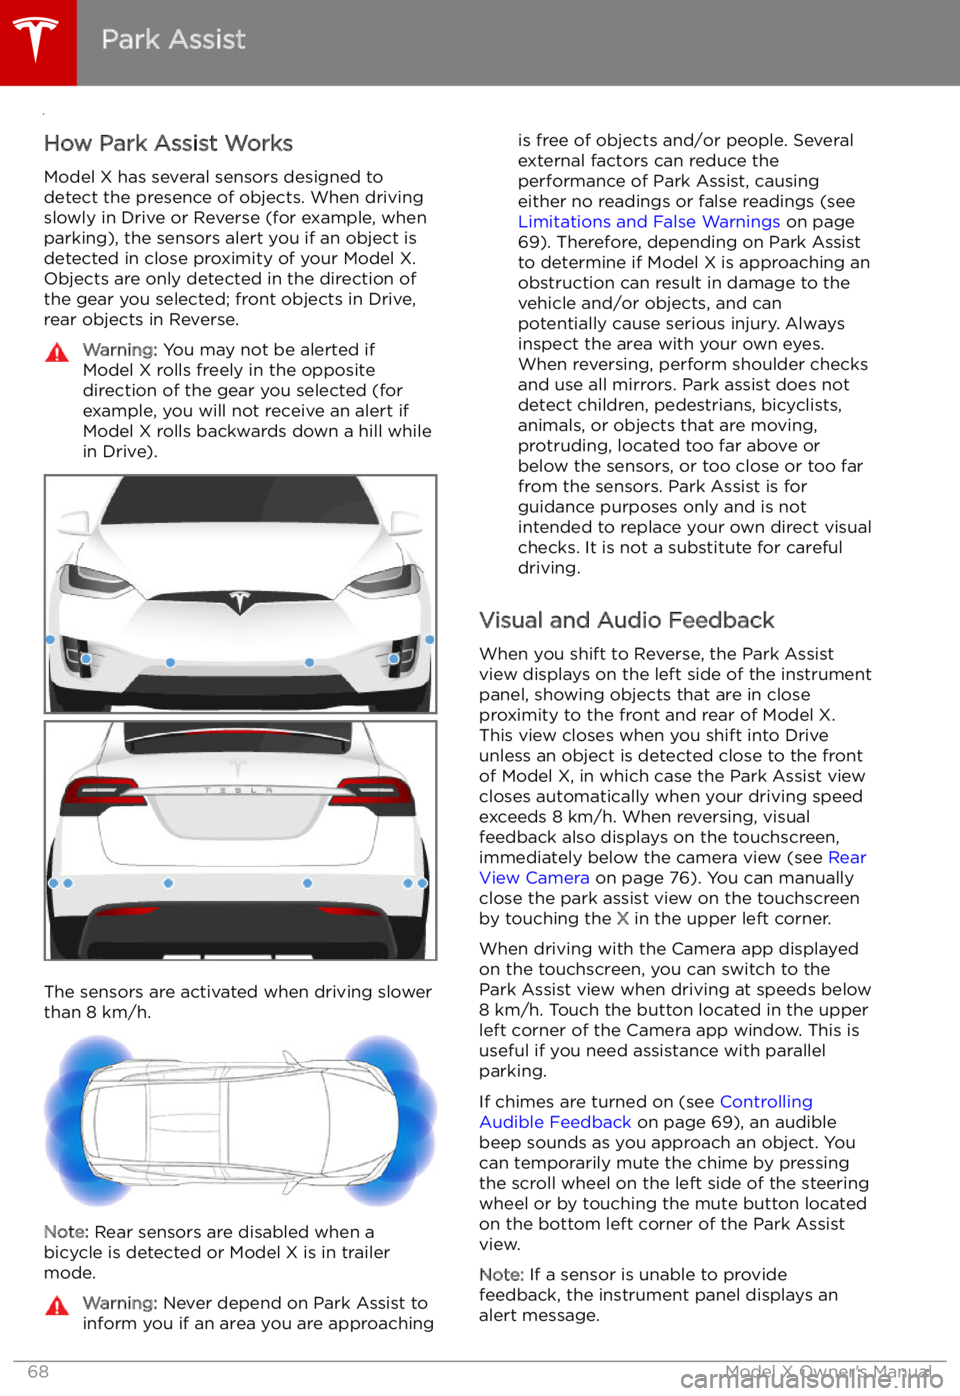
Model X has several sensors designed to
detect the presence of objects. When driving
slowly in Drive or Reverse (for example, when
parking), the sensors alert you if an object is
detected in close proximity of your Model X.
Objects are only detected in the direction of
the gear you selected; front objects in Drive,
rear objects in Reverse.
Warning: You may not be alerted if
Model X rolls freely in the opposite
direction of the gear you selected (for
example, you will not receive an alert if
Model X rolls backwards down a hill while
in Drive).
The sensors are activated when driving slower
than 8 km/h.
Note: Rear sensors are disabled when a
bicycle is detected or Model X is in trailer
mode.
Warning: Never depend on Park Assist to
inform you if an area you are approachingis free of objects and/or people. Several
external factors can reduce the
performance of Park Assist, causing
either no readings or false readings (see
Limitations and False Warnings on page
69). Therefore, depending on Park Assist
to determine if Model X is approaching an
obstruction can result in damage to the vehicle and/or objects, and can
potentially cause serious injury. Always
inspect the area with your own eyes.
When reversing, perform shoulder checks and use all mirrors. Park assist does not
detect children, pedestrians, bicyclists,
animals, or objects that are moving, protruding, located too far above or
below the sensors, or too close or too far
from the sensors. Park Assist is for
guidance purposes only and is not intended to replace your own direct visual
checks. It is not a substitute for careful
driving.
Visual and Audio Feedback
When you shift to Reverse, the Park Assist
view displays on the left side of the instrument
panel, showing objects that are in close
proximity to the front and rear of Model X.
This view closes when you shift into Drive
unless an object is detected close to the front
of Model X, in which case the Park Assist view
closes automatically when your driving speed
exceeds 8 km/h. When reversing, visual
feedback also displays on the touchscreen, immediately below the camera view (see Rear
View Camera on page 76). You can manually
close the park assist view on the touchscreen by touching the X in the upper left corner.
When driving with the Camera app displayed on the touchscreen, you can switch to the
Park Assist view when driving at speeds below
8 km/h. Touch the button located in the upper
left corner of the Camera app window. This is
useful if you need assistance with parallel parking.
If chimes are turned on (see Controlling
Audible Feedback on page 69), an audible
beep sounds as you approach an object. You
can temporarily mute the chime by pressing
the scroll wheel on the left side of the steering
wheel or by touching the mute button located
on the bottom left corner of the Park Assist
view.
Note: If a sensor is unable to provide
feedback, the instrument panel displays an
alert message.
Park Assist
68Model X Owner
Page 73 of 212
Trip Information
Displaying Trip Information Trip information displays on the touchscreen
when you touch Controls > Trips . For the
current trip, you can display distance, duration
and average energy usage. You can also show
distance and total and average energy used since your last charge and for additional trips.
To name or rename a trip, touch the trip
Page 75 of 212
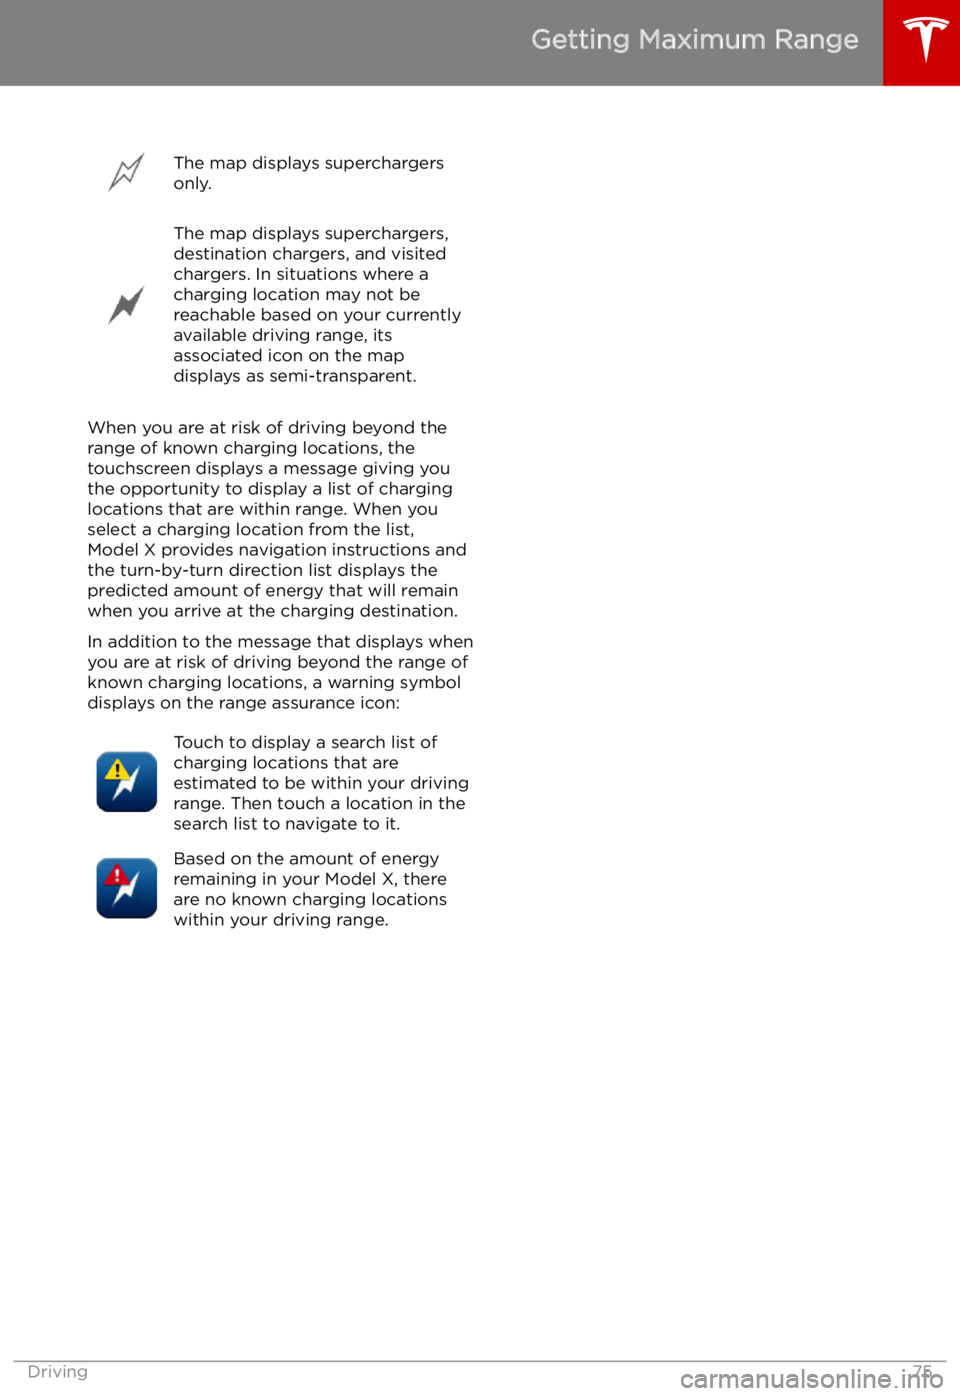
The map displays superchargers
only.The map displays superchargers,
destination chargers, and visited
chargers. In situations where a
charging location may not be
reachable based on your currently
available driving range, its
associated icon on the map
displays as semi-transparent.
When you are at risk of driving beyond the
range of known charging locations, the
touchscreen displays a message giving you the opportunity to display a list of charging
locations that are within range. When you
select a charging location from the list,
Model X provides navigation instructions and
the turn-by-turn direction list displays the
predicted amount of energy that will remain
when you arrive at the charging destination.
In addition to the message that displays when
you are at risk of driving beyond the range of
known charging locations, a warning symbol
displays on the range assurance icon:
Touch to display a search list of
charging locations that are
estimated to be within your driving
range. Then touch a location in the
search list to navigate to it.Based on the amount of energy
remaining in your Model X, there
are no known charging locations
within your driving range.
Getting Maximum Range
Driving75
Page 76 of 212
Rear View Camera
Camera Location
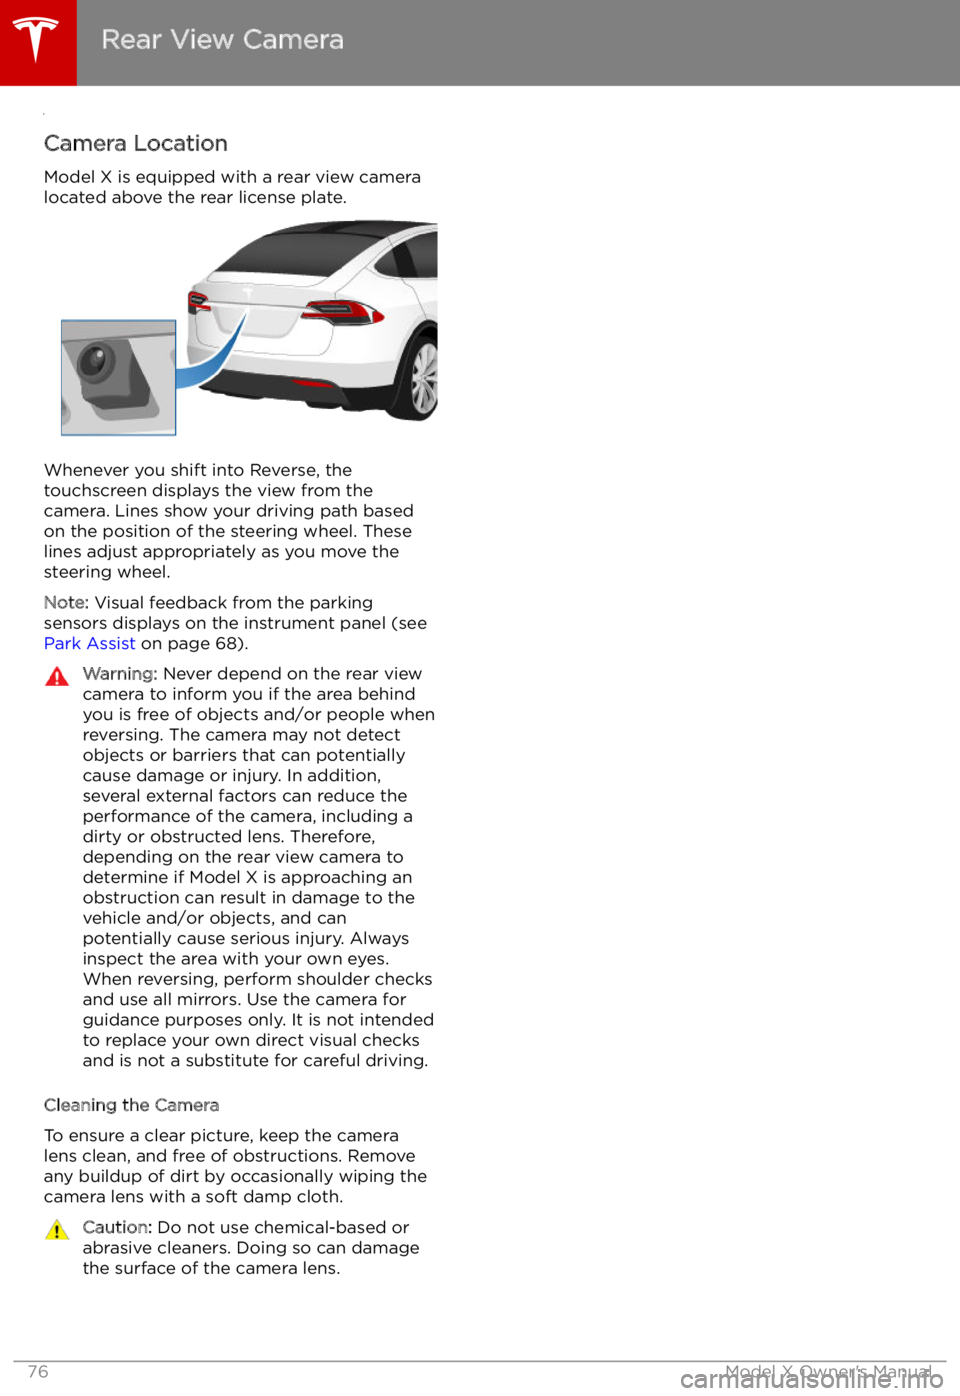
Model X is equipped with a rear view camera
located above the rear license plate.
Whenever you shift into Reverse, the
touchscreen displays the view from the
camera. Lines show your driving path based
on the position of the steering wheel. These
lines adjust appropriately as you move the
steering wheel.
Note: Visual feedback from the parking
sensors displays on the instrument panel (see
Park Assist on page 68).
Warning: Never depend on the rear view
camera to inform you if the area behind
you is free of objects and/or people when
reversing. The camera may not detect
objects or barriers that can potentially
cause damage or injury. In addition, several external factors can reduce the
performance of the camera, including a
dirty or obstructed lens. Therefore,
depending on the rear view camera to
determine if Model X is approaching an
obstruction can result in damage to the vehicle and/or objects, and can
potentially cause serious injury. Always
inspect the area with your own eyes.
When reversing, perform shoulder checks and use all mirrors. Use the camera forguidance purposes only. It is not intendedto replace your own direct visual checks
and is not a substitute for careful driving.
Cleaning the Camera
To ensure a clear picture, keep the camera
lens clean, and free of obstructions. Remove
any buildup of dirt by occasionally wiping the camera lens with a soft damp cloth.
Caution: Do not use chemical-based or
abrasive cleaners. Doing so can damage
the surface of the camera lens.
Rear View Camera
76Model X Owner