set clock TOYOTA BZ4X 2022 Owners Manual (in English)
[x] Cancel search | Manufacturer: TOYOTA, Model Year: 2022, Model line: BZ4X, Model: TOYOTA BZ4X 2022Pages: 674, PDF Size: 120.02 MB
Page 137 of 674
135
2
Owners Manual_Europe_M42D76_en
2-2. Charging
Electric Vehicle system
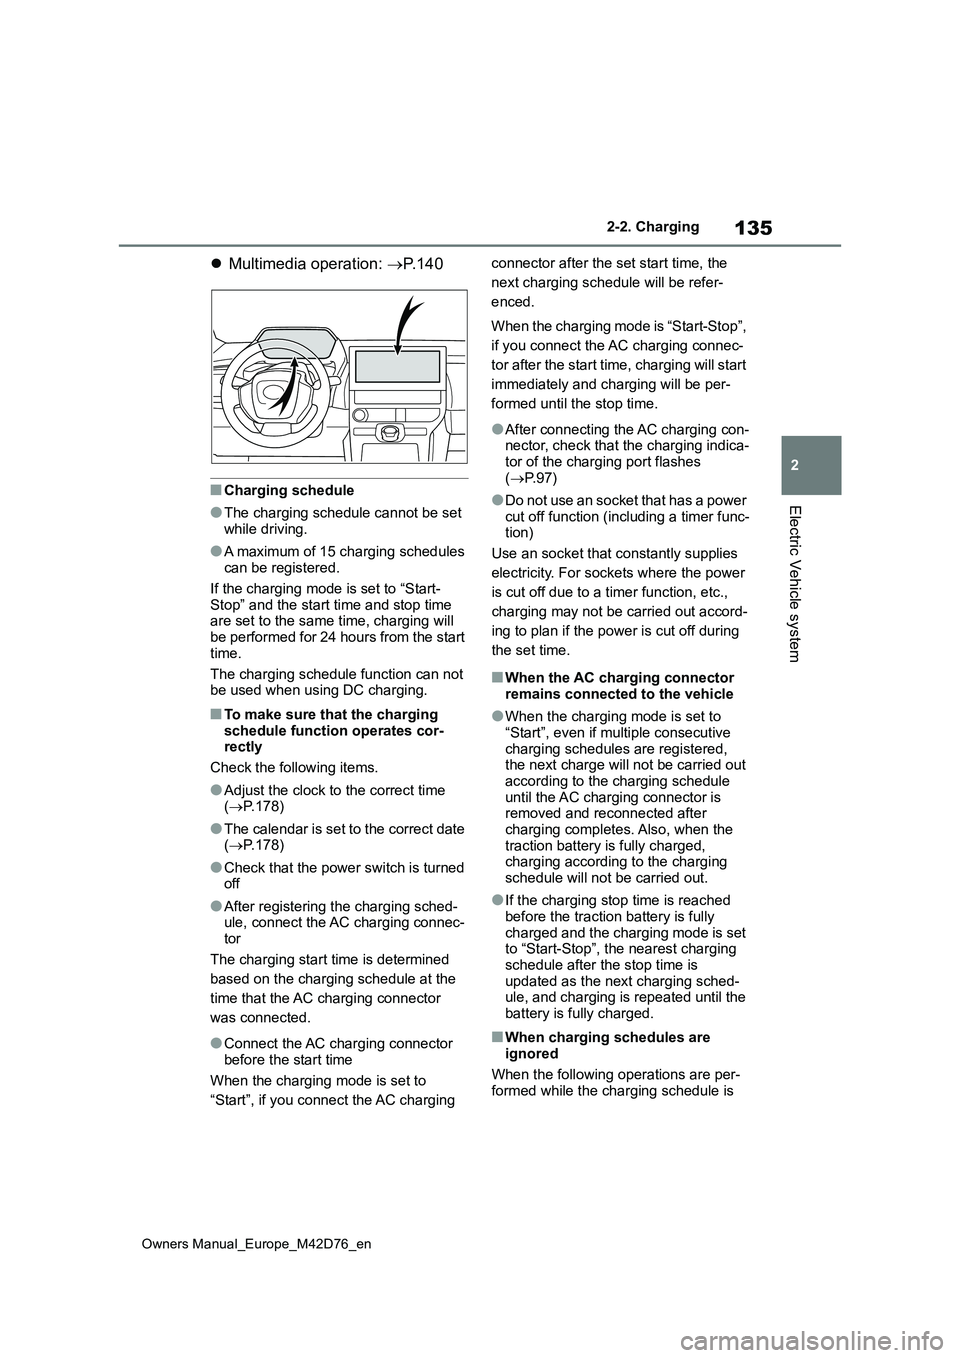
Multimedia operation: P. 1 4 0
■Charging schedule
●The charging schedule cannot be set while driving.
●A maximum of 15 charging schedules can be registered.
If the charging mode is set to “Start-
Stop” and the start time and stop time are set to the same time, charging will be performed for 24 hours from the start
time.
The charging schedule function can not be used when using DC charging.
■To make sure that the charging
schedule function operates cor- rectly
Check the following items.
●Adjust the clock to the correct time ( P.178)
●The calendar is set to the correct date ( P.178)
●Check that the power switch is turned off
●After registering the charging sched-ule, connect the AC charging connec-
tor
The charging start time is determined
based on the charging schedule at the
time that the AC charging connector
was connected.
●Connect the AC charging connector
before the start time
When the charging mode is set to
“Start”, if you connect the AC charging
connector after the set start time, the
next charging schedule will be refer-
enced.
When the charging mode is “Start-Stop”,
if you connect the AC charging connec-
tor after the start time, charging will start
immediately and charging will be per-
formed until the stop time.
●After connecting the AC charging con- nector, check that the charging indica-tor of the charging port flashes
( P. 9 7 )
●Do not use an socket that has a power
cut off function (including a timer func- tion)
Use an socket that constantly supplies
electricity. For sockets where the power
is cut off due to a timer function, etc.,
charging may not be carried out accord-
ing to plan if the power is cut off during
the set time.
■When the AC charging connector remains connected to the vehicle
●When the charging mode is set to “Start”, even if multiple consecutive
charging schedules are registered, the next charge will not be carried out according to the charging schedule
until the AC charging connector is removed and reconnected after charging completes. Also, when the
traction battery is fully charged, charging according to the charging schedule will not be carried out.
●If the charging stop time is reached before the traction battery is fully
charged and the charging mode is set to “Start-Stop”, the nearest charging schedule after the stop time is
updated as the next charging sched- ule, and charging is repeated until the battery is fully charged.
■When charging schedules are
ignored
When the following operations are per- formed while the charging schedule is
Page 160 of 674
158
Owners Manual_Europe_M42D76_en
2-2. Charging
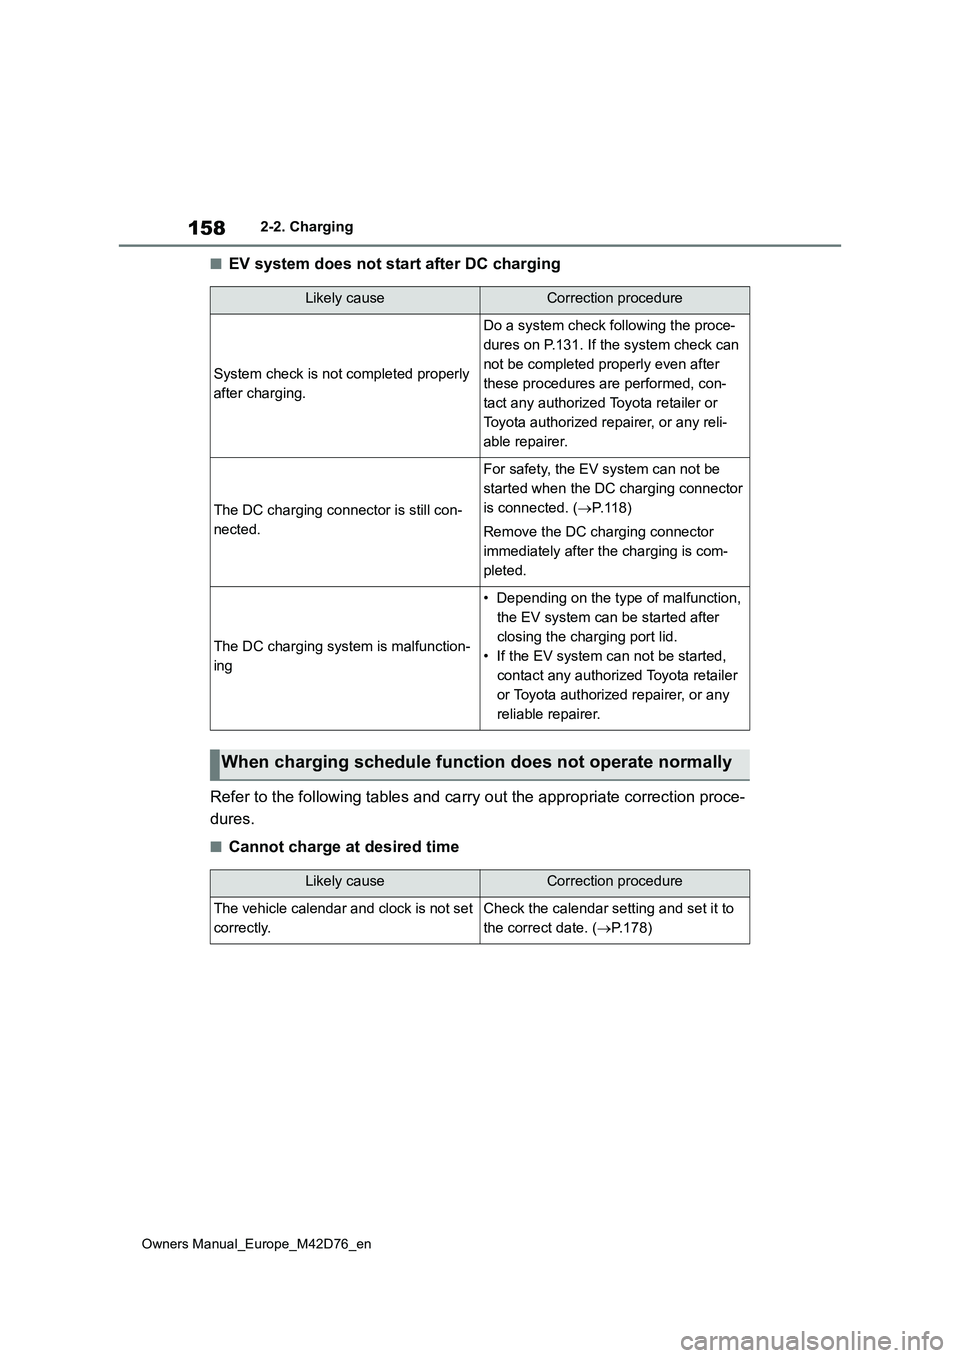
■EV system does not start after DC charging
Refer to the following tables and carry out the appropriate cor rection proce-
dures.
■Cannot charge at desired time
Likely causeCorrection procedure
System check is not completed properly
after charging.
Do a system check following the proce-
dures on P.131. If the system check can
not be completed properly even after
these procedures are performed, con-
tact any authorized Toyota retailer or
Toyota authorized repairer, or any reli-
able repairer.
The DC charging connector is still con-
nected.
For safety, the EV system can not be
started when the DC charging connector
is connected. ( P.118)
Remove the DC charging connector
immediately after the charging is com-
pleted.
The DC charging system is malfunction-
ing
• Depending on the type of malfunction,
the EV system can be started after
closing the charging port lid.
• If the EV system can not be started,
contact any authorized Toyota retailer
or Toyota authorized repairer, or any
reliable repairer.
When charging schedule function does not operate normally
Likely causeCorrection procedure
The vehicle calendar and clock is not set
correctly.
Check the calendar setting and set it to
the correct date. ( P.178)
Page 176 of 674
174
Owners Manual_Europe_M42D76_en
3-1. Instrument cluster
●When “--” is displayed, the system
may be malfunctioning. Take your vehicle to any authorized Toyota retailer or Toyota authorized repairer,
or any reliable repairer.
●When the outside temperature is
approximately 3°C (37°F) or lower, the
indicator will flash for approxi-
mately 10 seconds, then stay on.
■Liquid crystal display
P. 1 7 6
■Customization
The gauges and meters can be custom-
ized in of the multi-information dis-
play. ( P.561)
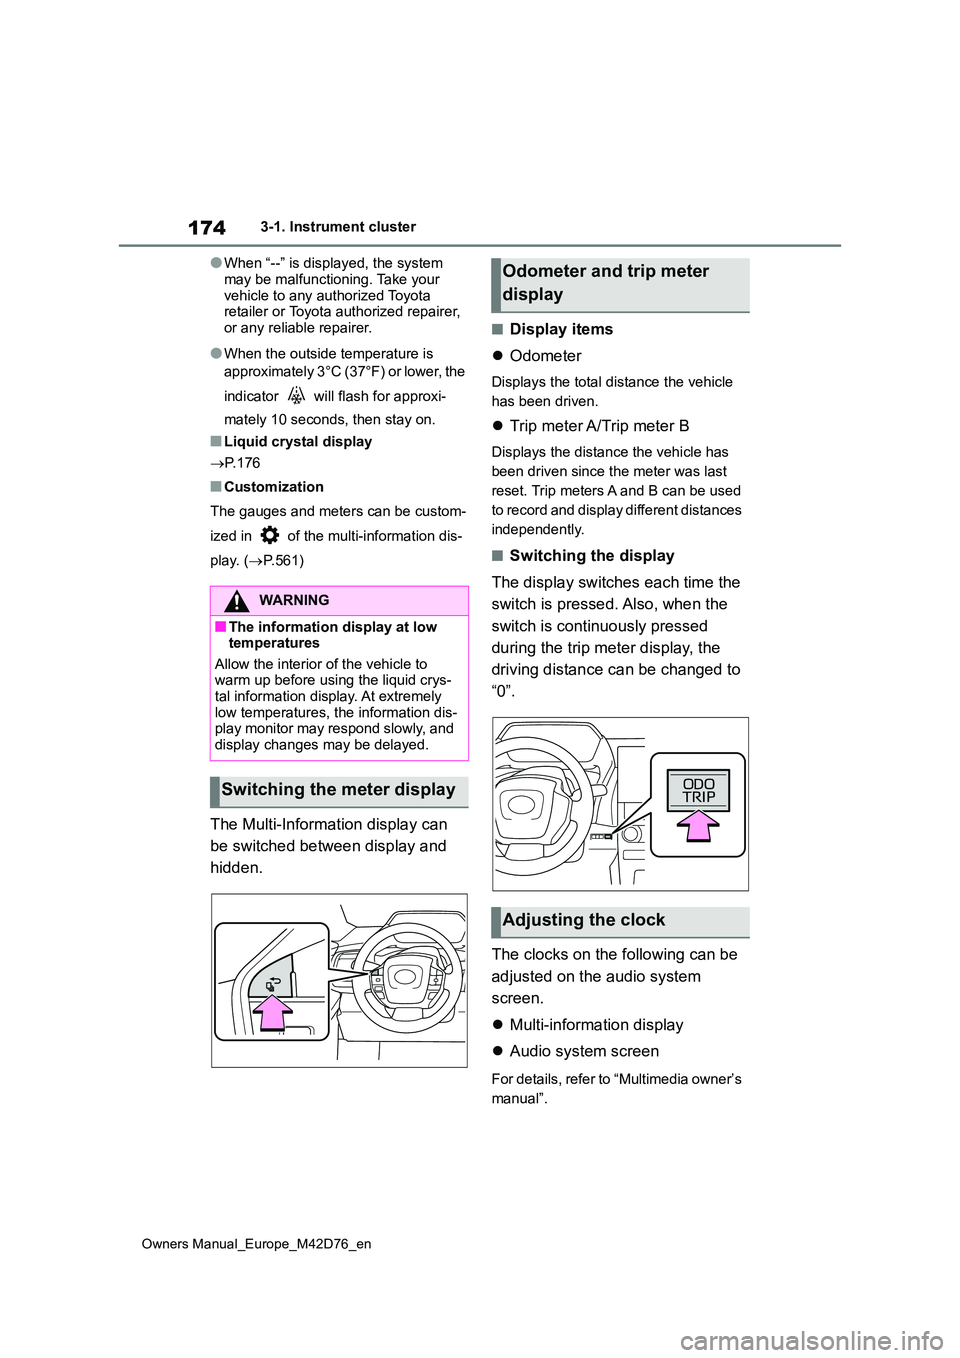
The Multi-Information display can
be switched between display and
hidden.
■Display items
Odometer
Displays the total distance the vehicle
has been driven.
Trip meter A/Trip meter B
Displays the distance the vehicle has
been driven since the meter was last
reset. Trip meters A and B can be used
to record and display different distances
independently.
■Switching the display
The display switches each time the
switch is pressed. Also, when the
switch is continuously pressed
during the trip meter display, the
driving distance can be changed to
“0”.
The clocks on the following can be
adjusted on the audio system
screen.
Multi-information display
Audio system screen
For details, refer to “Multimedia owner’s
manual”.
WARNING
■The information display at low temperatures
Allow the interior of the vehicle to warm up before using the liquid crys-tal information display. At extremely
low temperatures, the information dis- play monitor may respond slowly, and display changes may be delayed.
Switching the meter display
Odometer and trip meter
display
Adjusting the clock
Page 180 of 674
178
Owners Manual_Europe_M42D76_en
3-1. Instrument cluster
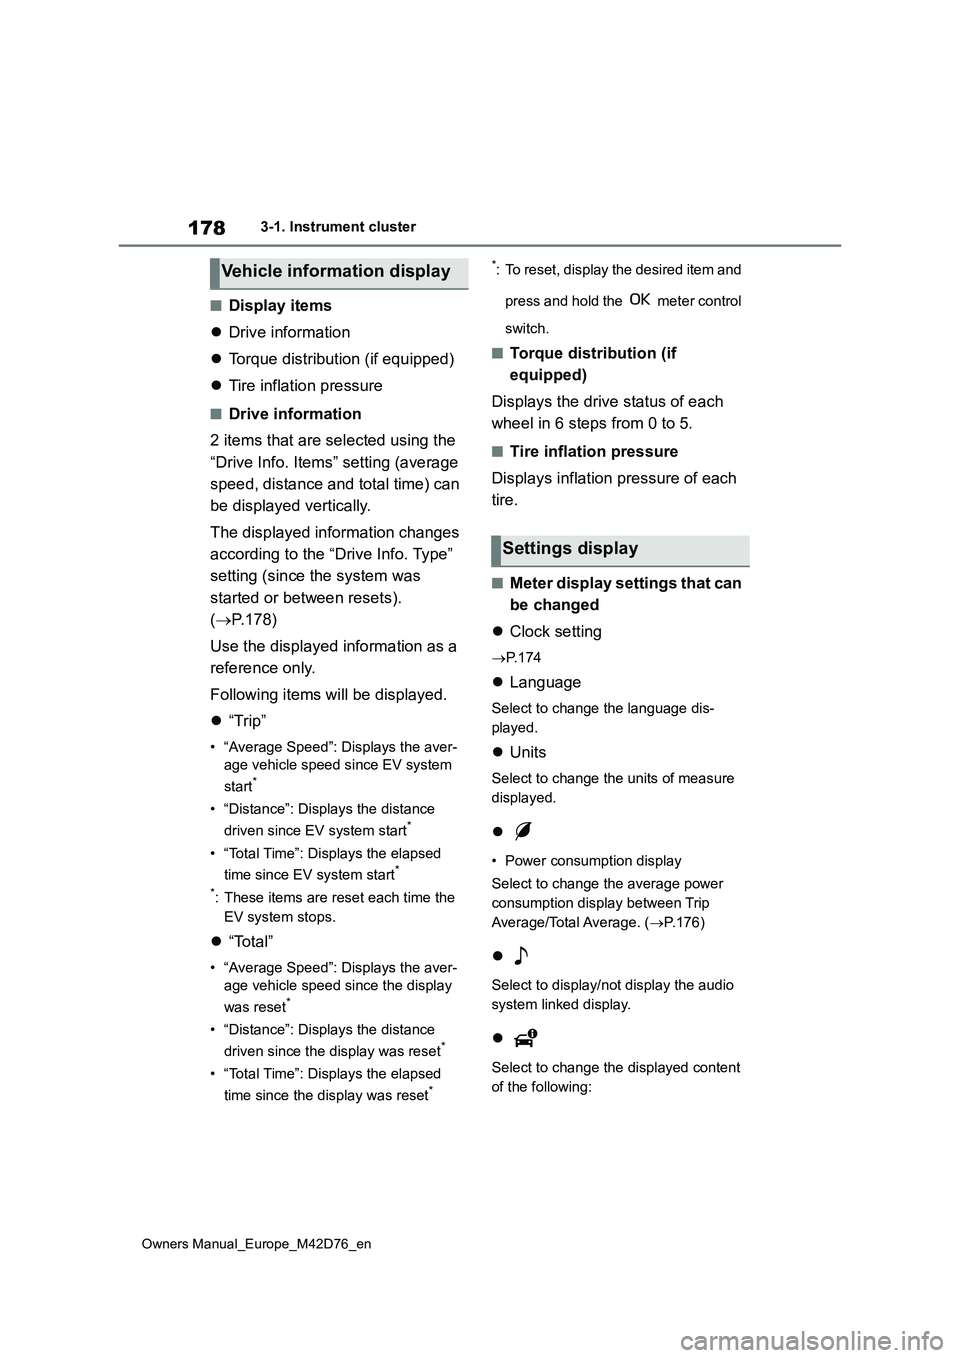
■Display items
Drive information
Torque distribution (if equipped)
Tire inflation pressure
■Drive information
2 items that are selected using the
“Drive Info. Items” setting (average
speed, distance and total time) can
be displayed vertically.
The displayed information changes
according to the “Drive Info. Type”
setting (since the system was
started or between resets).
( P.178)
Use the displayed information as a
reference only.
Following items will be displayed.
“Trip”
• “Average Speed”: Displays the aver-
age vehicle speed since EV system
start*
• “Distance”: Displays the distance
driven since EV system start*
• “Total Time”: Displays the elapsed
time since EV system start*
*: These items are reset each time the
EV system stops.
“Total”
• “Average Speed”: Displays the aver-
age vehicle speed since the display
was reset*
• “Distance”: Displays the distance
driven since the display was reset*
• “Total Time”: Displays the elapsed
time since the display was reset*
*: To reset, display the desired item and
press and hold the meter control
switch.
■Torque distribution (if
equipped)
Displays the drive status of each
wheel in 6 steps from 0 to 5.
■Tire inflation pressure
Displays inflation pressure of each
tire.
■Meter display settings that can
be changed
Clock setting
P. 1 7 4
Language
Select to change the language dis-
played.
Units
Select to change the units of measure
displayed.
• Power consumption display
Select to change the average power
consumption display between Trip
Average/Total Average. ( P.176)
Select to display/not display the audio
system linked display.
Select to change the displayed content
of the following:
Vehicle information display
Settings display
Page 588 of 674
586
Owners Manual_Europe_M42D76_en
Alphabetical Index
Wiper lever ................................. 269
License plate lights ...................... 259
Light switch ................................ 259
Replacing light bulbs .................. 504
Light
Interior lights .............................. 432
Personal lights ........................... 433
Light bulbs
Replacing ................................... 504
Lights
AHB (Automatic High Beam) ..... 265
AHS (Adaptive High-beam System)
................................................. 262
Emergency flasher switch .......... 506
Extended Headlight Lighting system
................................................. 260
Fog light switch .......................... 268
Headlight switch ......................... 259
Interior light list ........................... 431
Luggage compartment light 191, 195
Replacing light bulbs .................. 504
Turn signal lever ........................ 253
Vanity lights ................................ 444
Locking and unlocking the AC
charging connector.................... 110
LTA (Lane Tracing Assist) ............ 294
Operation ................................... 294
Warning lights ............................ 518
Luggage cover .............................. 439
M
Maintenance
AC charging cable...................... 106
Do-it-yourself maintenance ........ 465
Maintenance data ...................... 554
Maintenance requirements ........ 463
Manual headlight leveling dial..... 261
Menu icons .................................... 175
Meter
Clock .......................................... 172
Indicators ................................... 169
Instrument panel light control ..... 175
Meter control switches ............... 176
Meters ........................................172
Multi-information display ............175
Settings ...................................... 178
Warning lights.............................515
Warning message ...................... 523
Mirrors
Inside rear view mirror................ 216
Outside rear view mirror defoggers
................................................. 422
Outside rear view mirrors ........... 217
Vanity mirrors .............................444
Motor
Compartment .............................470
Multi-information display ............. 175
Audio system-linked display ....... 177
Charging..... 117, 136, 145, 146, 160
Clock .......................................... 174
Cruise control .............................316
Driving information display ......... 176
Driving support system information
display ...................................... 177
Dynamic radar cruise control ..... 310
LDA (Lane Departure Alert) ........ 302
LTA (Lane Tracing Assist)........... 297
Menu icons ................................. 175
Meter control switches ............... 176
Navigation system-linked display177
Power consumption.................... 176
Settings ...................................... 178
Speed limiter .............................. 318
Suggestion function.................... 179
Tire pressure .............................. 477
Vehicle information display......... 178
Warning message ...................... 523
My Room Mode .............................145
Display ....................................... 145
Starting My Room Mode ............145
Warning messages..................... 146