TOYOTA COROLLA HATCHBACK 2023 Owners Manual
Manufacturer: TOYOTA, Model Year: 2023, Model line: COROLLA HATCHBACK, Model: TOYOTA COROLLA HATCHBACK 2023Pages: 436, PDF Size: 8.72 MB
Page 291 of 436
2916-3. Do-it-yourself maintenance
6
Maintenance and care
sure, a message indicating that set-
ting has been completed will be
displayed on the multi-information
display.
7-inch display
1 Park the vehicle in a safe
place and then start the
engine.
The tire inflation pressure cannot
be set while the vehicle is moving.
2Select of the multi-infor-
mation display and then
press .
3 Press or to select
“Vehicle Settings” and then
press and hold .
4 Press or to select
“TPWS setting” and then
press .
5 Press or to select
“Tire Pressure Setting” and
then press .
6 Press or to select
“Setting by Specified Pres-
sure” and then press . 7
Select the desired tire pres-
sures, then press .
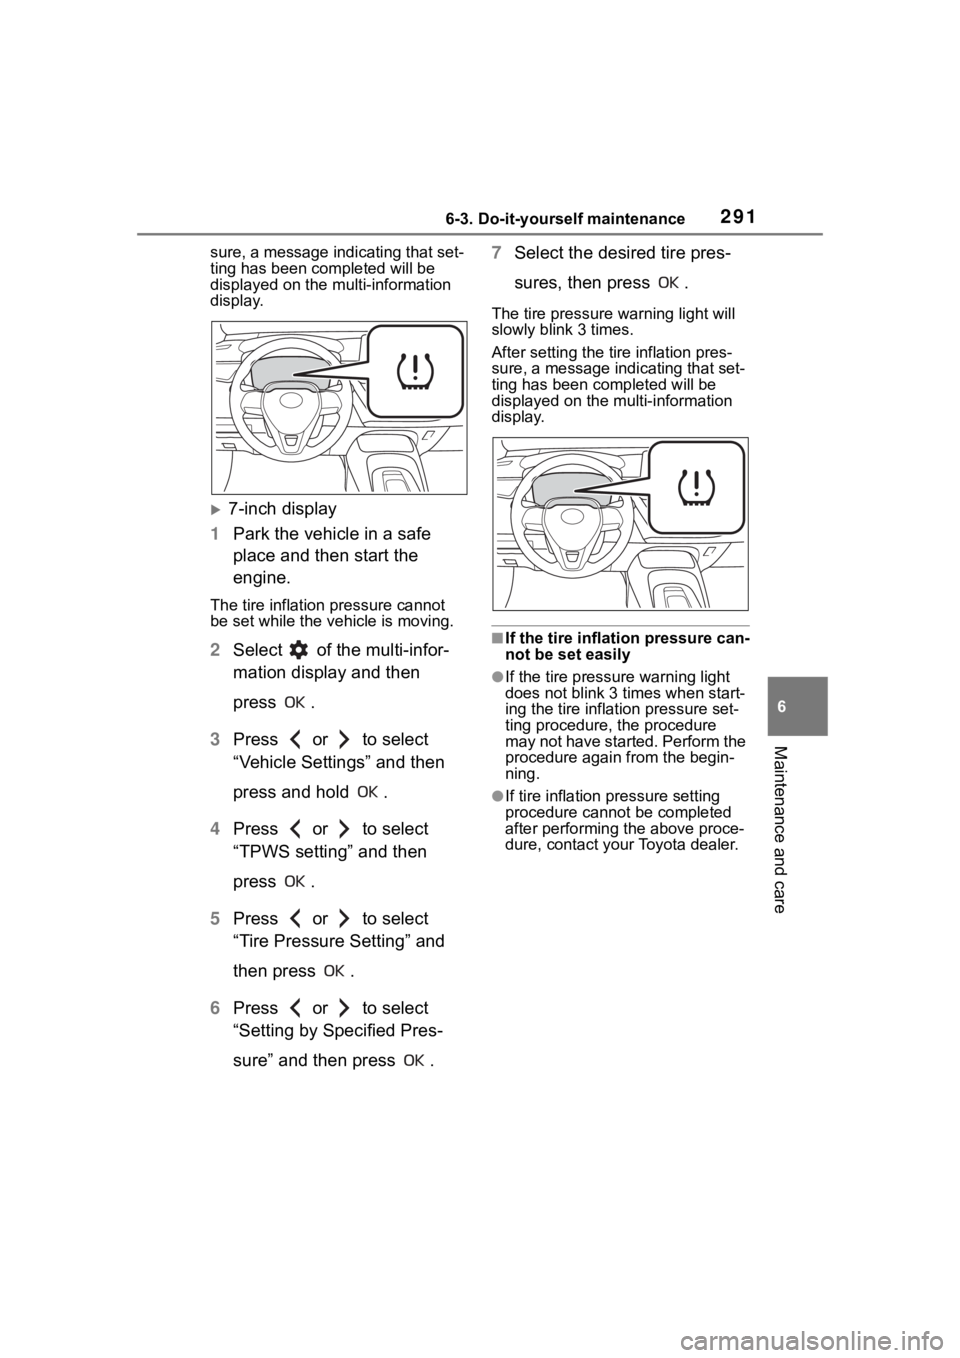
The tire pressure warning light will
slowly blink 3 times.
After setting the tire inflation pres-
sure, a message indicating that set-
ting has been completed will be
displayed on the multi-information
display.
■If the tire inflation pressure can-
not be set easily
●If the tire pressur e warning light
does not blink 3 times when start-
ing the tire inflation pressure set-
ting procedure, t he procedure
may not have started. Perform the
procedure again from the begin-
ning.
●If tire inflation pressure setting
procedure cannot be completed
after performing the above proce-
dure, contact your Toyota dealer.
Page 292 of 436
2926-3. Do-it-yourself maintenance
■Setting using the current
tire inflation pressure
4.2-inch display
1 Park the vehicle in a safe
place and then start the
engine.
The tire inflation pressure cannot
be set while the vehicle is moving.
2Select of the multi-infor-
mation display and then
press .
3 Press or to select
“Vehicle Settings” and then
press and hold .
4 Press or to select
“TPWS setting” and then
press .
5 Press or to select
“Tire Pressure Setting” and
then press .
6 Press or to select
“Setting by Current Pressure”
and then press .
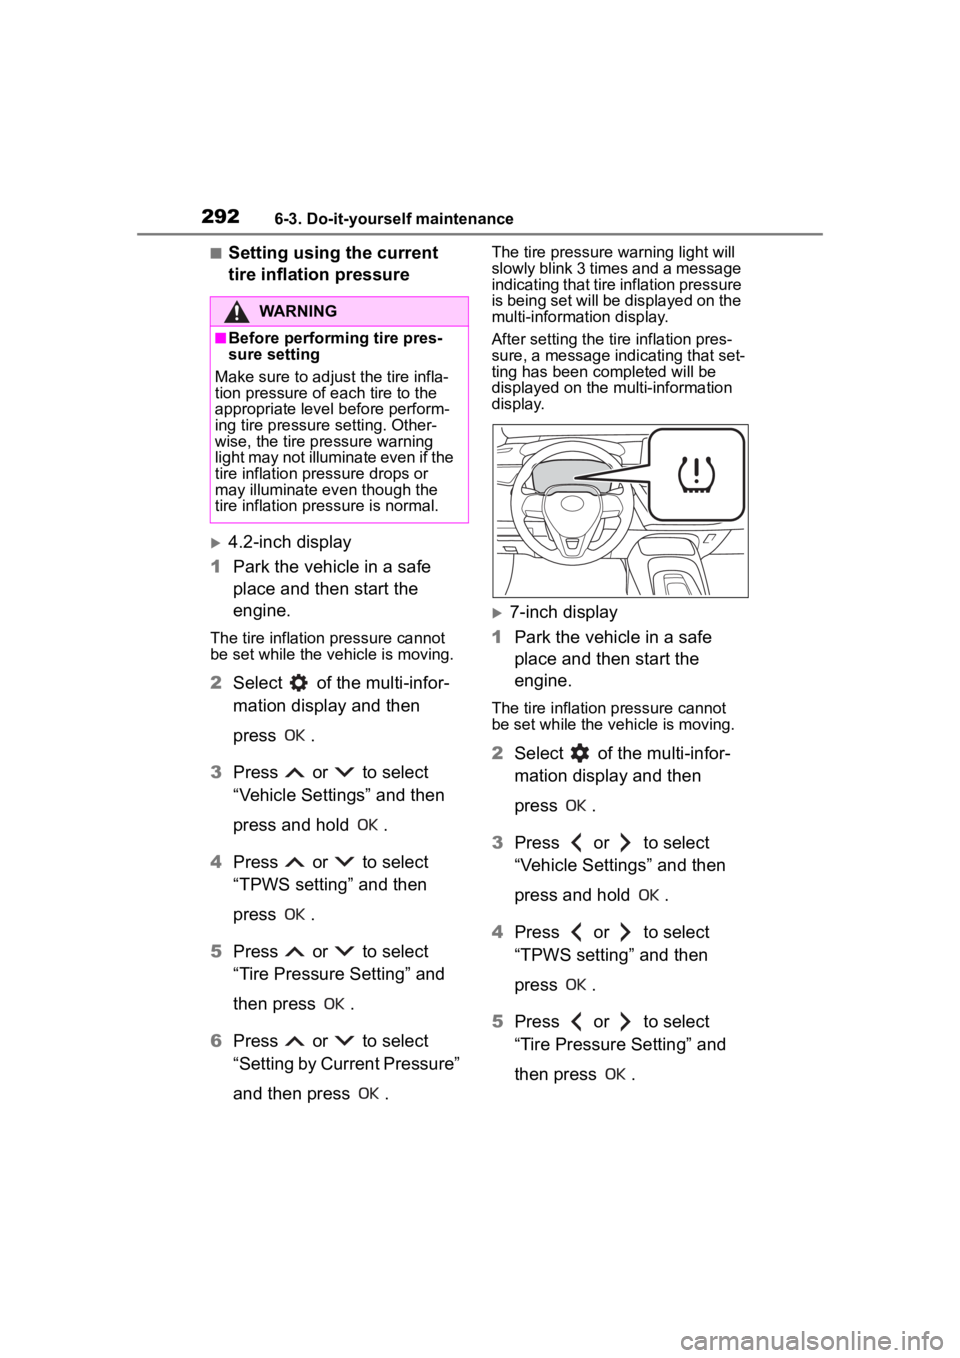
The tire pressure warning light will
slowly blink 3 times and a message
indicating that tire inflation pressure
is being set will be displayed on the
multi-information display.
After setting the tire inflation pres-
sure, a message indicating that set-
ting has been completed will be
displayed on the multi-information
display.
7-inch display
1 Park the vehicle in a safe
place and then start the
engine.
The tire inflation pressure cannot
be set while the ve hicle is moving.
2Select of the multi-infor-
mation display and then
press .
3 Press or to select
“Vehicle Settings” and then
press and hold .
4 Press or to select
“TPWS setting” and then
press .
5 Press or to select
“Tire Pressure Setting” and
then press .
WARNING
■Before performing tire pres-
sure setting
Make sure to adjust the tire infla-
tion pressure of each tire to the
appropriate level before perform-
ing tire pressure setting. Other-
wise, the tire pressure warning
light may not illuminate even if the
tire inflation pressure drops or
may illuminate ev en though the
tire inflation pressure is normal.
Page 293 of 436
2936-3. Do-it-yourself maintenance
6
Maintenance and care
6Press or to select
“Setting by Current Pressure”
and then press .
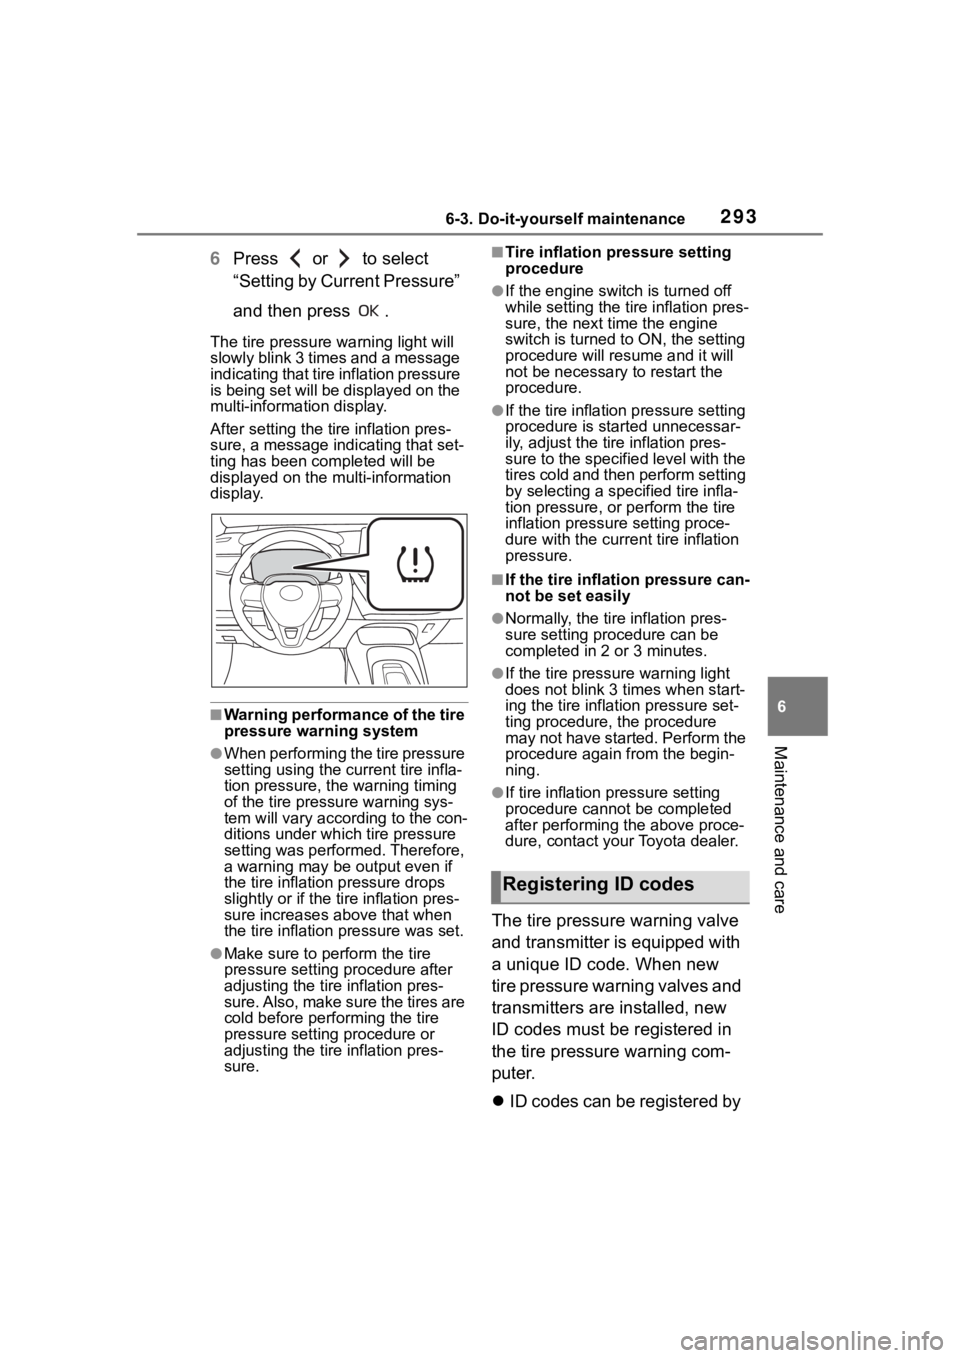
The tire pressure warning light will
slowly blink 3 times and a message
indicating that tire inflation pressure
is being set will be displayed on the
multi-information display.
After setting the tire inflation pres-
sure, a message indicating that set-
ting has been completed will be
displayed on the multi-information
display.
■Warning performance of the tire
pressure warning system
●When performing the tire pressure
setting using the current tire infla-
tion pressure, the warning timing
of the tire pressu re warning sys-
tem will vary accor ding to the con-
ditions under which tire pressure
setting was performed. Therefore,
a warning may be output even if
the tire inflation pressure drops
slightly or if the tire inflation pres-
sure increases above that when
the tire inflation pressure was set.
●Make sure to perform the tire
pressure setting procedure after
adjusting the tire inflation pres-
sure. Also, make sure the tires are
cold before performing the tire
pressure setting procedure or
adjusting the tire inflation pres-
sure.
■Tire inflation pressure setting
procedure
●If the engine switch is turned off
while setting the tir e inflation pres-
sure, the next time the engine
switch is turned to ON, the setting
procedure will resume and it will
not be necessary to restart the
procedure.
●If the tire inflation pressure setting
procedure is started unnecessar-
ily, adjust the tire inflation pres-
sure to the specified level with the
tires cold and then perform setting
by selecting a specified tire infla-
tion pressure, or perform the tire
inflation pressure setting proce-
dure with the curren t tire inflation
pressure.
■If the tire inflation pressure can-
not be set easily
●Normally, the tire inflation pres-
sure setting pro cedure can be
completed in 2 or 3 minutes.
●If the tire pressur e warning light
does not blink 3 times when start-
ing the tire inflation pressure set-
ting procedure, t he procedure
may not have started. Perform the
procedure again from the begin-
ning.
●If tire inflation pressure setting
procedure cannot be completed
after performing the above proce-
dure, contact your Toyota dealer.
The tire pressure warning valve
and transmitter is equipped with
a unique ID code. When new
tire pressure warning valves and
transmitters are installed, new
ID codes must be registered in
the tire pressure warning com-
puter.
ID codes can be registered by
Registering ID codes
Page 294 of 436

2946-3. Do-it-yourself maintenance
yourself, but depending on
the driving conditions and
driving environment, registra-
tion may take some time to
complete.
When using a wheel set
which all of the ID codes have
already been registered, the
wheel set can be changed in
a short amount of time.
Before performing ID code reg-
istration, make sure that no
wheels with tire pressure warn-
ing valve and transmitters
installed are near the vehicle.
4.2-inch display
1 Park the vehicle in a safe
place and turn the engine
switch off, wait for approxi-
mately 20 minutes or more,
and then start the engine.
The ID code registration procedure
cannot be performed while the
vehicle is moving.
2Select of the multi-infor-
mation display and then
press .
3 Press or to select
“Vehicle Settings” and then
press and hold .
4 Press or to select
“TPWS setting” and then
press . 5
Press or to select
“Tire Set Switching” and then
press .
6 Press or to select
“Register New Valve / ID” and
then press ..
7 Press or to select
“Tire Set 1” or “Tire Set 2”.
Then press .
ID codes will be regi stered to the
displayed wheel set.
If ID codes have already been reg-
istered for that wheel set, the tire
pressure warning light will slowly
blink 3 times, and a message indi-
cating that change is occurring will
be displayed on the multi-informa-
tion display.
8 Select “OK” and then press
.
The tire pressure warning light will
slowly blink 3 times and a message
indicating that ID code registration
is being performed will be displayed
on the multi-information display.
Wheel set changing will be can-
celed and registration will begin.
When registration is being per-
formed, the tire pressure warning
light will blink for approximately 1
minute then illumina te and “---” will
be displayed for the inflation pres-
Page 295 of 436

2956-3. Do-it-yourself maintenance
6
Maintenance and care
sure of each tire on the multi-infor-
mation display.
9Drive straight (with occa-
sional left and right turns) at
approximately 25 mph (40
km/h) or more for approxi-
mately 10 to 30 minutes.
When registration is complete, the
tire pressure warni ng light will turn
off and a message indicating that
registration has been completed
will be displayed on the multi-infor-
mation display.
Registration may take longer than
normal to complete if the vehicle
speed cannot be maintained at
approximately 25 mph (40 km/h) or
more. If registration cannot be com-
pleted after driving for 1 hour or
more, perform the registration pro-
cedure again from the beginning.
10 If the tire inflation pressure of
the wheel set installed differs
from that of the previous set,
it will be necessary to per-
form the tire inflation pres-
sure setting procedure of the
tire pressure warning system.
If the specified tire inflation pres-
sure is the same, i t will not be nec-
essary to perform the tire inflation
pressure setting procedure.
7-inch display
1 Park the vehicle in a safe
place and turn the engine
switch off, wait for approxi-
mately 20 minutes or more,
and then start the engine.
The ID code registration procedure
cannot be performed while the
vehicle is moving.
2Select of the multi-infor-
mation display and then
press .
3 Press or to select
“Vehicle Settings” and then
press and hold .
4 Press or to select
“TPWS setting” and then
press .
5 Press or to select
“Tire Set Switching” and then
press .
6 Press or to select
“Register New Valve / ID” and
then press .
7 Press or to select
“Tire Set 1” or “Tire Set 2”.
Then press .
ID codes will be regi stered to the
displayed wheel set.
If ID codes have already been reg-
istered for that wheel set, the tire
pressure warning light will slowly
blink 3 times, and a message indi-
cating that change is occurring will
be displayed on the multi-informa-
tion display.
Page 296 of 436

2966-3. Do-it-yourself maintenance
8Select “OK” and then press
.
The tire pressure warning light will
slowly blink 3 times and a message
indicating that ID code registration
is being performed will be displayed
on the multi-inform ation display.
Wheel set changing will be can-
celed and registration will begin.
When registration is being per-
formed, the tire pressure warning
light will blink for approximately 1
minute then illuminate and “---” will
be displayed for the inflation pres-
sure of each tire on the multi-infor-
mation display.
9 Drive straight (with occa-
sional left and right turns) at
approximately 25 mph (40
km/h) or more for approxi-
mately 10 to 30 minutes.
When registration is complete, the
tire pressure warni ng light will turn
off and a message indicating that
registration has been completed
will be displayed on the multi-infor-
mation display.
Registration may take longer than
normal to complete if the vehicle
speed cannot be maintained at
approximately 25 mph (40 km/h) or
more. If registration cannot be com-
pleted after driving for 1 hour or
more, perform the registration pro-
cedure again from the beginning.
10 If the tire inflation pressure of
the wheel set installed differs
from that of the previous set,
it will be necessary to per-
form the tire inflation pres-
sure setting procedure of the
tire pressure warning system.
If the specified tire inflation pres-
sure is the same, i t will not be nec-
essary to perform the tire inflation
pressure setting procedure.
■When registering ID codes
●Normally, ID codes registration
can be completed within approxi-
mately 30 minutes.
●ID code registrati on is performed
while driving at a vehicle speed of
approximately 25 mph (40 km/h)
or more.
■If ID codes are not registered
easily
●In the following situations, ID code
registration may take longer than
usual to be completed or may not
be possible.
• When the vehicle has not been
parked for approximately 20 min-
utes or more before being driven
• Vehicle is not dr iven at approxi-
mately 25 mph (40 km/h) or more
• Vehicle is driven on unpaved roads
• Vehicle is driven near other vehi-
cles and system cannot recog-
nize tire pressure warning valve
and transmitters o f your vehicle
over those of other vehicles
• Wheel with tire p ressure warning
valve and transmitter installed is
inside or near the vehicle
●If the vehicle is reversed during
registration, all data collected until
then will be cleared. Perform driv-
ing again.
●If the tire pressur e warning light
does not blink 3 times when start-
ing ID code registration proce-
dure to step 8, the procedure may
not have started. Perform the pro-
cedure again from the beginning.
●If registration does not complete
after driving for 1 hour or more,
perform the ID code registration
procedure again from the begin-
ning.
●If the ID codes c annot be regis-
tered even when performing the
above procedure, contact your
Toyota dealer.
Page 297 of 436

2976-3. Do-it-yourself maintenance
6
Maintenance and care
■Canceling ID code registration
To cancel ID code registration after
it has been started, select “Register
Valve / ID” again on the multi-infor-
mation display.
If ID code registration has been can-
celed, the tire pressure warning light
will turn off.
If the warning light does not turn off,
ID code registration may not have
been cancelled corr ectly. To cancel
registration, selec t “Register Valve /
ID” on the multi-information display.
Your vehicle is equipped with a
tire pressure warning system
with a function to register two
sets of ID codes. This allows for
registration of a second wheel
set, for example a winter set.
The wheel set can be changed
only if a second wheel set has
been registered to the system. If
a second wheel set has not
been registered, it will not be
possible to change to the
selected wheel set.
ID codes can be registered by
yourself.
Only a change between both
registered wheel set is possi-
ble, mixing between these
wheel sets is not supported.
While registering ID codes, it
may not be possible to
change between wheel sets
normally. Cancel registration
before changing between
wheel sets.
4.2-inch display
1 Install the desired wheel set.
2 Select of the multi-infor-
mation display and then
press .
3 Press or to select
“Vehicle Settings” and then
press .
4 Press or to select
“TPWS setting” and then
press .
5 Press or to select
“Tire Set Switching” and then
press .
6 Press or to select
“Register Valve / ID” and then
press .
7 Press or to select
“Tire Set 1” or “Tire Set 2”.
Then press .
8 Select “OK” and then press
.
The tire pressure warning light will
slowly blink 3 ti mes, a message
indicating that change is occurring
will be displayed, and the wheel set
change will begin.
Wheel set change will begin and
the tire pressure warning light will
blink for 1 minute and then illumi-
nate.
Also, while the change is being per-
formed, “---” will be displayed for
the tire inflation pressure of each
tire on the multi-in formation display.
Selecting wheel set
Page 298 of 436
2986-3. Do-it-yourself maintenance
After approximately 2 minutes, the
wheel set change will complete, the
tire pressure warni ng light will turn
off, and a completion message will
be displayed on the multi-informa-
tion display.
If changing does not complete after
approximately 4 minutes, a mes-
sage indicating that the change
could not be compl eted will be dis-
played.
Check which wheel set is installed
and perform the change procedure
again from the beginning.
9 If the specified tire inflation
pressure of the wheel set
installed differs from that of
the previous set, it will be
necessary to perform the tire
inflation pressure setting pro-
cedure of the tire pressure
warning system. ( P.290)
If the specified tire inflation pres-
sure is the same, i t will not be nec-
essary to perform the tire inflation
pressure setting procedure.
10 Register the position of each
wheel.
7-inch display
1 Install the desired wheel set.
2 Select of the multi-infor-
mation display and then
press . 3
Press or to select
“Vehicle Settings” and then
press .
4 Press or to select
“TPWS setting” and then
press .
5 Press or to select
“Tire Set Switching” and then
press .
6 Press or to select
“Register Valve / ID” and then
press .
7 Press or to select
“Tire Set 1” or “Tire Set 2”.
Then press .
8 Select “OK” and then press
.
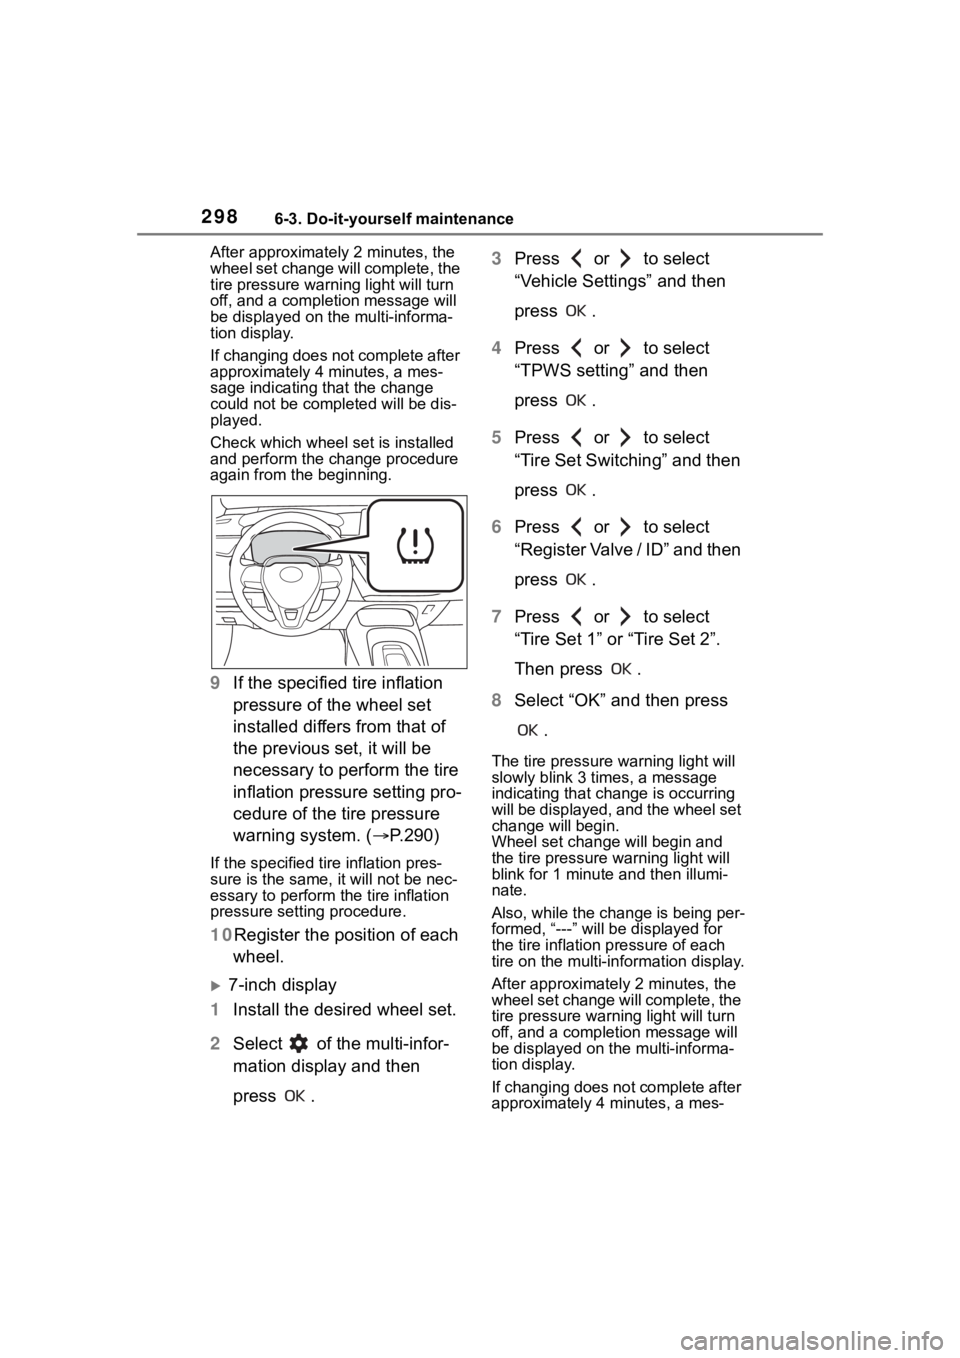
The tire pressure warning light will
slowly blink 3 ti mes, a message
indicating that change is occurring
will be displayed, and the wheel set
change will begin.
Wheel set change will begin and
the tire pressure warning light will
blink for 1 minute and then illumi-
nate.
Also, while the change is being per-
formed, “---” will be displayed for
the tire inflation pressure of each
tire on the multi-in formation display.
After approximatel y 2 minutes, the
wheel set change will complete, the
tire pressure warn ing light will turn
off, and a completion message will
be displayed on the multi-informa-
tion display.
If changing does not complete after
approximately 4 minutes, a mes-
Page 299 of 436
2996-3. Do-it-yourself maintenance
6
Maintenance and care
sage indicating that the change
could not be completed will be dis-
played.
Check which wheel set is installed
and perform the change procedure
again from the beginning.
9 If the specified tire inflation
pressure of the wheel set
installed differs from that of
the previous set, it will be
necessary to perform the tire
inflation pressure setting pro-
cedure of the tire pressure
warning system. ( P.290)
If the specified tire inflation pres-
sure is the same, i t will not be nec-
essary to perform the tire inflation
pressure setting procedure.
10 Register the position of each
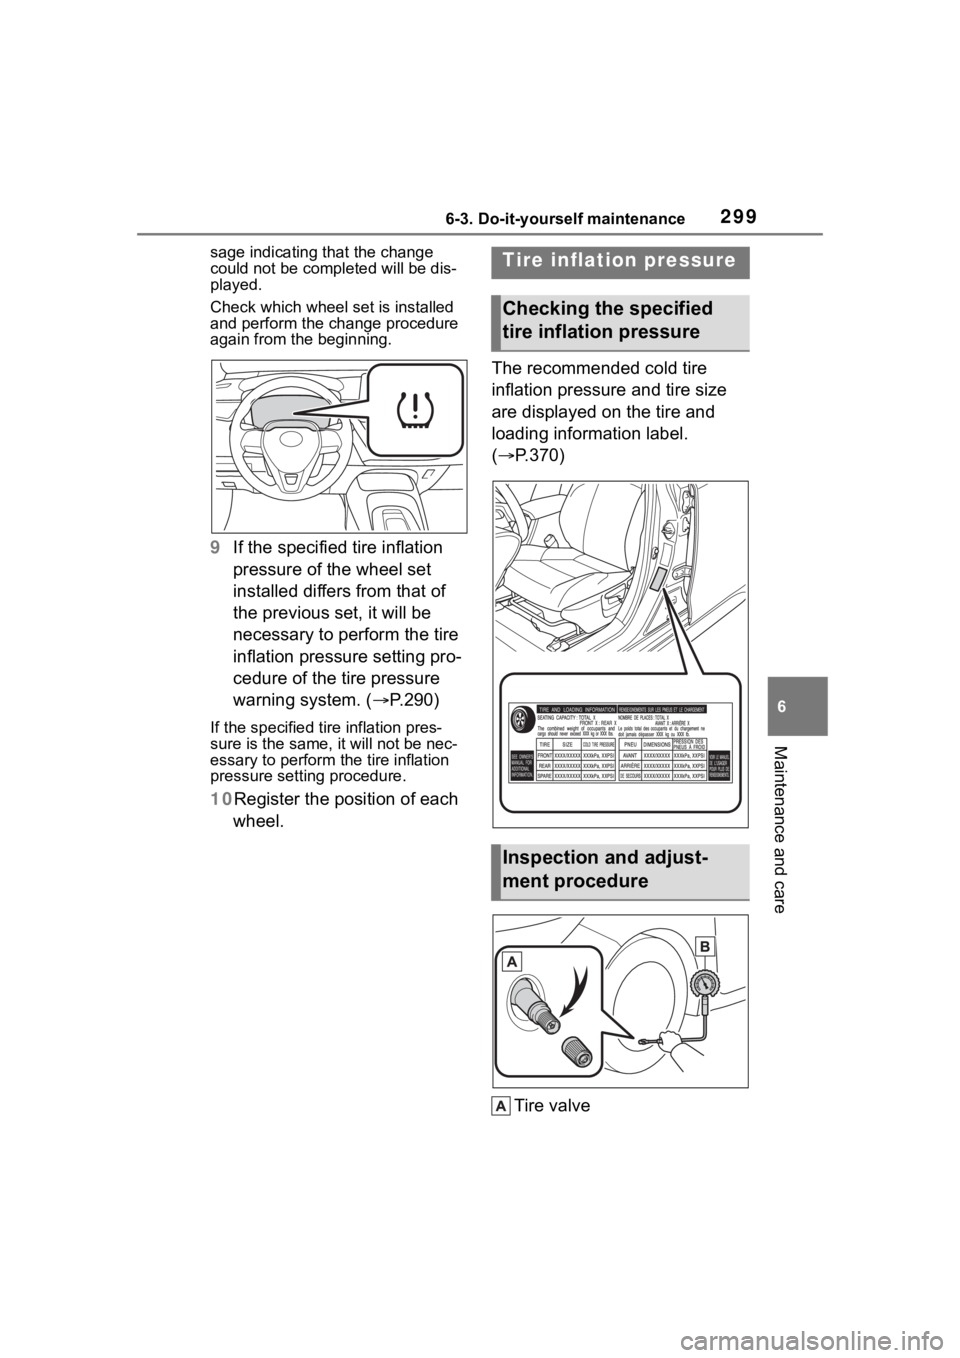
wheel. The recommended cold tire
inflation pressure and tire size
are displayed on the tire and
loading information label.
(
P.370)
Tire valve
Tire inflation pressure
Checking the specified
tire inflation pressure
Inspection and adjust-
ment procedure
Page 300 of 436

3006-3. Do-it-yourself maintenance
Tire pressure gauge
1 Remove the tire valve cap.
2 Press the tip of the tire pres-
sure gauge onto the tire
valve.
3 Read the pressure using the
gauge gradations.
4 If the tire inflation pressure is
not at the recommended
level, adjust the pressure.
If you add too much air, press
the center of the valve to
deflate.
5 After completing the tire infla-
tion pressure measurement
and adjustment, apply soapy
water to the valve and check
for leakage.
6 Put the tire valve cap back
on.
■Tire inflation pressure check
interval
You should check tire inflation pres-
sure every two weeks, or at least
once a month. Do not forget to
check the spare.
■Effects of incorrect tire inflation
pressure
Driving with incorrect tire inflation
pressure may result in the following:
●Reduced fuel economy
●Reduced driving comfort and poor
handling
●Reduced tire life due to wear
●Reduced safety
●Damage to the drive train
If a tire needs frequent inflating,
have it checked by your Toyota
dealer.
■Instructions for checking tire
inflation pressure
When checking tire inflation pres-
sure, observe the following:
●Check only when the tires are
cold.
If your vehicle has been parked for
at least 3 hours or has not been
driven for more than 1 mile or 1.5
km, you will get an accurate cold
tire inflation pressure reading.
●Always use a tire pressure gauge.
It is difficult to j udge if a tire is
properly inflated based only on its
appearance.
●It is normal for the tire inflation
pressure to be higher after driving
as heat is generated in the tire. Do
not reduce tire inflation pressure
after driving.
●Never exceed the vehicle capacity
weight.
Passengers and luggage weight
should be placed so that the vehi-
cle is balanced.
WARNING
■Proper inflation is critical to
save tire performance
Keep your tires properly inflated.
If the tires are not properly
inflated, the following conditions
may occur which could lead to an
accident resulting in death or seri-
ous injury:
●Excessive wear
●Uneven wear
●Poor handling
●Possibility of blowouts resulting
from overheated tires
●Air leaking from between tire
and wheel
●Wheel deformation and/or tire
damage