display TOYOTA FJ CRUISER 2014 1.G User Guide
[x] Cancel search | Manufacturer: TOYOTA, Model Year: 2014, Model line: FJ CRUISER, Model: TOYOTA FJ CRUISER 2014 1.GPages: 572, PDF Size: 9.45 MB
Page 173 of 572
173
2-4. Using other
driving systems
2
When driving
■When using the rear view monitor system
The anti-glare function of the inside rear view mirror will be canceled.
■ Rear view monitor system settings
The following can be adjusted when the engine switch is in the ON position
and the shift position is in R.
●To permanently disable the screen
Press and hold or for 12 seconds or more so that the
screen will change as described below and the screen will be permanently
disabled.
• Press and hold or so that the screen will turn off once,
and then will turn on after approximately 6 seconds. In addition, after
approximately 6 seconds, the screen will turn off again, and the indica-
tor will turn amber.
• Even if the engine switch is turned from the LOCK position to the ON position, the screen will be not displayed.
● To enable the screen
Press or (the indicator will turn green).
● To change the display language
Press and hold or for 6 - 12 seconds.
The display should enable after 6 seconds and LED should turn green.
Once display is enabled after 6 seconds, push and release or
.
For each time you push and release or , language will
change.
5 seconds after the last button release, message should flash and then
language is locked in.
Page 174 of 572
174 2-4. Using other driving systems
CAUTION
■When using the rear view monitor system
The rear view monitor system is a supplemental device intended to assist
the driver when backing up. When backing up, be sure to check visually
behind and all around the vehicle before proceeding.
Observe the following precautions to avoid an accident that could result in
death or serious injury.
● Never depend on the rear view monitor system entirely when backing up.
The image and the position of the guide lines displayed on the screen may
differ from the actual state.
Use caution, just as you would when backing up any vehicle.
● Be sure to back up slowly, depressing the brake pedal to control vehicle
speed.
● When and how much to turn the steering wheel will vary according to traf-
fic conditions, road surface conditions, vehicle condition, etc. when park-
ing. It is necessary to be fully aware of this before using the rear view
monitor system.
● When parking, be sure to check that the parking space will accommodate
your vehicle before maneuvering into it.
● Do not use the rear view monitor system in the following cases:
• On icy or slick road surfaces, or in snow
• When using tire chains
• When the back door is not closed completely
• On roads that are not flat or straight, such as curves or slopes.
● In low temperatures, the screen may darken or the image may become
faint. The image could distort when the vehicle is moving, or you may
become unable to see the image on the screen. Be sure to check direct
visually and with the mirrors all around the vehicle before proceeding.
● If the tire sizes are changed, the position of the guide lines displayed on
the screen may change.
● The camera uses a special lens. The distances between objects and
pedestrians that appear in the image displayed on the screen will differ
from the actual distances. ( P. 167)
Page 235 of 572
Interior features3
235
3-5. Using the interior lightsInterior lights list ............... 350
• Interior lights .................. 351
• Personal lights ............... 352
3-6. Using the storage features List of storage features .... 353
• Glove box....................... 354
• Cup holders (front) ......... 355
• Cup holders (rear).......... 358
• Bottle holders ................. 359
• Auxiliary box .................. 360 3-7. Other interior features
Sun visors ........................ 361
Vanity mirrors ................... 362
Clock ................................ 363
Outside temperature display............................ 364
Power outlet (12V DC) ..... 365
Power outlet (120V AC) ... 366
Armrest ............................ 372
Floor mat .......................... 373
Luggage storage box (vehicles without
sub woofer) .................... 375
Luggage compartment features .......................... 376
Garage door opener......... 379
Compass .......................... 387
Page 248 of 572
248
3-2. Using the audio system
Using the radio
Setting station presets (excluding XM® Satellite Radio)
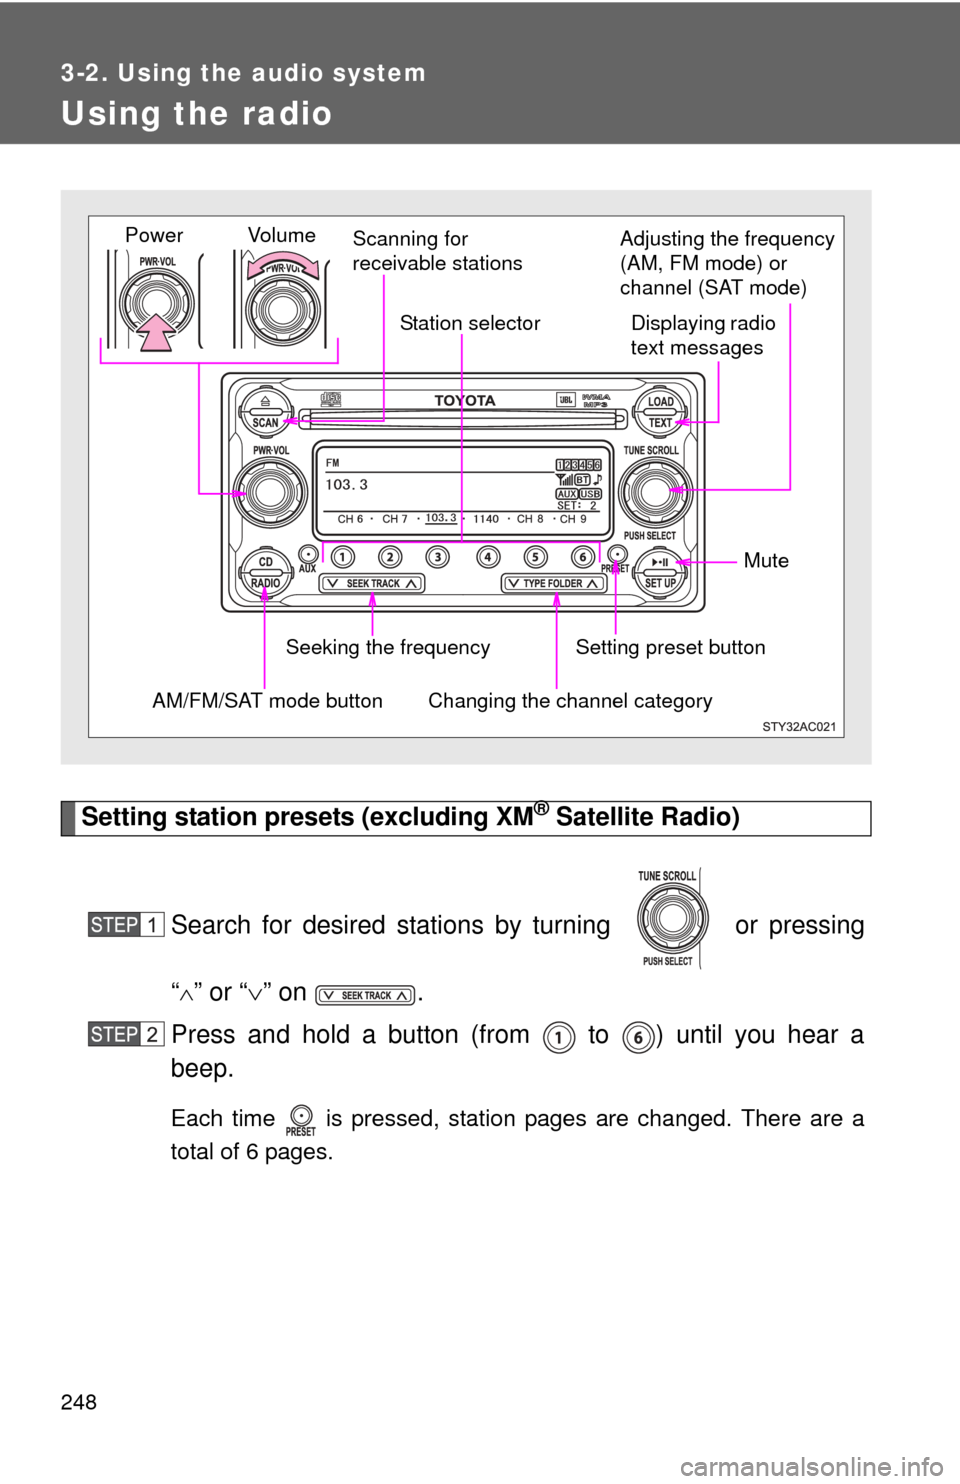
Search for desired stations by turning or pressing
“
” or “ ” on .
Press and hold a button (from to ) until you hear a
beep.
Each time is pressed, station pages are changed. There are a
total of 6 pages.
Vol u m e Scanning for
receivable stations
Station selector
Seeking the frequency Adjusting the frequency
(AM, FM mode) or
channel (SAT mode)
AM/FM/SAT mode buttonPower
Displaying radio
text messages
Changing the channel category
Setting preset button Mute
Page 249 of 572
249
3-2. Using the audio system
3
Interior features
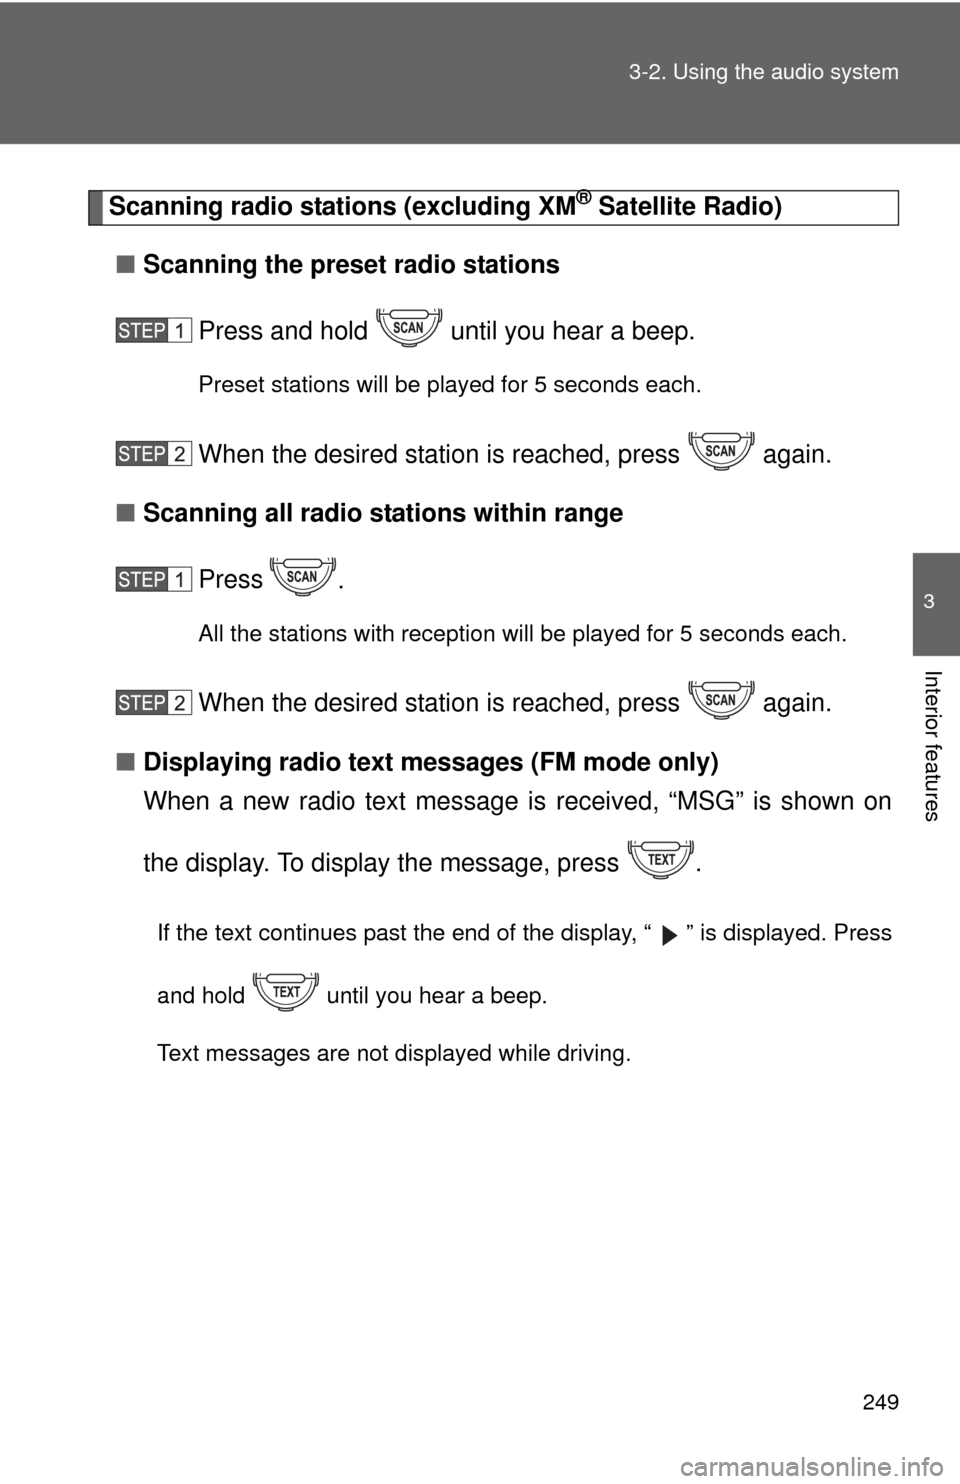
Scanning radio stations (excluding XM® Satellite Radio)
■ Scanning the preset radio stations
Press and hold until you hear a beep.
Preset stations will be played for 5 seconds each.
When the desired station is reached, press again.
■ Scanning all radio stations within range
Press
.
All the stations with reception will be played for 5 seconds each.
When the desired station is reached, press again.
■ Displaying radio text me ssages (FM mode only)
When a new radio text message is received, “MSG” is shown on
the display. To display the message, press .
If the text continues past the end of the display, “ ” is displayed. Press
and hold until you hear a beep.
Text messages are not displayed while driving.
Page 250 of 572
250 3-2. Using the audio system
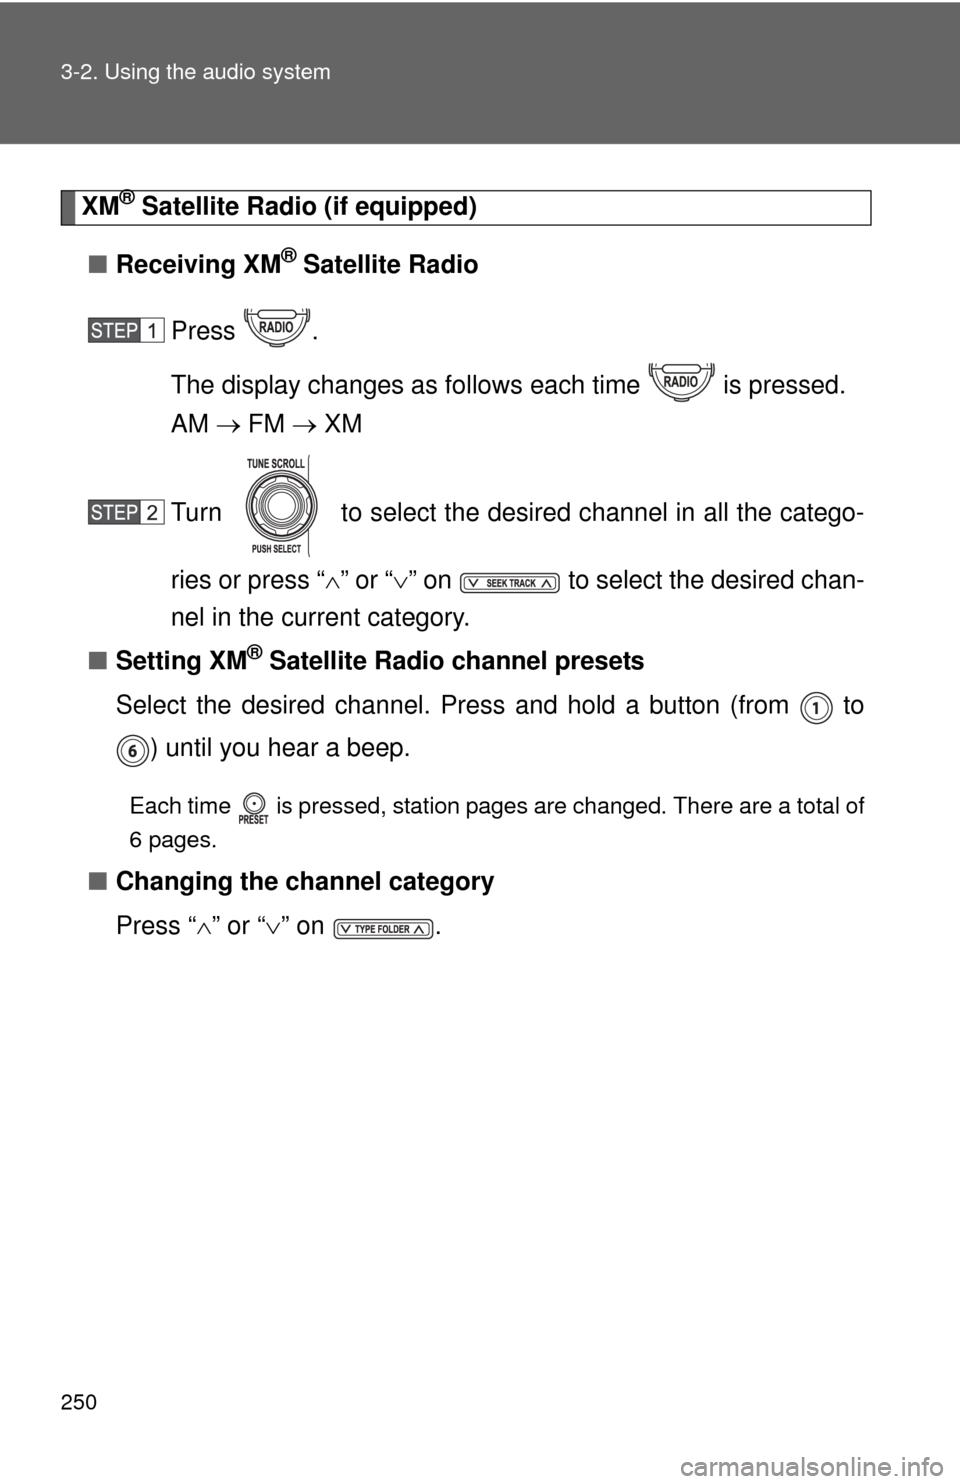
XM® Satellite Radio (if equipped)
■ Receiving XM
® Satellite Radio
Press .
The display changes as follows each time is pressed.
AM FM XM
Turn to select the desired channel in all the catego-
ries or press “ ” or “ ” on to select the desired chan-
nel in the current category.
■ Setting XM
® Satellite Radio channel presets
Select the desired channel. Press and hold a button (from to ) until you hear a beep.
Each time is pressed, station pages are changed. There are a total of
6 pages.
■ Changing the channel category
Press “ ” or “ ” on .
Page 251 of 572
251
3-2. Using the audio system
3
Interior features
■
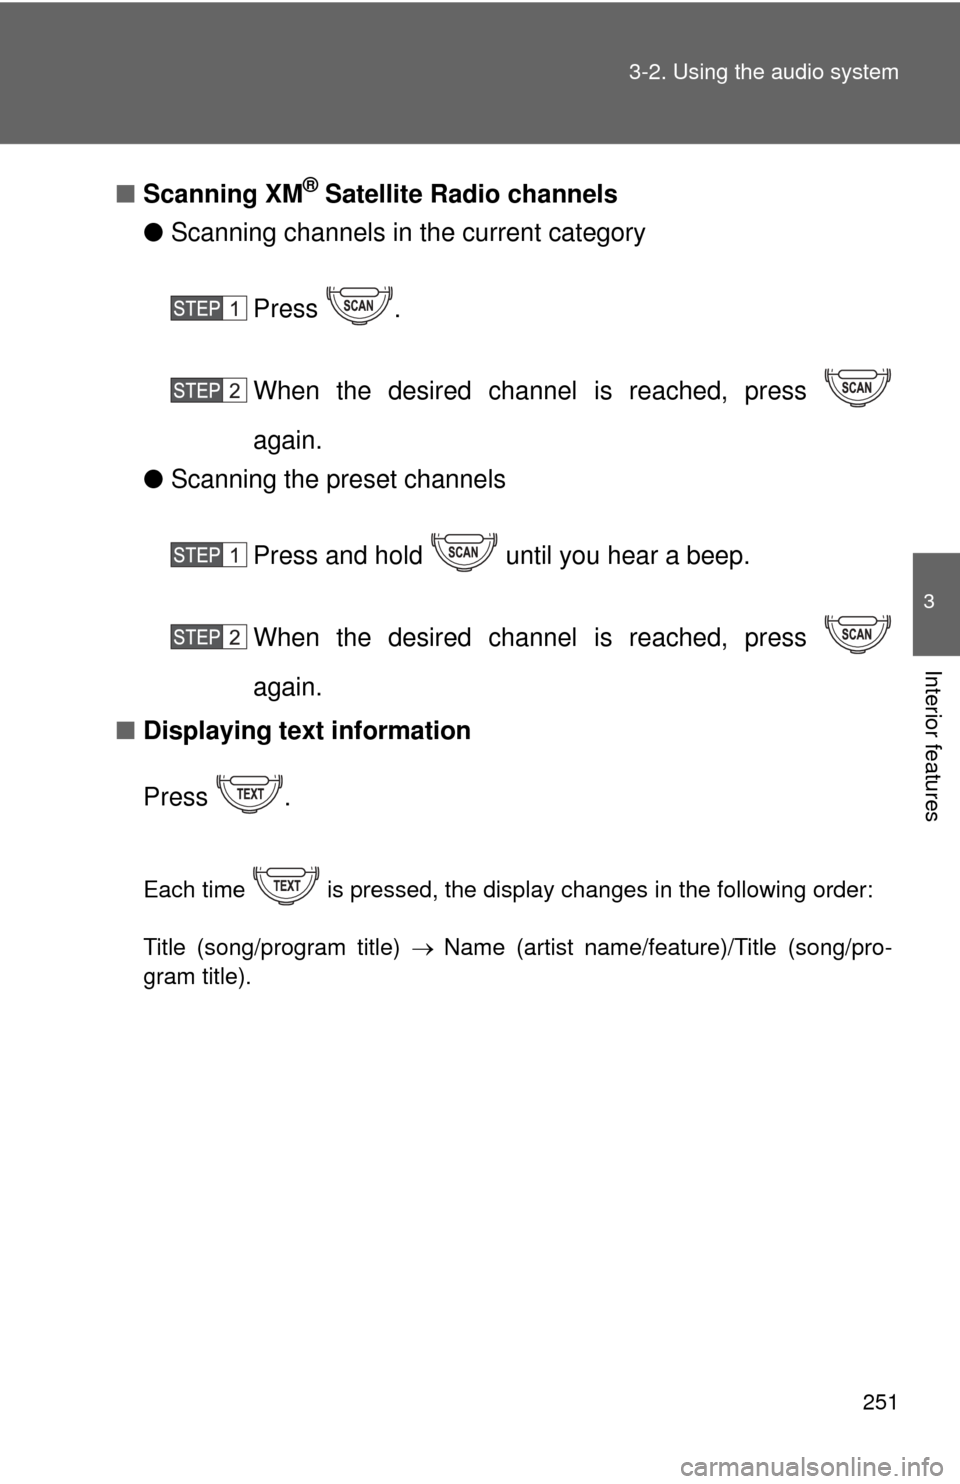
Scanning XM® Satellite Radio channels
● Scanning channels in the current category
Press .
When the desired channel is reached, press
again.
● Scanning the preset channels
Press and hold until you hear a beep.
When the desired channel is reached, press
again.
■ Displaying text information
Press .
Each time is pressed, the display changes in the following order:
Title (song/program title) Name (artist name/feature)/Title (song/pro-
gram title).
Page 255 of 572
255
3-2. Using the audio system
3
Interior features
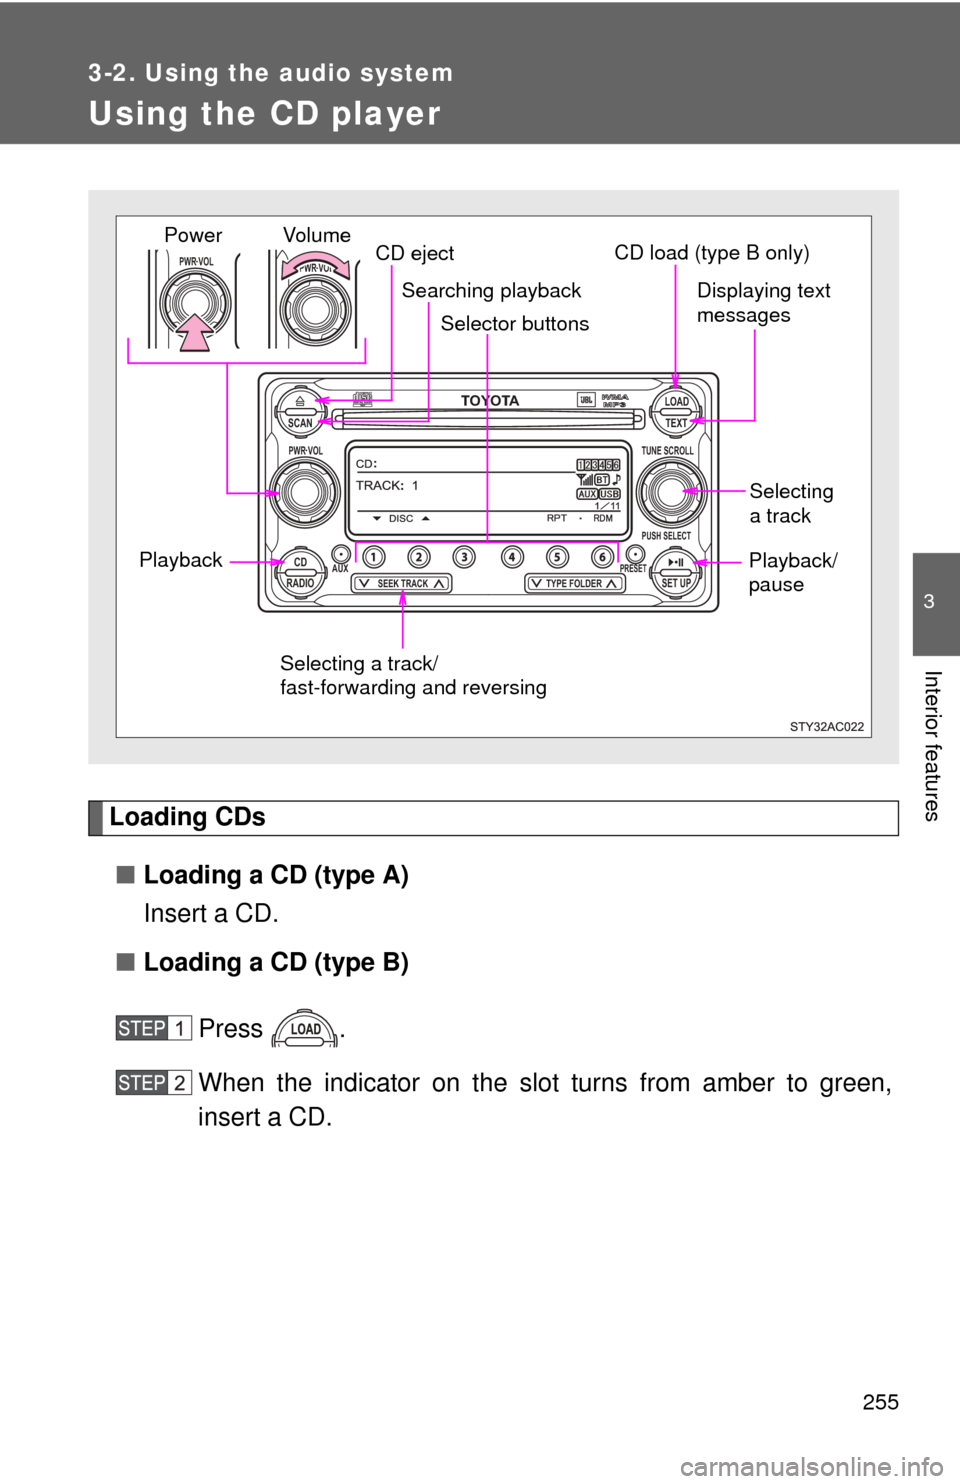
Using the CD player
Loading CDs■ Loading a CD (type A)
Insert a CD.
■ Loading a CD (type B)
Press .
When the indicator on the slot turns from amber to green,
insert a CD.
TOYOTASCAN TEXT
LOAD
CDAUXPRESET
PUSH SELECT
SEEK TRACKTYPE FOLDER RADIOSET UP
PWR VOLTUNE SCROLL
PWR VOLPWR VOL
Selector buttons
Playback CD eject
Displaying text
messages
Selecting
a track
Selecting a track/
fast-forwarding and reversing
Searching playback
Vol u m e
PowerCD load (type B only)
Playback/
pause
Page 256 of 572
256 3-2. Using the audio system
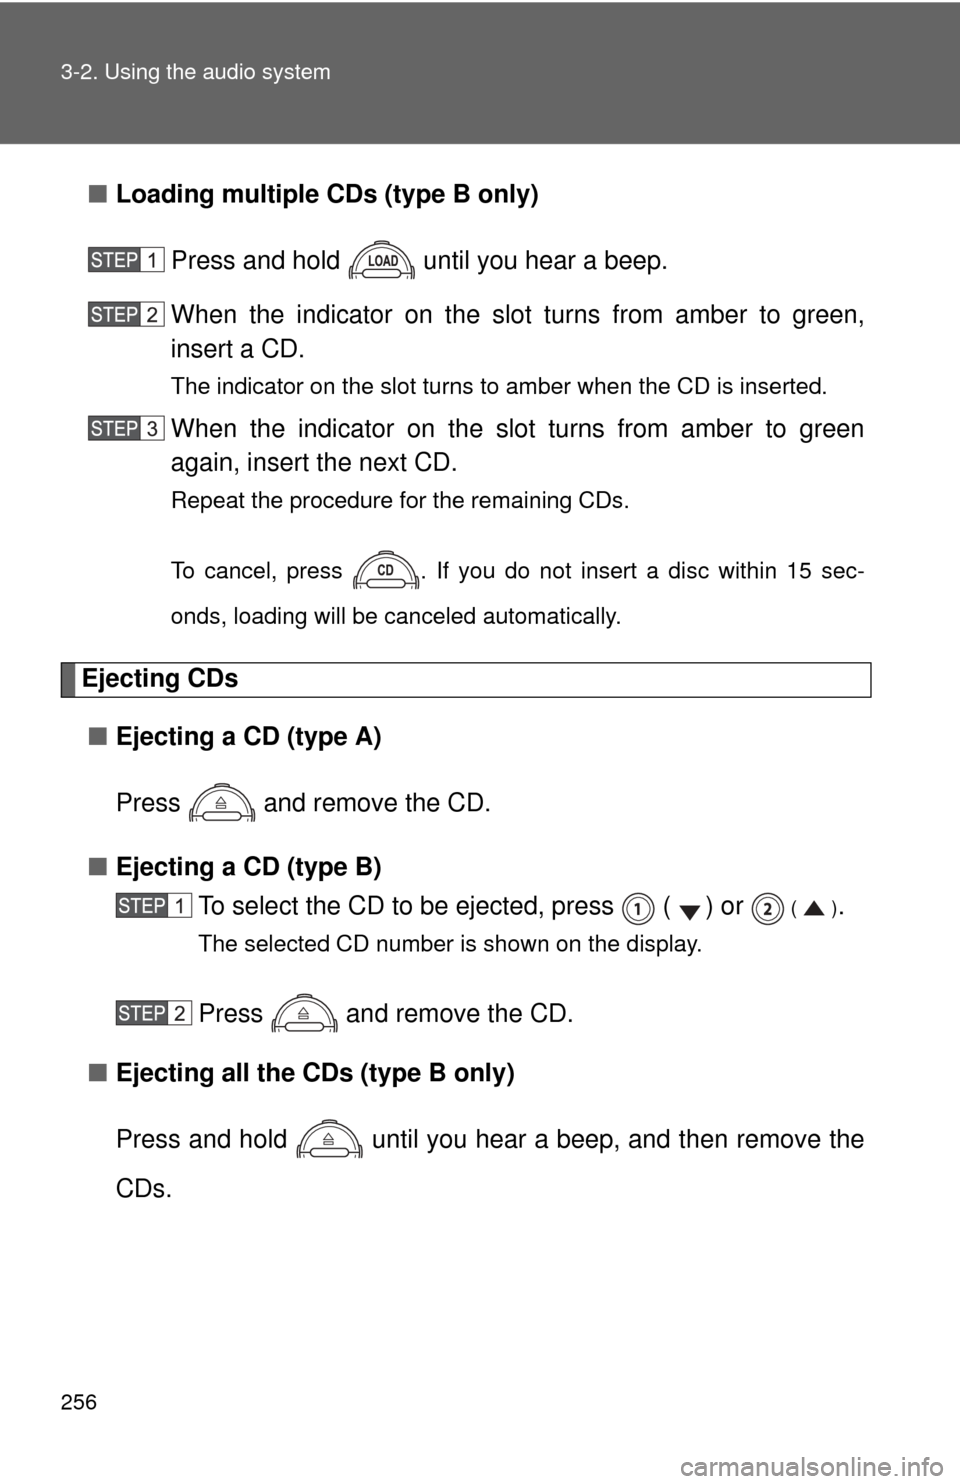
■Loading multiple CDs (type B only)
Press and hold until you hear a beep.
When the indicator on the slot turns from amber to green,
insert a CD.
The indicator on the slot turns to amber when the CD is inserted.
When the indicator on the slot turns from amber to green
again, insert the next CD.
Repeat the procedure for the remaining CDs.
To cancel, press . If you do not insert a disc within 15 sec-
onds, loading will be canceled automatically.
Ejecting CDs■ Ejecting a CD (type A)
Press and remove the CD.
■ Ejecting a CD (type B)
To select the CD to be ejected, press ( ) or
().
The selected CD number is shown on the display.
Press and remove the CD.
■ Ejecting all the CDs (type B only)
Press and hold until you hear a beep, and then remove the
CDs.
Page 259 of 572
259
3-2. Using the audio system
3
Interior features
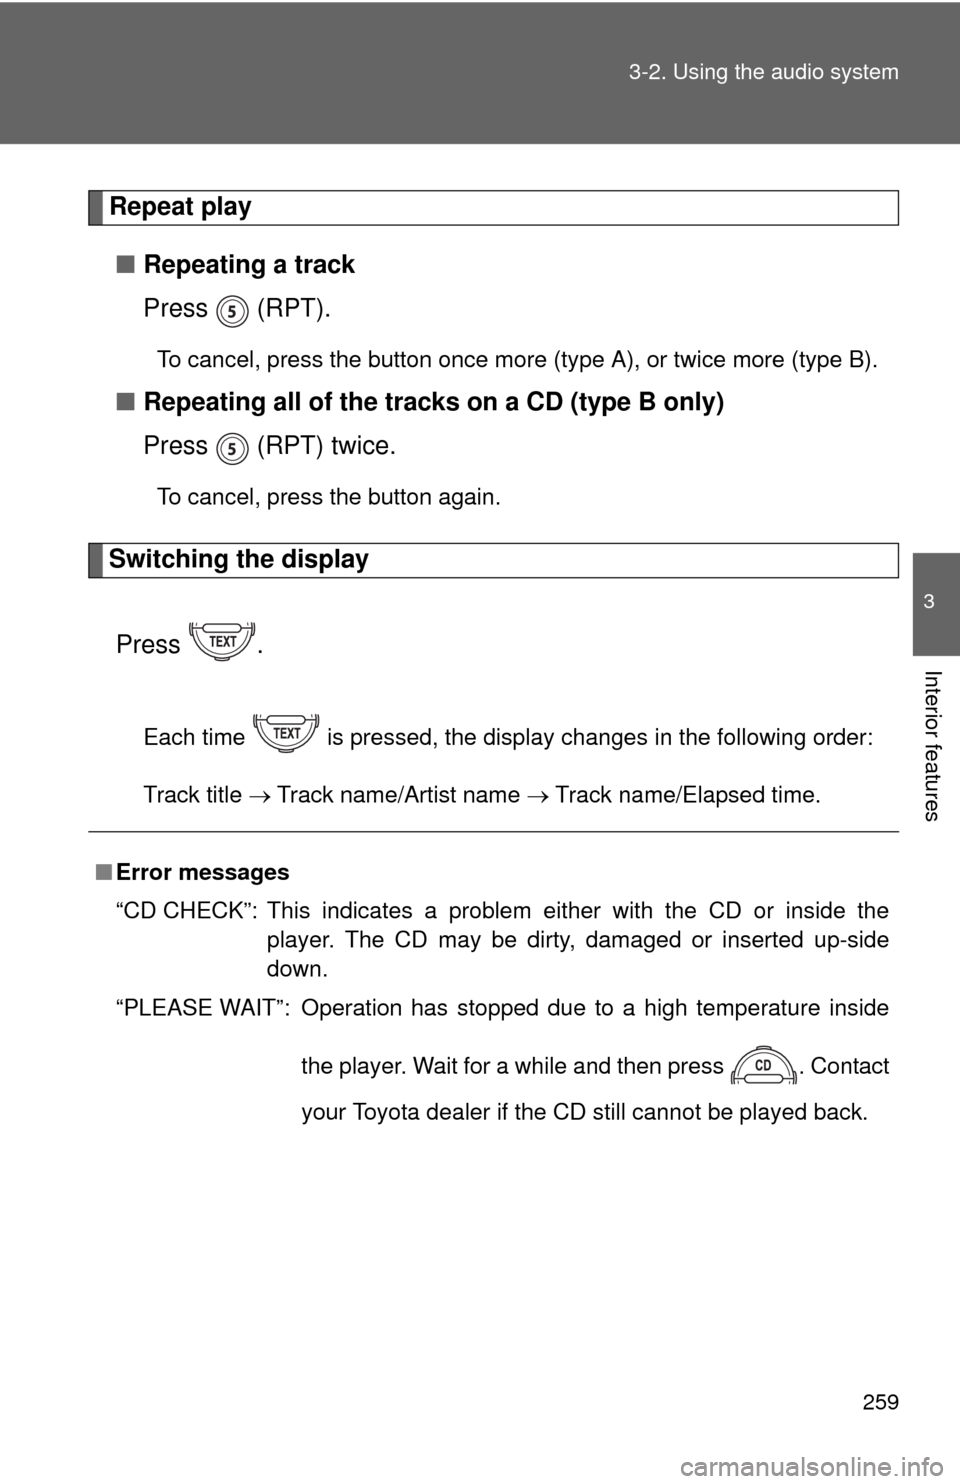
Repeat play
■ Repeating a track
Press (RPT).
To cancel, press the button once more (type A), or twice more (type B).
■Repeating all of the tracks on a CD (type B only)
Press (RPT) twice.
To cancel, press the button again.
Switching the display
Press .
Each time is pressed, the display changes in the following order:
Track title Track name/Artist name Track name/Elapsed time.
■Error messages
“CD CHECK”: This indicates a problem either with the CD or inside the
player. The CD may be dirty, damaged or inserted up-side
down.
“PLEASE WAIT”: Operation has stopped due to a high temperature inside
the player. Wait for a while and then press . Contact
your Toyota dealer if the CD still cannot be played back.