stop start TOYOTA HIGHLANDER 2022 User Guide
[x] Cancel search | Manufacturer: TOYOTA, Model Year: 2022, Model line: HIGHLANDER, Model: TOYOTA HIGHLANDER 2022Pages: 568, PDF Size: 13.73 MB
Page 86 of 568
862-1. Instrument cluster
As a result, the actual distance that
can be driven may differ from that
displayed.
When only a small amount of fuel is
added to the tank, the display may
not be updated.
When refueling, turn the engine
switch off. If the vehicle is refueled
without turning the engine switch
off, the display may not be updated.
When “Refuel” is displayed, the
remaining fuel amount is low and
the distance that can be driven with
the remaining fuel cannot be calcu-
lated.
Refuel immediately.
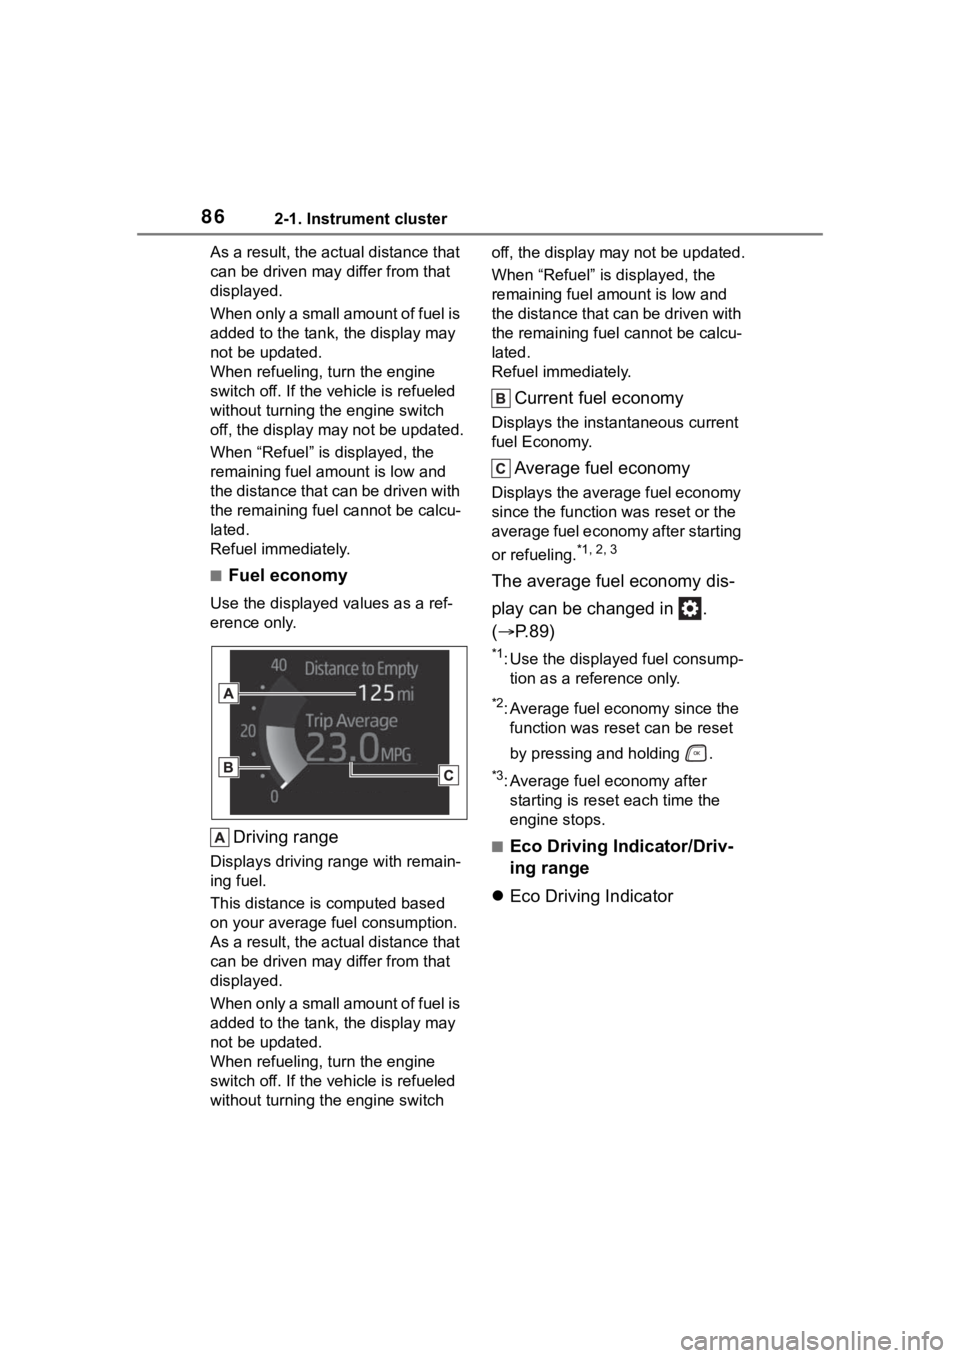
■Fuel economy
Use the displayed values as a ref-
erence only.
Driving range
Displays driving range with remain-
ing fuel.
This distance is computed based
on your average fuel consumption.
As a result, the actual distance that
can be driven may differ from that
displayed.
When only a small amount of fuel is
added to the tank, the display may
not be updated.
When refueling, turn the engine
switch off. If the vehicle is refueled
without turning the engine switch off, the display may not be updated.
When “Refuel” is displayed, the
remaining fuel amount is low and
the distance that can be driven with
the remaining fuel cannot be calcu-
lated.
Refuel immediately.
Current fuel economy
Displays the instantaneous current
fuel Economy.
Average fuel economy
Displays the average fuel economy
since the function
was reset or the
average fuel economy after starting
or refueling.
*1, 2, 3
The average fuel economy dis-
play can be changed in .
( P.89)
*1: Use the displayed fuel consump-
tion as a reference only.
*2: Average fuel economy since the function was res et can be reset
by pressing and holding .
*3: Average fuel economy after starting is reset each time the
engine stops.
■Eco Driving Indicator/Driv-
ing range
Eco Driving Indicator
Page 88 of 568
882-1. Instrument cluster
Dynamic radar cruise control
with full-speed range
( P.257)
Select to enable selection of an
audio source or track on the
meter using the meter control
switches.
This menu icon can be set to be
displayed/not displayed in .
■Drive information
2 items that are selected using
the “Drive Info Items” setting
(average speed, distance and
total time) can be displayed ver-
tically.
The displayed information
changes according to the “Drive
Info Type” setting (since the sys-
tem was started or between
resets). ( P.89)
Use the displayed information
as a reference only.
Following items will be dis-
played.
“Trip”
• “Average Speed”: Displays the
average vehicl e speed since
engine start
*
• “Distance”: Displ ays the distance driven since engine start
*
• “Total Time”: Displays the elapsed
time since engine start
*
*
: These items are r eset each time
the engine stops.
“Total”
• “Average Speed”: Displays the
average vehicle speed since the
display was reset
*
• “Distance”: Displ ays the distance
driven since the display was
reset
*
• “Total Time”: Displays the elapsed
time since the display was reset
*
*
: To reset, display the desired item and press and hold .
■Tire pressure
P.420
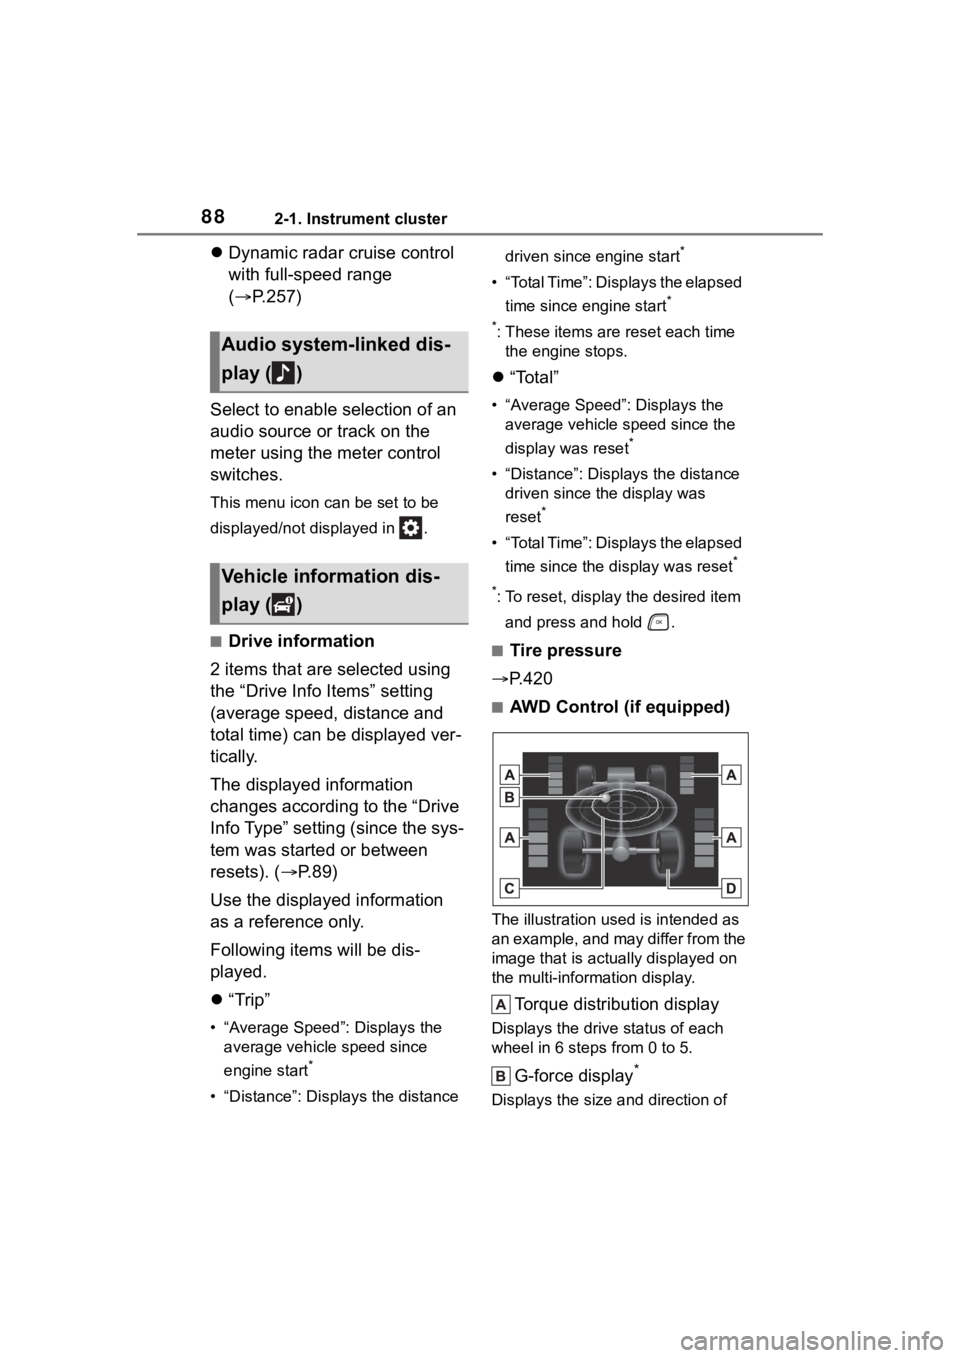
■AWD Control (if equipped)
The illustration used is intended as
an example, and may differ from the
image that is actually displayed on
the multi-information display.
Torque distribution display
Displays the drive status of each
wheel in 6 steps from 0 to 5.
G-force display*
Displays the size a nd direction of
Audio system-linked dis-
play ( )
Vehicle information dis-
play ( )
Page 91 of 568
912-1. Instrument cluster
2
Vehicle status information and indicators
Select the open position when
power back door is fully open.
•“Volume”
Select to set the volume of the
buzzer which sounds when the
power back door system operates.
(Stop & Start) (if
equipped) ( P.272)
Select to set the length of time the
Stop & Start system will operate
when the “A/C” switch of the air
conditioning system is on.
“TPWS” (Tire Pressure Warn-
ing System) ( P.420)
• “Set Pressure” (tire pressure
warning system initialization)
Select to initialize the tire pressure
warning system.
• “Change Wheel” (register tire pressure warning system sensor
ID codes)
Select to register the ID codes of
the tire pressure s ensors to the tire
pressure warning system.
“Rear Seat Reminder”
( P. 1 1 9 )
Select to enable/disable the rear
seat reminder.
“Scheduled Maintenance”
( P.401)
Select to reset the scheduled main-
tenance information (maintenance
required message and distance
until maintenance necessary) after
all maintenance is performed.
“Oil Maintenance” ( P.410)
Select to reset the oil maintenance
information (maintenance required
message and distance until mainte- nance necessary) after an oil
change is performed.
■ Meter settings
Press and hold to change
the settings of the following
items:
Language
Select to change the language dis-
played.
Units
Select to change the units of mea-
sure displayed.
Eco Driving Indicator Light
( P.86)
Select to enable/disable the Eco
Driving Indi cator Light.
Fuel economy display
Select to change the average fuel
consumption display between after
start/after reset. ( P. 8 6 )
Select to displa y/not display the
audio system linked display.
Select to change the displayed con-
tent of the following:
• Display contents
Select to displa y/not display the
AWD control (if equipped). ( P.88)
• Drive information type
Select to change the drive informa-
tion type display between after
start/after reset.
• Drive information items
Page 100 of 568
1002-1. Instrument cluster
Parking Support Brake function.
HUD (Head-up display) (if
equipped) ( P.103)
Press to enable/disable the
head-up display.
• HUD (Head-up display) on/off
Select to enable/disable the
head-up display.
Press and hold to change the
settings of the following items:
• “HUD Brightness/Position”
Select to adjust the brightness/posi-
tion of the head-up display.
• “HUD Driving Support”
Select to change the displayed
head-up display driving support
item.
• “HUD Rotation”
Select to adjust the angle of the
head-up display.
RSA (Road Sign Assist) (if
equipped) ( P.269)
Press to enable/disable the
Road Sign Assist.
• RSA (Road Sign Assist) on/off
Select to enable/disable the Road
Sign Assist.
Press and hold to change the
settings of the following items:
• “Notification Method”
Select to change e ach notification
method used to notify the driver
when the system recognizes
excess speed and no-entry sign.
• “Notification Level”
Select to change e ach notification level used to notify the driver when
the system recognizes a speed limit
sign.
■ Vehicle settings
Press and hold to change
the settings of the following
items:
PBD (Power Back Door)
( P.121)
• “System Settings”
Select to enable/disable the power
back door system.
• “Kick Sensor”
*
Select to enable/disable the kick
sensor.
• “Opening Adjustment”
Select the open position when
power back door is fully open.
•“Volume”
Select to set the volume of the
buzzer which sounds when the
power back door system operates.
*: Vehicles with a hands free power
back door
(Stop & Start) (if
equipped) ( P.272)
Select to set the length of time the
Stop & Start system will operate
when the “A/C” switch of the air
conditioning system is on.
“TPWS” (Tire Pressure Warn-
ing System) ( P.420)
• “Set Pressure” (tire pressure
warning system initialization)
Select to initialize the tire pressure
warning system.
Page 130 of 568
1303-2. Opening, closing and locking the doors
WARNING
●If the power back door system is
disabled while the power back
door is operating, the back door
will stop operating. The back
door must then be operated
manually. Take extra care in this
situation, as the back door may
open or close suddenly.
●If the operating conditions of the
power back door (
P.127) are
no longer met, a buzzer may
sound and the back door may
stop opening or closing. The
back door must then be oper-
ated manually. Take extra care
on an incline in this situation, as
the back door may move sud-
denly.
●On an incline, t he back door
may suddenly shut after it
opens. Make sure the back door
is fully open and secure.
●In the following situations, the
power back door may detect an
abnormality and automatic
operation may be stopped. In
this case, the back door must
then be operated manually.
Take extra care in this situation,
as the stopped back door may
suddenly open or close, causing
an accident.
• When the back door contacts an obstacle
• When the battery voltage sud- denly drops, such as when the
engine switch is turned to ON or
the engine is started during
automatic operation
●If a heavy objec t is attached to
the back door, the back door
may not operate, causing a mal-
function, or the back door may
suddenly shut again after being
opened, causing someone’s
hands, arms, head or neck to be
caught and injured. Do not
attach any acce ssories other
than genuine Toyota parts to the
back door.
■Jam protection function
Observe the following precau-
tions. Failure to do so may cause
death or serious injury.
●Never use any part of your body
to intentionally activate the jam
protection function.
●The jam protection function may
not work if something gets
caught just before the back door
fully closes. Be careful not to
get fingers caught or anything
else.
●The jam protection function may
not work depending on the
shape of the object that is
caught. Be careful not to catch
fingers or anything else.
■Hands Free Power Back Door
(if equipped)
Observe the following precautions
when operating the Hands Free
Power Back Door. Failure to do so
may cause death or serious injury.
●Check the safety of the sur-
rounding area to make sure
there are no obs tacles or any-
thing that could cause any of
your belongings to get caught.
●Exhaust gasses cause the
exhaust pipes to become quite
hot. When operating the Hands
Free Power Back Door, be care-
ful not to touch the exhaust
pipe.
Page 133 of 568
1333-2. Opening, closing and locking the doors
3
Before driving
■When setting the open position
of the back door by the
multi-information display
The open position of the power back
door can be adjusted using the
multi-information display. ( P.521)
When opened, the power back door
will open to the last position set
using the power back door switch on
the back door or on the multi-infor-
mation display.
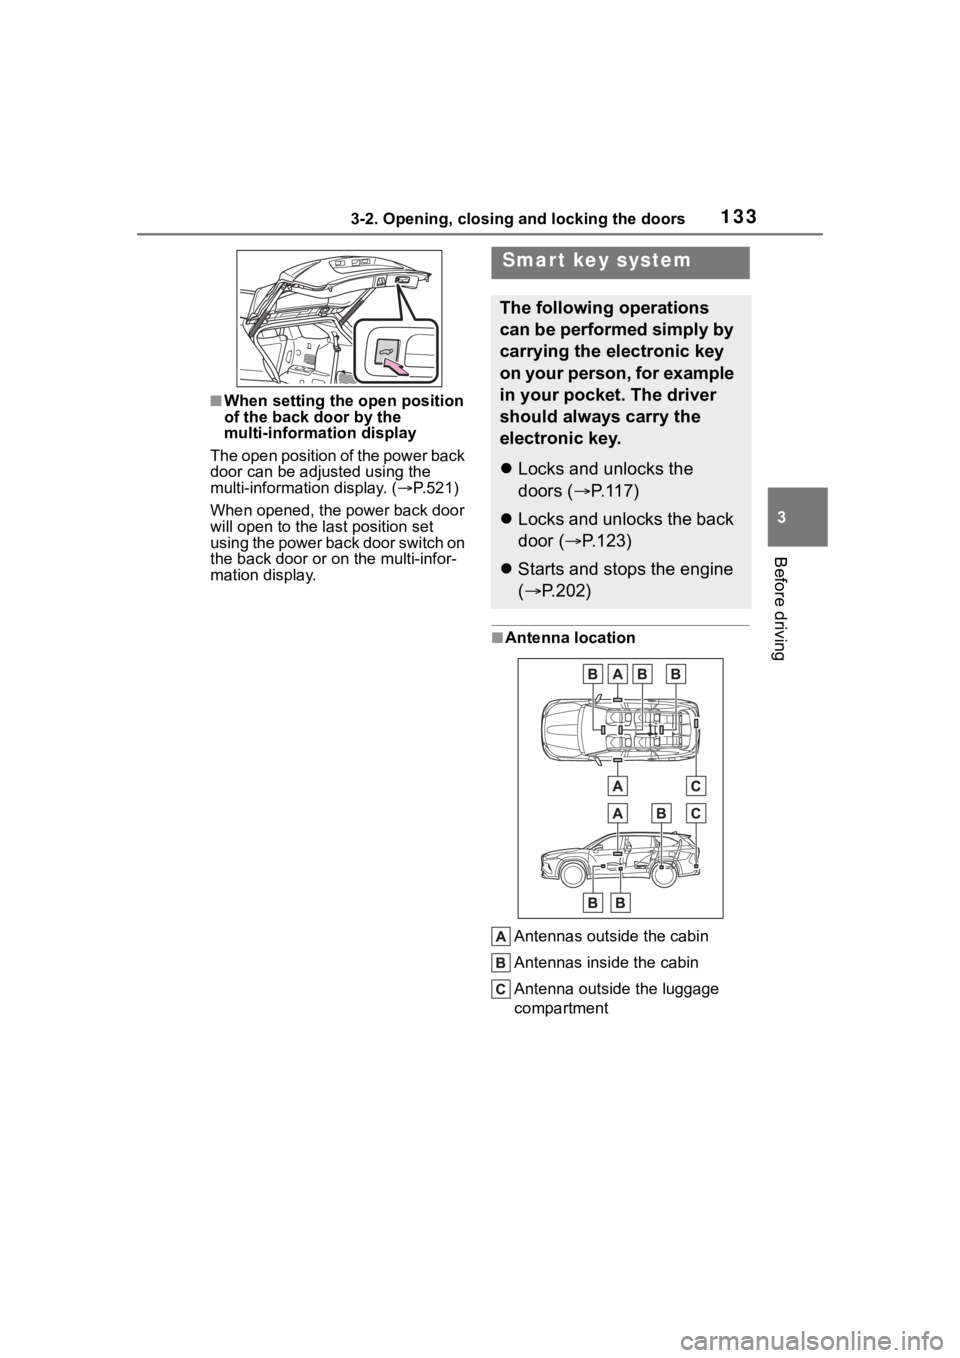
■Antenna location
Antennas outside the cabin
Antennas inside the cabin
Antenna outside the luggage
compartment
Smart key system
The following operations
can be performed simply by
carrying the electronic key
on your person, for example
in your pocket. The driver
should always carry the
electronic key.
Locks and unlocks the
doors ( P.117)
Locks and unlocks the back
door ( P.123)
Starts and stops the engine
( P.202)
Page 135 of 568
1353-2. Opening, closing and locking the doors
3
Before driving
wireless remote control or the
mechanical key, to unlock the
doors.
■Turning an electronic key to
battery-saving mode
When battery-savi ng mode is set,
battery depletion is minimized by
stopping the electronic key from
receiving radio waves.
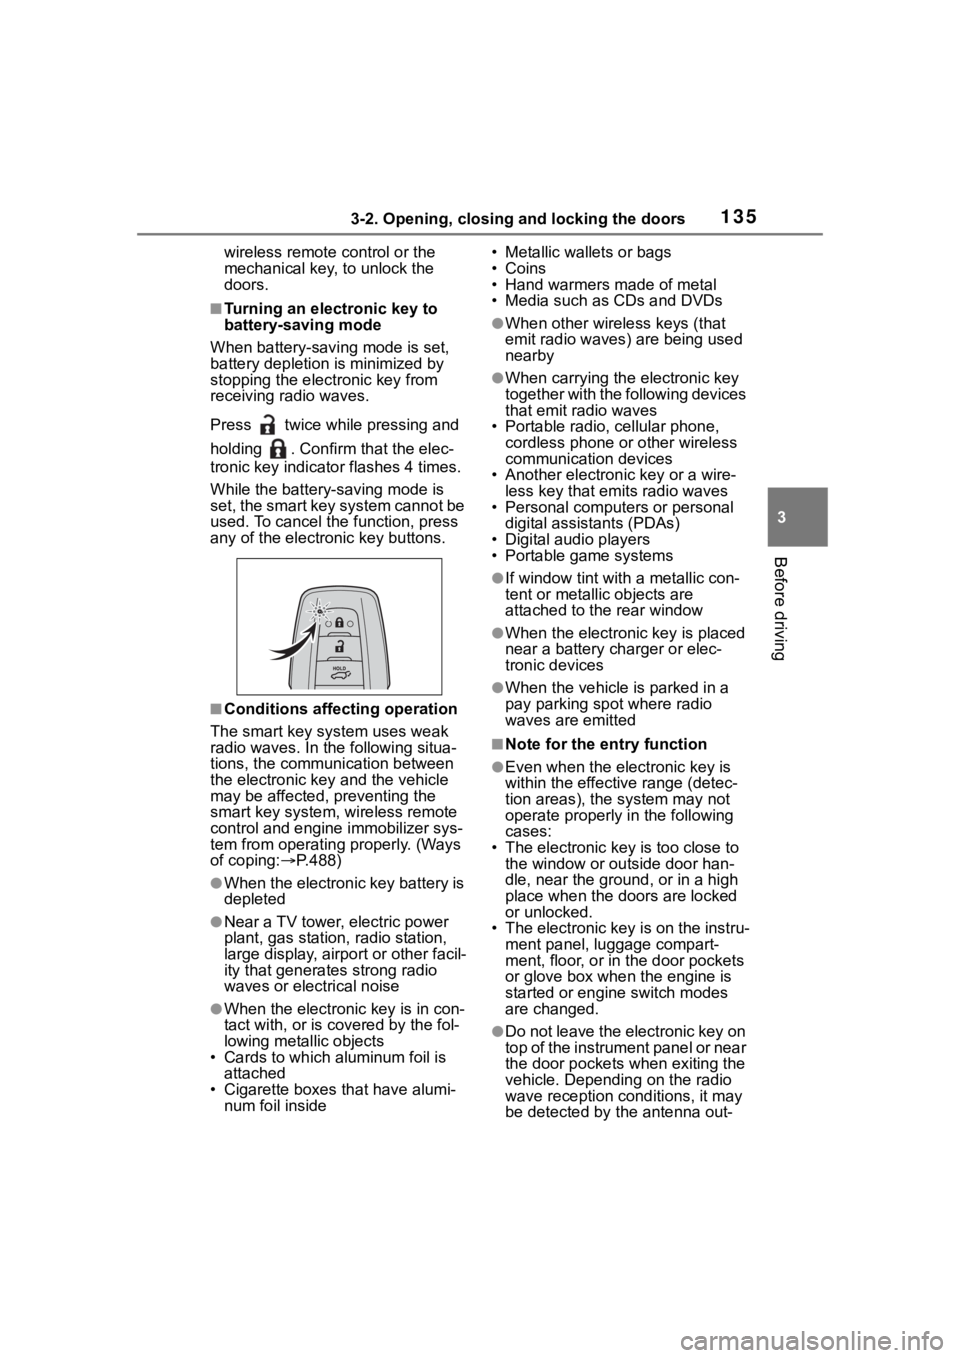
Press twice while pressing and
holding . Confirm that the elec-
tronic key indicator flashes 4 times.
While the battery-saving mode is
set, the smart key system cannot be
used. To cancel the function, press
any of the electronic key buttons.
■Conditions affecting operation
The smart key system uses weak
radio waves. In the following situa-
tions, the communication between
the electronic key and the vehicle
may be affected, preventing the
smart key system, wireless remote
control and engine immobilizer sys-
tem from operating properly. (Ways
of coping: P.488)
●When the electronic key battery is
depleted
●Near a TV tower, electric power
plant, gas station , radio station,
large display, airpo rt or other facil-
ity that generates strong radio
waves or electrical noise
●When the electronic key is in con-
tact with, or is covered by the fol-
lowing metallic objects
• Cards to which al uminum foil is
attached
• Cigarette boxes that have alumi- num foil inside • Metallic wallets or bags
•Coins
• Hand warmers made of metal
• Media such as CDs and DVDs
●When other wirel
ess keys (that
emit radio waves) are being used
nearby
●When carrying the electronic key
together with the following devices
that emit radio waves
• Portable radio, cellular phone, cordless phone or other wireless
communication devices
• Another electronic key or a wire- less key that emits radio waves
• Personal computers or personal
digital assistants (PDAs)
• Digital audio players
• Portable game systems
●If window tint wit h a metallic con-
tent or metallic objects are
attached to the rear window
●When the electronic key is placed
near a battery charger or elec-
tronic devices
●When the vehicle is parked in a
pay parking spot where radio
waves are emitted
■Note for the entry function
●Even when the electronic key is
within the effective range (detec-
tion areas), the system may not
operate properly in the following
cases:
• The electronic key is too close to the window or outside door han-
dle, near the ground, or in a high
place when the doors are locked
or unlocked.
• The electronic key is on the instru-
ment panel, luggage compart-
ment, floor, or in the door pockets
or glove box when the engine is
started or engine switch modes
are changed.
●Do not leave the electronic key on
top of the instrument panel or near
the door pockets when exiting the
vehicle. Depending on the radio
wave reception conditions, it may
be detected by the antenna out-
Page 137 of 568
1373-2. Opening, closing and locking the doors
3
Before driving
rectly and the system may not oper-
ate properly. (The alarm may go off
accidentally, or the door lock pre-
vention may not operate.)
■If the smart key system does
not operate properly
If the doors cannot be
locked/unlocked using the smart key
system, lock/unlock the doors by
performing any of the following:
●Bring the electronic key close to
either front door handle and oper-
ate the entry function.
●Operate the wireless remote con-
trol.
If the doors cannot be
locked/unlocked using the above
methods, use the mechanical key. (
P.488)
If the engine cannot be started using
the smart key system, refer to
P.489.
■Customization
Some functions can be customized.
( P.521)
■If the smart key system has
been deactivated in a custom-
ized setting
●Locking and unlocking the doors:
Use the wireless remote control or
mechanical key. ( P.117, 488)
●Starting the engi ne and changing
engine switch modes: P. 4 8 9
●Stopping the engine: P. 2 0 3
■Certification for the smart key system
For vehicles sold in the U.S.A.
Page 177 of 568
177
4
4
Driving
Driving
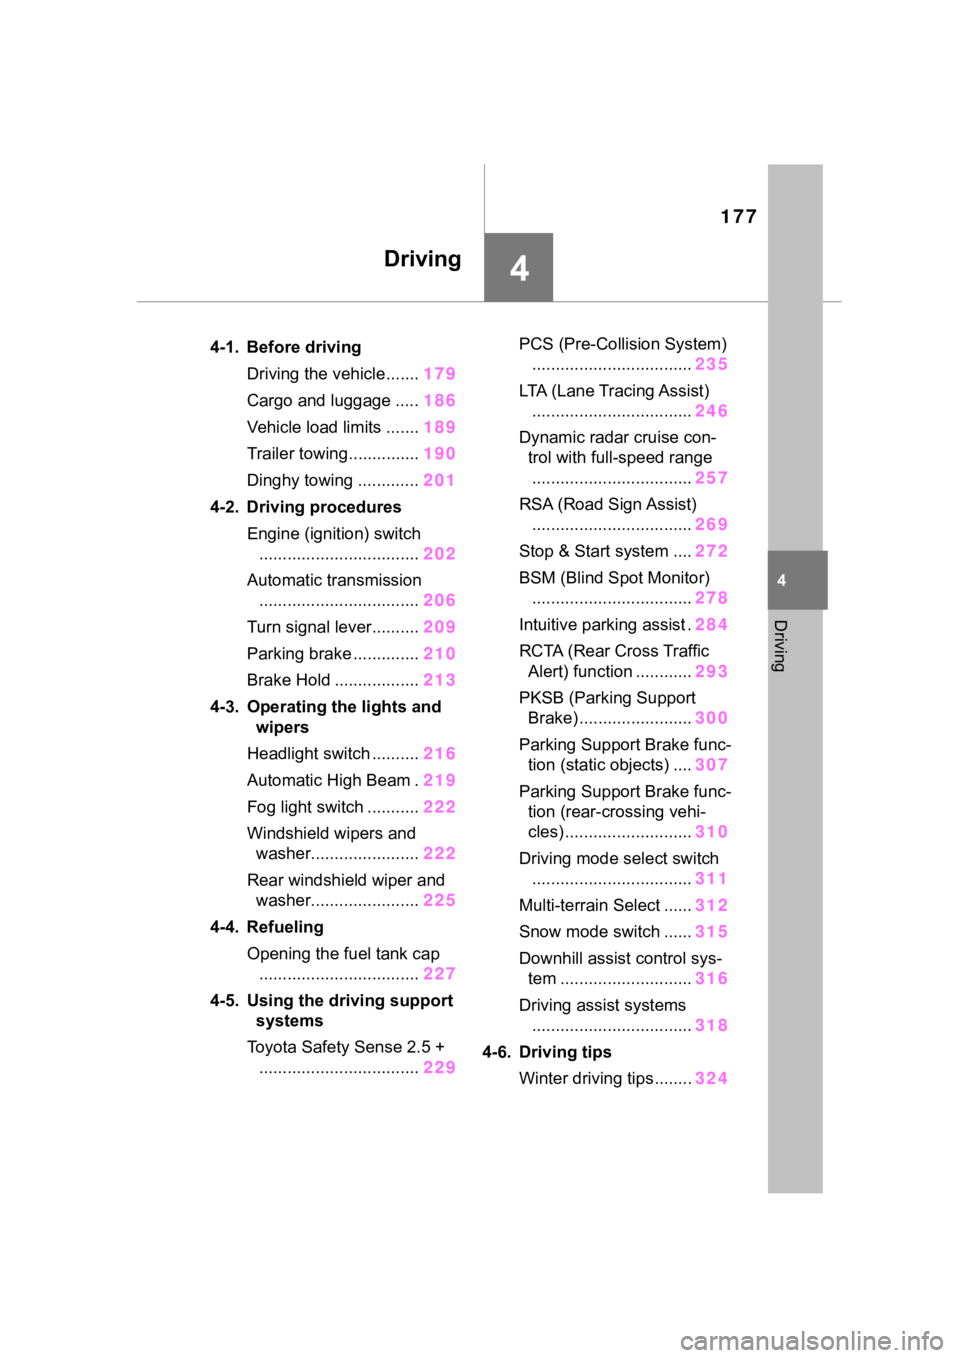
.4-1. Before drivingDriving the vehicle....... 179
Cargo and luggage ..... 186
Vehicle load limits ....... 189
Trailer towing............... 190
Dinghy towing ............. 201
4-2. Driving procedures Engine (ignition) switch.................................. 202
Automatic transmission .................................. 206
Turn signal lever.......... 209
Parking brake .............. 210
Brake Hold .................. 213
4-3. Operating the lights and wipers
Headlight switch .......... 216
Automatic High Beam . 219
Fog light switch ........... 222
Windshield wipers and washer....................... 222
Rear windshield wiper and washer....................... 225
4-4. Refueling Opening the fuel tank cap.................................. 227
4-5. Using the driving support
systems
Toyota Safety Sense 2.5 + .................................. 229PCS (Pre-Collision System)
.................................. 235
LTA (Lane Tracing Assist) .................................. 246
Dynamic radar cruise con- trol with full-speed range
.................................. 257
RSA (Road Sign Assist) .................................. 269
Stop & Start system .... 272
BSM (Blind Spot Monitor) .................................. 278
Intuitive parking assist . 284
RCTA (Rear Cross Traffic Alert) function ............ 293
PKSB (Parking Support Brake) ........................ 300
Parking Support Brake func- tion (static objects) .... 307
Parking Support Brake func- tion (rear-crossing vehi-
cles) ........................... 310
Driving mode select switch .................................. 311
Multi-terrain Select ...... 312
Snow mode switch ...... 315
Downhill assist control sys- tem ............................ 316
Driving assist systems .................................. 318
4-6. Driving tips Winter driving tips........ 324
Page 179 of 568
1794-1. Before driving
4
Driving
4-1.Before driving
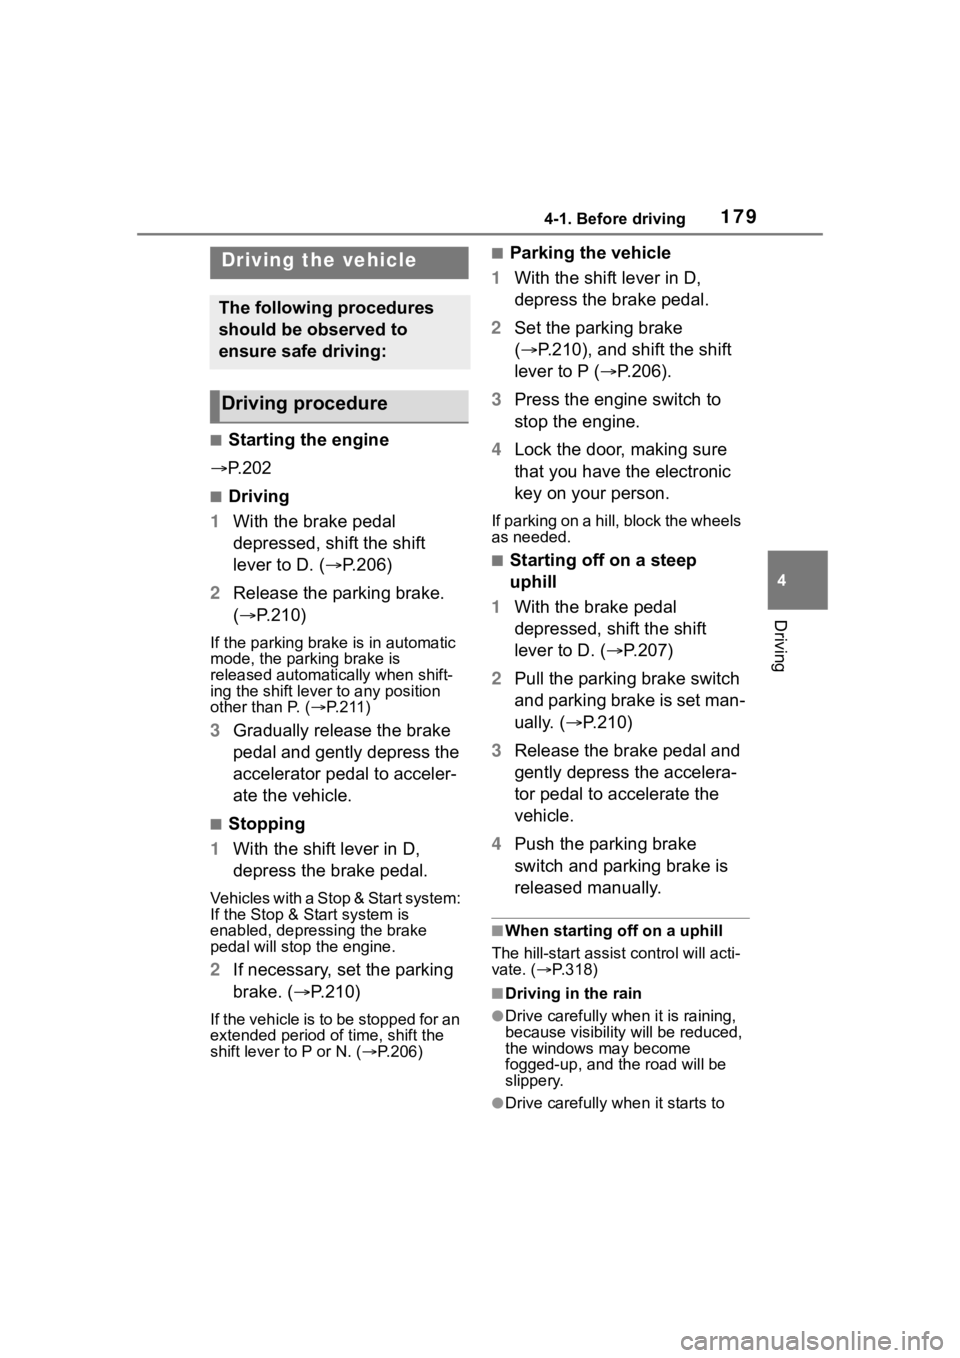
■Starting the engine
P. 2 0 2
■Driving
1 With the brake pedal
depressed, shift the shift
lever to D. ( P.206)
2 Release the parking brake.
( P.210)
If the parking brake is in automatic
mode, the parking brake is
released automatically when shift-
ing the shift lever to any position
other than P. ( P.211)
3 Gradually release the brake
pedal and gently depress the
accelerator pedal to acceler-
ate the vehicle.
■Stopping
1 With the shift lever in D,
depress the brake pedal.
Vehicles with a Stop & Start system:
If the Stop & Start system is
enabled, depressing the brake
pedal will stop the engine.
2If necessary, set the parking
brake. ( P.210)
If the vehicle is to be stopped for an
extended period of time, shift the
shift lever to P or N. ( P.206)
■Parking the vehicle
1 With the shift lever in D,
depress the brake pedal.
2 Set the parking brake
( P.210), and shift the shift
lever to P ( P.206).
3 Press the engine switch to
stop the engine.
4 Lock the door, making sure
that you have the electronic
key on your person.
If parking on a hill, block the wheels
as needed.
■Starting off on a steep
uphill
1 With the brake pedal
depressed, shift the shift
lever to D. ( P.207)
2 Pull the parking brake switch
and parking brake is set man-
ually. ( P.210)
3 Release the brake pedal and
gently depress the accelera-
tor pedal to accelerate the
vehicle.
4 Push the parking brake
switch and parking brake is
released manually.
■When starting off on a uphill
The hill-start assist control will acti-
vate. ( P.318)
■Driving in the rain
●Drive carefully whe n it is raining,
because visibility will be reduced,
the windows may become
fogged-up, and the road will be
slippery.
●Drive carefully whe n it starts to
Driving the vehicle
The following procedures
should be observed to
ensure safe driving:
Driving procedure