maintenance TOYOTA HIGHLANDER 2023 Owners Manual
[x] Cancel search | Manufacturer: TOYOTA, Model Year: 2023, Model line: HIGHLANDER, Model: TOYOTA HIGHLANDER 2023Pages: 552, PDF Size: 13.36 MB
Page 1 of 552
1
2
3
4
5
6
7
8
9
9
HIGHLANDER_U
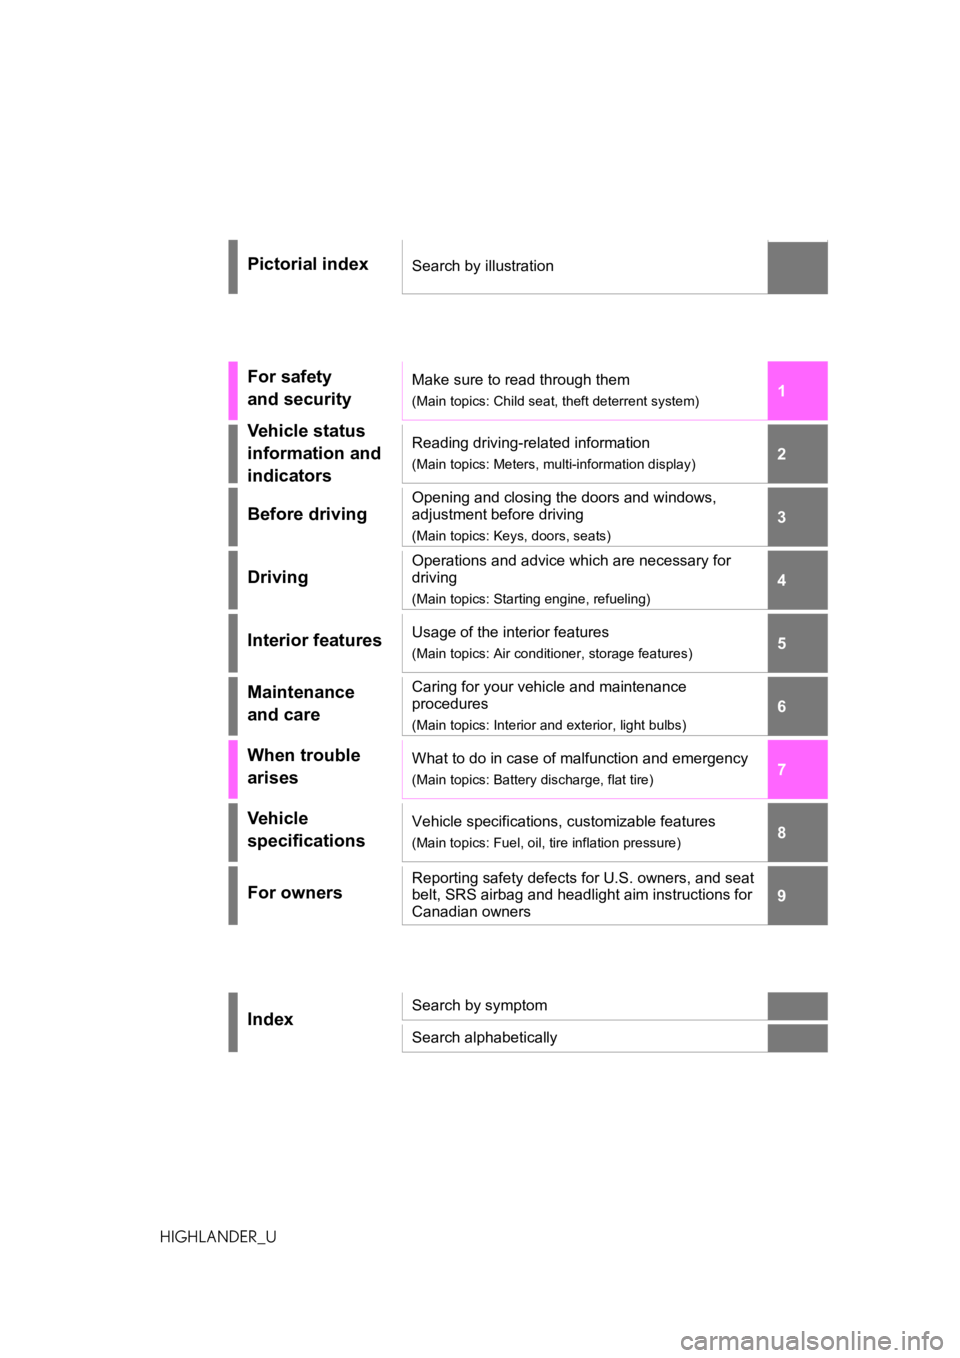
Pictorial indexSearch by illustration
For safety
and securityMake sure to read through them
(Main topics: Child seat, theft deterrent system)
Vehicle status
information and
indicatorsReading driving-related information
(Main topics: Meters, multi-information display)
Before driving
Opening and closing the doors and windows,
adjustment before driving
(Main topics: Keys, doors, seats)
Driving
Operations and advice which are necessary for
driving
(Main topics: Starting engine, refueling)
Interior featuresUsage of the interior features
(Main topics: Air conditioner, storage features)
Maintenance
and careCaring for your vehicle and maintenance
procedures
(Main topics: Interior and exterior, light bulbs)
When trouble
arisesWhat to do in case of malfunction and emergency
(Main topics: Battery discharge, flat tire)
Vehicle
specificationsVehicle specifications, customizable features
(Main topics: Fuel, oil, tire inflation pressure)
For ownersReporting safety defects for U.S. owners, and seat
belt, SRS airbag and headlight aim instructions for
Canadian owners
IndexSearch by symptom
Search alphabetically
Page 3 of 552
3TABLE OF CONTENTS
1
2
3
4
5
6
7
8
9
10
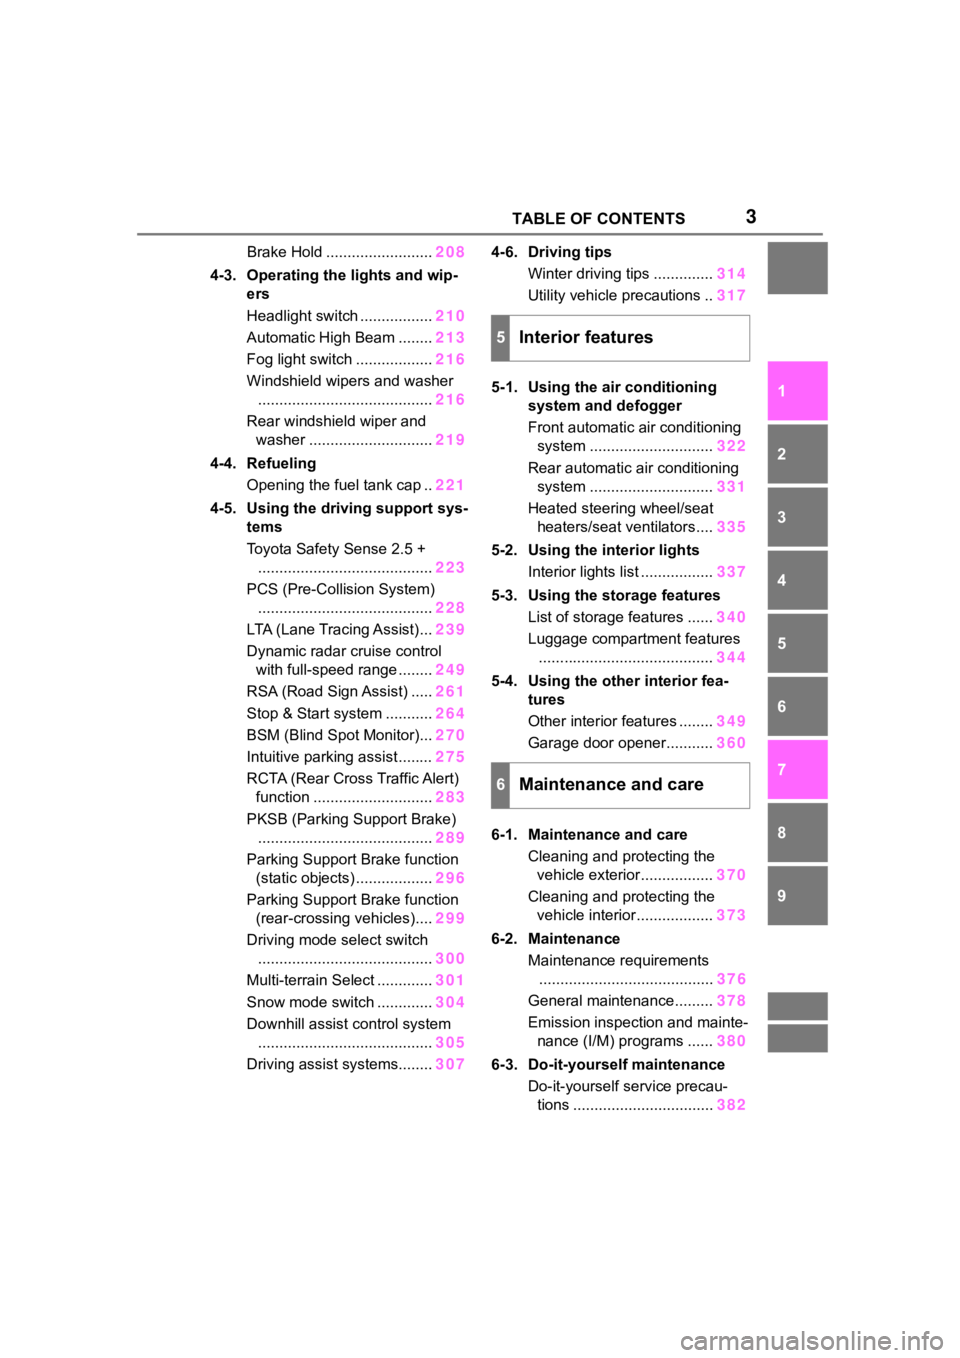
Brake Hold .........................208
4-3. Operating the lights and wip- ers
Headlight switch ................. 210
Automatic High Beam ........ 213
Fog light switch .................. 216
Windshield wipers and washer ......................................... 216
Rear windshield wiper and washer ............................. 219
4-4. Refueling Opening the fuel tank cap .. 221
4-5. Using the driving support sys- tems
Toyota Safety Sense 2.5 +......................................... 223
PCS (Pre-Collision System) ......................................... 228
LTA (Lane Tracing Assist)... 239
Dynamic radar cruise control with full-speed range ........ 249
RSA (Road Sign Assist) ..... 261
Stop & Start system ........... 264
BSM (Blind Spot Monitor)... 270
Intuitive parking assist ........ 275
RCTA (Rear Cross Traffic Alert) function ............................ 283
PKSB (Parking Support Brake) ......................................... 289
Parking Support Brake function (static objects) .................. 296
Parking Support Brake function (rear-crossing vehicles).... 299
Driving mode select switch ......................................... 300
Multi-terrain Select ............. 301
Snow mode switch ............. 304
Downhill assist control system ......................................... 305
Driving assist systems........ 3074-6. Driving tips
Winter driving tips .............. 314
Utility vehicle precautions .. 317
5-1. Using the air conditioning system and defogger
Front automatic air conditioning
system ............................. 322
Rear automatic air conditioning system ............................. 331
Heated steering wheel/seat heaters/seat ventilators.... 335
5-2. Using the interior lights Interior lights list ................. 337
5-3. Using the storage features List of storage features ...... 340
Luggage compartment features ......................................... 344
5-4. Using the other interior fea- tures
Other interior features ........ 349
Garage door opener........... 360
6-1. Maintenance and care Cleaning and protecting the vehicle exterior................. 370
Cleaning and protecting the vehicle interior.................. 373
6-2. Maintenance
Maintenance requirements ........ ................................. 37
6
General maintenance......... 378
Emission inspection and mainte- nance (I/M) programs ...... 380
6-3. Do-it-yourself maintenance Do-it-yourself service precau-tions ................................. 382
5Interior features
6Maintenance and care
Page 4 of 552
4TABLE OF CONTENTS
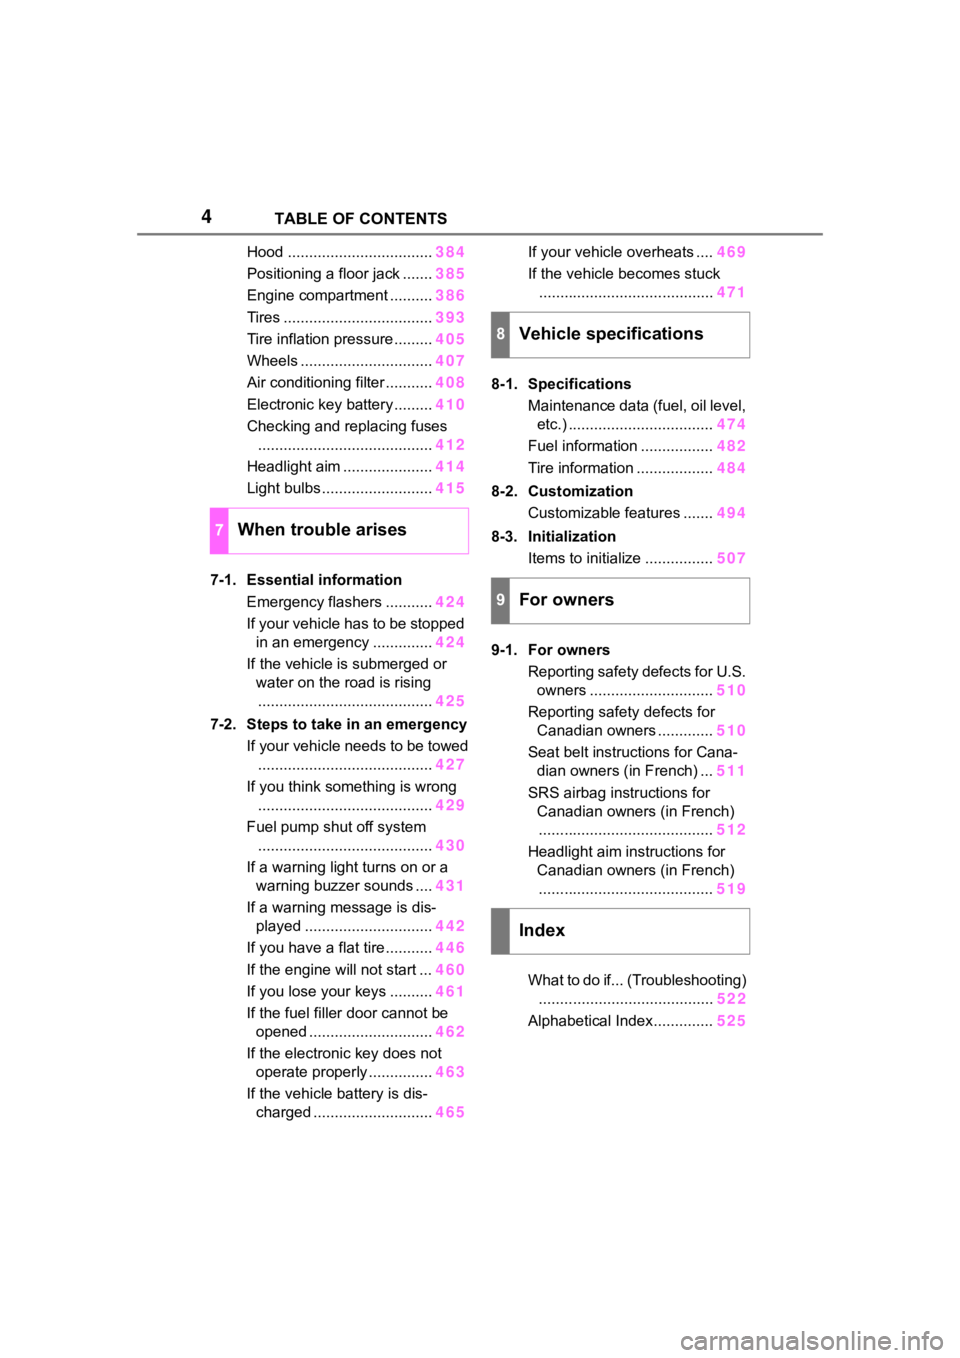
Hood ..................................384
Positioning a floor jack ....... 385
Engine compartment .......... 386
Tires ................................... 393
Tire inflation pressure......... 405
Wheels ............................... 407
Air conditioning filter ........... 408
Electronic key battery ......... 410
Checking and replacing fuses ......................................... 412
Headlight aim ..................... 414
Light bulbs .......................... 415
7-1. Essential information Emergency flashers ........... 424
If your vehicle has to be stopped in an emergency .............. 424
If the vehicle is submerged or water on the road is rising......................................... 425
7-2. Steps to take in an emergency If your vehicle needs to be towed......................................... 427
If you think something is wrong ......................................... 429
Fuel pump shut off system ......................................... 430
If a warning light turns on or a warning buzzer sounds .... 431
If a warning message is dis- played .............................. 442
If you have a flat tire ........... 446
If the engine will not start ... 460
If you lose your keys .......... 461
If the fuel filler door cannot be opened ............................. 462
If the electronic key does not operate properly ............... 463
If the vehicle battery is dis- charged ............................ 465If your vehicle overheats ....
469
If the vehicle becomes stuck ......................................... 471
8-1. Specifications Maintenance data (fuel, oil level, etc.) .................................. 474
Fuel information ................. 482
Tire information .................. 484
8-2. Customization Customizable features ....... 494
8-3. Initialization Items to initialize ................ 507
9-1. For owners Reporting safety defects for U.S. owners ............................. 510
Reporting safety defects for Canadian owners ............. 510
Seat belt instructions for Cana- dian owners (in French) ... 511
SRS airbag instructions for Canadian owners (in French)......................................... 512
Headlight aim instructions for Canadian owners (in French)......................................... 519
What to do if... (Troubleshooting) ........ ................................. 522
Alphab
etical Index.............. 525
7When trouble arises
8Vehicle specifications
9For owners
Index
Page 69 of 552
691-4. Theft deterrent system
1
For safety and security
1-4.Theft deterrent system
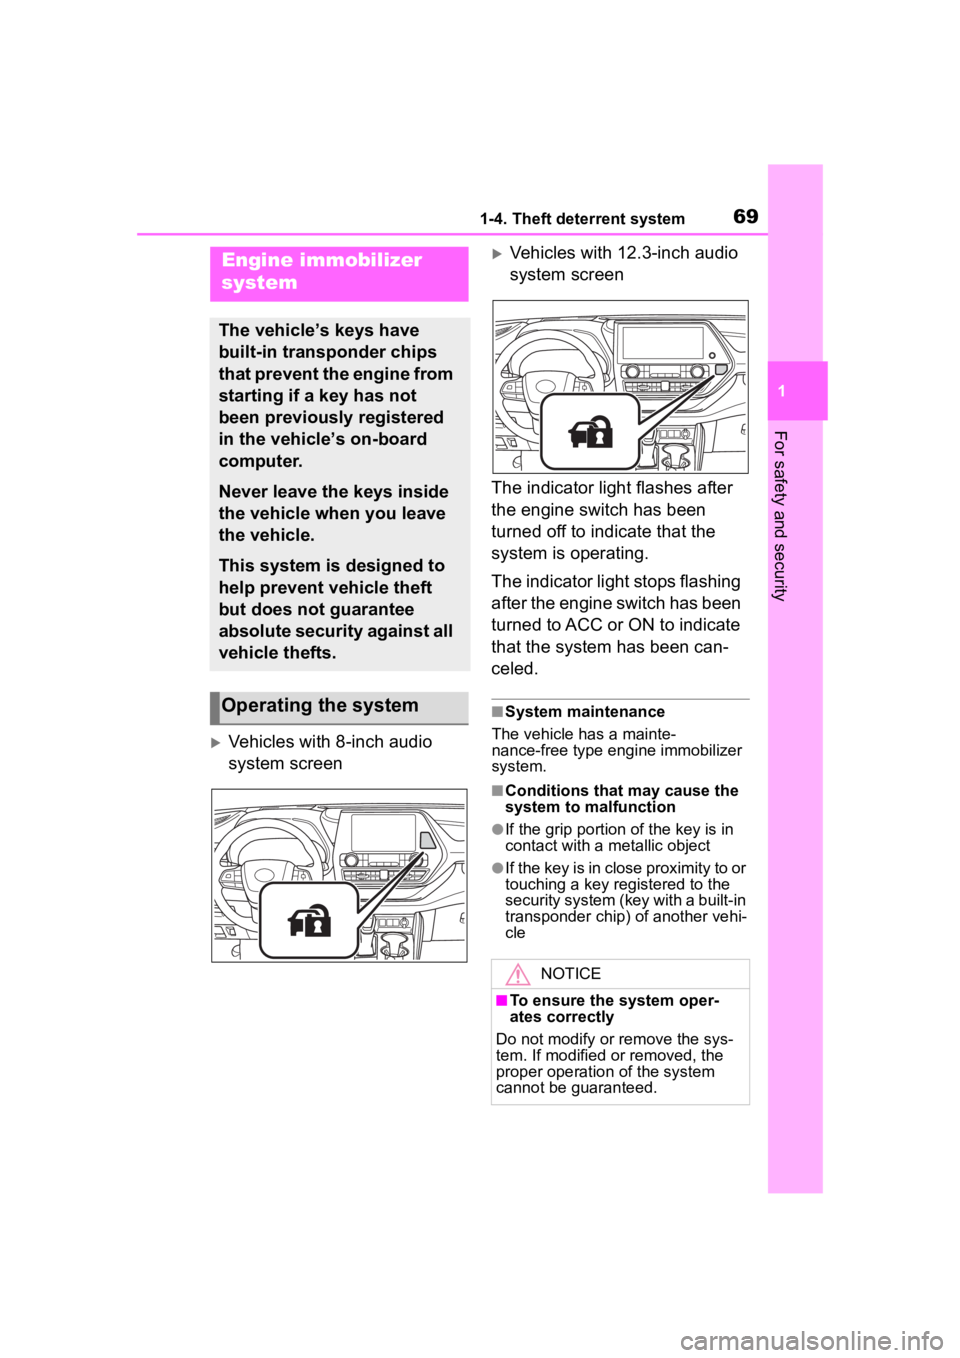
Vehicles with 8-inch audio
system screen
Vehicles with 12.3-inch audio
system screen
The indicator light flashes after
the engine switch has been
turned off to indicate that the
system is operating.
The indicator light stops flashing
after the engine switch has been
turned to ACC or ON to indicate
that the system has been can-
celed.
■System maintenance
The vehicle has a mainte-
nance-free type engine immobilizer
system.
■Conditions that may cause the
system to malfunction
●If the grip portion of the key is in
contact with a metallic object
●If the key is in close proximity to or
touching a key registered to the
security system (key with a built-in
transponder chip) of another vehi-
cle
Engine immobilizer
system
The vehicle’s keys have
built-in transponder chips
that prevent the engine from
starting if a key has not
been previously registered
in the vehicle’s on-board
computer.
Never leave the keys inside
the vehicle when you leave
the vehicle.
This system is designed to
help prevent vehicle theft
but does not guarantee
absolute security against all
vehicle thefts.
Operating the system
NOTICE
■To ensure the system oper-
ates correctly
Do not modify or remove the sys-
tem. If modified or removed, the
proper operation of the system
cannot be guaranteed.
Page 70 of 552
701-4. Theft deterrent system
*: If equipped
■Items to check before lock-
ing the vehicle
To prevent unexpected trigger-
ing of the alarm and vehicle
theft, make sure of the following:
Nobody is in the vehicle.
The windows, moon roof (if
equipped) and panoramic
moon roof (if equipped) are
closed before the alarm is set.
No valuables or other per-
sonal items are left in the
vehicle.
■Setting
Close the doors and hood, and
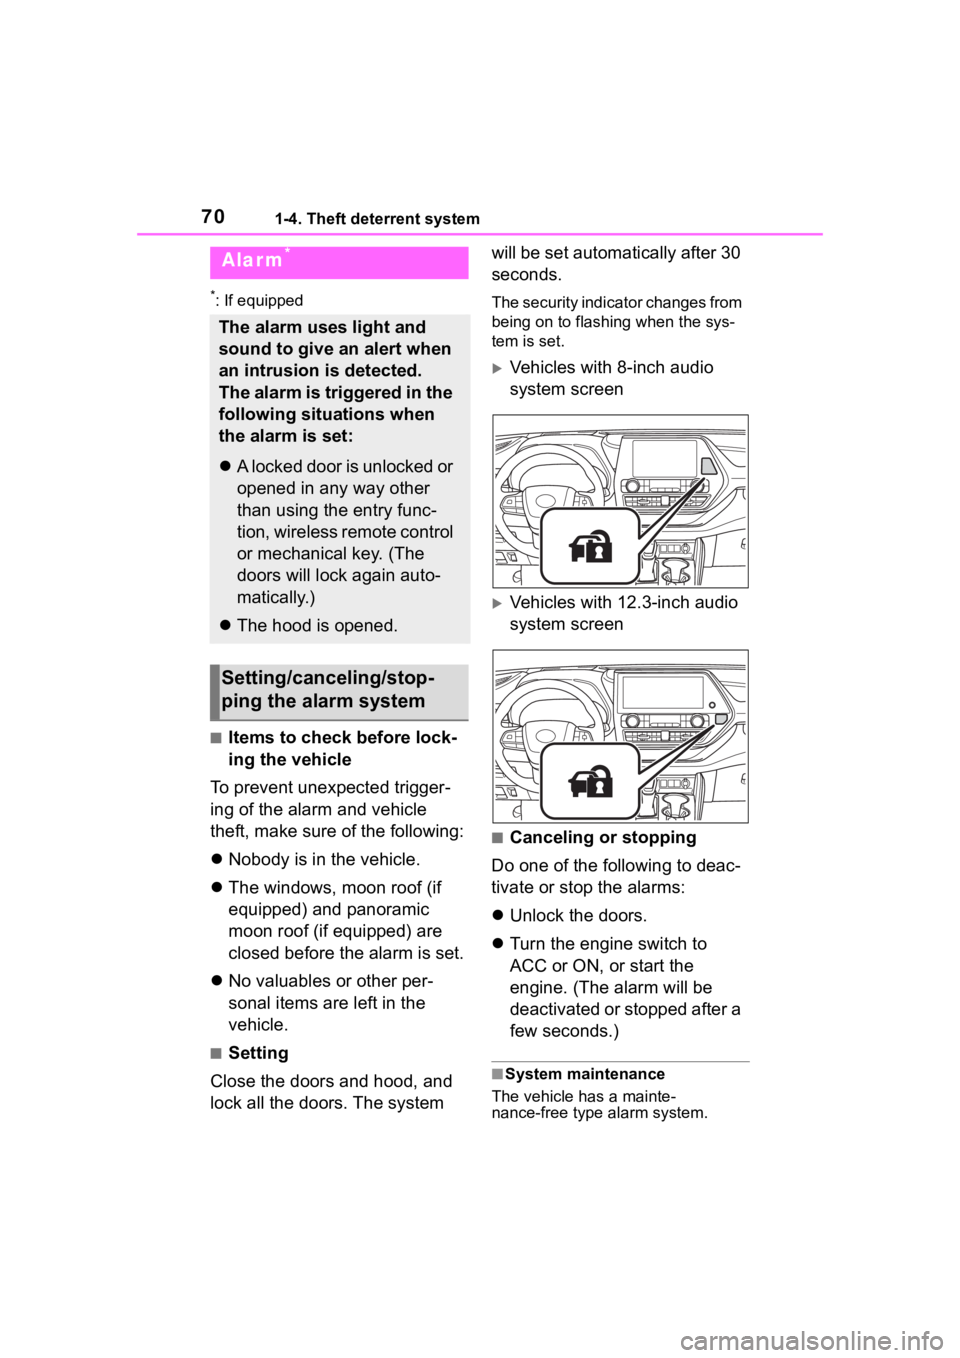
lock all the doors. The system will be set automatically after 30
seconds.
The security indicator changes from
being on to flashing when the sys-
tem is set.
Vehicles with 8-inch audio
system screen
Vehicles with 12.3-inch audio
system screen
■Canceling or stopping
Do one of the following to deac-
tivate or stop the alarms:
Unlock the doors.
Turn the engine switch to
ACC or ON, or start the
engine. (The alarm will be
deactivated or stopped after a
few seconds.)
■System maintenance
The vehicle has a mainte-
nance-free type alarm system.
Alarm*
The alarm uses light and
sound to give an alert when
an intrusion is detected.
The alarm is triggered in the
following situations when
the alarm is set:
A locked door is unlocked or
opened in any way other
than using the entry func-
tion, wireless remote control
or mechanical key. (The
doors will lock again auto-
matically.)
The hood is opened.
Setting/canceling/stop-
ping the alarm system
Page 94 of 552

942-1. Instrument cluster
(Stop & Start) (if
equipped) ( P.264)
Select to set the length of time the
Stop & Start system will operate
when the “A/C” switch of the air
conditioning system is on.
“TPWS” (Tire Pressure Warn-
ing System) ( P.396)
• “Set Pressure” (tire pressure
warning system initialization)
Select to initialize the tire pressure
warning system.
• “Change Wheel” (register tire pressure warning system sensor
ID codes)
Select to register the ID codes of
the tire pressure s ensors to the tire
pressure warning system.
“Rear Seat Reminder”
( P. 1 1 7 )
Select to enable/disable the rear
seat reminder.
“Scheduled Maintenance”
( P.377)
Select to reset the scheduled main-
tenance information (maintenance
required message and distance
until maintenance necessary) after
all maintenance is performed.
“Oil Maintenance” ( P.386)
Select to reset the oil maintenance
information (maintenance required
message and distance until mainte-
nance necessary) after an oil
change is performed.
■ Meter settings
Press and hold to change
the settings of the following
items:
Language
Select to change the language dis-
played.
Units
Select to change the units of mea-
sure displayed.
Eco Driving Indicator Light
( P.89)
Select to enable/disable the Eco
Driving Indi cator Light.
Speedometer display (digital
speed)
Select to enable/disable the speed-
ometer display.
Gadget content
Select to turn the display of a gad-
get.
Fuel economy type
Select to change the average fuel
consumption display and an item to
be displayed as gadget.
Pop-up display
Select to enable/disable pop-up
displays for each relevant system.
Multi-information display off
Displays a blank screen.
Default setting
Select to reset the meter display
settings to the default setting.
Page 186 of 552

1864-1. Before driving
●All trailer lights work as required
by law.
●All lights work each time you con-
nect them.
●The trailer ball is set at the proper
height for the coupler on the
trailer.
●The trailer is level when it is
hitched.
Do not drive if the trailer is not
level, and check for improper
tongue weight, overloading, worn
suspension, or other possible
causes.
●The trailer cargo is securely
loaded.
●The rear view mirrors conform to
all applicable federal, state/provin-
cial or local regu lations. If they do
not, install rear view mirrors
appropriate for towing purposes.
■Break-in schedule
If your vehicle is new or equipped
with any new power train compo-
nents (such as an engine, transaxle,
transfer [AWD models], rear differ-
ential [AWD models] or wheel bear-
ing), Toyota recommends that you
do not tow a trailer until the vehicle
has been driven for over 500 miles
(800 km).
After the vehicle has been driven for
over 500 miles (800 km), you can
start towing. However, for the next
500 miles (800 km), drive the vehi-
cle at a speed of less than 50 mph
(80 km/h) when towing a trailer, and
avoid full throttle acceleration.
■Maintenance
●Retighten the fixing bolts of the
towing ball and bracket after
approximately 600 miles (1000
km) of trailer towing.
■If trailer sway occurs
One or more factors (crosswinds,
passing vehicles, rough roads, etc.)
can adversely affect handling of
your vehicle and trailer, causing
instability.
●If trailer swaying occurs:
• Firmly grip the steering wheel. Steer straight ahead.
Do not try to contr ol trailer sway-
ing by turning the steering wheel.
• Begin releasing the accelerator
pedal immediately but very gradu-
ally to reduce speed.
Do not increase speed. Do not
apply vehicle brakes.
If you make no extreme correction
with the steering or brakes, your
vehicle and trailer should stabilize.
(if enabled, Trailer Sway Control can
also help to stabilize the vehicle and
trailer.)
●After the trailer swaying has
stopped:
• Stop in a safe place. Get all occu-
pants out of the vehicle.
• Check the tires of the vehicle and the trailer.
• Check the load in the trailer. Make sure the load has not
shifted.
Make sure the tongue weight is
appropriate, if possible.
• Check the load in the vehicle.
Make sure the vehicle is not over-
loaded after occupants get in.
If you cannot find any problems, the
speed at which trailer swaying
occurred is beyond the limit of your
particular vehicle-trailer combina-
tion. Drive at a lower speed to pre-
vent instability. Remember that
swaying of the towing vehicle-trailer
increases as speed increases.
Page 319 of 552
3194-6. Driving tips
4
Driving
NOTICE
■To prevent water damage
Take all necessary safety mea-
sures to ensure that water dam-
age to the engine or other
components does not occur.
●Water entering the engine air
intake will cause severe engine
damage.
●Water entering the automatic
transmission will cause deterio-
ration in shift quality, locking up
of your transmission accompa-
nied by vibration, and ultimately
damage.
●Water can wash the grease
from wheel bearings, causing
rusting and premature failure,
and may also enter the differen-
tial, transmission and transfer
case, reducing the gear oil’s
lubricating qualities.
■When you drive through
water
If driving through water, such as
when crossing shallow streams,
first check the depth of the water
and the bottom of the riverbed for
firmness. Drive slowly and avoid
deep water.
■Inspection after off-road driv-
ing
●Sand and mud that has accu-
mulated in bra ke drums and
around brake di scs may affect
braking efficiency and may
damage brake system compo-
nents.
●Always perform a maintenance
inspection aft er each day of
off-road driving that has taken
you through rough terrain, sand,
mud, or water. For scheduled
maintenance information, refer
to the “Scheduled Maintenance
Guide” or “Owner’s Manual
Supplement”.
Page 369 of 552
369
6
6
Maintenance and care
Maintenance and care
.6-1. Maintenance and careCleaning and protecting the vehicle exterior .......... 370
Cleaning and protecting the vehicle interior ........... 373
6-2. Maintenance Maintenance requirements.................................. 376
General maintenance.. 378
Emission inspection and maintenance (I/M) pro-
grams ........................ 380
6-3. Do-it-yourself mainte- nance
Do-it-yourself service pre- cautions ..................... 382
Hood ........................... 384
Positioning a floor jack .................................. 385
Engine compartment ... 386
Tires ............................ 393
Tire inflation pressure.. 405
Wheels ......... ...............407
Air conditioning filter .... 408
Electronic key battery.. 410
Checking and replacing fuses.......................... 412
Headlight aim .............. 414
Light bulbs................... 415
Page 370 of 552
3706-1. Maintenance and care
6-1.Maintenance and care
Working from top to bottom,
liberally apply water to the
vehicle body, wheel wells and
underside of the vehicle to
remove any dirt and dust.
Wash the vehicle body using
a sponge or soft cloth, such
as a chamois.
For hard-to-remove marks,
use car wash soap and rinse
thoroughly with water.
Wipe away any water.
Wax the vehicle when the
waterproof coating deterio-
rates.
If water does not bead on a clean
surface, apply wax when the vehi-
cle body is cool.
■Automatic car washes
●Before washing the vehicle:
• Fold the mirrors
• Turn off the power back door (if equipped)
Start washing from the front of the
vehicle. Extend the mirrors before
driving.
●Brushes used in automatic car
washes may scratch the vehicle
surface, parts (wheel, etc.) and harm your vehicle’s paint.
●Rear spoiler may not be washable
in some automatic car washes.
There may also be an increased
risk of damage to vehicle.
■High pressure car washes
As water may enter the cabin, do
not bring the nozzle tip near the
gaps around the doors or perimeter
of the windows, or spray these
areas continuously.
■When using a car wash
If the door handle becomes wet
while the electronic key is within the
effective range, the door may lock
and unlock repeatedly. In that case,
follow the following correction pro-
cedures to wash the vehicle:
●Place the key in a position 6 ft. (2
m) or more separate from the
vehicle while the vehicle is being
washed. (Take care to ensure that
the key is not stolen.)
●Set the electronic key to bat-
tery-saving mode to disable the
smart key system. ( P.132)
■Wheels and wheel ornaments
●Remove any dirt immediately by
using a neutral detergent.
●Wash detergent off with water
immediately after use.
●To protect the paint from damage,
make sure to obs erve the follow-
ing precautions.
• Do not use acidic, alkaline or abrasive detergent
• Do not use hard brushes
• Do not use detergent on the
wheels when they are hot, such
as after driving or parking in hot
weather
■Brake pads and calipers
Rust may form if the vehicle is
parked with wet brake pads or disc
rotors, causing them to stick. Before
parking the vehicle after it is
washed, drive slo wly and apply the
brakes several times to dry the
Cleaning and protect-
ing the vehicle exte-
rior
Perform cleaning in a man-
ner appropriate to each
component and its material.
Cleaning instructions