ECO mode TOYOTA HIGHLANDER HYBRID 2012 XU40 / 2.G Owner's Guide
[x] Cancel search | Manufacturer: TOYOTA, Model Year: 2012, Model line: HIGHLANDER HYBRID, Model: TOYOTA HIGHLANDER HYBRID 2012 XU40 / 2.GPages: 636, PDF Size: 11.26 MB
Page 334 of 636
334 3-2. Using the audio system
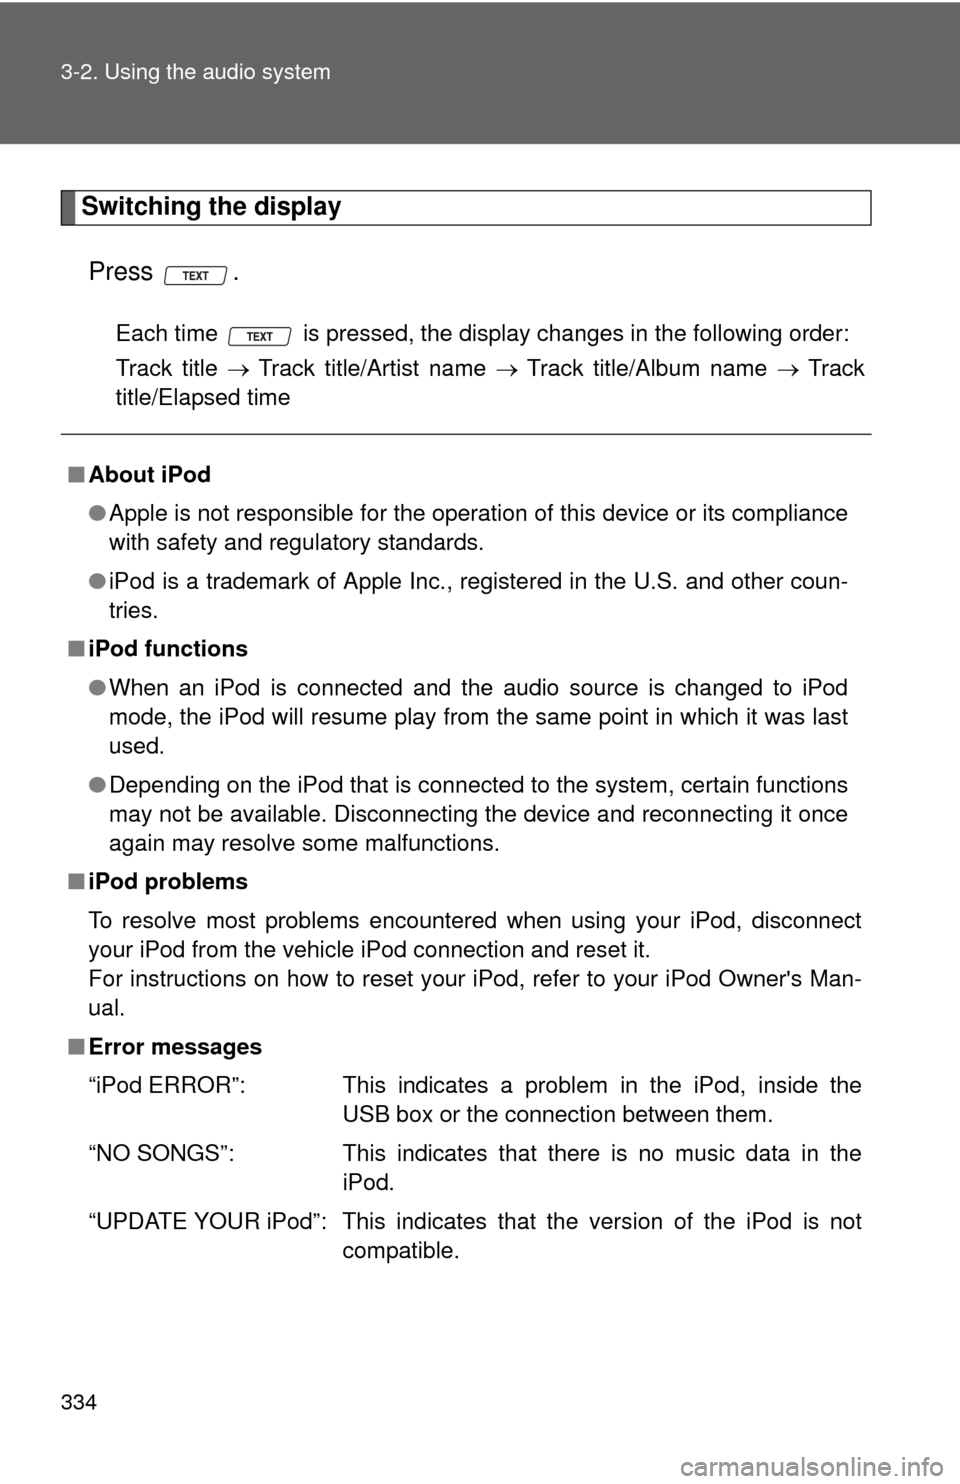
Switching the displayPress .
Each time is pressed, the display changes in the following order:
Track title Track title/Artist name Track title/Album name Track
title/Elapsed time
■ About iPod
●Apple is not responsible for the operation of this device or its compliance
with safety and regulatory standards.
● iPod is a trademark of Apple Inc., registered in the U.S. and other coun-
tries.
■ iPod functions
●When an iPod is connected and the audio source is changed to iPod
mode, the iPod will resume play from the same point in which it was last
used.
● Depending on the iPod that is connected to the system, certain functions
may not be available. Disconnecting the device and reconnecting it once
again may resolve some malfunctions.
■ iPod problems
To resolve most problems encountered when using your iPod, disconnect
your iPod from the vehicle iPod connection and reset it.
For instructions on how to reset your iPod, refer to your iPod Owner's Man-
ual.
■ Error messages
“iPod ERROR”: This indicates a problem in the iPod, inside the
USB box or the connection between them.
“NO SONGS”: This indicates that there is no music data in the iPod.
“UPDATE YOUR iPod”: This indicates that the version of the iPod is not compatible.
Page 335 of 636
335
3-2. Using the audio system
3
Interior features
■
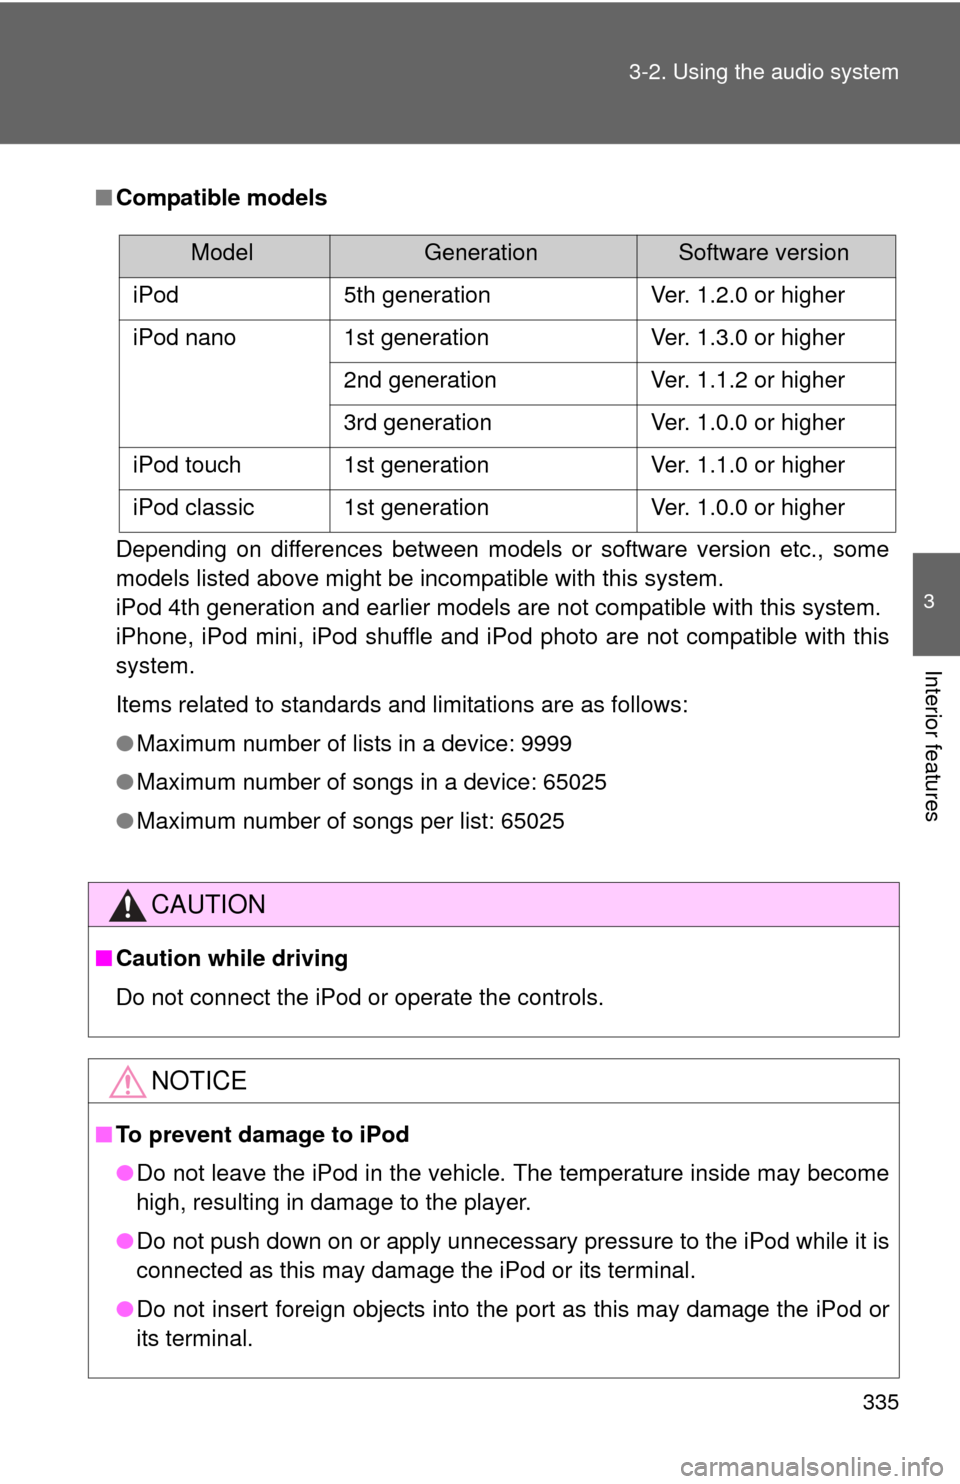
Compatible models
Depending on differences between models or software version etc., some
models listed above might be incompatible with this system.
iPod 4th generation and earlier models are not compatible with this system.
iPhone, iPod mini, iPod shuffle and iPod photo are not compatible with this
system.
Items related to standards and limitations are as follows:
●Maximum number of lists in a device: 9999
● Maximum number of songs in a device: 65025
● Maximum number of songs per list: 65025
CAUTION
■Caution while driving
Do not connect the iPod or operate the controls.
NOTICE
■To prevent damage to iPod
●Do not leave the iPod in the vehicle. The temperature inside may become
high, resulting in damage to the player.
● Do not push down on or apply unnecessary pressure to the iPod while it is
connected as this may damage the iPod or its terminal.
● Do not insert foreign objects into the port as this may damage the iPod or
its terminal.
ModelGenerationSoftware version
iPod 5th generation Ver. 1.2.0 or higher
iPod nano 1st generation Ver. 1.3.0 or higher 2nd generation Ver. 1.1.2 or higher
3rd generation Ver. 1.0.0 or higher
iPod touch 1st generation Ver. 1.1.0 or higher
iPod classic 1st generation Ver. 1.0.0 or higher
Page 341 of 636
341
3-2. Using the audio system
3
Interior features
●
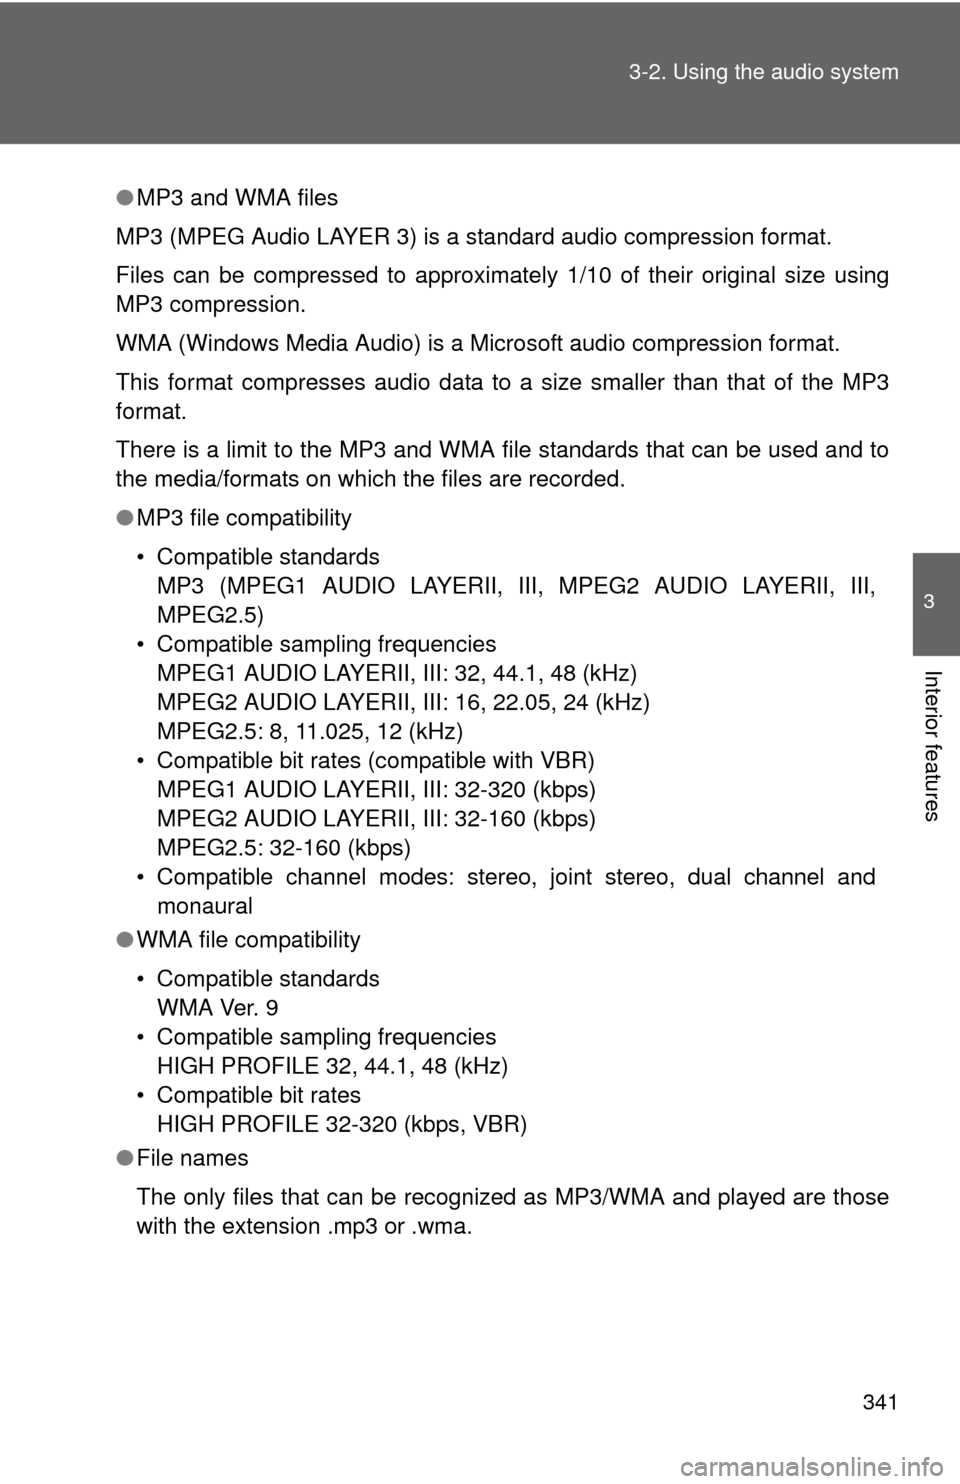
MP3 and WMA files
MP3 (MPEG Audio LAYER 3) is a standard audio compression format.
Files can be compressed to approximately 1/10 of their original size using
MP3 compression.
WMA (Windows Media Audio) is a Microsoft audio compression format.
This format compresses audio data to a size smaller than that of the MP3
format.
There is a limit to the MP3 and WMA file standards that can be used and to
the media/formats on which the files are recorded.
● MP3 file compatibility
• Compatible standards
MP3 (MPEG1 AUDIO LAYERII, III, MPEG2 AUDIO LAYERII, III,
MPEG2.5)
• Compatible sampling frequencies MPEG1 AUDIO LAYERII, III: 32, 44.1, 48 (kHz)
MPEG2 AUDIO LAYERII, III: 16, 22.05, 24 (kHz)
MPEG2.5: 8, 11.025, 12 (kHz)
• Compatible bit rates (compatible with VBR) MPEG1 AUDIO LAYERII, III: 32-320 (kbps)
MPEG2 AUDIO LAYERII, III: 32-160 (kbps)
MPEG2.5: 32-160 (kbps)
• Compatible channel modes: stereo, joint stereo, dual channel and monaural
● WMA file compatibility
• Compatible standards
WMA Ver. 9
• Compatible sampling frequencies HIGH PROFILE 32, 44.1, 48 (kHz)
• Compatible bit rates HIGH PROFILE 32-320 (kbps, VBR)
● File names
The only files that can be recognized as MP3/WMA and played are those
with the extension .mp3 or .wma.
Page 353 of 636
353
3-3. Using the Bluetooth
® audio system
3
Interior features
■
When transferring ownership of the vehicle
Be sure to initialize the system to prevent personal data from being improp-
erly accessed. ( P. 392)
■ About Bluetooth
®
■Compatible models
●Bluetooth
® specifications:
Ve r. 1 . 2
● Following Profiles:
• A2DP (Advanced Audio Distribution Profile) Ver. 1.0
• AVRCP (Audio/Video Remote Control Profile) Ver. 1.0 or higher (Ver.
1.3 or higher recommended)
Portable players must correspond to the above specifications in order to be
connected to the Bluetooth
® audio system. However, please note that some
functions may be limited depending on the type of portable player.
■ Certification for the Bluetooth
® audio system
FCC ID: ACJ932C5ZZZ035
IC ID: 216J-C5ZZZ035
MADE IN JAPAN
This device complies with Part 15 of the FCC Rules and RSS-Gen of IC
Rules. Operation is subject to the following two conditions: (1) this device
may not cause harmful interference, and (2) this device must accept an\
y
interference received, including interference that may cause undesired oper-
ation.
Bluetooth is a registered trademark of
Bluetooth SIG. Inc.
Page 364 of 636
364 3-3. Using the Bluetooth
® audio system
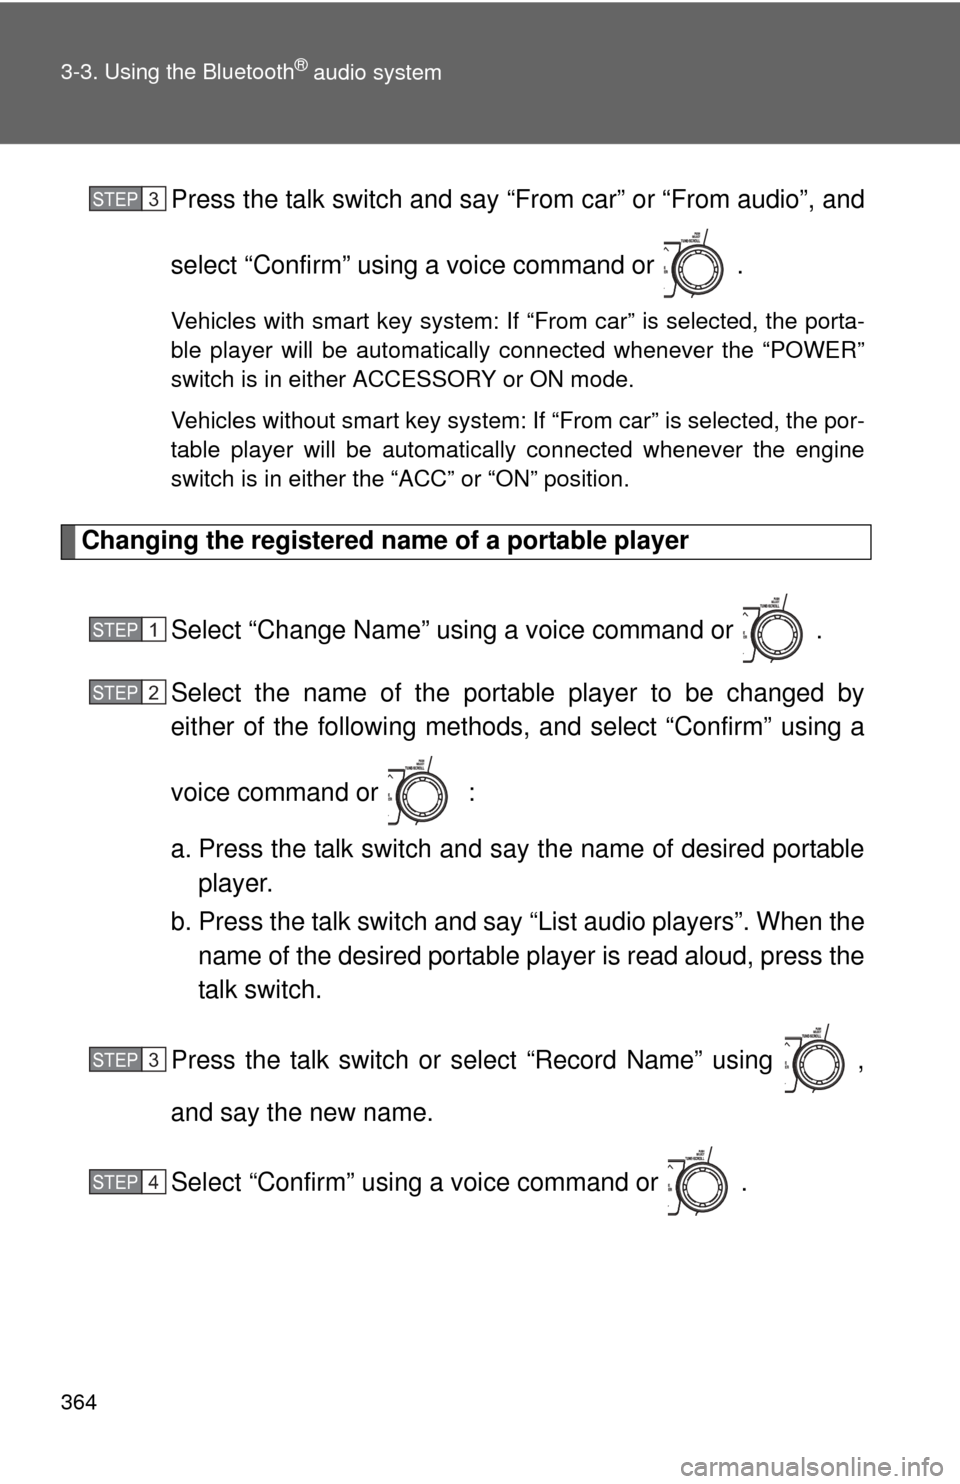
Press the talk switch and say “From car” or “From audio”, and
select “Confirm” using a voice command or .
Vehicles with smart key system: If “From car” is selected, the porta-
ble player will be automatically connected whenever the “POWER”
switch is in either ACCESSORY or ON mode.
Vehicles without smart key system: If “From car” is selected, the por-
table player will be automatically connected whenever the engine
switch is in either the “ACC” or “ON” position.
Changing the registered name of a portable playerSelect “Change Name” using a voice command or .
Select the name of the portable player to be changed by
either of the following methods, and select “Confirm” using a
voice command or :
a. Press the talk switch and say the name of desired portableplayer.
b. Press the talk switch and say “List audio players”. When the name of the desired portable player is read aloud, press the
talk switch.
Press the talk switch or select “Record Name” using ,
and say the new name.
Select “Confirm” using a voice command or .
STEP3
STEP1
STEP2
STEP3
STEP4
Page 375 of 636
375
3-4. Using the hand
s-free phone system (for cellular phone)
3
Interior features
Using the hands-free phone system for the first time
Before using the hands-free phone system, it is necessary to register
a cellular phone in the system. Th e phone registration mode will be
entered automatically when starting the system with no cellular
phone registered. Follow the procedure below to register a cellular
phone:
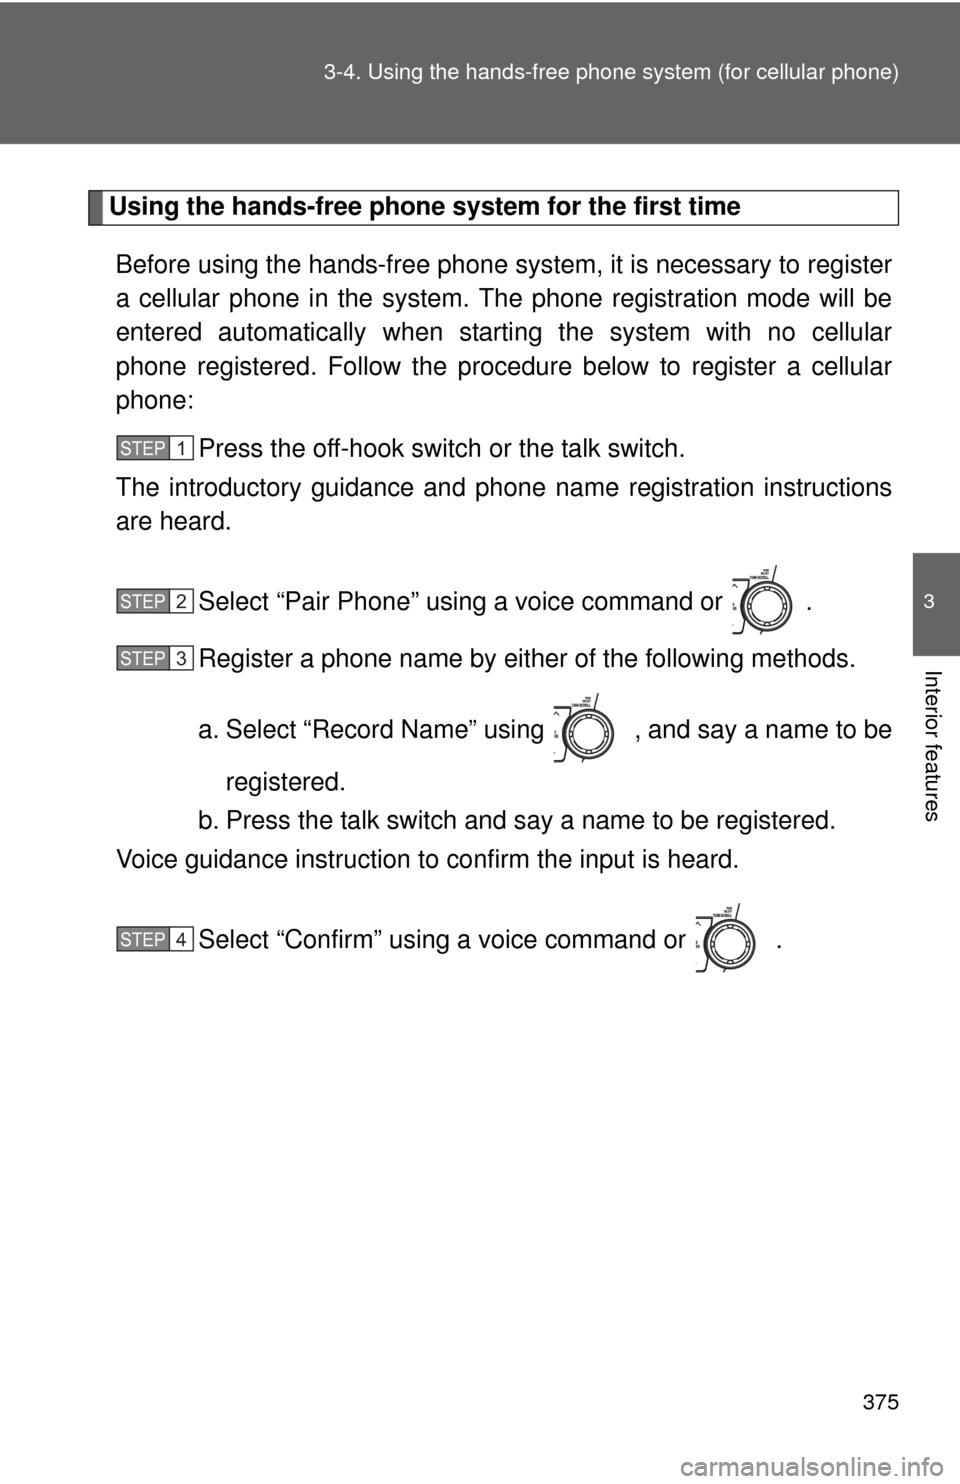
Press the off-hook switch or the talk switch.
The introductory guidance and phone name registration instructions
are heard.
Select “Pair Phone” using a voice command or .
Register a phone name by either of the following methods.
a. Select “Record Name” using , and say a name to beregistered.
b. Press the talk switch and say a name to be registered.
Voice guidance instruction to confirm the input is heard.
Select “Confirm” using a voice command or .
STEP1
STEP2
STEP3
STEP4
Page 424 of 636
424
3-7. Other interior features
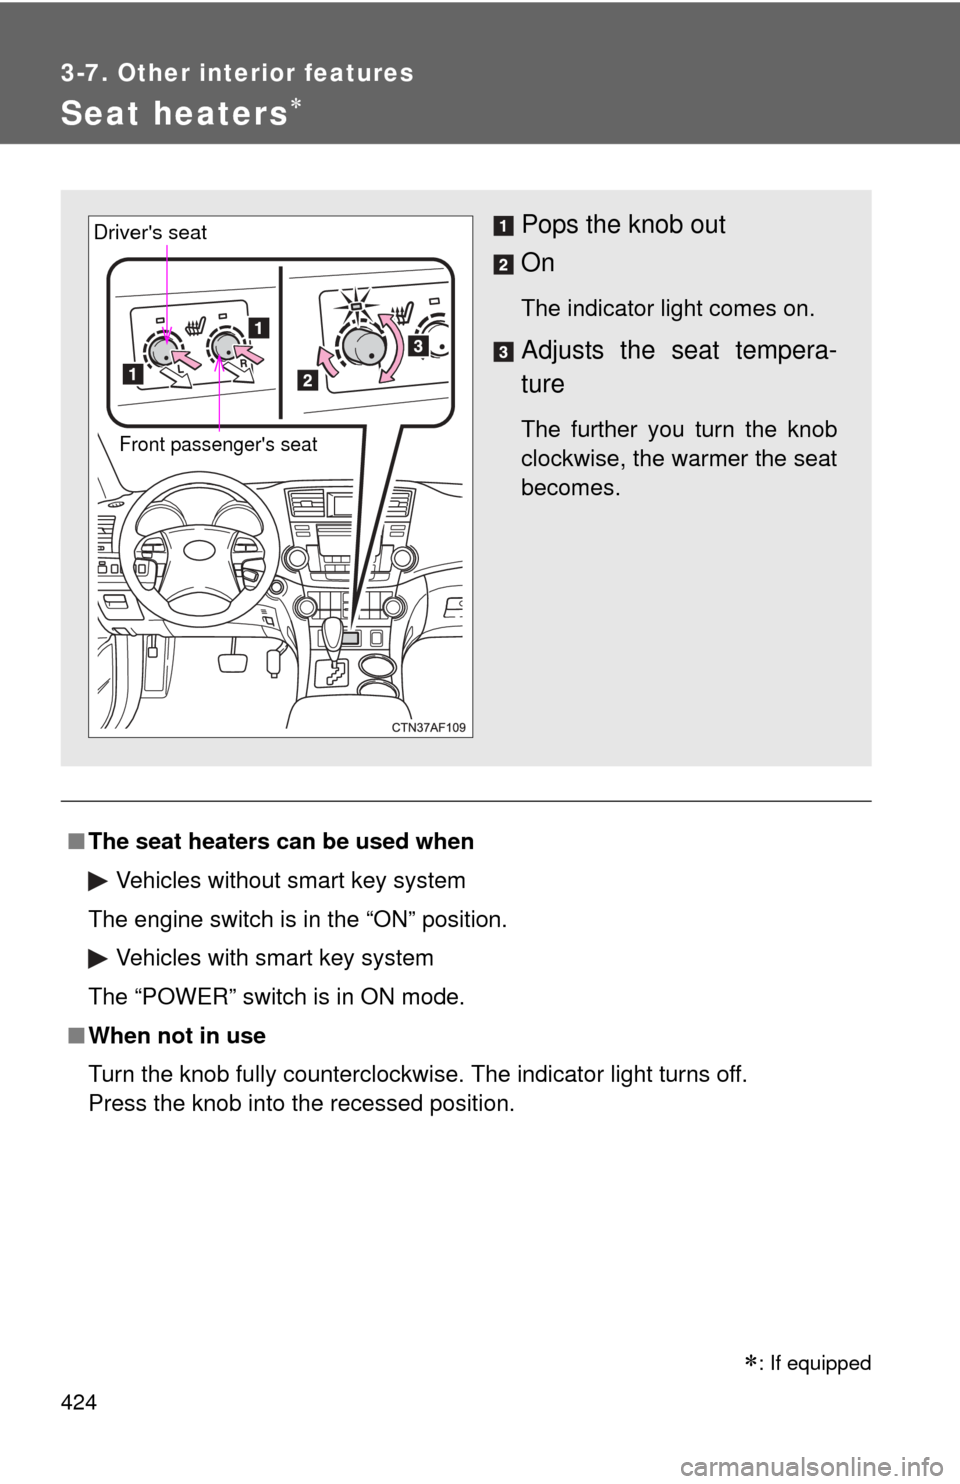
Seat heaters
■The seat heaters can be used when
Vehicles without smart key system
The engine switch is in the “ON” position. Vehicles with smart key system
The “POWER” switch is in ON mode.
■ When not in use
Turn the knob fully counterclockwise. The indicator light turns off.
Press the knob into the recessed position.
Pops the knob out
On
The indicator light comes on.
Adjusts the seat tempera-
ture
The further you turn the knob
clockwise, the warmer the seat
becomes.Front passenger's seat
Driver's seat
: If equipped
Page 427 of 636
427
3-7. Other interior features
3
Interior features
Floor mat
CAUTION
Observe the following precautions.
Failure to do so may cause the driver's floor mat to slip, possibly interfering
with the pedals while driving. An unexpectedly high speed may result or it may
become difficult to stop the vehicle, leading to a serious accident.
■When installing the driver's floor mat
●Do not use floor mats designed for other models or different model year
vehicles, even if they are Toyota Genuine floor mats.
● Only use floor mats designed for the driver's seat.
● Always install the floor mat securely using the retaining hooks (clips) pro-
vided.
● Do not use two or more floor mats on top of each other.
● Do not place the floor mat bottom-side up or upside-down.
■ Before driving
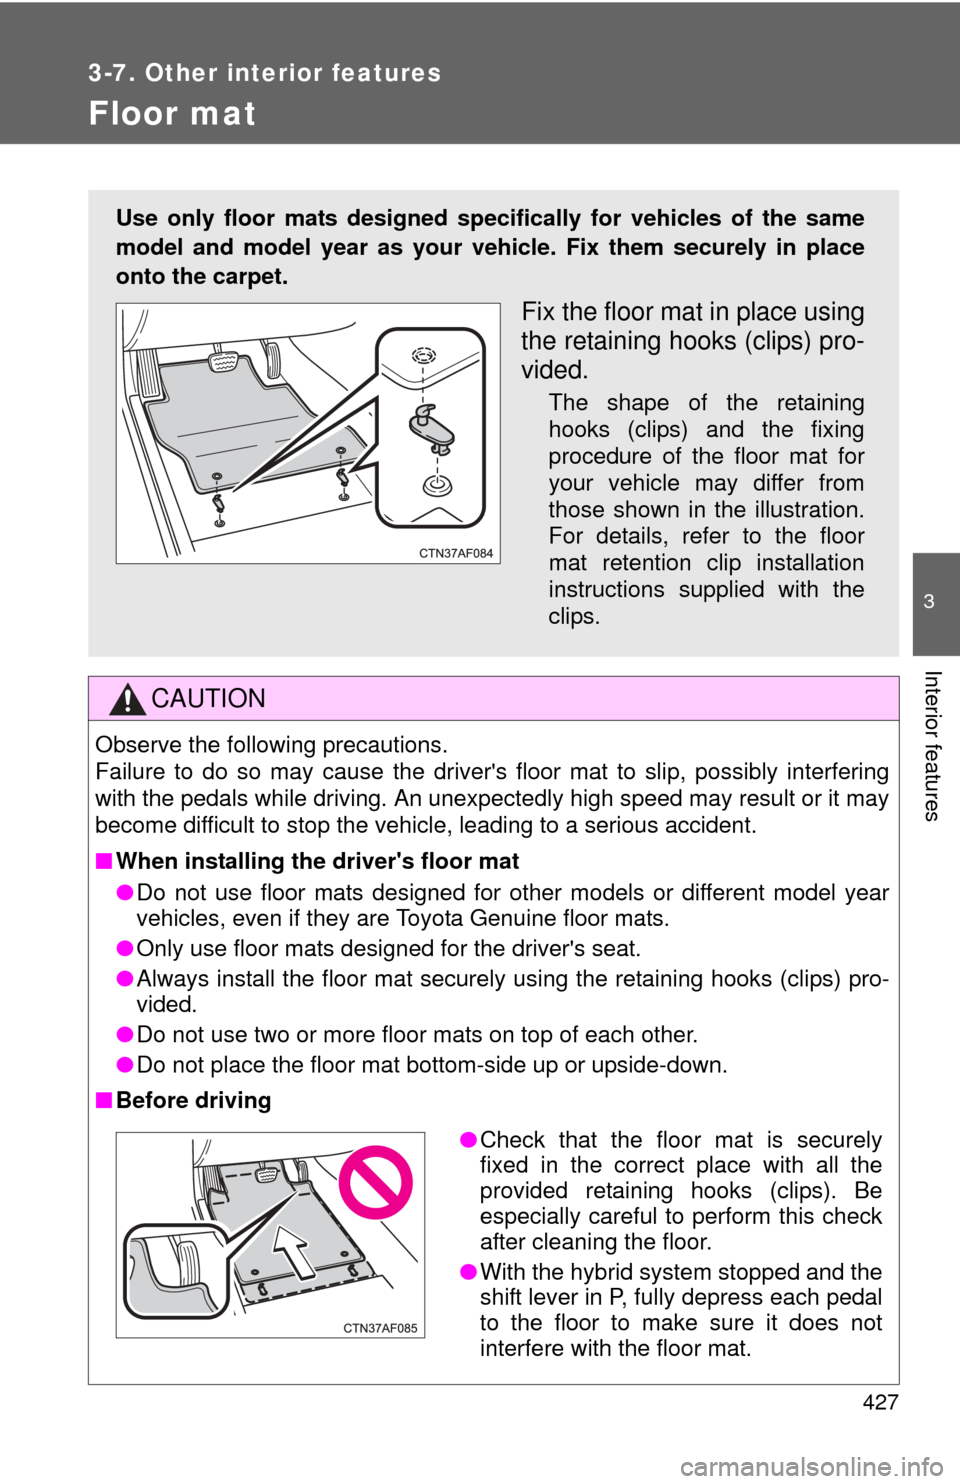
Use only floor mats designed specifically for vehicles of the same
model and model year as your vehic le. Fix them securely in place
onto the carpet.
Fix the floor mat in place using
the retaining hooks (clips) pro-
vided.
The shape of the retaining
hooks (clips) and the fixing
procedure of the floor mat for
your vehicle may differ from
those shown in the illustration.
For details, refer to the floor
mat retention clip installation
instructions supplied with the
clips.
● Check that the floor mat is securely
fixed in the correct place with all the
provided retaining hooks (clips). Be
especially careful to perform this check
after cleaning the floor.
● With the hybrid system stopped and the
shift lever in P, fully depress each pedal
to the floor to make sure it does not
interfere with the floor mat.
Page 433 of 636
433
3-7. Other interior features
3
Interior features
Test the operation of the HomeLink® by pressing the newly
programmed button. Check to see if the gate/device operates
correctly.
Repeat the steps above to program another device for each of
the remaining HomeLink
® buttons.
■ Programming other devices
To program other devices such as home security systems, home
door locks or lighting, contact your authorized Toyota dealer for
assistance.
■ Reprogramming a button
The individual HomeLink
® buttons cannot be erased but can be
reprogrammed. To reprogram a button, follow the programming
instructions.
Operating the HomeLink®
Press the appropriate HomeLink® button. The HomeLink® indicator
light on the HomeLink® transceiver should turn on.
The HomeLink® continues to send a signal for up to 20 seconds as long
as the button is pressed.
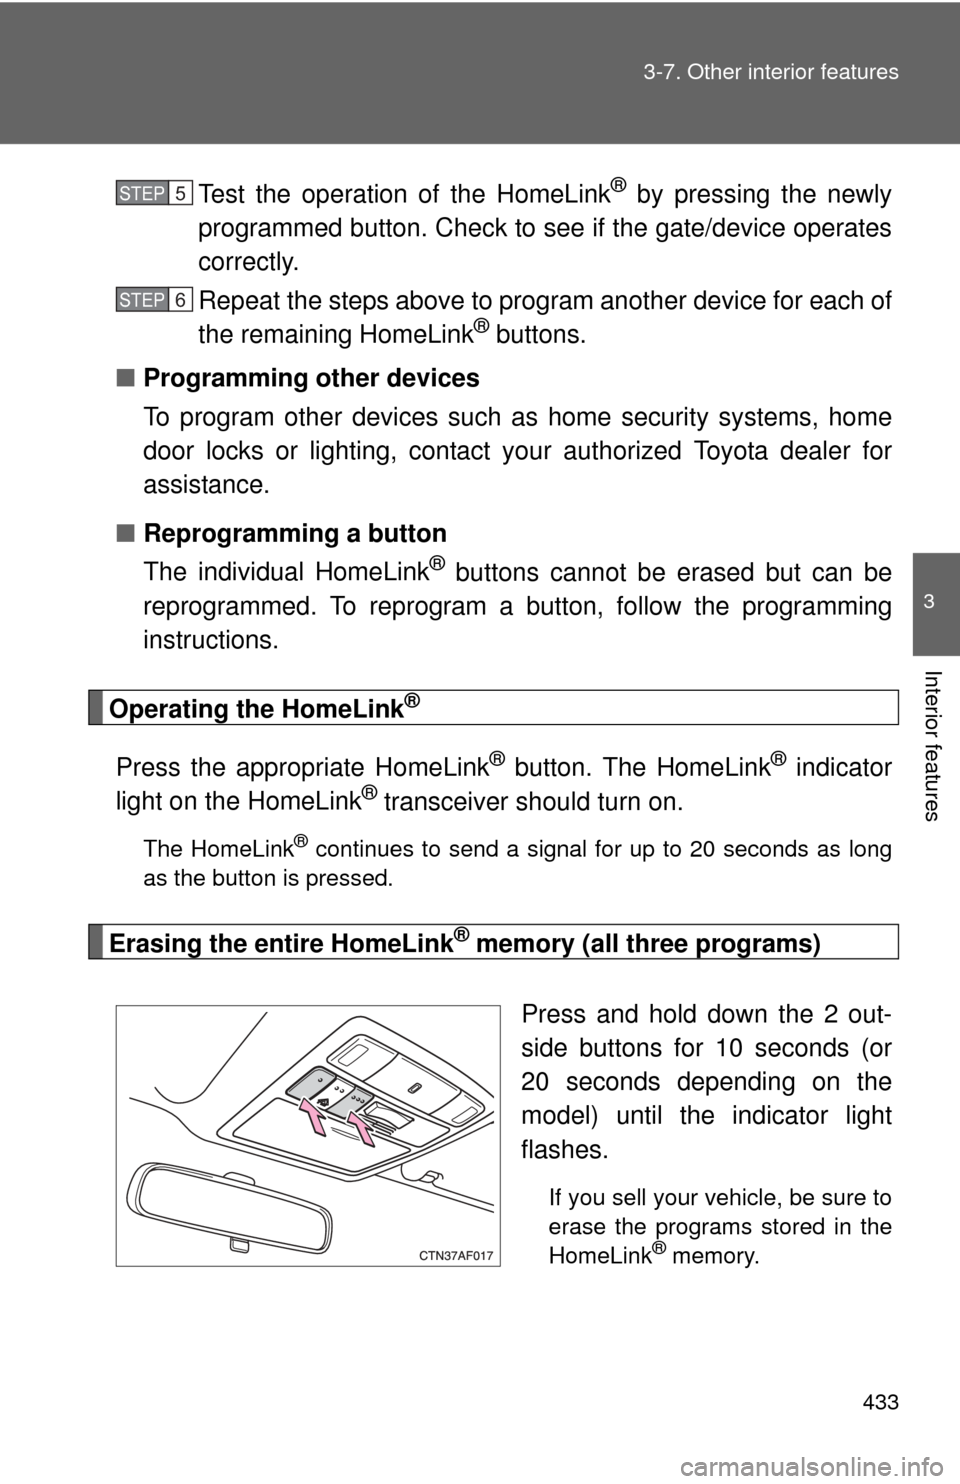
Erasing the entire HomeLink® memory (all three programs)
Press and hold down the 2 out-
side buttons for 10 seconds (or
20 seconds depending on the
model) until the indicator light
flashes.
If you sell your vehicle, be sure to
erase the programs stored in the
HomeLink
® memory.
STEP5
STEP6
Page 483 of 636
483
4-3. Do-it-yourself maintenance
4
Maintenance and care
CAUTION
■When inspecting or replacing tires
Observe the following precautions to
prevent accidents. Failure to do so
may cause damage to parts of the drive train, as well as dangerous han-
dling characteristics, which may lead to an accident resulting in death or
serious injury.
●Do not mix tires of different ma kes, models or tread patterns.
Also, do not mix tires of remarkably different treadwear.
●Do not use tire sizes other than those recommended by Toyota.
●Do not mix differently constructed ti res (radial, bias-belted or bias-ply
tires).
●Do not mix summer, all season and winter tires.
●Do not tow the vehicle with the spare tire installed.