tires TOYOTA HILUX 2023 Owners Manual
[x] Cancel search | Manufacturer: TOYOTA, Model Year: 2023, Model line: HILUX, Model: TOYOTA HILUX 2023Pages: 810, PDF Size: 131.54 MB
Page 7 of 810
5
1
9
8
6
5
4
3
2
HILUX_OM_OM0K789E_(EE)
7
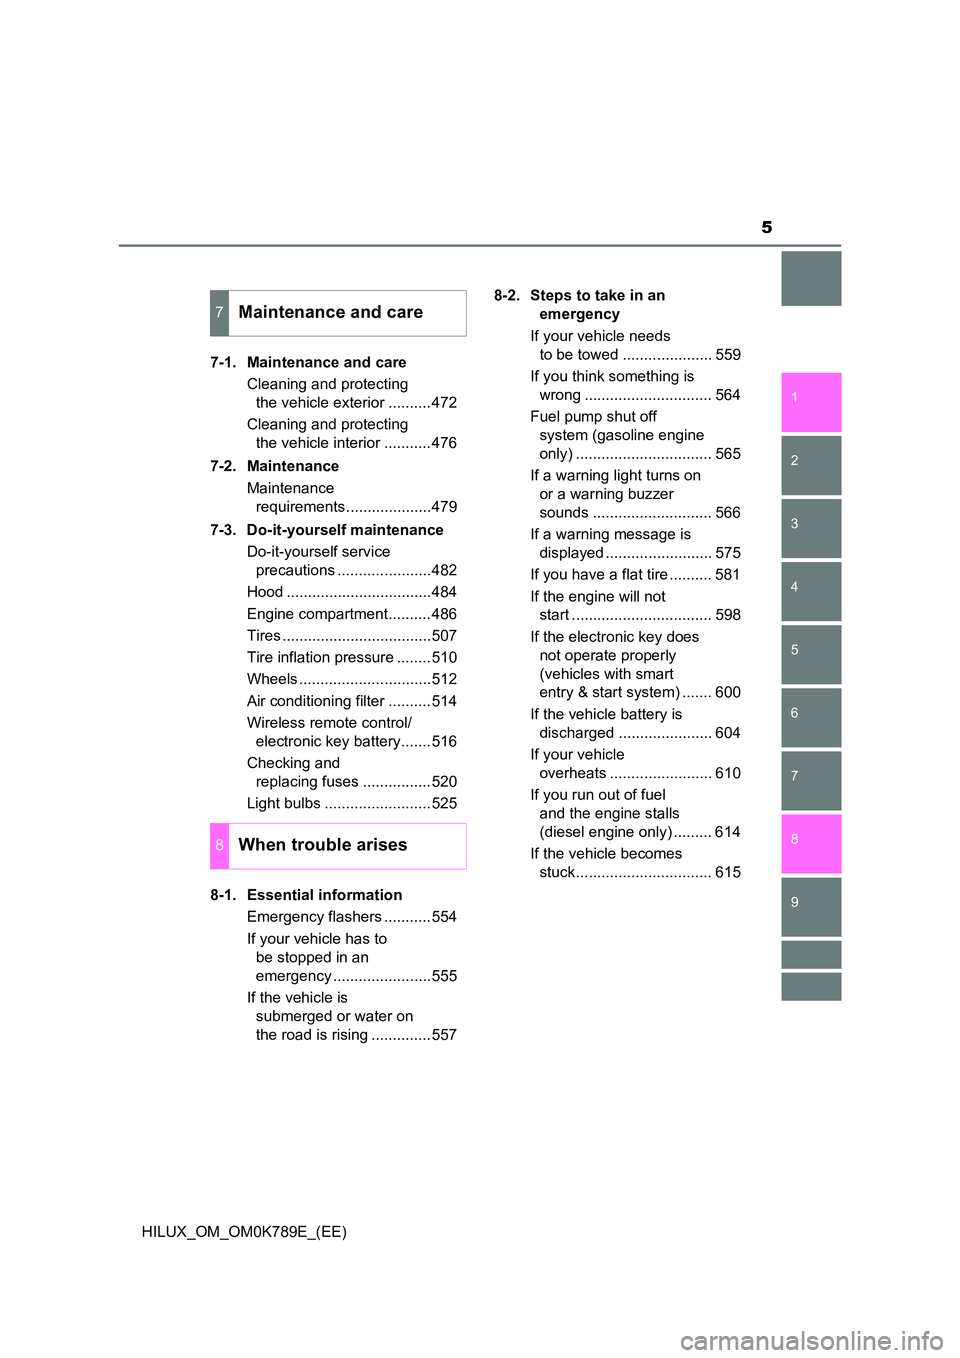
7-1. Maintenance and care
Cleaning and protecting
the vehicle exterior ..........472
Cleaning and protecting
the vehicle interior ...........476
7-2. Maintenance
Maintenance
requirements....................479
7-3. Do-it-yourself maintenance
Do-it-yourself service
precautions ......................482
Hood ..................................484
Engine compartment..........486
Tires ...................................507
Tire inflation pressure ........510
Wheels ...............................512
Air conditioning filter ..........514
Wireless remote control/
electronic key battery.......516
Checking and
replacing fuses ................520
Light bulbs .........................525
8-1. Essential information
Emergency flashers ...........554
If your vehicle has to
be stopped in an
emergency .......................555
If the vehicle is
submerged or water on
the road is rising ..............557
8-2. Steps to take in an
emergency
If your vehicle needs
to be towed ..................... 559
If you think something is
wrong .............................. 564
Fuel pump shut off
system (gasoline engine
only) ................................ 565
If a warning light turns on
or a warning buzzer
sounds ............................ 566
If a warning message is
displayed ......................... 575
If you have a flat tire .......... 581
If the engine will not
start ................................. 598
If the electronic key does
not operate properly
(vehicles with smart
entry & start system) ....... 600
If the vehicle battery is
discharged ...................... 604
If your vehicle
overheats ........................ 610
If you run out of fuel
and the engine stalls
(diesel engine only) ......... 614
If the vehicle becomes
stuck................................ 615
7Maintenance and care
8When trouble arises
Page 19 of 810
17Pictorial index
HILUX_OM_OM0K789E_(EE)
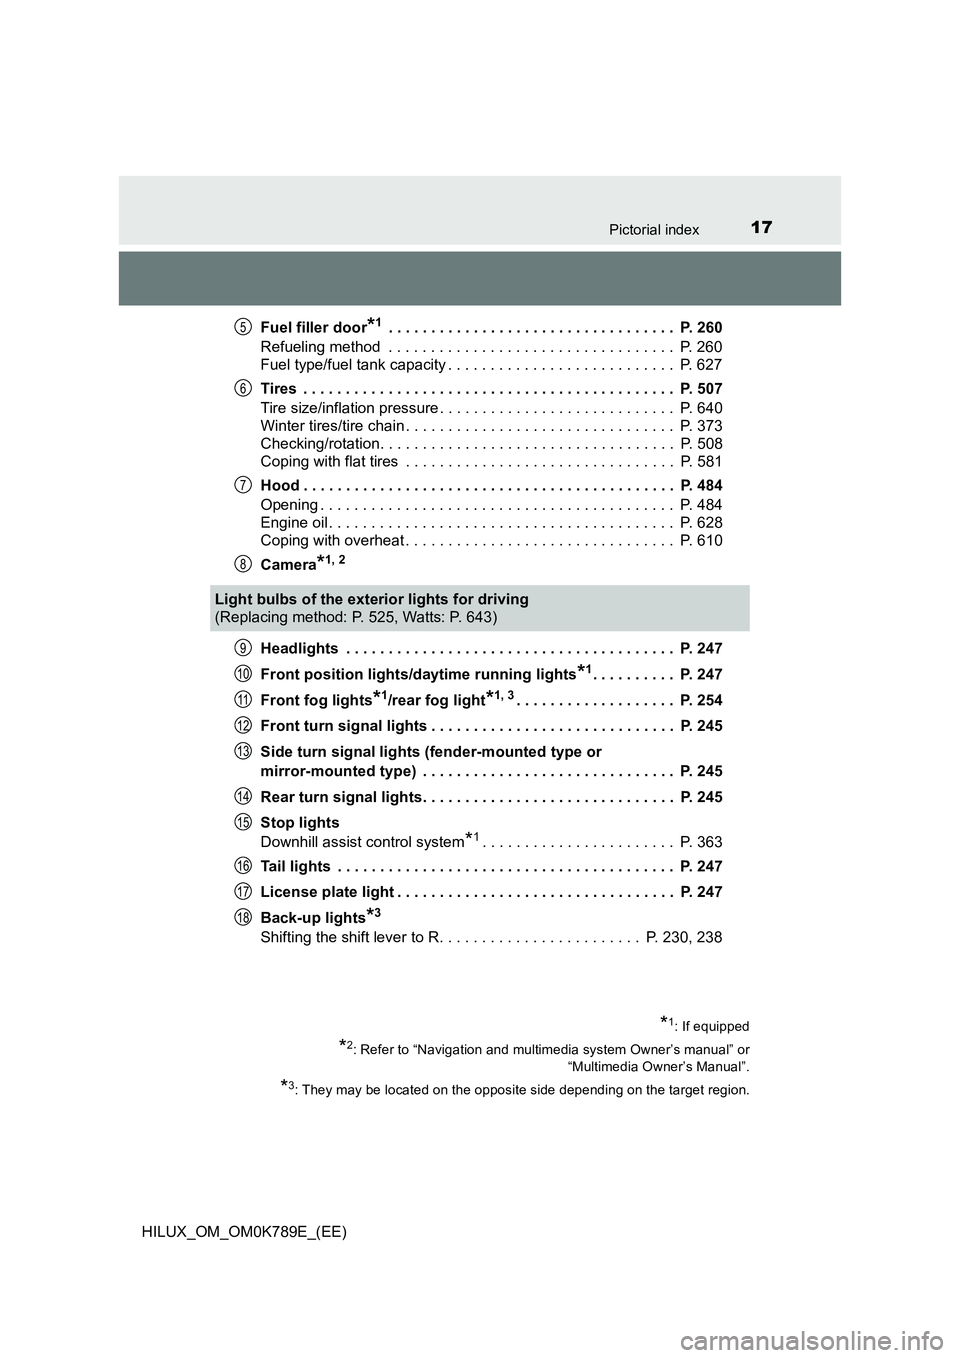
Fuel filler door*1 . . . . . . . . . . . . . . . . . . . . . . . . . . . . . . . . . . P. 260
Refueling method . . . . . . . . . . . . . . . . . . . . . . . . . . . . . . . . . . P. 260
Fuel type/fuel tank capacity . . . . . . . . . . . . . . . . . . . . . . . . . . . P. 627
Tires . . . . . . . . . . . . . . . . . . . . . . . . . . . . . . . . . . . . . . . . . . . . P. 507
Tire size/inflation pressure . . . . . . . . . . . . . . . . . . . . . . . . . . . . P. 640
Winter tires/tire chain . . . . . . . . . . . . . . . . . . . . . . . . . . . . . . . . P. 373
Checking/rotation. . . . . . . . . . . . . . . . . . . . . . . . . . . . . . . . . . . P. 508
Coping with flat tires . . . . . . . . . . . . . . . . . . . . . . . . . . . . . . . . P. 581
Hood . . . . . . . . . . . . . . . . . . . . . . . . . . . . . . . . . . . . . . . . . . . . P. 484
Opening . . . . . . . . . . . . . . . . . . . . . . . . . . . . . . . . . . . . . . . . . . P. 484
Engine oil . . . . . . . . . . . . . . . . . . . . . . . . . . . . . . . . . . . . . . . . . P. 628
Coping with overheat . . . . . . . . . . . . . . . . . . . . . . . . . . . . . . . . P. 610
Camera*1, 2
Headlights . . . . . . . . . . . . . . . . . . . . . . . . . . . . . . . . . . . . . . . P. 247
Front position lights/daytime running lights*1. . . . . . . . . . P. 247
Front fog lights*1/rear fog light*1, 3. . . . . . . . . . . . . . . . . . . P. 254
Front turn signal lights . . . . . . . . . . . . . . . . . . . . . . . . . . . . . P. 245
Side turn signal lights (fender-mounted type or
mirror-mounted type) . . . . . . . . . . . . . . . . . . . . . . . . . . . . . . P. 245
Rear turn signal lights. . . . . . . . . . . . . . . . . . . . . . . . . . . . . . P. 245
Stop lights
Downhill assist control system*1. . . . . . . . . . . . . . . . . . . . . . . P. 363
Tail lights . . . . . . . . . . . . . . . . . . . . . . . . . . . . . . . . . . . . . . . . P. 247
License plate light . . . . . . . . . . . . . . . . . . . . . . . . . . . . . . . . . P. 247
Back-up lights*3
Shifting the shift lever to R. . . . . . . . . . . . . . . . . . . . . . . . P. 230, 238
5
6
7
8
Light bulbs of the exterior lights for driving
(Replacing method: P. 525, Watts: P. 643)
*1: If equipped
*2: Refer to “Navigation and multimedia system Owner’s manual” or
“Multimedia Owner’s Manual”.
*3: They may be located on the opposite side depending on the target region.
9
10
11
12
13
14
15
16
17
18
Page 138 of 810
1362. Instrument cluster
HILUX_OM_OM0K789E_(EE)
■Eco Driving Indicator Zone Display/Eco Score
• Displays Zone of Eco driving with current Eco driving ratio based
on acceleration. ( P. 126)
• Displays the eco-driving total count to help improve the cus-
tomer’s eco driving techniques. ( P. 139)
■Eco Saving
Displays the fuel consumption comparison, the average fuel con-
sumption after reset, and the cost of the consumed fuel. ( P. 140)
■Steering angle
Displays the direction of the front tires.
The tire direction is displayed in 3 stages for both left and right, in accor-
dance with the angle of the tire.
While Toyota parking assist-sensor ( P. 320) is operating (if equipped)
or any door is not fully closed, the related information is displayed with
the direction of the front tires.
If a battery terminal is disconnected and reconnected, the display may
be disabled temporarily. After driving the vehicle for a while, the display
will be enabled.
■Speedometer display
Displays the vehicle speed.
■AdBlue™ gauge (if equipped)
Displays the quantity of AdBlue™ remaining in the tank. ( P. 141)
Page 194 of 810
1924-1. Before driving
HILUX_OM_OM0K789E_(EE)
Automatic transmission
Make sure that the parking brake is set and shift the shift lever to D.
Gently depress the accelerator pedal.
Release the parking brake.
Manual transmission
With the parking brake firmly set and the clutch pedal fully
depressed, shift the shift lever to 1.
Lightly depress the accelerator pedal at the same time as gradually
releasing the clutch pedal.
Release the parking brake.
■ When starting off on an uphill (vehicles with hill-start assist control sys-
tem)
The hill-start assist control will activate. ( P. 354)
■ Driving in the rain
● Drive carefully when it is raining, because visibility will be reduced, the win-
dows may become fogged-up, and the road will be slippery.
● Drive carefully when it starts to rain, because the road surface will be espe-
cially slippery.
● Refrain from high speeds when driving on an expressway in the rain,
because there may be a layer of water between the tires and the road sur-
face, preventing the steering and brakes from operating properly.
■ Engine speed while driving (automatic transmission)
In the following conditions, the engine speed may become high while driving.
This is due to automatic up-shifting c ontrol or down-shifting implementation to
meet driving conditions. It does not indicate sudden acceleration.
● The vehicle is judged to be driving uphill or downhill
● When the accelerator pedal is released
Starting off on a steep uphill
1
2
3
1
2
3
Page 201 of 810
1994-1. Before driving
4
Driving
HILUX_OM_OM0K789E_(EE)
WARNING
Observe the following precautions.
Failure to do so may result in death or serious injury.
■ When the vehicle is parked
● Always apply the parking brake, shift the shift lever to P (vehicles with
automatic transmission only), stop the engine and lock the vehicle.
Do not leave the vehicle unattended while the engine is running.
If the vehicle is parked with the shift lever in P but the parking brake is not
set, the vehicle may start to move, possibly leading to an accident.
● Do not touch the exhaust pipes while the engine is running or immediately
after turning the engine off.
Doing so may cause burns.
■ When taking a nap in the vehicle
Always turn the engine off. Otherwise, if you accidentally move the shift
lever or depress the accelerator pedal, this could cause an accident or fire
due to engine overheating. Additionally, if the vehicle is parked in a poorly
ventilated area, exhaust gases may collect and enter the vehicle, leading to
death or a serious health hazard.
■ When braking
● When the brakes are wet, drive more cautiously.
Braking distance increases when the brakes are wet, and this may cause
one side of the vehicle to brake differently than the other side. Also, the
parking brake may not securely hold the vehicle.
● If the brake booster device does not operate, do not follow other vehicles
closely and avoid hills or sharp turns that require braking. In this case,
braking is still possible, but the brake pedal should be depressed more
firmly than usual. Also, the braking distance will increase. Have your
brakes fixed immediately.
● Do not pump the brake pedal if the engine stalls.
Each push on the brake pedal uses up the reserve for the power-assisted
brakes.
● The brake system consists of 2 individual hydraulic systems: If one of the
systems fails, the other will still operate. In this case, the brake pedal
should be depressed more firmly than usual and the braking distance will
increase.
Have your brakes fixed immediately.
■ If the vehicle becomes stuck (4WD models)
Do not spin the wheels excessively when any of the tires is up in the air, or
the vehicle is stuck in sand, mud, etc. This may damage the driveline com-
ponents or propel the vehicle forward or backward, causing an accident.
Page 209 of 810
2074-1. Before driving
4
Driving
HILUX_OM_OM0K789E_(EE)
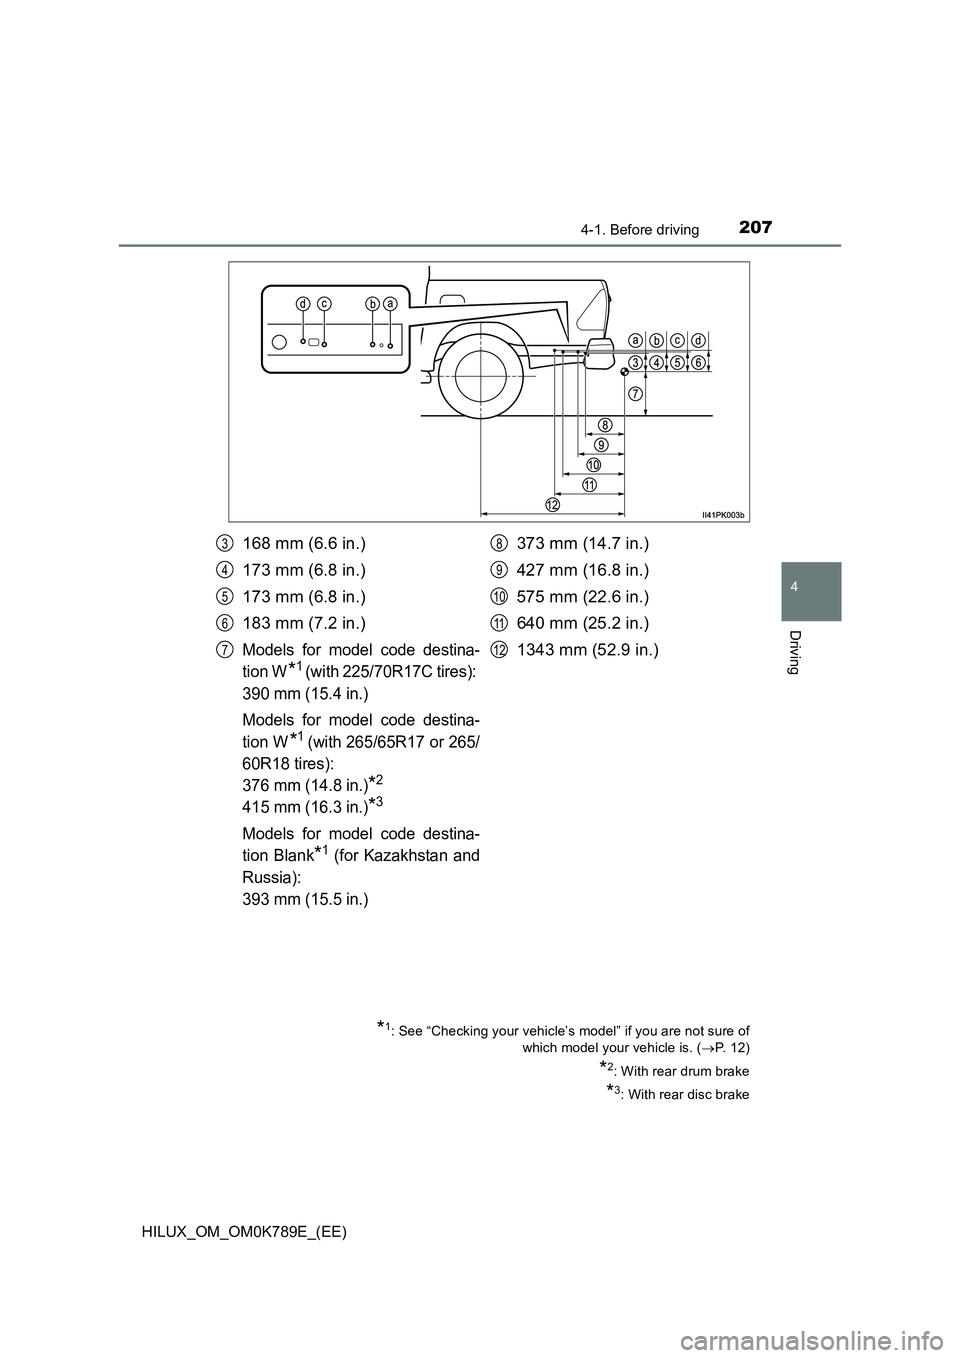
*1: See “Checking your vehicle’s model” if you are not sure of
which model your vehicle is. ( P. 1 2 )
*2: With rear drum brake
*3: With rear disc brake
168 mm (6.6 in.)
173 mm (6.8 in.)
173 mm (6.8 in.)
183 mm (7.2 in.)
Models for model code destina-
tion W*1 (with 225/70R17C tires):
390 mm (15.4 in.)
Models for model code destina-
tion W*1 (with 265/65R17 or 265/
60R18 tires):
376 mm (14.8 in.)*2
415 mm (16.3 in.)*3
Models for model code destina-
tion Blank*1 (for Kazakhstan and
Russia):
393 mm (15.5 in.)
373 mm (14.7 in.)
427 mm (16.8 in.)
575 mm (22.6 in.)
640 mm (25.2 in.)
1343 mm (52.9 in.)
3
4
5
6
7
8
9
10
11
12
Page 215 of 810
2134-1. Before driving
4
Driving
HILUX_OM_OM0K789E_(EE)
■Tire information
● Increase the tire inflation pressure to 20.0 kPa (0.2 kgf/cm2 or bar, 3 psi)
greater than the recommended value when towing. ( P. 640)
● Increase the air pressure of the trailer tires in accordance with the total
trailer weight and according to the values recommended by the manufac-
turer of your trailer.
■ Tr a i l e r l i g h ts
Check that the turn signal lights and stoplights are operating correctly every
time you hitch up the trailer. Direct ly wiring up to your vehicle may damage
the electrical system and stop the lights from functioning correctly.
■ When towing a trailer
Disable the following systems, as the systems may not operate properly.
● LDA (Lane Departure Alert With Yaw Assist Function) (If equipped)
( P. 283)
● Dynamic radar cruise control (If equipped) (P. 300)
● Cruise control (If equipped) (P. 316)
● Toyota parking assist-sensor (If equipped) (P. 320)
■ Break-in schedule
Toyota recommends that vehicles fitted with new power train components
should not be used for towing trailers for the first 800 km (500 miles).
■ Safety checks before towing
● Check that the maximum load limit for the towing hitch/bracket and hitch ball
is not exceeded. Bear in mind that the coupling weight of the trailer will add
to the load exerted on the vehicle. Also make sure that the total load exerted
on the vehicle is within the range of the weight limits. ( P. 211)
● Ensure that the trailer load is secure.
● Supplementary outside rear view mirrors should be added to the vehicle if
the traffic behind cannot be clearly seen with standard mirrors. Adjust the
extending arms of these mirrors on both sides of the vehicle so that they
always provide maximum visibility of the road behind.
■ Maintenance
● Maintenance must be performed more frequently when using the vehicle for
towing due to the greater weight burden placed on the vehicle compared to
normal driving.
● Retighten all bolts securing the hitching ball and bracket after towing for
approximately 1000 km (600 miles).
Page 216 of 810
2144-1. Before driving
HILUX_OM_OM0K789E_(EE)
■ If trailer sway occurs
One or more factors (crosswinds, passing vehicles, rough roads, etc.) can
adversely affect handling of your vehicle and trailer, causing instability.
● If trailer swaying occurs:
• Firmly grip the steering wheel. Steer straight ahead.
Do not try to control trailer swaying by turning the steering wheel.
• Begin releasing the accelerator pedal immediately but very gradually to
reduce speed.
Do not increase speed. Do not apply vehicle brakes.
If you make no extreme correction with the steering or brakes, your vehicle
and trailer should stabilize (if enabled, Trailer Sway Control can also help to
stabilize the vehicle and trailer.).
● After the trailer swaying has stopped:
• Stop in a safe place. Get all occupants out of the vehicle.
• Check the tires of the vehicle and the trailer.
• Check the load in the trailer.
Make sure the load has not shifted.
Make sure the tongue weight is appropriate, if possible.
• Check the load in the vehicle.
Make sure the vehicle is not overloaded after occupants get in.
If you cannot find any problems, the speed at which trailer swaying
occurred is beyond the limit of your particular vehicle-trailer combination.
Drive at a lower speed to prevent instability. Remember that swaying of the
towing vehicle-trailer increases as speed increases.
NOTICE
■ When the rear bumper strengthening material is aluminum
Ensure the steel bracket part does not come directly in contact with that
area.
When steel and aluminum come into contact, there is a reaction similar to
corrosion, which will weaken the section concerned and may result in dam-
age. Apply a rust inhibitor to parts that will come in contact when attaching a
steel bracket.
Page 219 of 810
2174-1. Before driving
4
Driving
HILUX_OM_OM0K789E_(EE)
■Tire information
● Increase the tire inflation pressure to 20.0 kPa (0.2 kgf/cm2 or bar, 3 psi)
greater than the recommended value when towing. ( P. 640)
● Increase the air pressure of the trailer tires in accordance with the total
trailer weight and according to the values recommended by the manufac-
turer of your trailer.
■ Tr a i l e r l i g h ts
Check that the turn signal lights and stoplights are operating correctly every
time you hitch up the trailer. Direct ly wiring up to your vehicle may damage
the electrical system and stop the lights from functioning correctly.
■ When towing a trailer
Disable the following systems, as the systems may not operate properly.
● LDA (Lane Departure Alert With Yaw Assist Function) (If equipped)
( P. 283)
● Dynamic radar cruise control (If equipped) (P. 300)
● Cruise control (If equipped) (P. 316)
● Toyota parking assist-sensor (If equipped) (P. 320)
■ Break-in schedule
Toyota recommends that vehicles fitted with new power train components
should not be used for towing trailers for the first 800 km (500 miles).
■ Safety checks before towing
● Check that the maximum load limit for the towing hitch/bracket and hitch ball
is not exceeded. Bear in mind that the coupling weight of the trailer will add
to the load exerted on the vehicle. Also make sure that the total load exerted
on the vehicle is within the range of the weight limits. ( P. 215)
● Ensure that the trailer load is secure.
● Supplementary outside rear view mirrors should be added to the vehicle if
the traffic behind cannot be clearly seen with standard mirrors. Adjust the
extending arms of these mirrors on both sides of the vehicle so that they
always provide maximum visibility of the road behind.
■ Maintenance
● Maintenance must be performed more frequently when using the vehicle for
towing due to the greater weight burden placed on the vehicle compared to
normal driving.
● Retighten all bolts securing the hitching ball and bracket after towing for
approximately 1000 km (600 miles).
Page 220 of 810
2184-1. Before driving
HILUX_OM_OM0K789E_(EE)
■ If trailer sway occurs
One or more factors (crosswinds, passing vehicles, rough roads, etc.) can
adversely affect handling of your vehicle and trailer, causing instability.
● If trailer swaying occurs:
• Firmly grip the steering wheel. Steer straight ahead.
Do not try to control trailer swaying by turning the steering wheel.
• Begin releasing the accelerator pedal immediately but very gradually to
reduce speed.
Do not increase speed. Do not apply vehicle brakes.
If you make no extreme correction with the steering or brakes, your vehicle
and trailer should stabilize (if enabled, Trailer Sway Control can also help to
stabilize the vehicle and trailer.).
● After the trailer swaying has stopped:
• Stop in a safe place. Get all occupants out of the vehicle.
• Check the tires of the vehicle and the trailer.
• Check the load in the trailer.
Make sure the load has not shifted.
Make sure the tongue weight is appropriate, if possible.
• Check the load in the vehicle.
Make sure the vehicle is not overloaded after occupants get in.
If you cannot find any problems, the speed at which trailer swaying
occurred is beyond the limit of your particular vehicle-trailer combination.
Drive at a lower speed to prevent instability. Remember that swaying of the
towing vehicle-trailer increases as speed increases.
NOTICE
■ When the rear bumper strengthening material is aluminum
Ensure the steel bracket part does not come directly in contact with that
area.
When steel and aluminum come into contact, there is a reaction similar to
corrosion, which will weaken the section concerned and may result in dam-
age. Apply a rust inhibitor to parts that will come in contact when attaching a
steel bracket.