key TOYOTA IQ 2012 Owner's Manual
[x] Cancel search | Manufacturer: TOYOTA, Model Year: 2012, Model line: IQ, Model: TOYOTA IQ 2012Pages: 476, PDF Size: 23.52 MB
Page 108 of 476
108
iQ_WE_74014E
1-6. Theft deterrent system
Engine immobilizer system
System maintenance
The vehicle has a maintenance-free type engine immobilizer system.
Conditions that may cause the system to malfunction
If the key is in contact with a metallic object
If the key is in close proximity to or touching a key to the security system
(key with a built-in transponder chip) of another vehicle
The vehicle’s keys have built-in transponder chips that prevent the
engine from starting if the key has not been previously registered in
the vehicle’s on-board computer.
Never leave the keys inside the vehicle when you leave the vehicle.
Vehicles without smart entry & start system: The system begins
operating after the key has been removed from the engine switch.
Vehicles with smart entry & start system: The system begins oper-
ating after the “ENGINE START STOP” switch has been turned
OFF.
Vehicles without smart entry & start system: The system is can-
celed after the registered key has been inserted into the engine
switch.
Vehicles with smart entry & start system: The system is canceled
after the “ENGINE START STOP” switch has been turned to
ACCESSORY or IGNITION ON mode.
Page 117 of 476
117
1
1-6. Theft deterrent system
Before driving
iQ_WE_74014E
Double locking system
Setting the double locking system
Vehicles without smart entry & start system
Turn the engine switch to the LOCK position and remove the
key. Have all the passengers exit the vehicle and ensure that
all the doors are closed.
Press the button twice within 5 seconds.
Vehicles with smart entry & start system
Turn the “ENGINE START STOP” switch OFF, have all the
passengers exit the vehicle and ensure that all the doors are
closed.
Using the entry function:
Touch the lock sensor on the outside door handle or press the
lock button on the back door, twice within 5 seconds.
Using the wireless remote control:
Press the button twice within 5 seconds.
: If equipped
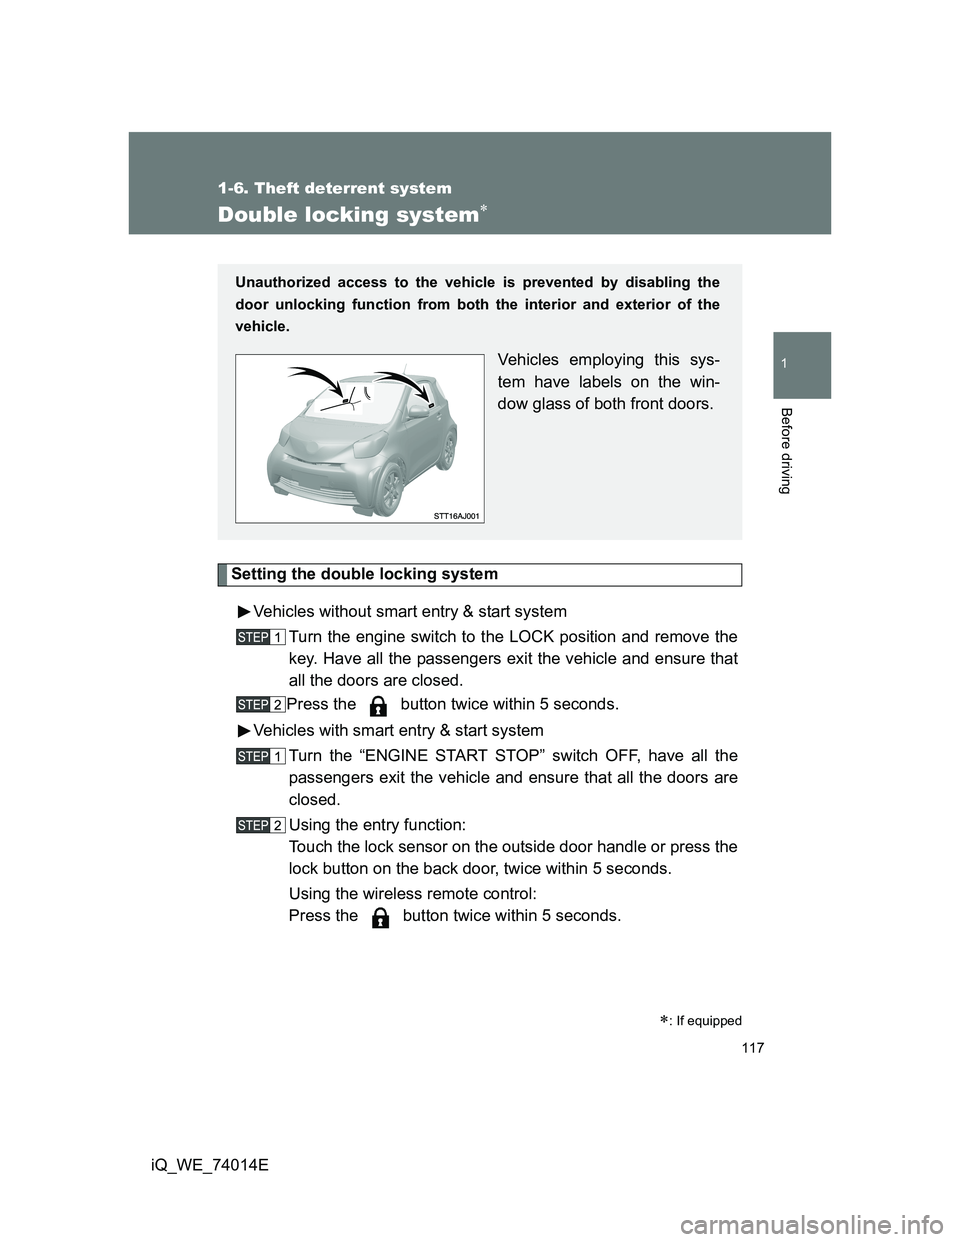
Unauthorized access to the vehicle is prevented by disabling the
door unlocking function from both the interior and exterior of the
vehicle.
Vehicles employing this sys-
tem have labels on the win-
dow glass of both front doors.
Page 120 of 476
120 1-6. Theft deterrent system
iQ_WE_74014E
System maintenance
The vehicle has a maintenance-free type alarm system.
Items to check before locking the vehicle
To prevent unexpected triggering of the alarm and vehicle theft, make sure
of the following.
Nobody is in the vehicle.
The windows are closed before the alarm is set.
No valuables or other personal items are left in the vehicle.
Triggering of the alarm
The alarm may be triggered in the following situations.
(Stopping the alarm deactivates the alarm system.)
Deactivating or stopping the alarm
Do one of the following to deactivate or stop the alarm.
Unlock the doors or back door using the entry function (vehi-
cles with smart entry & start system) or wireless remote con-
trol.
Start the engine. (The alarm will be deactivated or stopped
after a few seconds.)
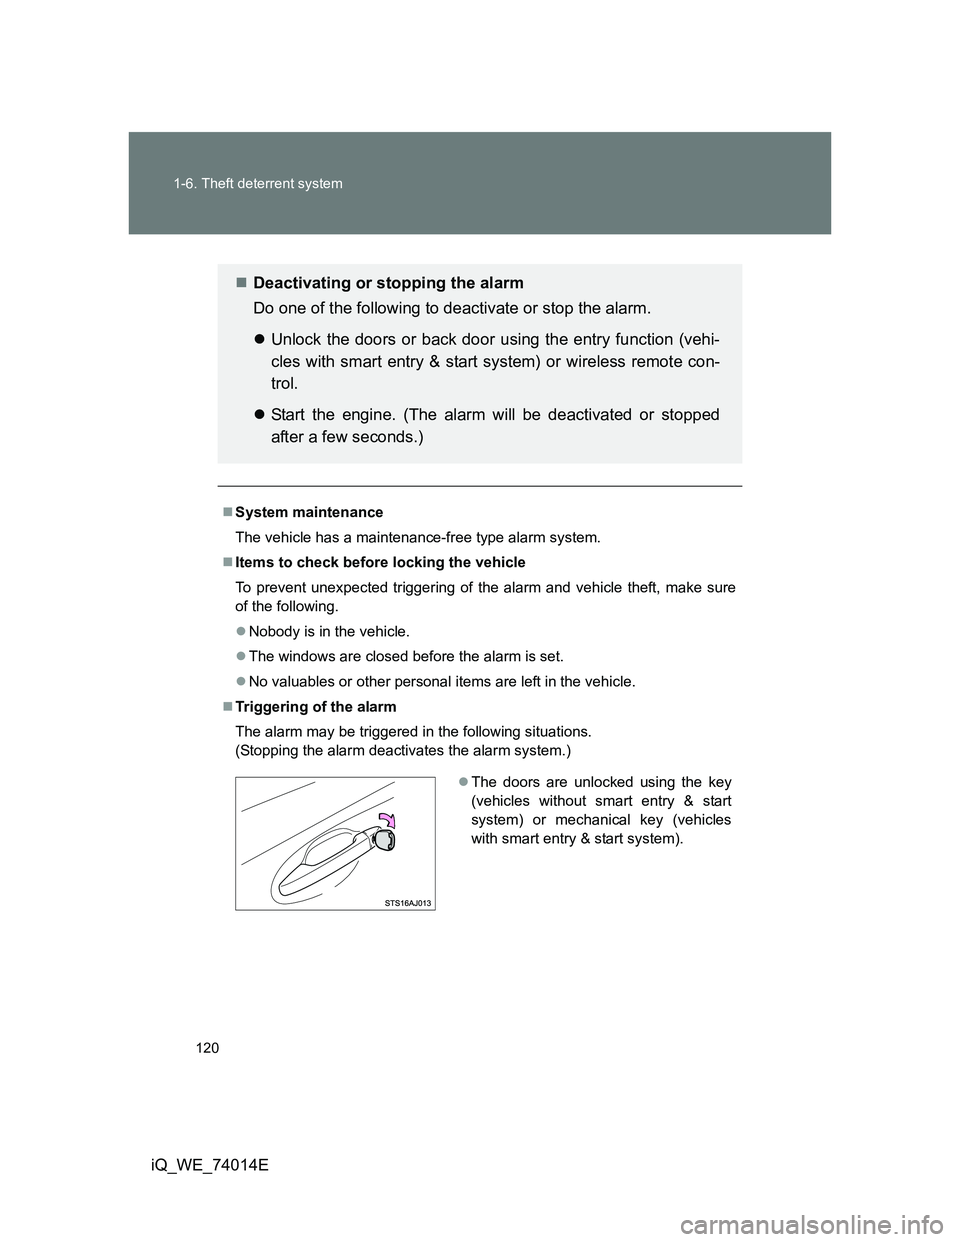
The doors are unlocked using the key
(vehicles without smart entry & start
system) or mechanical key (vehicles
with smart entry & start system).
Page 121 of 476
121 1-6. Theft deterrent system
1
Before driving
iQ_WE_74014E
When the battery is disconnected
Be sure to cancel the alarm system.
If the battery is disconnected before canceling the alarm, the system may be
triggered when the battery is reconnected.
Alarm-operated door lock
When the alarm is operating, the doors are locked automatically to pre-
vent intruders.
Do not leave the key inside the vehicle when the alarm is operating, and
make sure the key is not inside the vehicle when recharging or replacing
the battery.
NOTICE
To ensure the system operates correctly
Do not modify or remove the system. If modified or removed, the proper
operation of the system cannot be guaranteed.
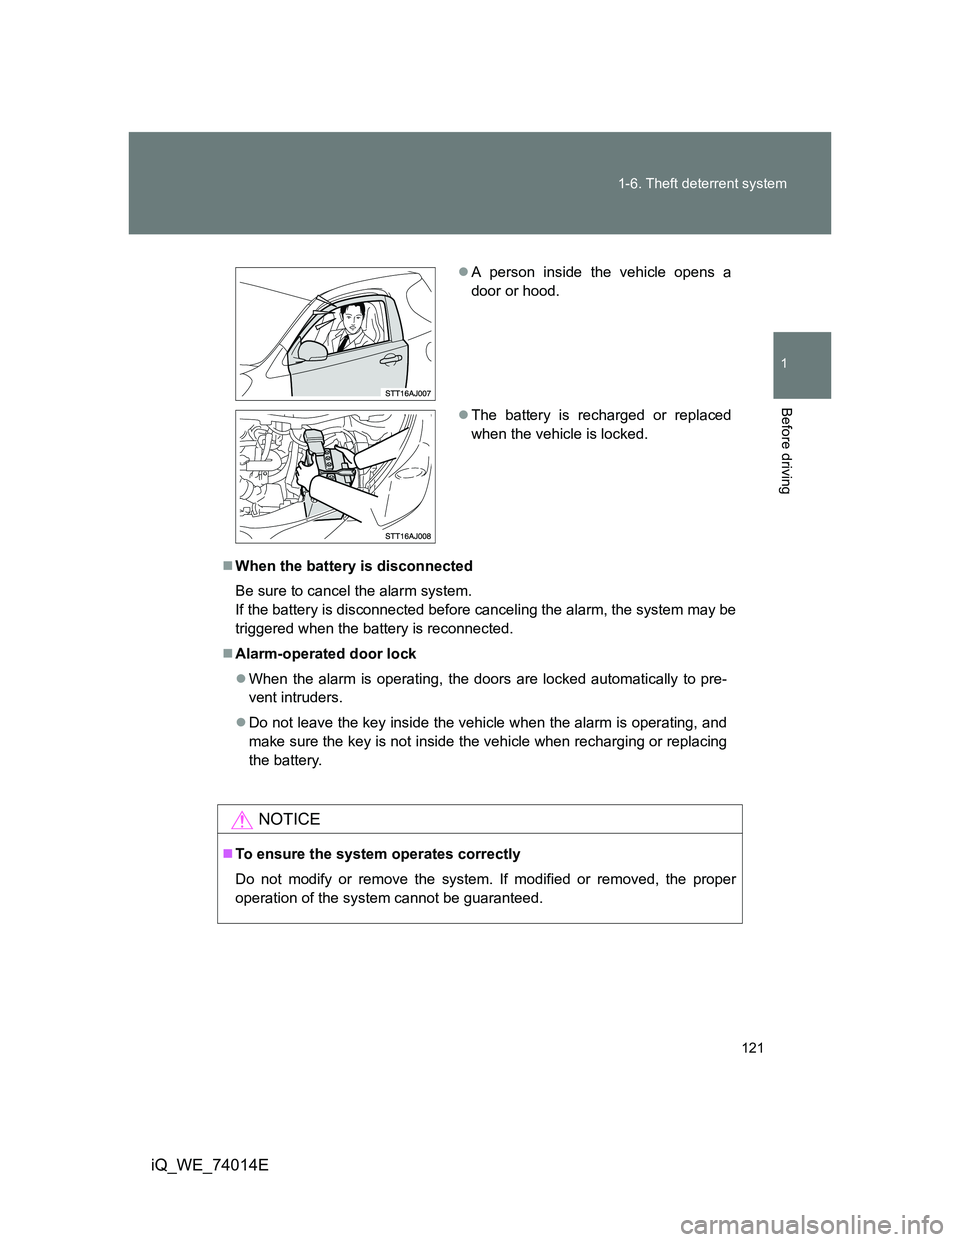
A person inside the vehicle opens a
door or hood.
The battery is recharged or replaced
when the vehicle is locked.
Page 135 of 476
135 1-7. Safety information
1
Before driving
iQ_WE_74014E
CAUTION
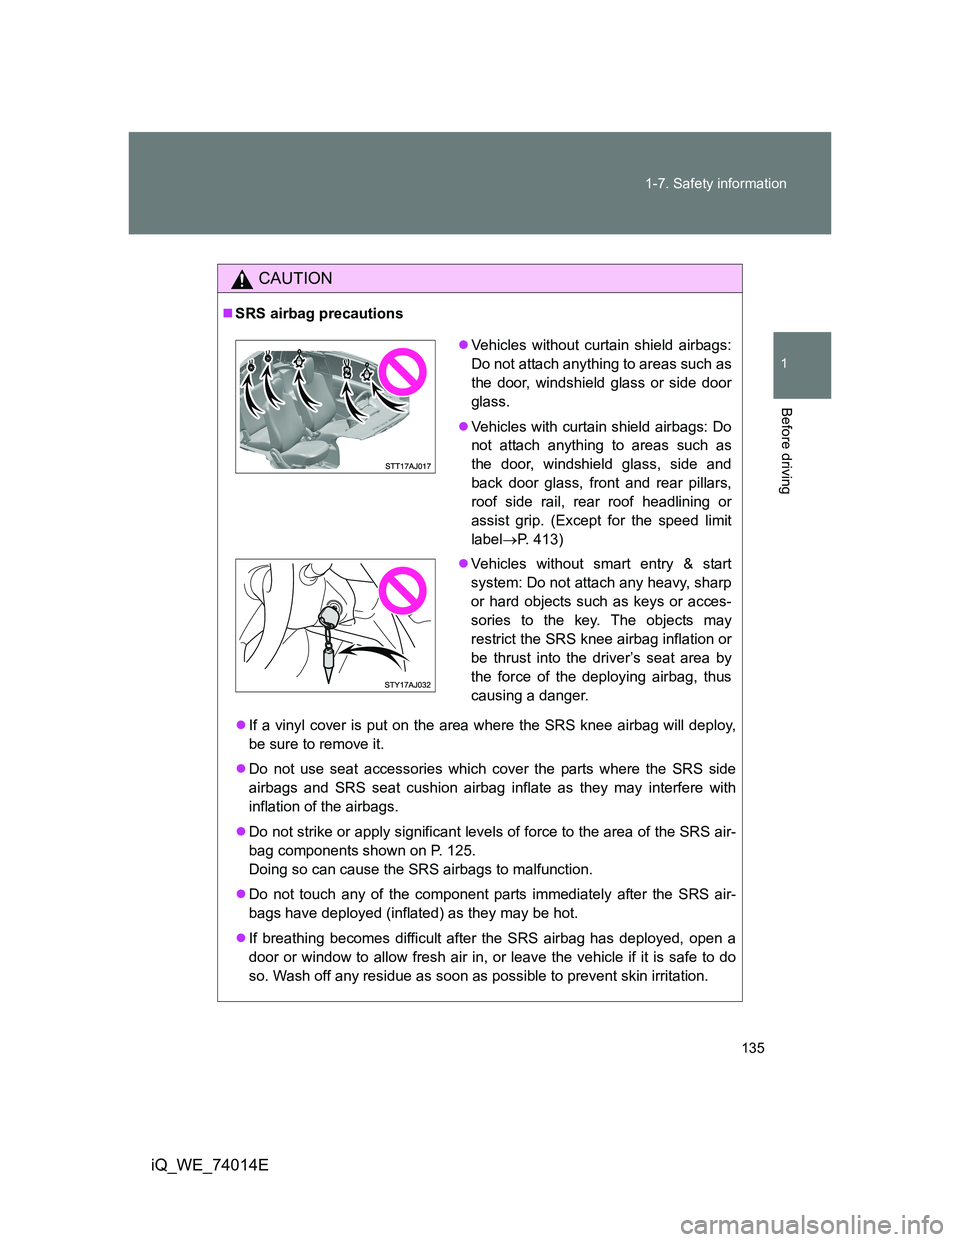
SRS airbag precautions
If a vinyl cover is put on the area where the SRS knee airbag will deploy,
be sure to remove it.
Do not use seat accessories which cover the parts where the SRS side
airbags and SRS seat cushion airbag inflate as they may interfere with
inflation of the airbags.
Do not strike or apply significant levels of force to the area of the SRS air-
bag components shown on P. 125.
Doing so can cause the SRS airbags to malfunction.
Do not touch any of the component parts immediately after the SRS air-
bags have deployed (inflated) as they may be hot.
If breathing becomes difficult after the SRS airbag has deployed, open a
door or window to allow fresh air in, or leave the vehicle if it is safe to do
so. Wash off any residue as soon as possible to prevent skin irritation.
Vehicles without curtain shield airbags:
Do not attach anything to areas such as
the door, windshield glass or side door
glass.
Vehicles with curtain shield airbags: Do
not attach anything to areas such as
the door, windshield glass, side and
back door glass, front and rear pillars,
roof side rail, rear roof headlining or
assist grip. (Except for the speed limit
labelP. 413)
Vehicles without smart entry & start
system: Do not attach any heavy, sharp
or hard objects such as keys or acces-
sories to the key. The objects may
restrict the SRS knee airbag inflation or
be thrust into the driver’s seat area by
the force of the deploying airbag, thus
causing a danger.
Page 139 of 476
139 1-7. Safety information
1
Before driving
iQ_WE_74014E
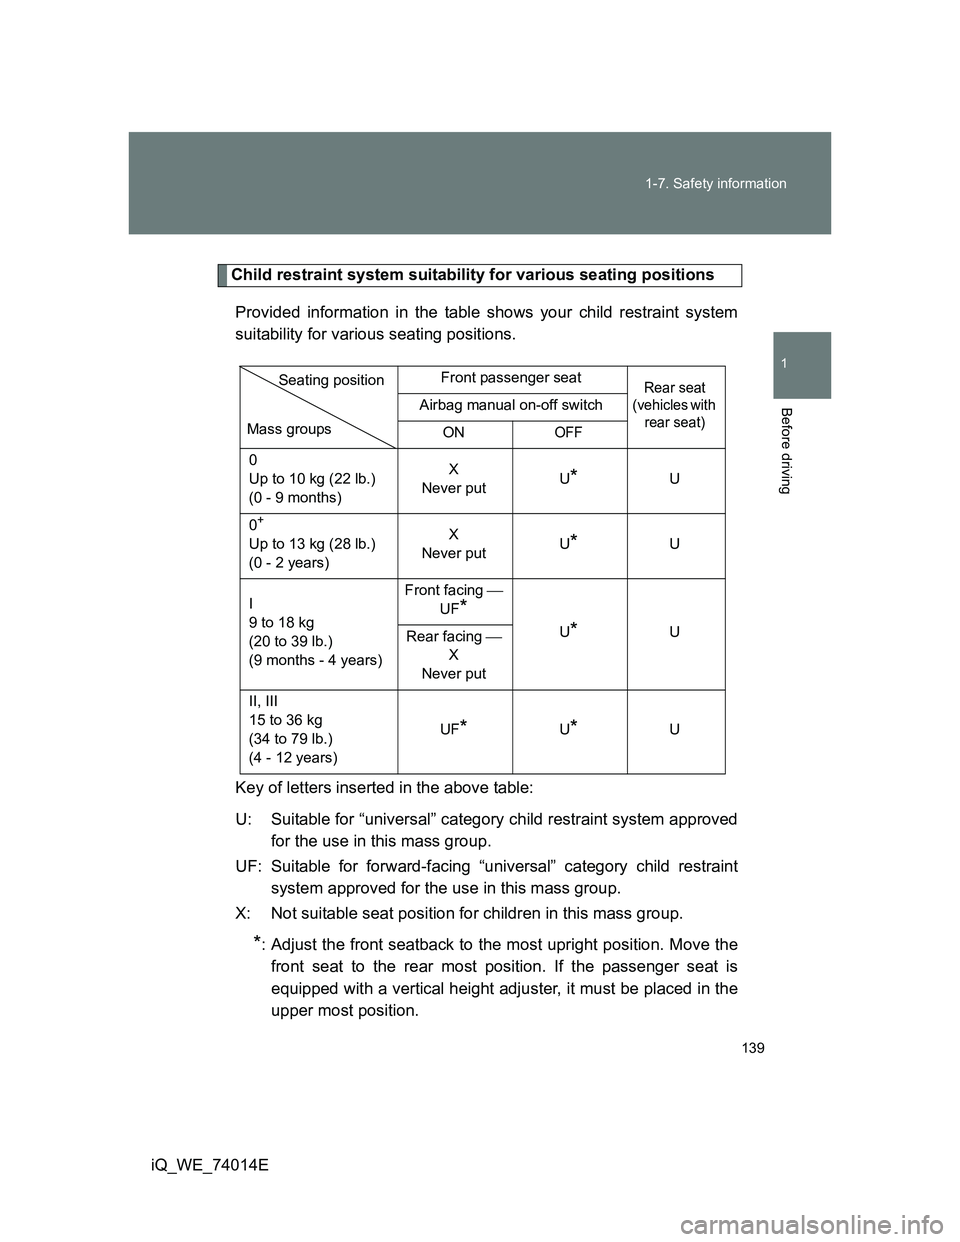
Child restraint system suitability for various seating positions
Provided information in the table shows your child restraint system
suitability for various seating positions.
Key of letters inserted in the above table:
U: Suitable for “universal” category child restraint system approved
for the use in this mass group.
UF: Suitable for forward-facing “universal” category child restraint
system approved for the use in this mass group.
X: Not suitable seat position for children in this mass group.
*: Adjust the front seatback to the most upright position. Move the
front seat to the rear most position. If the passenger seat is
equipped with a vertical height adjuster, it must be placed in the
upper most position.
Front passenger seatRear seat
(vehicles with
rear seat)
Airbag manual on-off switch
ON
OFF
0
Up to 10 kg (22 lb.)
(0 - 9 months)X
Never putU
*U
0
+
Up to 13 kg (28 lb.)
(0 - 2 years)X
Never putU*U
I
9 to 18 kg
(20 to 39 lb.)
(9 months - 4 years)Front facing
UF
*
U*U
Rear facing
X
Never put
II, III
15 to 36 kg
(34 to 79 lb.)
(4 - 12 years)UF
*U*U
Mass groupsSeating position
Page 143 of 476
143 1-7. Safety information
1
Before driving
iQ_WE_74014E(1) For the child restraint system (CRS) which do not carry the ISO/
XX size class identification (A to G), for the applicable mass
group, the car manufacturer shall indicate the vehicle specific
ISOFIX child restraint system(s) recommended for each position
Key of letters inserted in the above table:
IUF: Suitable for ISOFIX forward-facing child restraint systems of uni-
versal category approved for use in this mass group
IL: It is suitable for child restraint system shown in the ISOFIX child
restraint system list.
X: ISOFIX position not suitable for ISOFIX child restraint systems
in this mass group and/or this size class.
*1: When installing the ISOFIX child restraint system, set the front
seat at front-most and upright position.
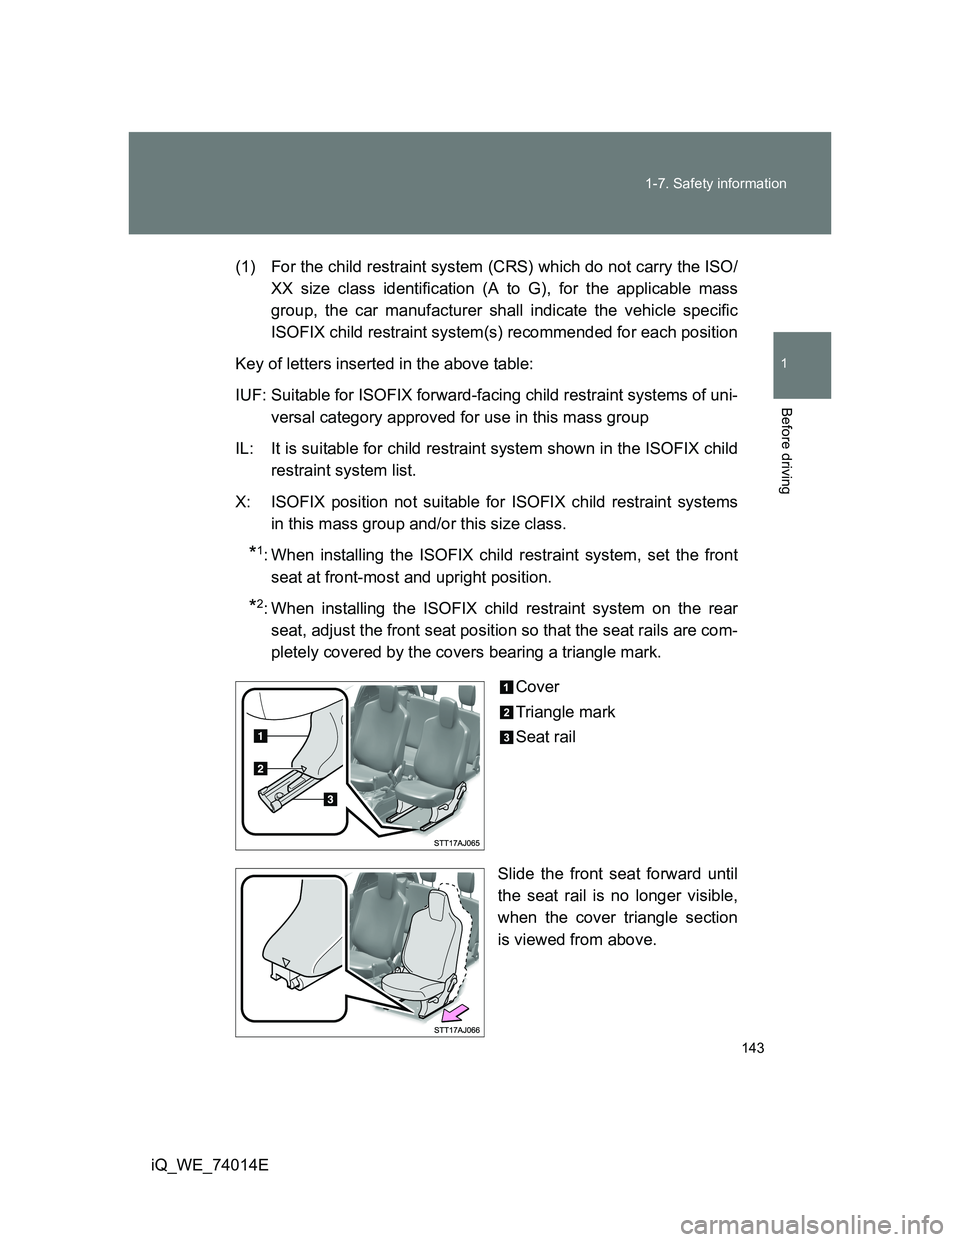
*2: When installing the ISOFIX child restraint system on the rear
seat, adjust the front seat position so that the seat rails are com-
pletely covered by the covers bearing a triangle mark.
Cover
Triangle mark
Seat rail
Slide the front seat forward until
the seat rail is no longer visible,
when the cover triangle section
is viewed from above.
Page 160 of 476
160 1-7. Safety information
iQ_WE_74014E
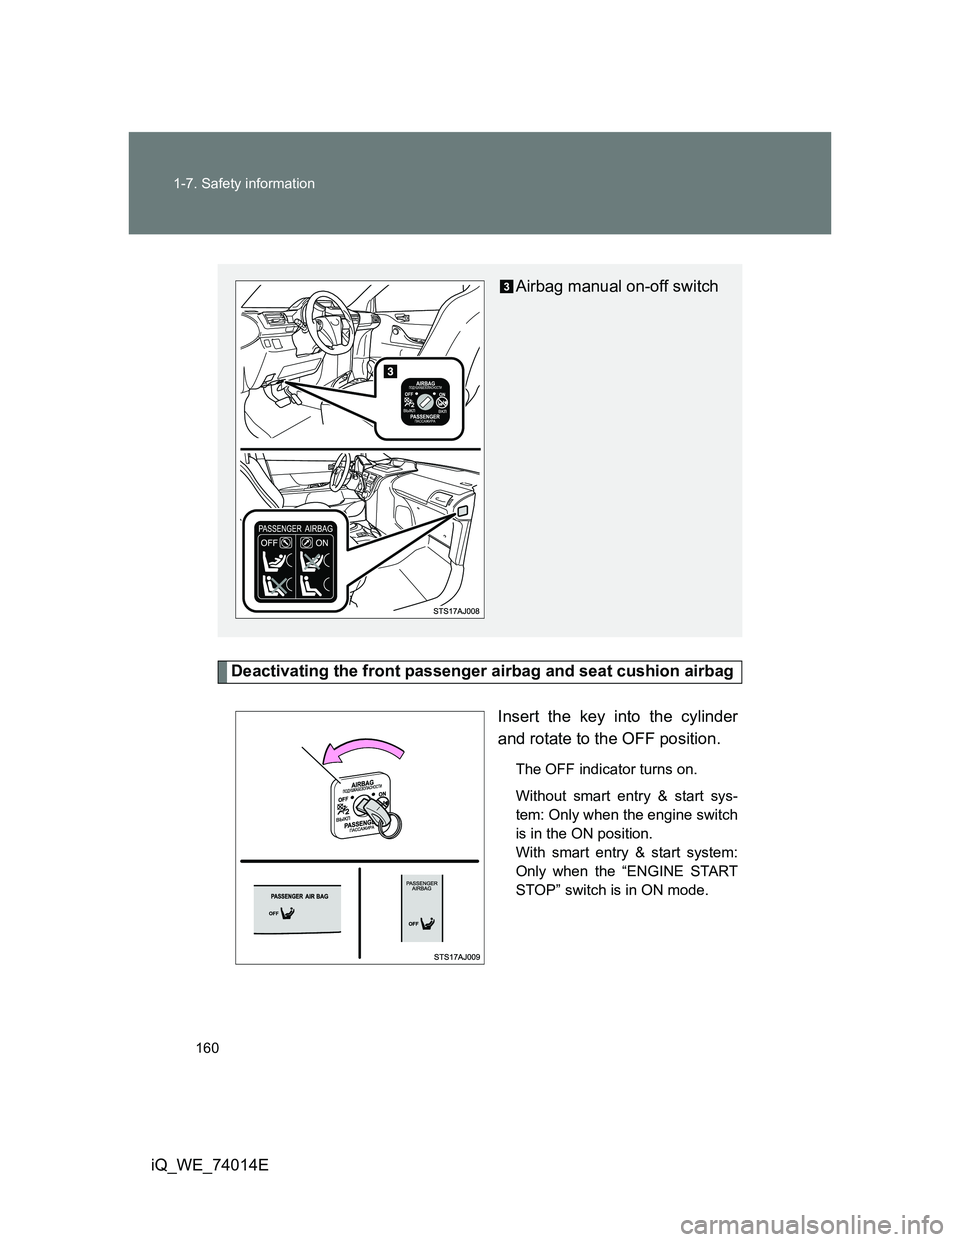
Deactivating the front passenger airbag and seat cushion airbag
Insert the key into the cylinder
and rotate to the OFF position.
The OFF indicator turns on.
Without smart entry & start sys-
tem: Only when the engine switch
is in the ON position.
With smart entry & start system:
Only when the “ENGINE START
STOP” switch is in ON mode.
Airbag manual on-off switch
Page 165 of 476
165 2-1. Driving procedures
2
When driving
iQ_WE_74014E
If necessary, set the parking brake.
When the vehicle is stopped for an extended period of time, shift
the shift lever to N. (P. 189)
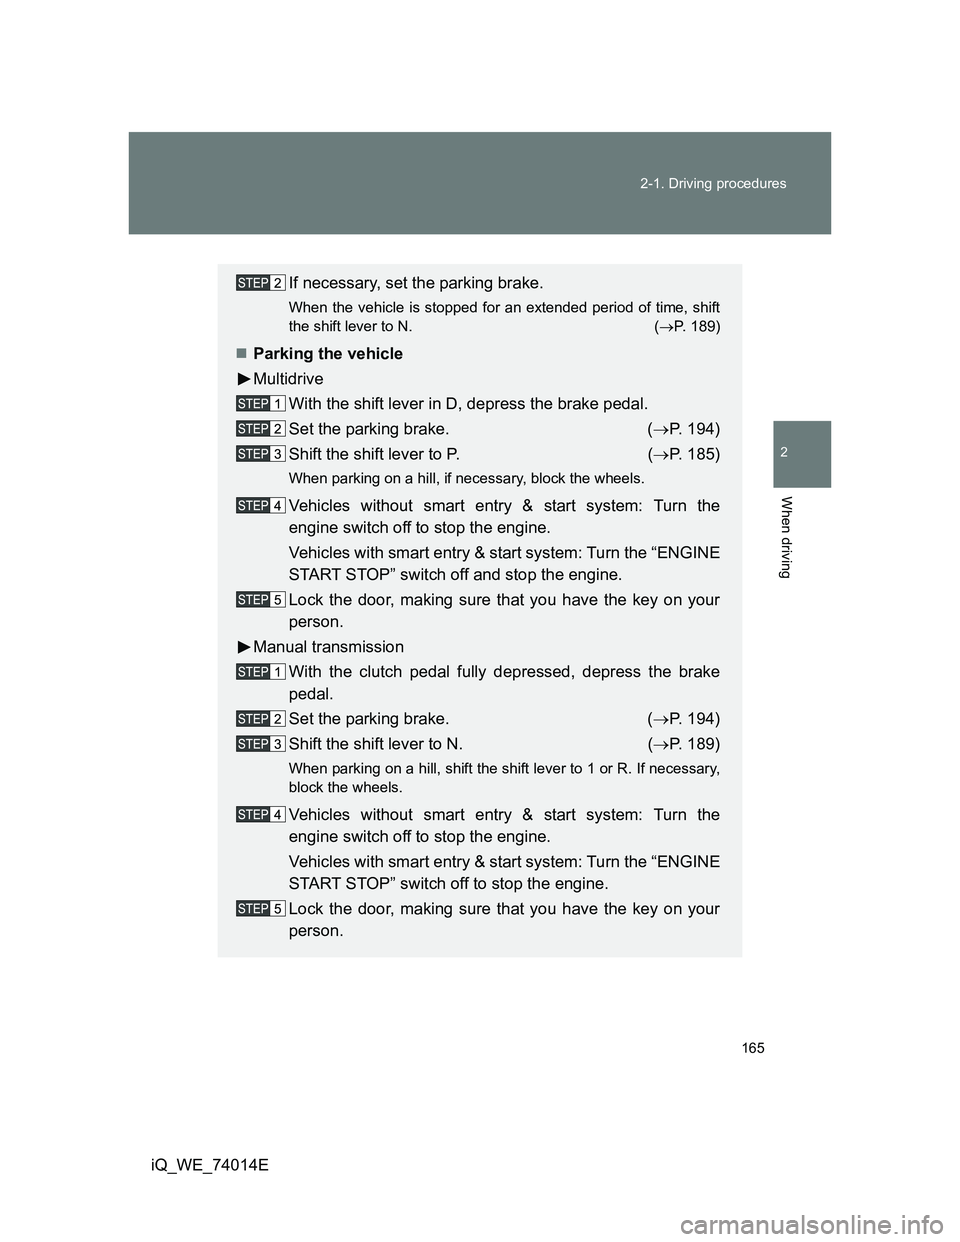
Parking the vehicle
Multidrive
With the shift lever in D, depress the brake pedal.
Set the parking brake. (P. 194)
Shift the shift lever to P. (P. 185)
When parking on a hill, if necessary, block the wheels.
Vehicles without smart entry & start system: Turn the
engine switch off to stop the engine.
Vehicles with smart entry & start system: Turn the “ENGINE
START STOP” switch off and stop the engine.
Lock the door, making sure that you have the key on your
person.
Manual transmission
With the clutch pedal fully depressed, depress the brake
pedal.
Set the parking brake. (P. 194)
Shift the shift lever to N. (P. 189)
When parking on a hill, shift the shift lever to 1 or R. If necessary,
block the wheels.
Vehicles without smart entry & start system: Turn the
engine switch off to stop the engine.
Vehicles with smart entry & start system: Turn the “ENGINE
START STOP” switch off to stop the engine.
Lock the door, making sure that you have the key on your
person.
Page 176 of 476
176
2-1. Driving procedures
iQ_WE_74014E
Engine (ignition) switch (vehicles without smart entr y & start system)
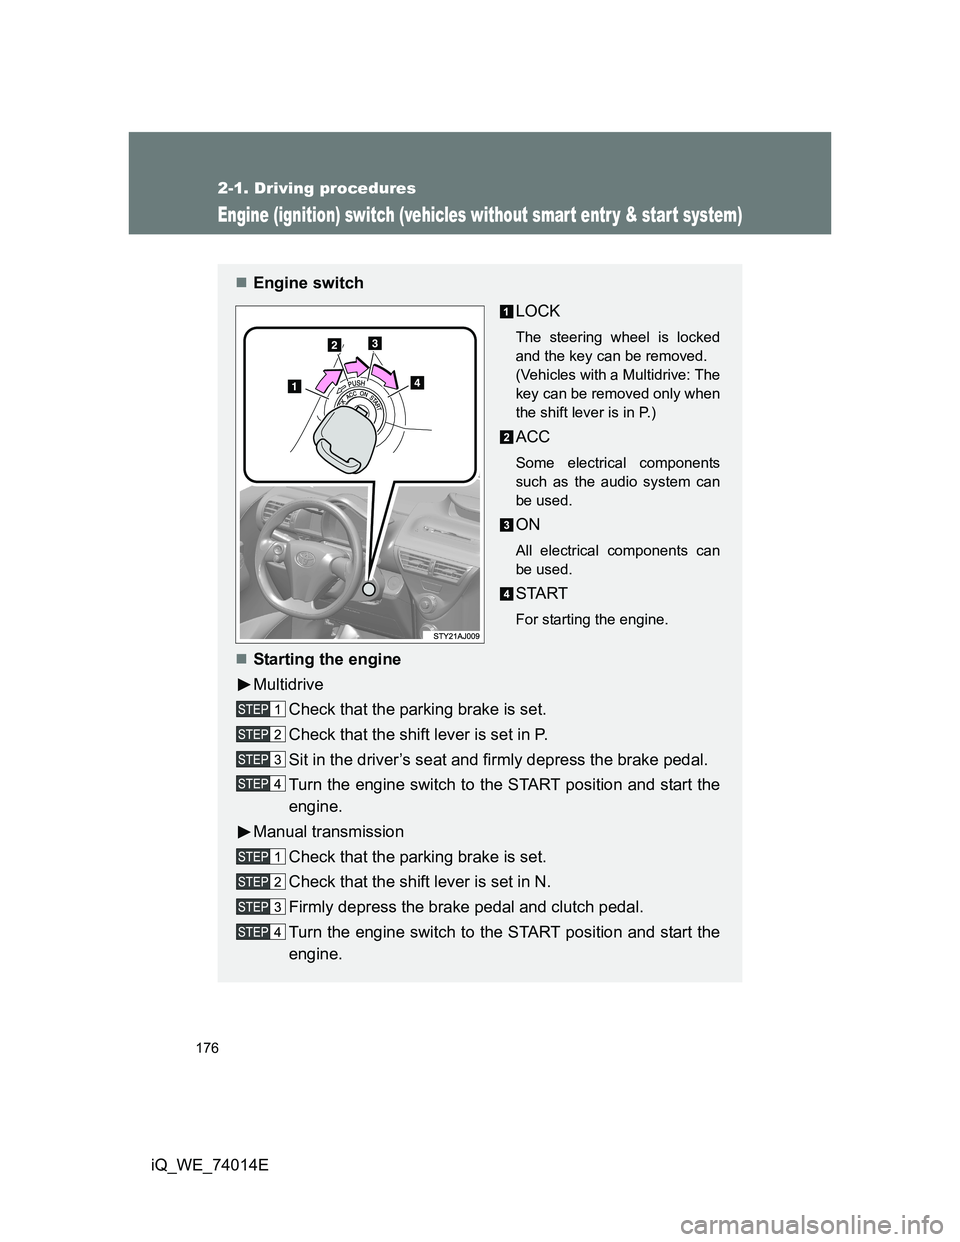
Engine switch
LOCK
The steering wheel is locked
and the key can be removed.
(Vehicles with a Multidrive: The
key can be removed only when
the shift lever is in P.)
ACC
Some electrical components
such as the audio system can
be used.
ON
All electrical components can
be used.
START
For starting the engine.
Starting the engine
Multidrive
Check that the parking brake is set.
Check that the shift lever is set in P.
Sit in the driver’s seat and firmly depress the brake pedal.
Turn the engine switch to the START position and start the
engine.
Manual transmission
Check that the parking brake is set.
Check that the shift lever is set in N.
Firmly depress the brake pedal and clutch pedal.
Turn the engine switch to the START position and start the
engine.