engine TOYOTA MATRIX 2011 E140 / 2.G User Guide
[x] Cancel search | Manufacturer: TOYOTA, Model Year: 2011, Model line: MATRIX, Model: TOYOTA MATRIX 2011 E140 / 2.GPages: 501, PDF Size: 11.47 MB
Page 53 of 501
53
1
1-3. Adjustable components (seats, mirrors, steering wheel)
Before driving
Anti-glare inside rear view mirror
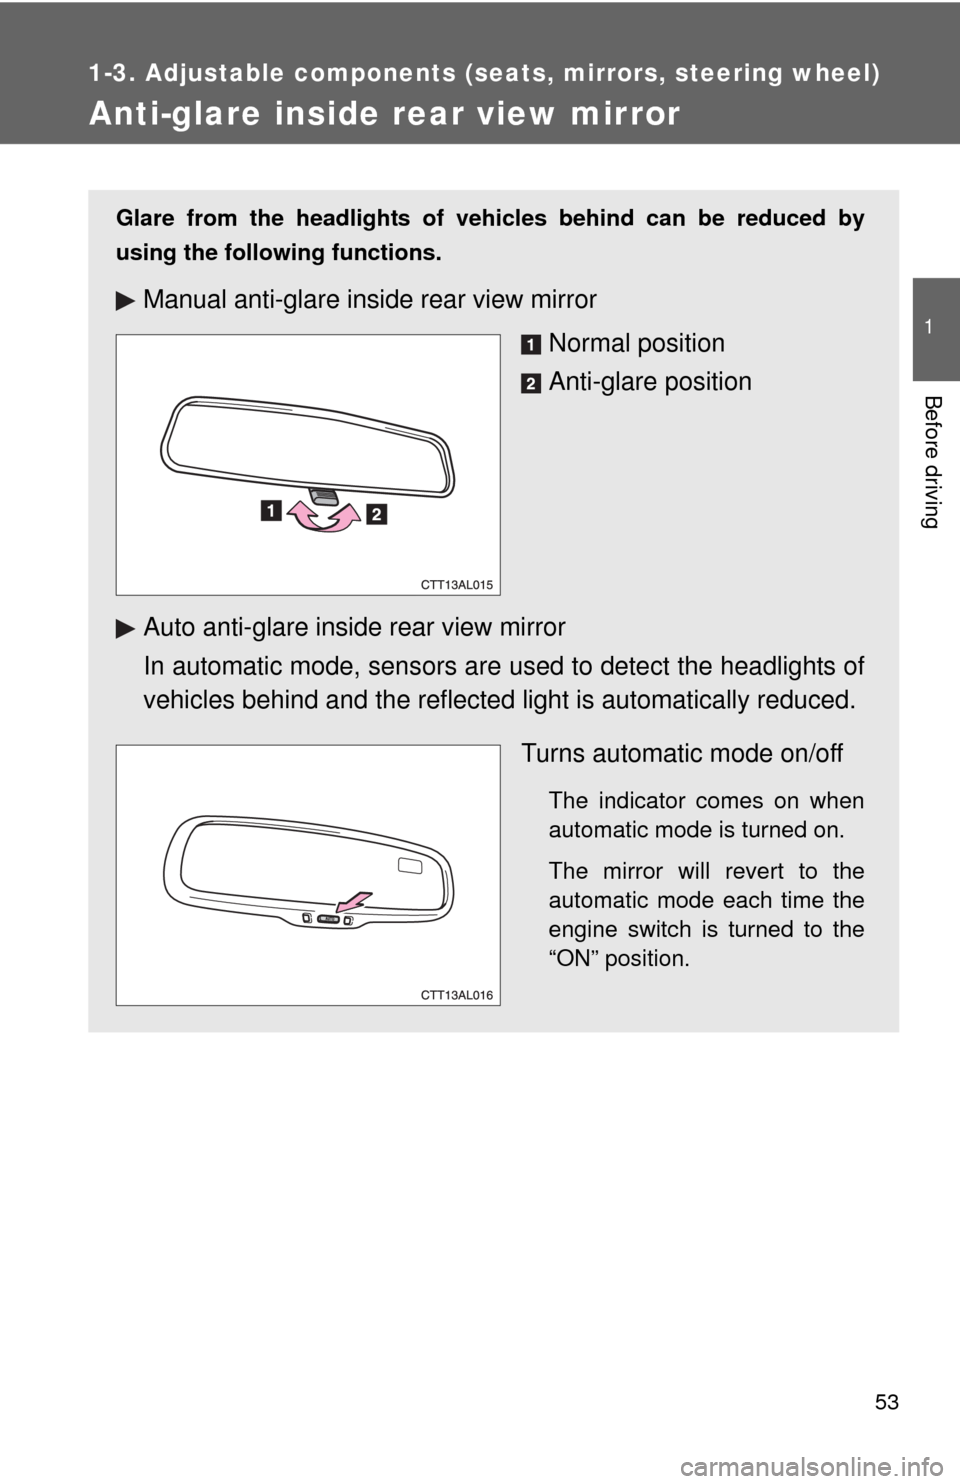
Glare from the headlights of vehicles behind can be reduced by
using the following functions.
Manual anti-glare inside rear view mirror
Normal position
Anti-glare position
Auto anti-glare inside rear view mirror
In automatic mode, sensors are used to detect the headlights of
vehicles behind and the reflected light is automatically reduced.
Turns automatic mode on/off
The indicator comes on when
automatic mode is turned on.
The mirror will revert to the
automatic mode each time the
engine switch is turned to the
“ON” position.
Page 56 of 501
56 1-3. Adjustable components (seats, mirrors, steering wheel)
■Mirror angle can be adjusted when
The engine switch is in the “ACC” or “ON” position.
■When the mirrors are fogged up (vehicles with outside rear view mirror
defoggers)
Turn on the mirror defoggers to defog the mirrors. (P. 179)
CAUTION
■When driving the vehicle
Observe the following precautions while driving.
Failing to do so may result in loss of control of the vehicle and cause an acci-
dent, resulting in death or serious injury.
●Do not adjust the mirrors while driving.
●Do not drive with the mirrors folded back.
●Both the driver and passenger side mirrors must be extended and properly
adjusted before driving.
■When the mirror defoggers are operating (vehicles with outside rear
view mirror defoggers)
Do not touch the rear view mirror surfaces, as they can become very hot and
burn you.
Page 57 of 501
57
1
Before driving
1-4. Opening and closing the windows
Power windows
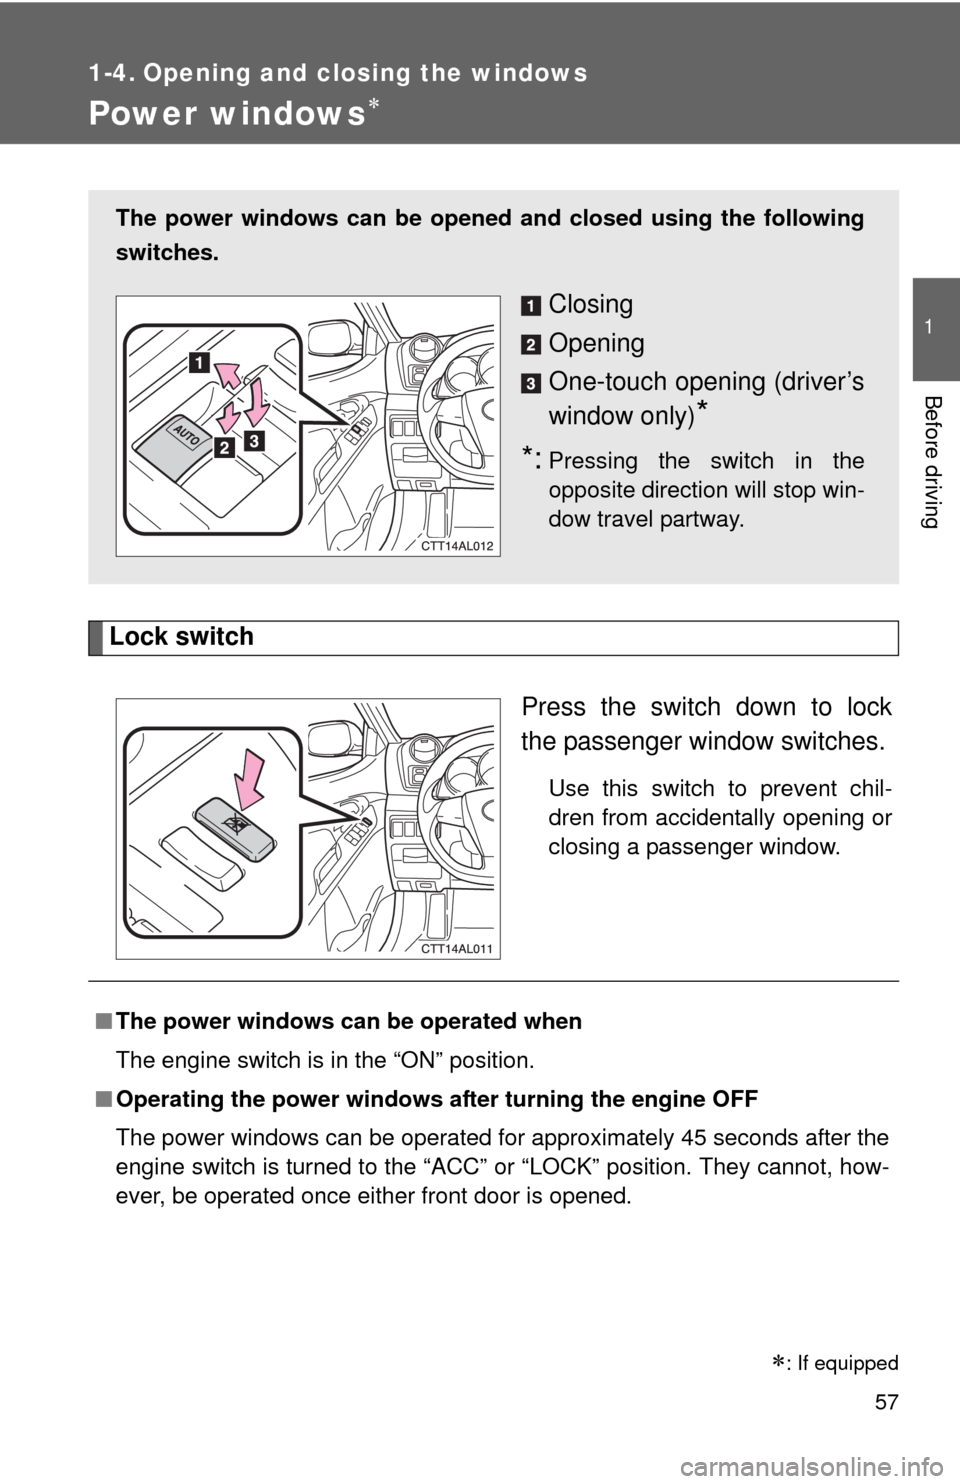
Lock switch
Press the switch down to lock
the passenger window switches.
Use this switch to prevent chil-
dren from accidentally opening or
closing a passenger window.
The power windows can be opened and closed using the following
switches.
Closing
Opening
One-touch opening (driver’s
window only)
*
*:Pressing the switch in the
opposite direction will stop win-
dow travel partway.
■The power windows can be operated when
The engine switch is in the “ON” position.
■Operating the power windows after turning the engine OFF
The power windows can be operated for approximately 45 seconds after the
engine switch is turned to the “ACC” or “LOCK” position. They cannot, how-
ever, be operated once either front door is opened.
: If equipped
Page 60 of 501

60 1-4. Opening and closing the windows
■The moon roof can be operated when
The engine switch is in the “ON” position.
■Operating the moon roof after turning the engine OFF
The moon roof can be operated for approximately 45 seconds after the
engine switch is turned to the “ACC” or “LOCK” position. It cannot, however,
be operated once either front door is opened.
■Jam protection function
If an object is detected between the moon roof and the frame while closing
or tilting down, travel is stopped and the moon roof opens slightly.
■To reduce wind noise
Drive with the moon roof opened to slightly before the fully open position as
driving with the moon roof opened fully will cause wind noise.
■Sunshade
The sunshade can be opened and closed manually. However, the sunshade
will open automatically when the moon roof is opened.
Page 62 of 501

62
1-5. Refueling
Opening the fuel tank cap
Perform the following steps to open the fuel tank cap.
■Before refueling the vehicle
Turn the engine switch OFF and ensure that all the doors and
windows are closed.
■Opening the fuel tank cap
Pull up the fuel filler door
opener.
Turn the fuel tank cap slowly
to open.
Hang the fuel tank cap on the
back of the fuel filler door.
STEP1
STEP2
STEP3
Page 66 of 501
66
1-6. Theft deterrent system
Engine immobilizer system
■System maintenance
The vehicle has a maintenance-free type engine immobilizer system.
■Conditions that may cause the system to malfunction
●If the key is in contact with a metallic object
●If the key is in close proximity to or touching a key to the security system
(key with a built-in transponder chip) of another vehicle
■Certifications for the engine immobilizer system (for vehicles sold in
U.S.A.)
FCC ID: WRKRI-34BTY
This device complies with Part 15 of the FCC Rules. Operation is subject to
the following two conditions: (1) this device may not cause harmful interfer-
ence, and (2) this device must accept any interference received, including
interference that may cause undesired operation.
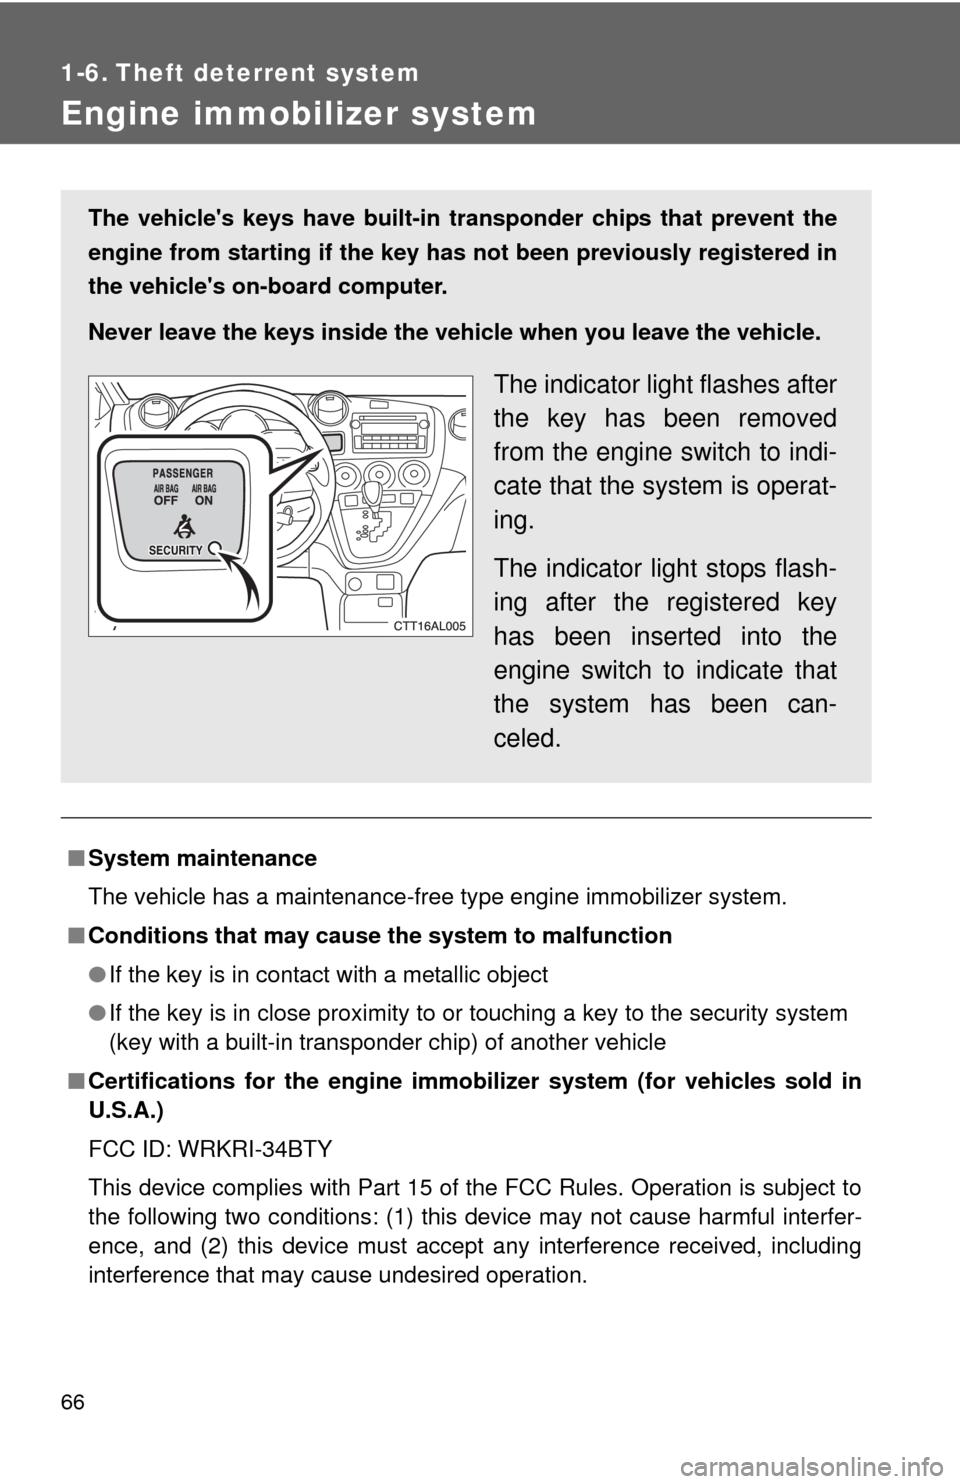
The vehicle's keys have built-in transponder chips that prevent the
engine from starting if the key has not been previously registered in
the vehicle's on-board computer.
Never leave the keys inside the vehicle when you leave the vehicle.
The indicator light flashes after
the key has been removed
from the engine switch to indi-
cate that the system is operat-
ing.
The indicator light stops flash-
ing after the registered key
has been inserted into the
engine switch to indicate that
the system has been can-
celed.
Page 67 of 501

67 1-6. Theft deterrent system
1
Before driving
■Certifications for the engine immobilizer system (for vehicles sold in
Canada)
Operation is subject to the following two conditions: (1) this device may not
cause interference, and (2) this device must accept any interference, includ-
ing interference that may cause undesired operation of the device.
CAUTION
Changes or modifications not expressly approved by the party responsible
for compliance could void the user’s authority to operate the equipment.
NOTICE
■To ensure the system operates correctly
Do not modify or remove the system. If modified or removed, the proper
operation of the system cannot be guaranteed.
Page 103 of 501
When driving2
103
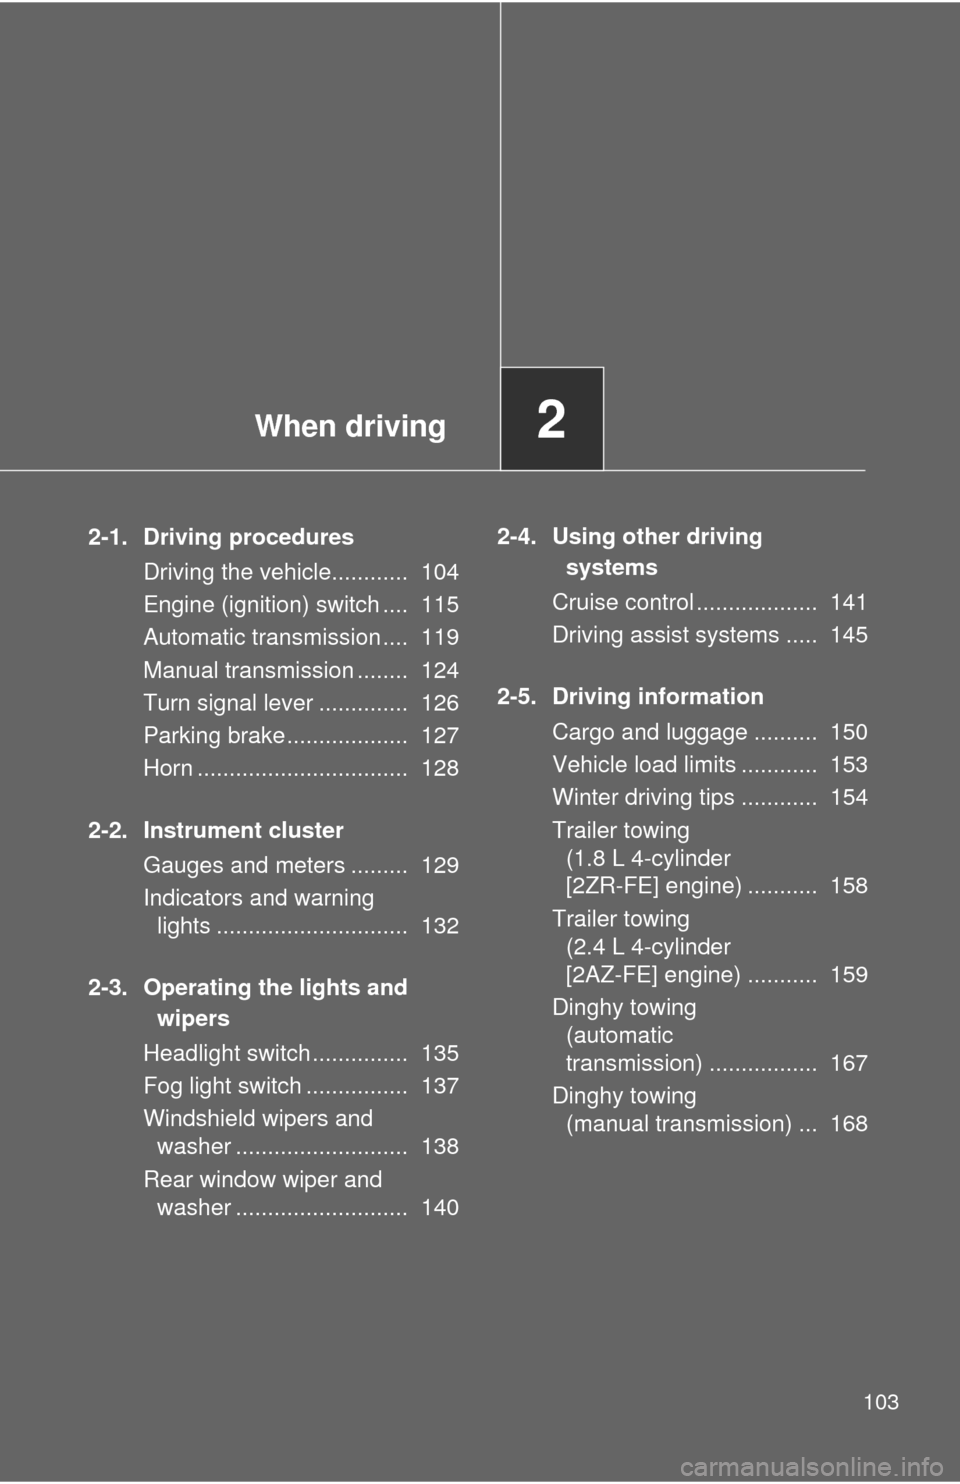
2-1. Driving procedures
Driving the vehicle............ 104
Engine (ignition) switch .... 115
Automatic transmission .... 119
Manual transmission ........ 124
Turn signal lever .............. 126
Parking brake ................... 127
Horn ................................. 128
2-2. Instrument cluster
Gauges and meters ......... 129
Indicators and warning
lights .............................. 132
2-3. Operating the lights and
wipers
Headlight switch ............... 135
Fog light switch ................ 137
Windshield wipers and
washer ........................... 138
Rear window wiper and
washer ........................... 1402-4. Using other driving
systems
Cruise control ................... 141
Driving assist systems ..... 145
2-5. Driving information
Cargo and luggage .......... 150
Vehicle load limits ............ 153
Winter driving tips ............ 154
Trailer towing
(1.8 L 4-cylinder
[2ZR-FE] engine) ........... 158
Trailer towing
(2.4 L 4-cylinder
[2AZ-FE] engine) ........... 159
Dinghy towing
(automatic
transmission) ................. 167
Dinghy towing
(manual transmission) ... 168
Page 104 of 501
104
2-1. Driving procedures
Driving the vehicle
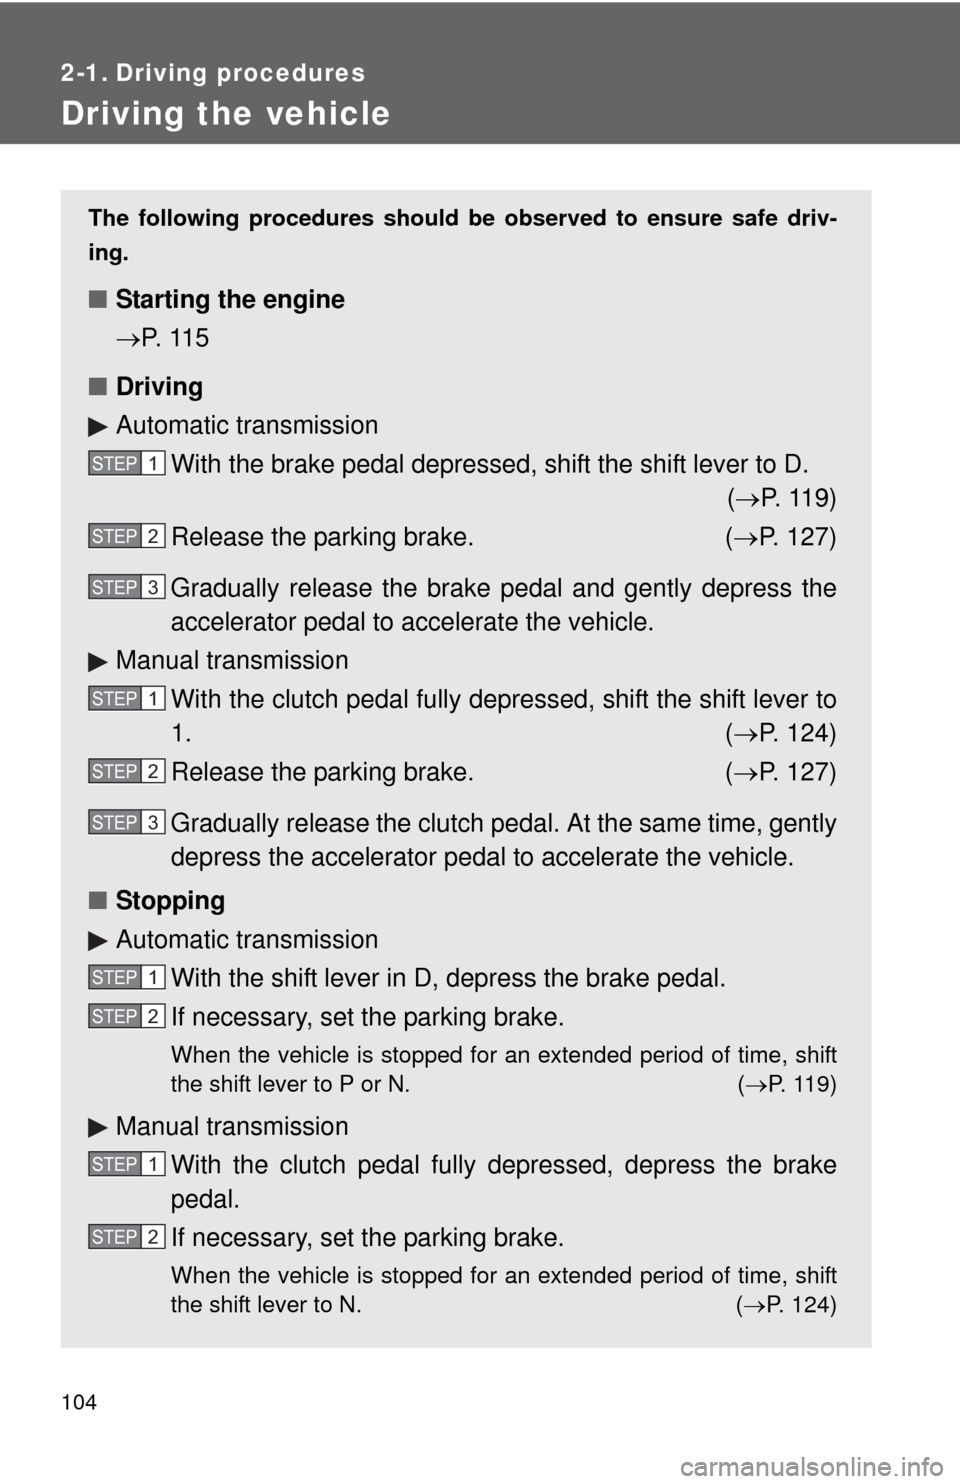
The following procedures should be observed to ensure safe driv-
ing.
■Starting the engine
P. 11 5
■Driving
Automatic transmission
With the brake pedal depressed, shift the shift lever to D.
(P. 119)
Release the parking brake. (P. 127)
Gradually release the brake pedal and gently depress the
accelerator pedal to accelerate the vehicle.
Manual transmission
With the clutch pedal fully depressed, shift the shift lever to
1. (P. 124)
Release the parking brake. (P. 127)
Gradually release the clutch pedal. At the same time, gently
depress the accelerator pedal to accelerate the vehicle.
■Stopping
Automatic transmission
With the shift lever in D, depress the brake pedal.
If necessary, set the parking brake.
When the vehicle is stopped for an extended period of time, shift
the shift lever to P or N. (P. 119)
Manual transmission
With the clutch pedal fully depressed, depress the brake
pedal.
If necessary, set the parking brake.
When the vehicle is stopped for an extended period of time, shift
the shift lever to N. (P. 124)
STEP1
STEP2
STEP3
STEP1
STEP2
STEP3
STEP1
STEP2
STEP1
STEP2
Page 105 of 501
105 2-1. Driving procedures
2
When driving
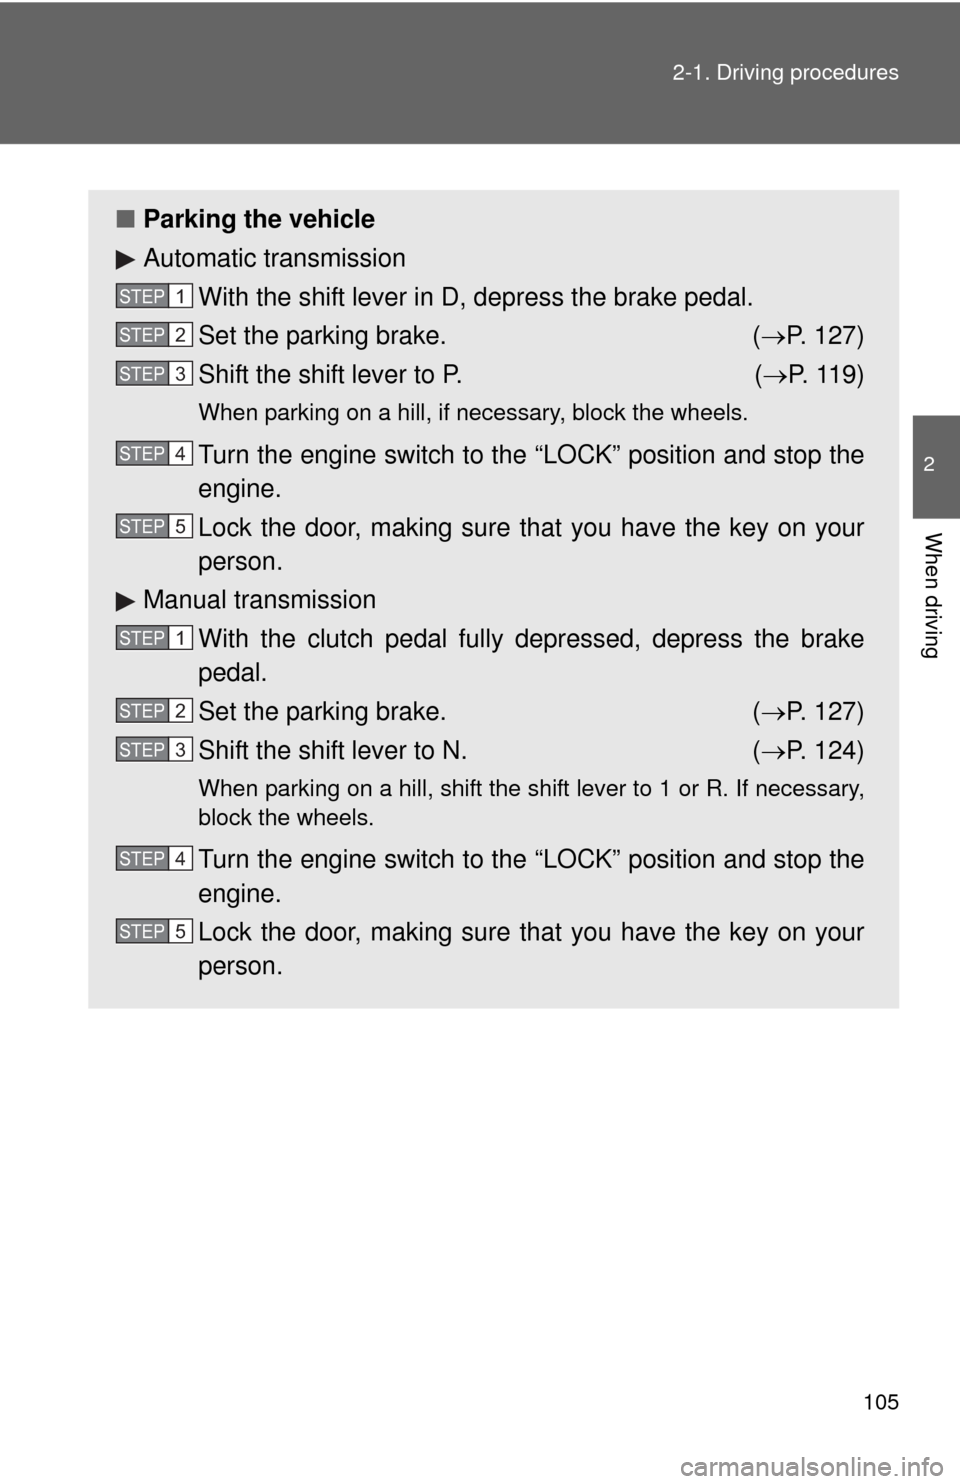
■Parking the vehicle
Automatic transmission
With the shift lever in D, depress the brake pedal.
Set the parking brake. (P. 127)
Shift the shift lever to P. (P. 119)
When parking on a hill, if necessary, block the wheels.
Turn the engine switch to the “LOCK” position and stop the
engine.
Lock the door, making sure that you have the key on your
person.
Manual transmission
With the clutch pedal fully depressed, depress the brake
pedal.
Set the parking brake. (P. 127)
Shift the shift lever to N. (P. 124)
When parking on a hill, shift the shift lever to 1 or R. If necessary,
block the wheels.
Turn the engine switch to the “LOCK” position and stop the
engine.
Lock the door, making sure that you have the key on your
person.
STEP1
STEP2
STEP3
STEP4
STEP5
STEP1
STEP2
STEP3
STEP4
STEP5