engine TOYOTA MATRIX 2011 E140 / 2.G Repair Manual
[x] Cancel search | Manufacturer: TOYOTA, Model Year: 2011, Model line: MATRIX, Model: TOYOTA MATRIX 2011 E140 / 2.GPages: 501, PDF Size: 11.47 MB
Page 182 of 501
182 3-2. Using the audio system
CAUTION
■For vehicles sold in U.S.A. and Canada
●Part 15 of the FCC Rules
FCC Warning:
Any unauthorized changes or modifications to this equipment will void the
user’s authority to operate this device.
●Laser products
• Do not take this unit apart or attempt to make any changes yourself.
This is an intricate unit that uses a laser pickup to retrieve information
from the surface of compact discs. The laser is carefully shielded so
that its rays remain inside the cabinet. Therefore, never try to disas-
semble the player or alter any of its parts since you may be exposed to
laser rays and dangerous voltages.
• This product utilizes a laser.
Use of controls or adjustments or performance of procedures other
than those specified herein may result in hazardous radiation expo-
sure.
NOTICE
■To prevent battery discharge
Do not leave the audio system on longer than necessary with the engine off.
■To avoid damaging the audio system
Take care not to spill drinks or other fluids over the audio system.
Page 243 of 501
243 3-3. Using the Bluetooth
® audio system
3
Interior features
Press the talk switch and say “From car” or “From audio”, and
select “Confirm” using a voice command or .
If “From car” is selected, the portable player will be automatically
connected whenever the engine switch is in either the “ACC” or “ON”
position.
Changing the registered name of a portable player
Select “Change Name” using a voice command or .
Select the name of the portable player to be changed by
either of the following methods, and select “Confirm” using a
voice command or :
a. Press the talk switch and say the name of the desired por-
table player.
b. Press the talk switch and say “List audio players”. When the
name of the desired portable player is read aloud, press the
talk switch.
Press the talk switch or select “Record Name” using ,
and say the new name.
Select “Confirm” using a voice command or .
STEP3
STEP1
STEP2
STEP3
STEP4
Page 283 of 501
283 3-5. Using the interior lights
3
Interior features
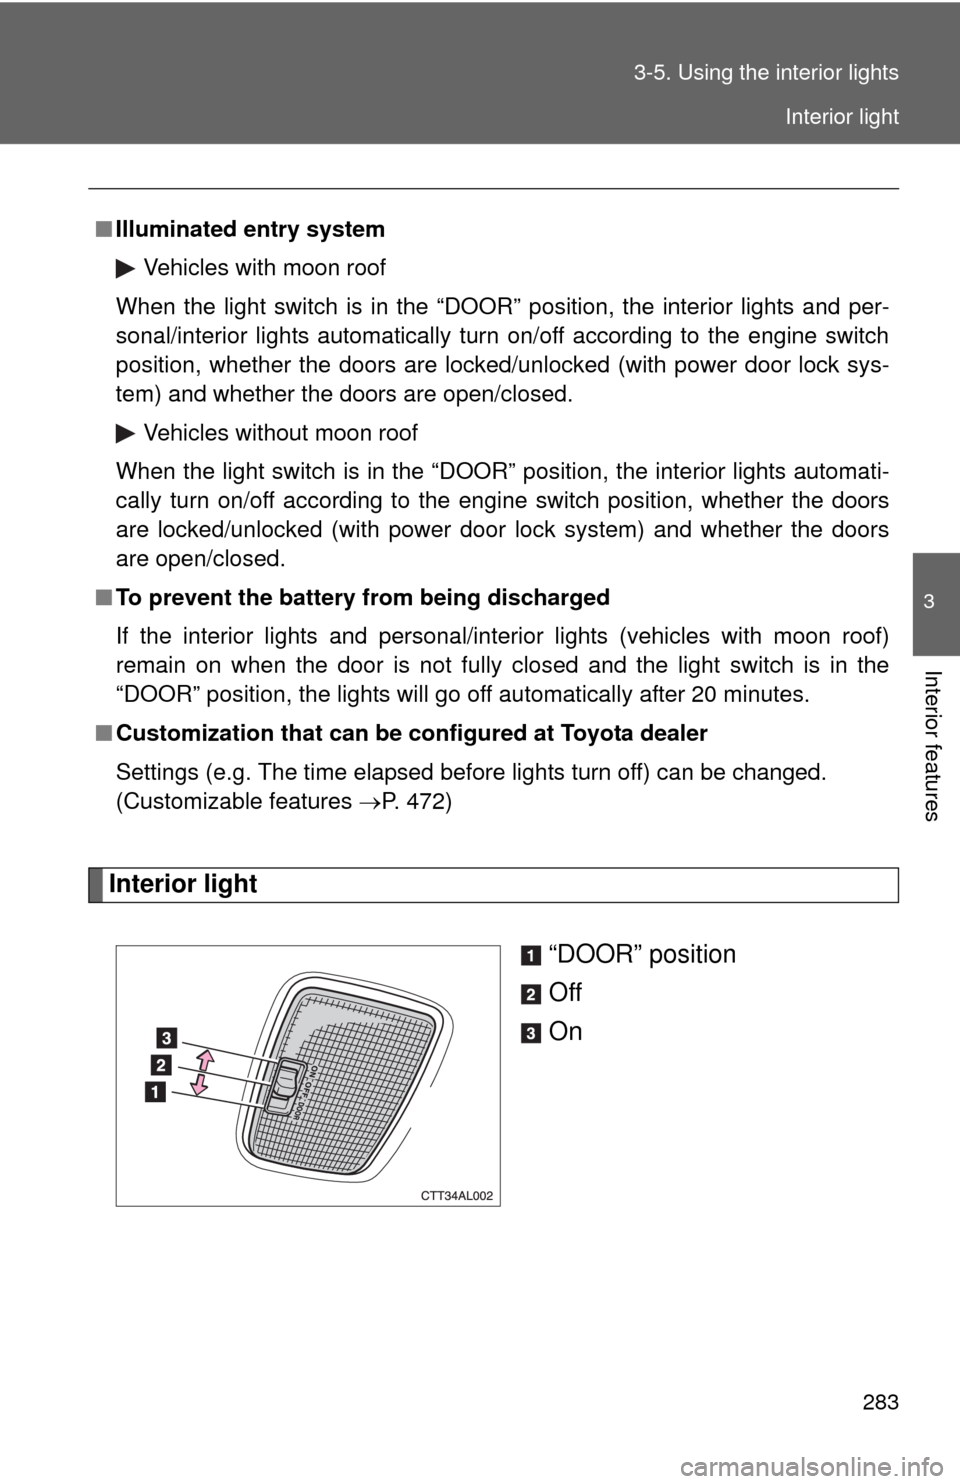
Interior light
“DOOR” position
Off
On
■Illuminated entry system
Vehicles with moon roof
When the light switch is in the “DOOR” position, the interior lights and per-
sonal/interior lights automatically turn on/off according to the engine switch
position, whether the doors are locked/unlocked (with power door lock sys-
tem) and whether the doors are open/closed.
Vehicles without moon roof
When the light switch is in the “DOOR” position, the interior lights automati-
cally turn on/off according to the engine switch position, whether the doors
are locked/unlocked (with power door lock system) and whether the doors
are open/closed.
■To prevent the battery from being discharged
If the interior lights and personal/interior lights (vehicles with moon roof)
remain on when the door is not fully closed and the light switch is in the
“DOOR” position, the lights will go off automatically after 20 minutes.
■Customization that can be configured at Toyota dealer
Settings (e.g. The time elapsed before lights turn off) can be changed.
(Customizable features P. 472)
Interior light
Page 295 of 501
295
3-7. Other interior features
3
Interior features
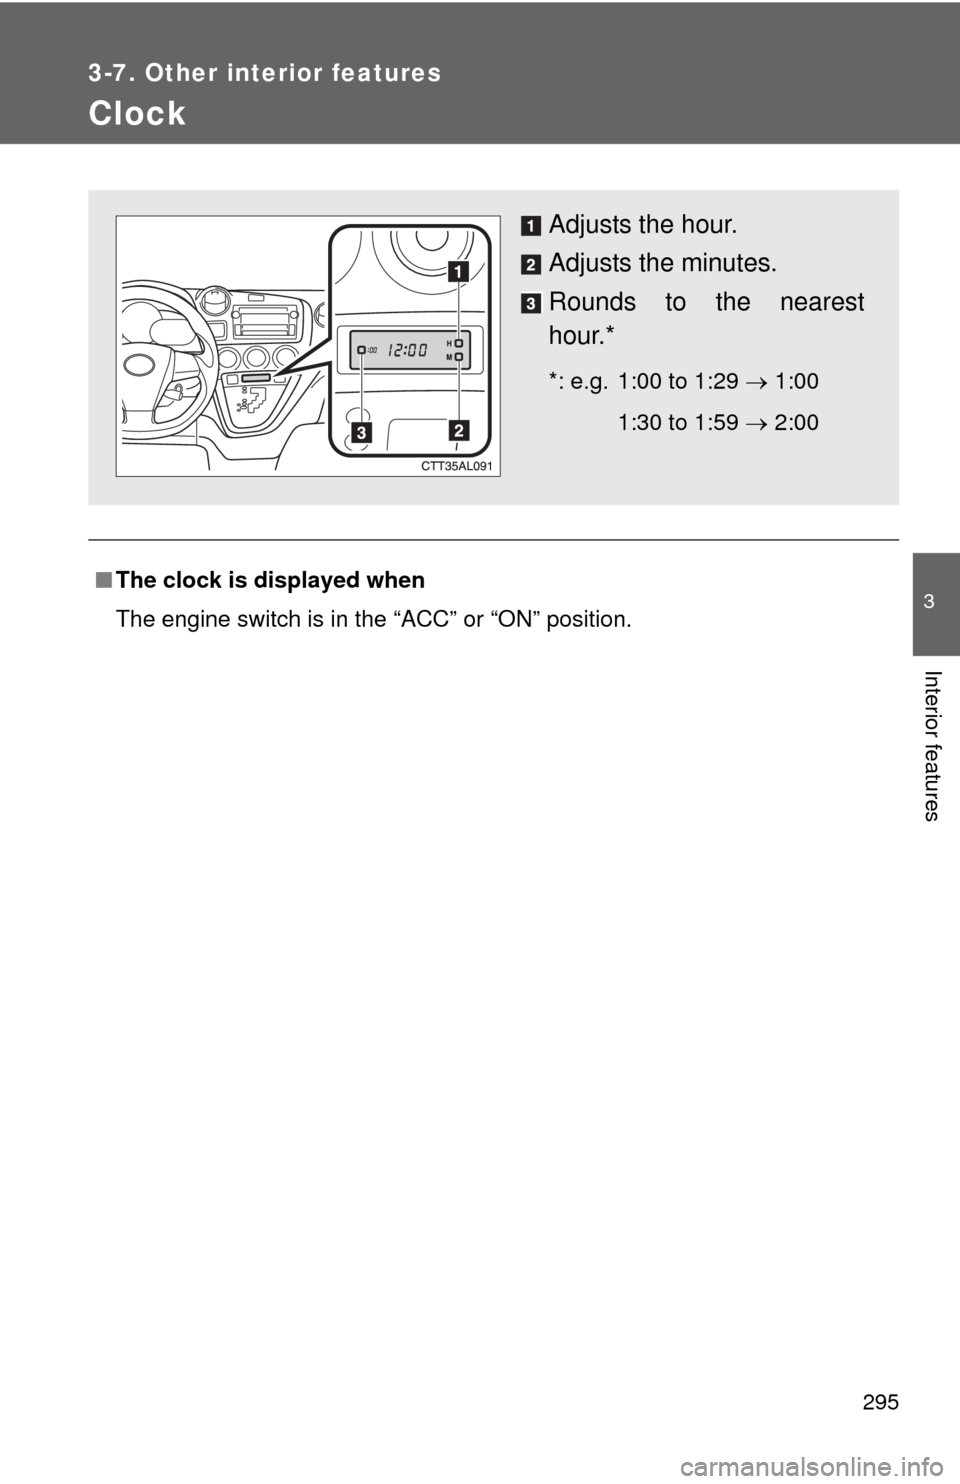
Clock
■The clock is displayed when
The engine switch is in the “ACC” or “ON” position.
Adjusts the hour.
Adjusts the minutes.
Rounds to the nearest
hour.*
*: e.g. 1:00 to 1:29 1:00
1:30 to 1:59 2:00
Page 297 of 501
297
3-7. Other interior features
3
Interior features
Cigarette lighter
■The cigarette lighter can be used when
The engine switch is in the “ACC” or “ON” position.
CAUTION
■To avoid burns or fires
●Do not touch the metal parts of the cigarette lighter.
●Do not hold the cigarette lighter down. It could overheat and cause a fire.
●Do not insert anything other than the cigarette lighter into the outlet.
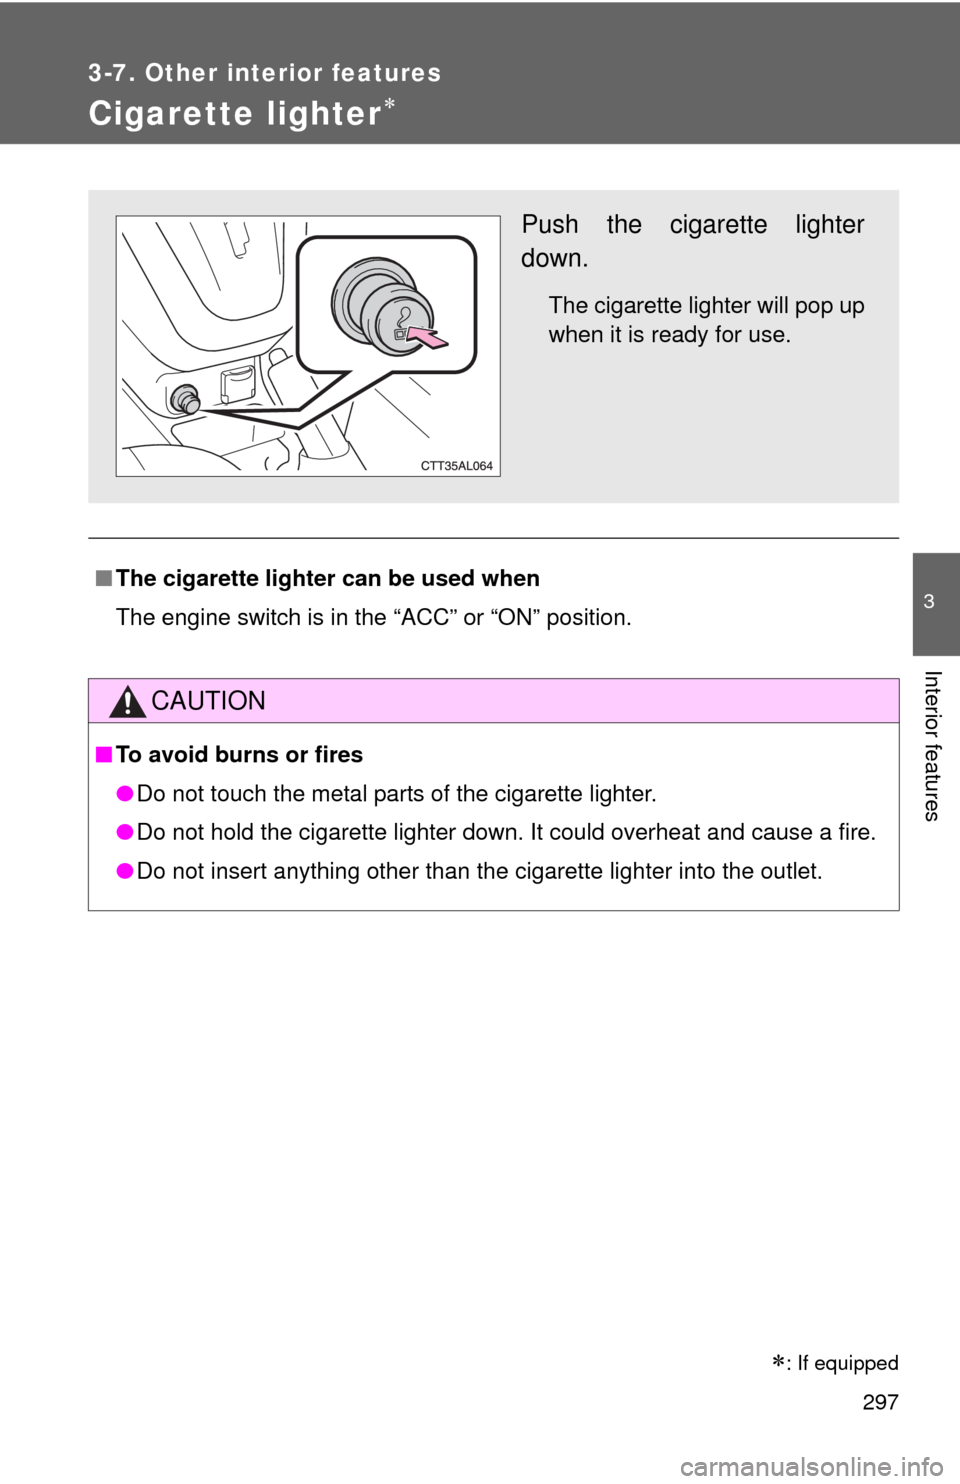
Push the cigarette lighter
down.
The cigarette lighter will pop up
when it is ready for use.
: If equipped
Page 298 of 501
298
3-7. Other interior features
Power outlet
■The power outlet can be used when
12 V
The engine switch is in the “ACC” or “ON” position.
115 V
The engine switch is in the “ON” position.
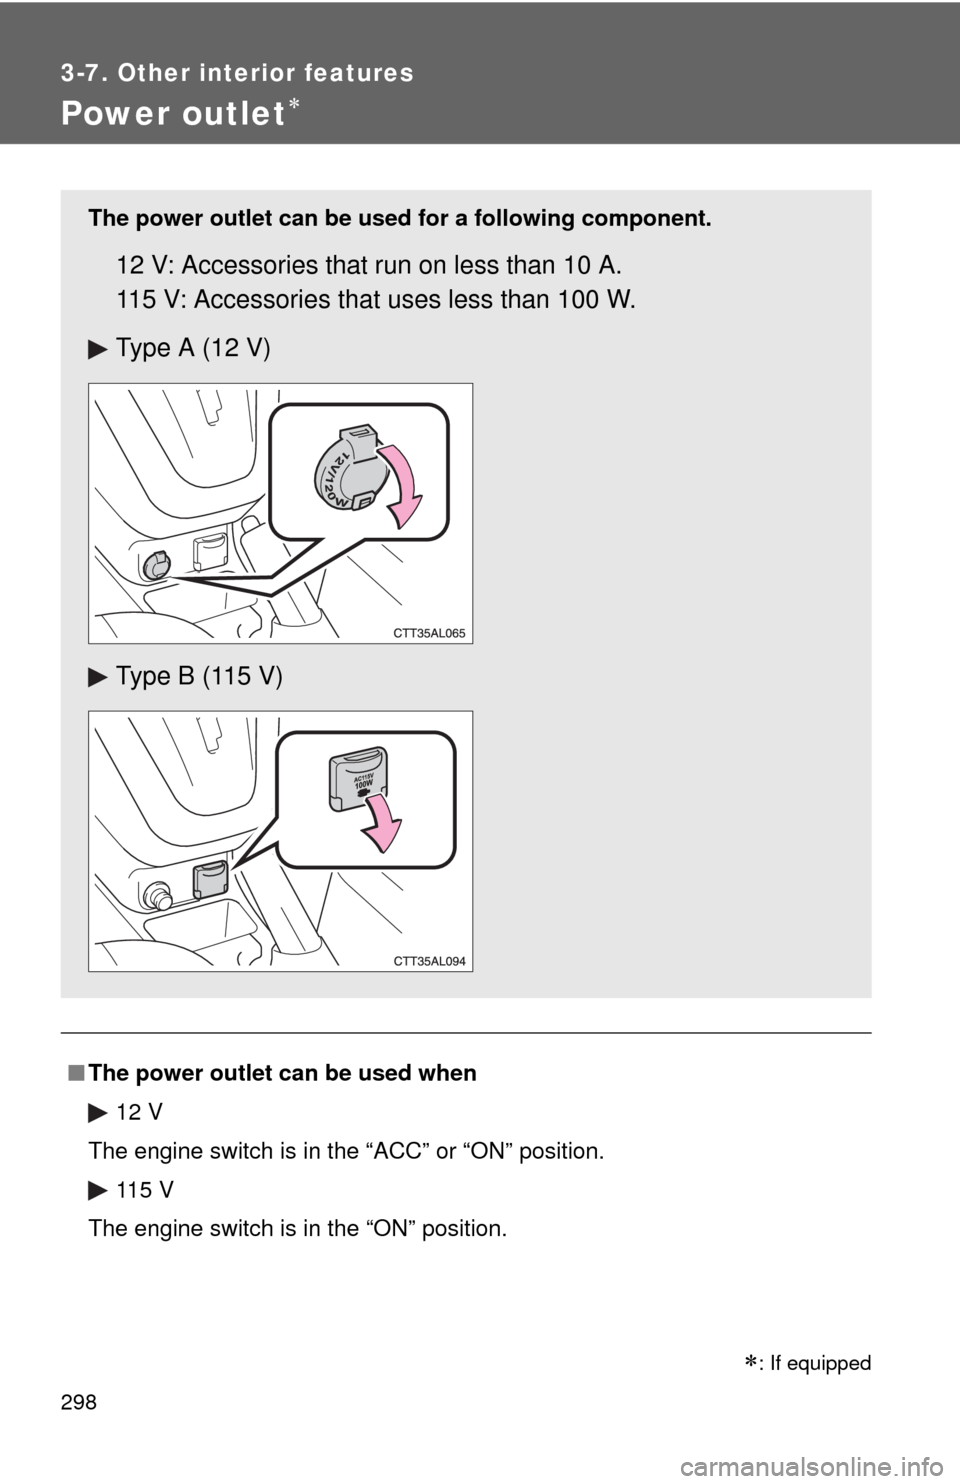
The power outlet can be used for a following component.
12 V: Accessories that run on less than 10 A.
115 V: Accessories that uses less than 100 W.
Type A (12 V)
Type B (115 V)
: If equipped
Page 299 of 501
299 3-7. Other interior features
3
Interior features
NOTICE
■To avoid damaging the power outlet
Close the power outlet lid when the power outlet is not in use.
Foreign objects or liquids that enter the power outlet may cause a short cir-
cuit.
■To prevent the fuse from being blown
12 V
Do not use an accessory that uses more than 12 V 10 A.
115 V
Do not use a 115 V appliance that requires more than 100 W.
If a 115 V appliance that consumes more than 100 W is used, the protection
circuit will cut the power supply.
■To prevent the battery from being discharged
Do not use the power outlet longer than necessary when the engine is off.
■Appliances that may not operate properly (115 V)
The following 115 V appliances may not operate properly even if their power
consumption is under 100 W.
●Appliances with high initial peak wattage
●Measuring devices that process precise data
●Other appliances that require an extremely stable power supply
Page 303 of 501
303
3-7. Other interior features
3
Interior features
Floor mat
CAUTION
Observe the following precautions.
Failure to do so may cause the driver's floor mat to slip, possibly interfering
with the pedals while driving. An unexpectedly high speed may result or it may
become difficult to stop the vehicle, leading to a serious accident.
■When installing the driver's floor mat
●Do not use floor mats designed for other models or different model year
vehicles, even if they are Toyota Genuine floor mats.
●Only use floor mats designed for the driver's seat.
●Always install the floor mat securely using the retaining hooks (clips) pro-
vided.
●Do not use two or more floor mats on top of each other.
●Do not place the floor mat bottom-side up or upside-down.
■Before driving
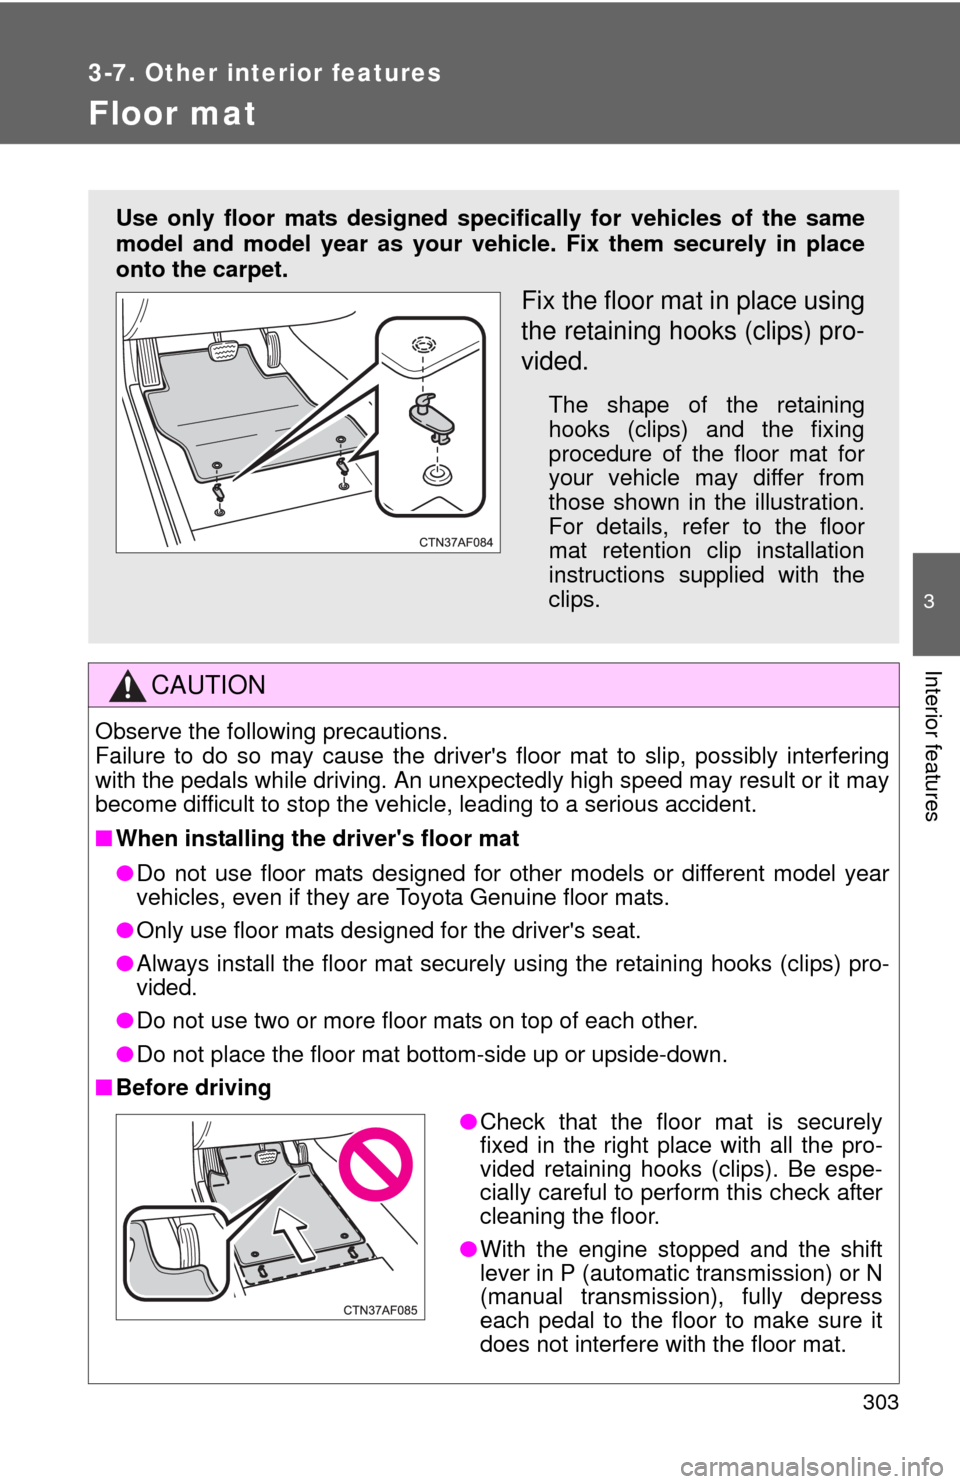
Use only floor mats designed specifically for vehicles of the same
model and model year as your vehicle. Fix them securely in place
onto the carpet.
Fix the floor mat in place using
the retaining hooks (clips) pro-
vided.
The shape of the retaining
hooks (clips) and the fixing
procedure of the floor mat for
your vehicle may differ from
those shown in the illustration.
For details, refer to the floor
mat retention clip installation
instructions supplied with the
clips.
●Check that the floor mat is securely
fixed in the right place with all the pro-
vided retaining hooks (clips). Be espe-
cially careful to perform this check after
cleaning the floor.
●With the engine stopped and the shift
lever in P (automatic transmission) or N
(manual transmission), fully depress
each pedal to the floor to make sure it
does not interfere with the floor mat.
Page 315 of 501
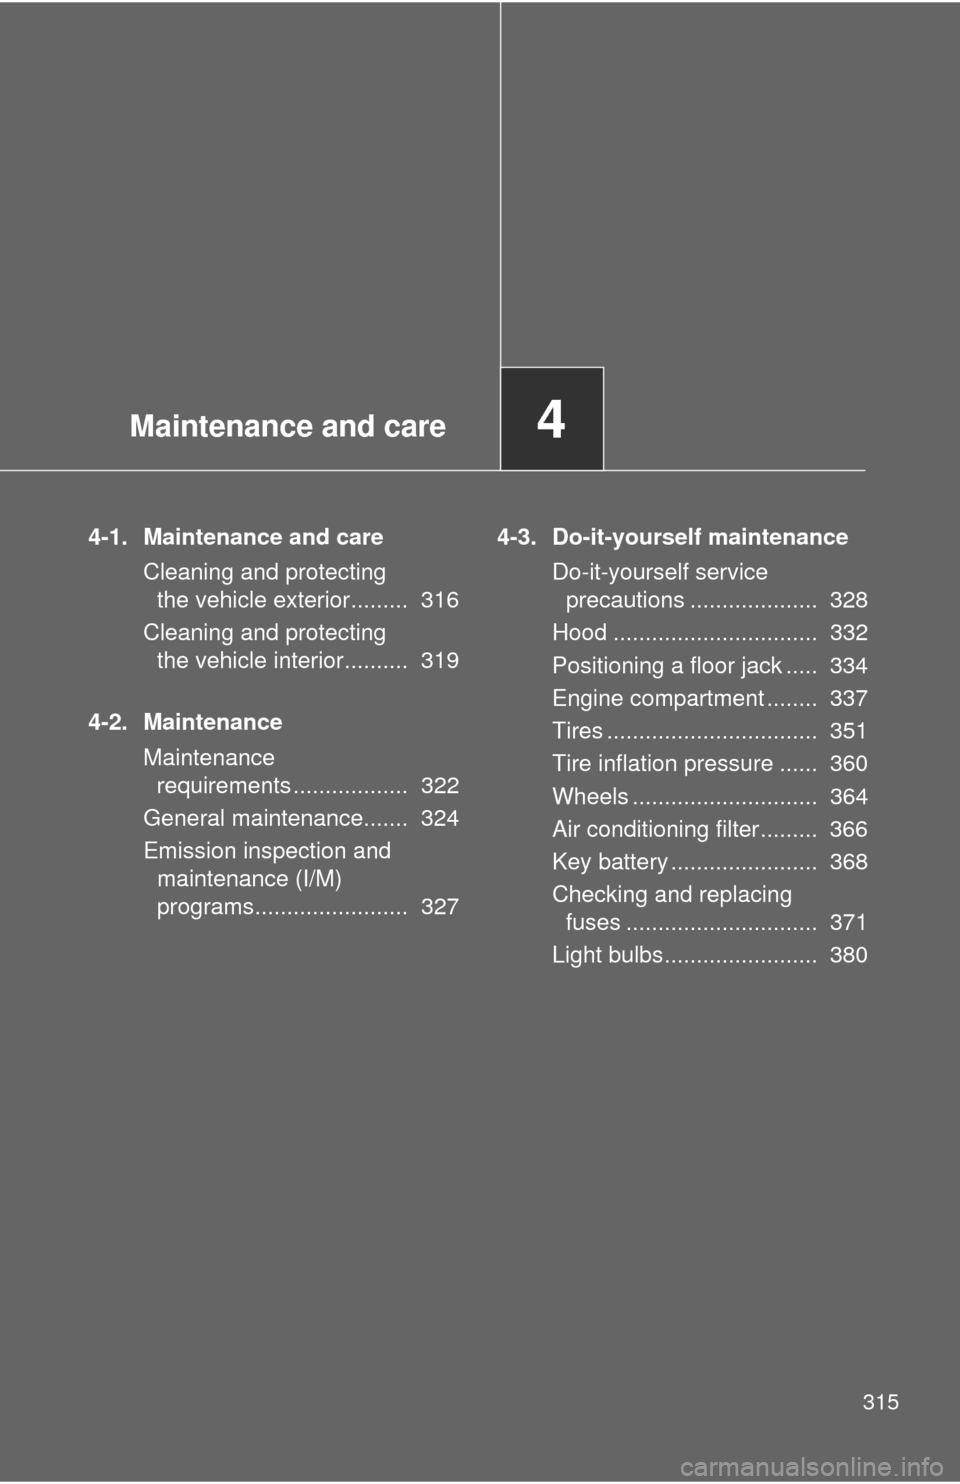
Maintenance and care4
315
4-1. Maintenance and care
Cleaning and protecting
the vehicle exterior......... 316
Cleaning and protecting
the vehicle interior.......... 319
4-2. Maintenance
Maintenance
requirements .................. 322
General maintenance....... 324
Emission inspection and
maintenance (I/M)
programs........................ 3274-3. Do-it-yourself maintenance
Do-it-yourself service
precautions .................... 328
Hood ................................ 332
Positioning a floor jack ..... 334
Engine compartment ........ 337
Tires ................................. 351
Tire inflation pressure ...... 360
Wheels ............................. 364
Air conditioning filter......... 366
Key battery ....................... 368
Checking and replacing
fuses .............................. 371
Light bulbs........................ 380
Page 323 of 501
323 4-2. Maintenance
4
Maintenance and care
■Repair and replacement
It is recommended that genuine Toyota parts be used for repair to ensure
performance of each system. If non-Toyota parts are used in replacement or
if a repair shop other than a Toyota dealer performs repairs, confirm the war-
ranty coverage.
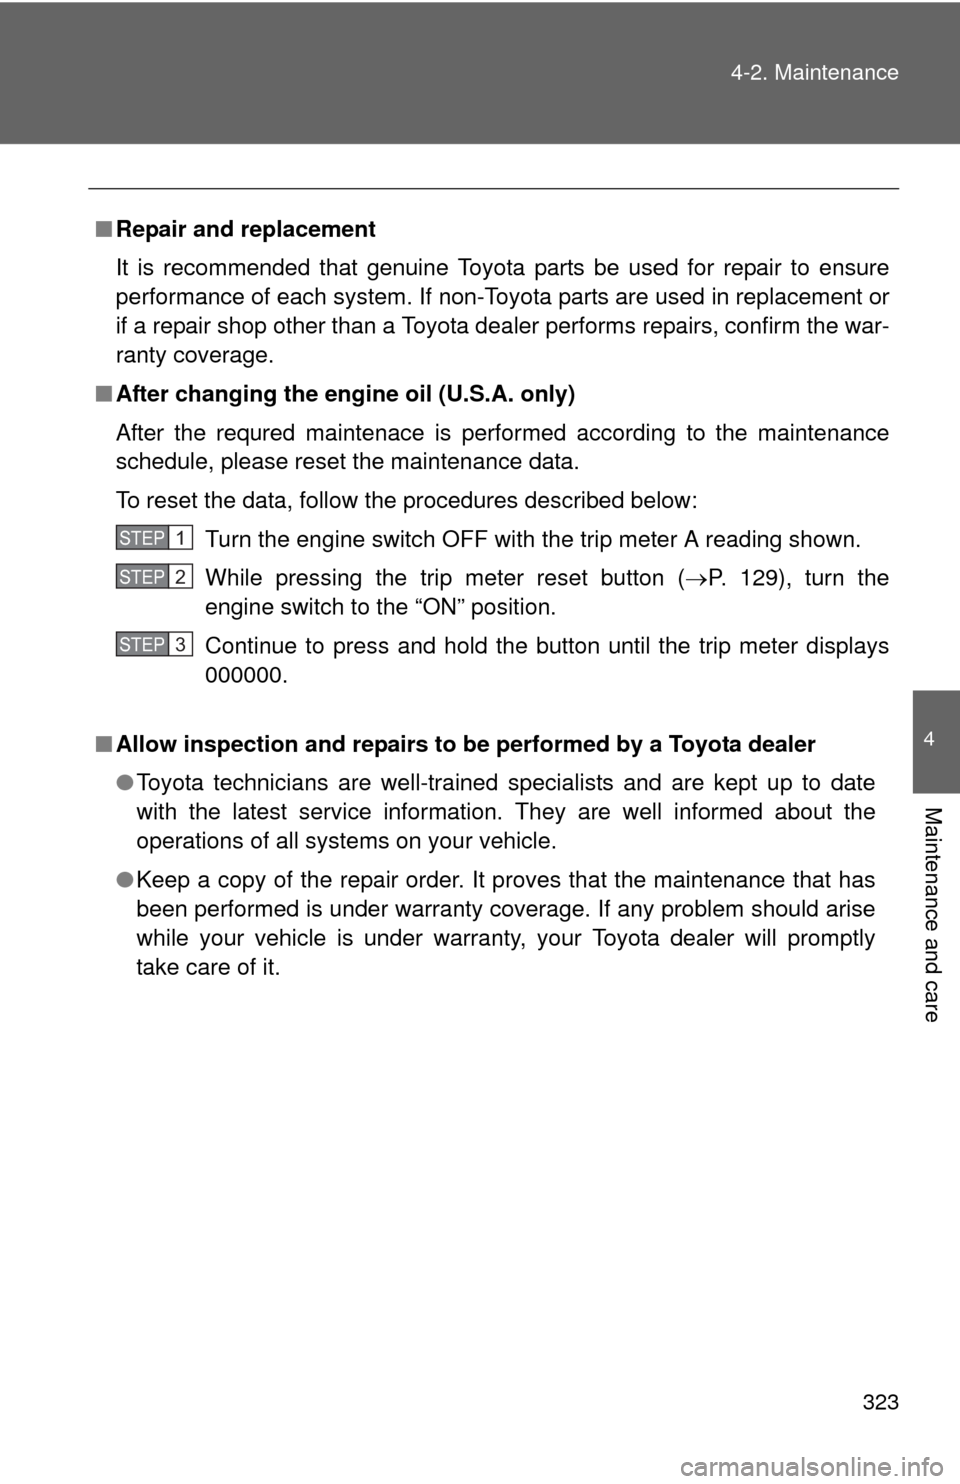
■After changing the engine oil (U.S.A. only)
After the requred maintenace is performed according to the maintenance
schedule, please reset the maintenance data.
To reset the data, follow the procedures described below:
Turn the engine switch OFF with the trip meter A reading shown.
While pressing the trip meter reset button (P. 129), turn the
engine switch to the “ON” position.
Continue to press and hold the button until the trip meter displays
000000.
■Allow inspection and repairs to be performed by a Toyota dealer
●Toyota technicians are well-trained specialists and are kept up to date
with the latest service information. They are well informed about the
operations of all systems on your vehicle.
●Keep a copy of the repair order. It proves that the maintenance that has
been performed is under warranty coverage. If any problem should arise
while your vehicle is under warranty, your Toyota dealer will promptly
take care of it.
STEP1
STEP2
STEP3