flat tire TOYOTA MIRAI 2022 Owners Manual
[x] Cancel search | Manufacturer: TOYOTA, Model Year: 2022, Model line: MIRAI, Model: TOYOTA MIRAI 2022Pages: 556, PDF Size: 17.34 MB
Page 1 of 556
1
2
3
4
5
6
7
8
9
10
Owners Manual_USA_M62084_en
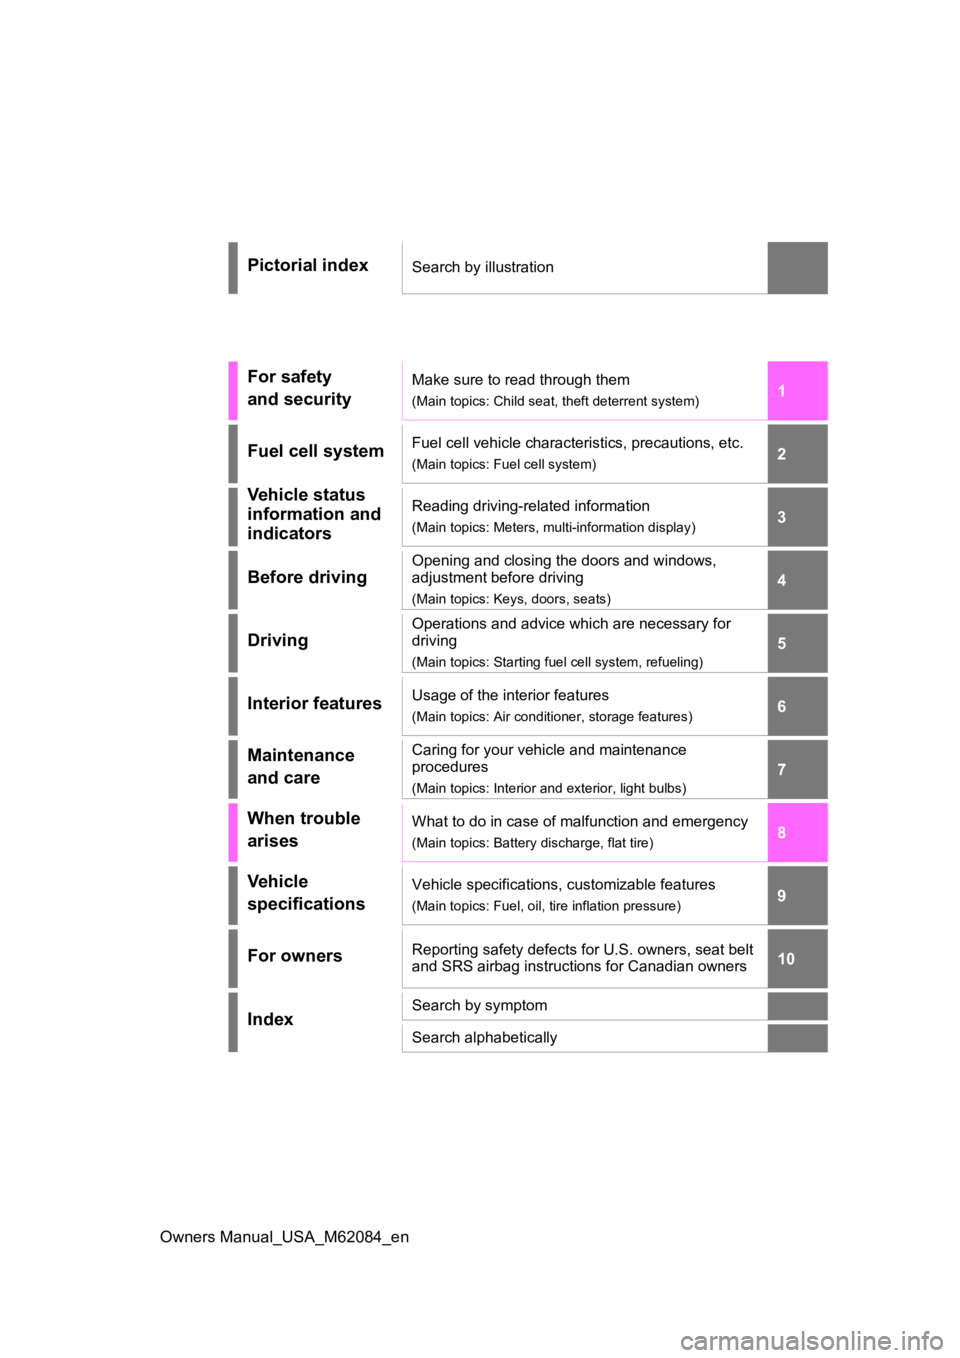
Pictorial indexSearch by illustration
For safety
and securityMake sure to read through them
(Main topics: Child seat, theft deterrent system)
Fuel cell systemFuel cell vehicle characteristics, precautions, etc.
(Main topics: Fuel cell system)
Vehicle status
information and
indicatorsReading driving-related information
(Main topics: Meters, multi-information display)
Before driving
Opening and closing the doors and windows,
adjustment before driving
(Main topics: Keys, doors, seats)
Driving
Operations and advice which are necessary for
driving
(Main topics: Starting f uel cell system, refueling)
Interior featuresUsage of the interior features
(Main topics: Air conditioner, storage features)
Maintenance
and careCaring for your vehicle and maintenance
procedures
(Main topics: Interior and exterior, light bulbs)
When trouble
arisesWhat to do in case of malfunction and emergency
(Main topics: Battery discharge, flat tire)
Vehicle
specificationsVehicle specifications, customizable features
(Main topics: Fuel, oil, tire inflation pressure)
For ownersReporting safety defects for U.S. owners, seat belt
and SRS airbag instructions for Canadian owners
IndexSearch by symptom
Search alphabetically
Page 4 of 556

4TABLE OF CONTENTS
Owners Manual_USA_M62084_en
6-1. Using the air conditioning
system and defogger
ALL AUTO control ......... 324
Automatic air conditioning system (vehicles with 8-inch
display) ........................ 325
Automatic air conditioning system (vehicles with 12.3-
inch display) ................ 332
Rear automatic air condition- ing system ................... 341
Heated steering wheel/seat heaters/seat ventilators 342
6-2. Using the interior lights Interior lights list ............ 346
6-3. Using the storage features List of storage features . 349
Trunk features ............... 352
6-4. Using the other interior fea- tures
Toyota multi-operation touch
(vehicle with the 12.3-inch
display) ........................ 353
Electronic sunshade...... 355
Other interior features ... 356
Garage door opener...... 371
7-1. Maintenance and care Cleaning and protecting the vehicle exterior ............ 380
Cleaning and protecting the vehicle interior ............. 3847-2. Maintenance
Maintenance requirements.................................... 387
General maintenance .... 388
7-3. Do-it-yourself maintenance Do-it-yourself service precau-tions ............................. 391
Hood .............................. 393
Positioning a floor jack .. 393
Fuel cell unit compartment .................................... 395
12-volt battery................ 400
Tires .............................. 403
Replacing the tire .......... 411
Tire inflation pressure .... 415
Wheels .......................... 417
Air conditioning filter ...... 419
Cleaning the traction battery air intake vents and filters
.................................... 420
Electronic key battery .... 423
Checking and replacing fuses .................................... 425
Headlight aim ................ 428
Light bulbs ..................... 429
8-1. Essential information Emergency flashers....... 432
If your vehicle has to be stopped in an emergency.................................... 432
If the vehicle is submerged or water on the road is rising.................................... 433
6Interior features
7Maintenance and care
8When trouble arises
Page 5 of 556
5TABLE OF CONTENTS
Owners Manual_USA_M62084_en
1
2
3
4
5
6
7
8
9
10
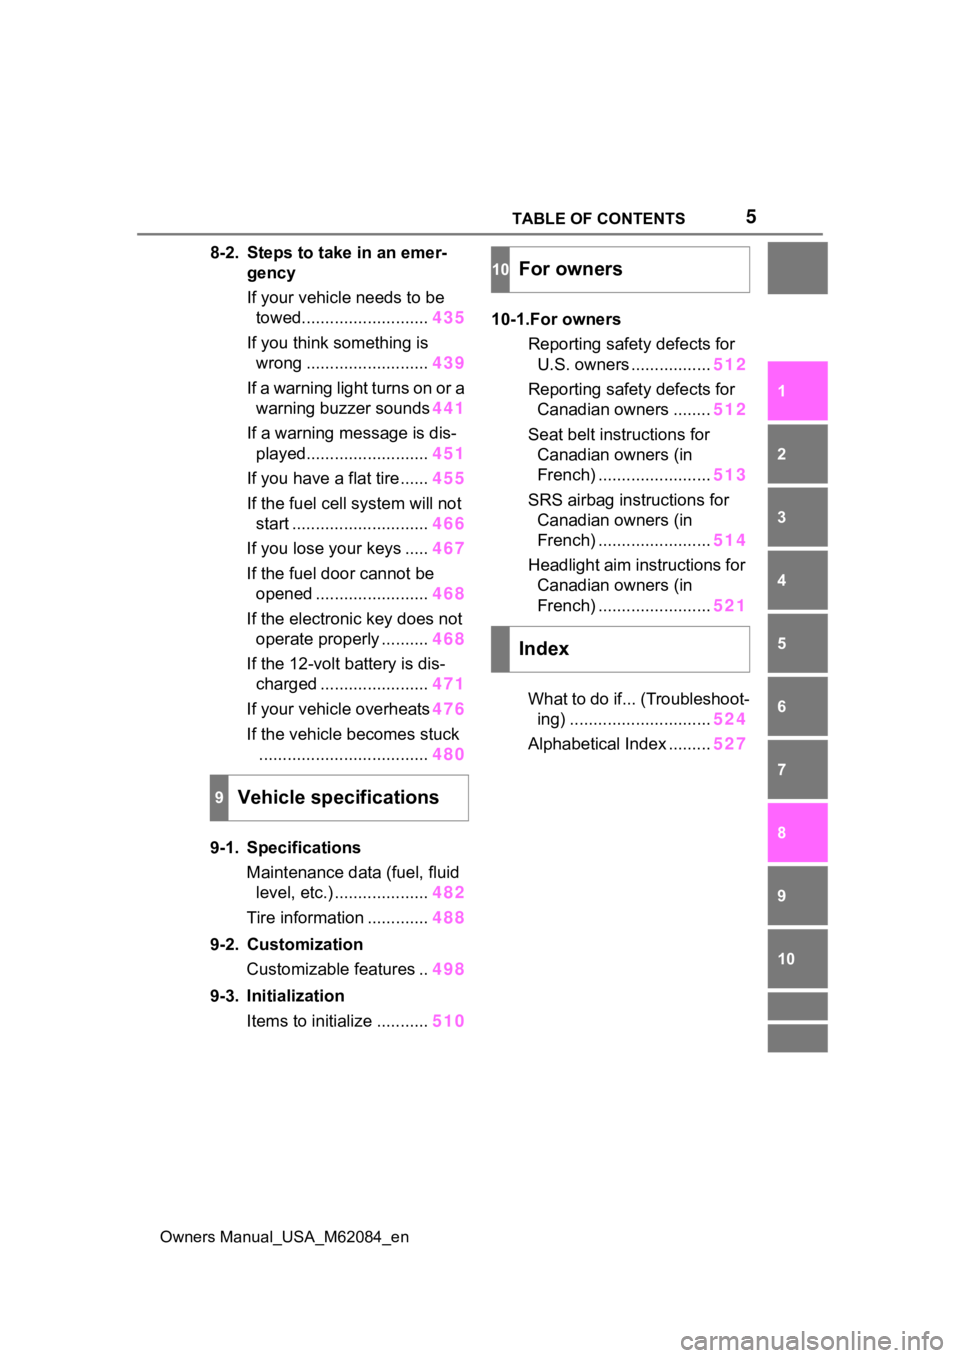
8-2. Steps to take in an emer- gency
If your vehicle needs to be towed........................... 435
If you think something is wrong .......................... 439
If a warning light turns on or a warning buzzer sounds 441
If a warning message is dis- played.......................... 451
If you have a flat tire...... 455
If the fuel cell system will not
start ............................. 466
If you lose your keys ..... 467
If the fuel door cannot be opened ........................ 468
If the electronic key does not operate properly .......... 468
If the 12-volt battery is dis- charged ....................... 471
If your vehicle overheats 476
If the vehicle becomes stuck .................................... 480
9-1. Specifications Maintenance data (fuel, fluid level, etc.) .................... 482
Tire information ............. 488
9-2. Customization Customizable features .. 498
9-3. Initialization Items to initialize ........... 51010-1.For owners
Reporting safet y defects for
U.S. owners ................. 512
Reporting safet y defects for
Canadian owners ........ 512
Seat belt instructions for Canadian owners (in
French) ........................ 513
SRS airbag instructions for Canadian owners (in
French) ........................ 514
Headlight aim instructions for Canadian owners (in
French) ........................ 521
What to do if... (Troubleshoot- ing) .............................. 524
Alphabetical Index ......... 527
9Vehicle specifications
10For owners
Index
Page 15 of 556

15Pictorial index
Owners Manual_USA_M62084_en
Precautions for winter seas on.............................................. P.320
To prevent freezing (windshield wiper de-icer)
*............ P.329, 338
Precautions for car wash (vehicles with rain-sensing windshield wip-
ers) ....................................................................................... P.382
Fuel door ...................................................... ....................... P.203
Refueling method ............................................... .................. P.203
Fuel type/hydrogen t anks’ fuel capacity ........................ ....... P.483
Tires.......................................................... ........................... P.403
Tire size/inflation pressure ................................... ........ P.403, 487
Winter tires/tire chains ....................................... .................. P.320
Checking/rotation/tire pressur e warning system ..................P.403
Coping with flat tires......................................... .................... P.455
Hood ........................................................... ......................... P.393
Opening ............................................................................... P.393
Fuel cell unit compartment cover ............................... .......... P.396
Coping with overheating ...................................................... P.476
Warning messages ............................................... ............... P.451
Headlights/daytime running lights
*.................................. P.191
Parking lights/dayt ime running lights
*............................. P.191
Turn signal lights ............................................. .................. P.182
Tail lights.................................................... ......................... P.191
Tail lights.................................................... ......................... P.191
Stop lights
License plate lights........................................... ................. P.191
Back-up lights
Changing the shift position to R ............................... ............ P.177
Side marker lights ............................................. ................. P.191
Light bulbs of the exterior lights for driving
(Replacing method: P.429)
Page 45 of 556
451-1. For safe use
Owners Manual_USA_M62084_en
1
For safety and security
WARNING
●If the Pop Up Hood has oper-
ated, have it replaced by your
Toyota dealer. If the Pop Up
Hood has operated, stop the
vehicle in a safe place and con-
tact your Toyota dealer.
●Do not touch the lifters immedi-
ately after the Pop Up Hood has
operated, as the lifters may be
hot and burn you.
NOTICE
■Pop Up Hood precautions
●Make sure to close the hood
before driving, as the system
may not operate properly if the
hood is not fully closed.
●Make sure that all 4 tires are of
the specified size and inflated to
the specified tire pressure. If
tires of a different size are used,
the system may not operate
properly.
●If something has hit the area
around the front bumper, the
sensors may be damaged even
if the Pop Up Hood has not
operated. Have the vehicle
inspected by your Toyota
dealer.
●Do not remove or repair the
parts or wiring of the Pop Up
Hood, as doing so may cause
accidental operation or prevent
the system from operating prop-
erly. If repair or replacement is
necessary, contact your Toyota
dealer.
●Do not remove such compo-
nents as the front bumper, hood
or suspension, or replace them
with non-genuine parts, as
doing so may prevent the sys-
tem from operating properly.
●Do not install anything to the
front bumper or hood, as doing
so may prevent the sensors
from detecting an impact cor-
rectly and prevent the system
from operating properly.
●Do not close the hood with force
or apply load to the lifters, as
doing so may damage the lifters
and prevent the system from
operating properly.
●Do not modify the suspension,
as changes made to the vehicle
height may prevent the system
from operating properly.
Page 68 of 556
681-3. Emergency assistance
Owners Manual_USA_M62084_en
necessary assistance required.
If you accidentally press the “SOS”
button, tell the response-center
agent that you are not experiencing
an emergency.
■Enhanced Roadside Assis-
tance
Enhanced Roadside Assistance
adds GPS data to the already
included warranty-based Toyota
roadside service.
Subscribers can press the
“SOS” button to reach a Safety
Connect response-center agent,
who can help with a wide range
of needs, such as: towing, flat
tire, fuel delivery, etc. For a
description of the Roadside
Assistance services and their
limitations, please see the
Safety Connect Terms and Con-
ditions, which are available at
Toyota.com.
Important! Read this informa-
tion about exposure to radio fre-
quency signals before using
Safety Connect;
The Safety Connect system
installed in your vehicle is a low-
power radio transmitter and
receiver. It receives and also
sends out radio frequency (RF)
signals.
In August 1996, the Federal
Communications Commission (FCC) adopted RF exposure
guidelines with safety levels for
mobile wireless phones. Those
guidelines are consistent with
the safety standards previously
set by the following U.S. and
international standards bodies.
ANSI (American National
Standards Institute) C95.1
[1992]
NCRP (National Council on
Radiation Protection and
Measurement) Report 86
[1986]
ICNIRP (International Com-
mission on Non-Ionizing Radi-
ation Protection) [1996]
Those standards were based on
comprehensive and periodic
evaluations of the relevant sci-
entific literature. Over 120 scien-
tists, engineers, and physicians
from universities, and govern-
ment health agencies and
industries reviewed the avail-
able body of research to
develop the ANSI Standard
(C95.1).
The design of Safety Connect
complies with the FCC guide-
lines in addition to those stan-
dards.
Safety information for
Safety Connect
Page 90 of 556
902-1. Fuel cell vehicle
Owners Manual_USA_M62084_en
can help reduce excessive
fuel consumption.
In summer: When the ambient
temperature is high, use the
recirculated air mode. Doing
so will help to reduce the bur-
den on the air conditioning
system and reduce fuel con-
sumption as well.
In winter: Avoid excess heat-
ing. Use the seat heater (if
equipped) or steering heater
(if equipped) to minimize the
need for cabin heating
(P.342).
Using eco air conditioning
mode, this helps curb fuel
consumption even with the air
conditioning system turned
on. ( P.326, 334)
Make sure to check the tire infla-
tion pressure frequently.
Improper tire inflation pressure
can cause poor fuel economy.
Also, as snow tires can cause
large amounts of friction, their
use on dry roads can lead to
poor fuel economy. Use tires
that are appropriate for the sea-
son.
Carrying heavy luggage will lead
to reduced fuel economy. Install-
ing a large roof rack will also reduce fuel economy.
Checking tire inflation
pressure
Luggage
Page 105 of 556
1053-1. Instrument cluster
Owners Manual_USA_M62084_en
3
Vehicle status information and indicators
and press and hold .
■Energy monitor
P. 111
■Tire inflation pressure
Displays inflation pressure of
each tire.
■Meter display settings that
can be changed
Language
Select to change the language on
the multi-information display.
Units
Select to change t he units of mea-
sure displayed.
(Driving information dis-
play settings)
Select to set up the following items.
• Fuel cell system
Select to enable/disable the ECO
Accelerator Guidance ( P.102).
• Fuel Economy
Select to change the display on
Fuel Economy ( P.101).
(Audio settings)
Select to enable/disable
screen.
(Vehicle information dis-
play settings)
• Display Contents
Select to set up the following items. Energy monitor:
Select to enable/disable the Energy
monitor (
P. 111 )
• Drive Info Type
Select to change the drive informa-
tion type display between trip and
total. ( P.104).
• Drive Info Items
Select to set the items on the upper
and lower side of the drive informa-
tion screen from three items, aver-
age speed, distance and total time.
Trip Summary
Select to set the items displayed
when the power switch is turned off.
Pop-Up Display
Select to enable/disable pop-up
displays for each relevant system.
Multi-information display off
Select to turn the multi-information
display off.
To turn the multi-information display
on again, press any of the meter
control switches.
Default Settings
Select to reset the meter display
settings.
■Suspension of the settings dis-
play
●In the following situations, opera-
tion of the settings display will be
temporarily suspended.
• When a warning message appears on the multi-information
display
• When the vehicle begins to move
●Settings for functions not
equipped to the vehicle are not
displayed.
●When a function is turned off, the
Settings display
Page 166 of 556
1665-1. Before driving
Owners Manual_USA_M62084_en
WARNING
●The brake system consists of 2
or more individual hydraulic sys-
tems; if one of the systems fails,
the other(s) will still operate. In
this case, the brake pedal
should be depressed more
firmly than usual and the brak-
ing distance will increase. Have
your brakes fixed immediately.
NOTICE
■When driving the vehicle
●Do not depress t he accelerator
and brake pedals at the same
time during drivin g, as this may
restrain the fuel cell system out-
put.
●Do not use the accelerator
pedal or depress the accelera-
tor and brake pedals at the
same time to hold the vehicle on
a hill.
■When parking the vehicle
Always set the parking brake, and
shift the shift position to P. Failure
to do so may cause the vehicle to
move or the vehi cle may acceler-
ate suddenly if the accelerator
pedal is accidentally depressed.
■Avoiding damage to vehicle
parts
●Do not turn the steering wheel
fully in either direction and hold
it there for an extended period
of time.
Doing so may damage the
power steering motor.
●When driving over bumps in the
road, drive as slowly as possible
to avoid damagi ng the wheels,
underside of the vehicle, etc.
■If you get a flat tire while driv-
ing
A flat or damaged tire may cause
the following situations. Hold the
steering wheel firmly and gradu-
ally depress the brake pedal to
slow down the vehicle.
●It may be difficult to control your
vehicle.
●The vehicle will make abnormal
sounds or vibrations.
●The vehicle will lean abnor-
mally.
Information on what to do in case
of a flat tire ( P.455)
■When encountering flooded
roads
Do not drive on a road that has
flooded after heavy rain, etc.
Doing so may cause the following
serious damage to the vehicle:
●Fuel cell system stalling
●Short in electrical components
●Fuel cell system damage
caused by water immersion
In the event that you drive on a
flooded road and the vehicle is
flooded, be sure to have your Toy-
ota dealer check the following:
●Fuel cell system
●Brake function
●Changes in quantity and quality
of transmission fluid, etc.
●Lubricant condition for the bear-
ings and suspension joints
(where possible), and the func-
tion of all joints, bearings, etc.
Page 195 of 556
1955-3. Operating the lights and wipers
Owners Manual_USA_M62084_en
5
Driving
• When driving in inclement weather (heavy rain, snow, fog, sand-
storms, etc.)
• When the windshield is obscured by fog, mist, ice, dirt, etc.
• When the windshield is cracked or
damaged
• When the front camera is deformed or dirty
• When the temperature of the front camera is extremely high
• When the surrounding brightness
level is equal to that of headlights,
tail lights or fog lights
• When headlights or tail lights of
vehicles ahead are turned off,
dirty, changing color, or not aimed
properly
• When the vehicle is hit by water, snow, dust, etc., from a preceding
vehicle
• When driving thr ough an area of
intermittently changing brightness
and darkness
• When frequently and repeatedly driving ascending/descending
roads, or roads with rough, bumpy
or uneven surfaces (such as
stone-paved roads, gravel roads,
etc.)
• When frequently and repeatedly taking curves or driving on a wind-
ing road
• When there is a hi ghly reflective
object ahead of th e vehicle, such
as a sign or mirror
• When the back of a preceding vehicle is highly reflective, such as
a container on a truck
• When the vehicle’s headlights are damaged or dirty, or are not aimed
properly
• When the vehicle is listing or titling due to a flat tire, a trailer being
towed, etc.
• When the headlights are changed between the high beams and low
beams repeatedly in an abnormal
manner
• When the driver believes that the high beams may be flashing or
dazzling pedestrians or other driv-
ers■Temporarily lowering sensor
sensitivity
The sensitivity of the sensor can be
temporarily lowered.
1 Turn the power s witch off while
the following conditions are met.
●The headlight switch is in or
.
●The headlight switch lever is in
low beam position.
●Automatic High Beam switch is
on.
2 Turn the power switch to ON.
3 Within 60 seconds after step 2,
repeat pushing the headlight
switch lever to the high beam
position then pulling it to the orig-
inal position quickly 10 times,
then leave the lever in the origi-
nal position.
4 If the sensitivity is changed, the
AHB indicator is turn on and off 3
times.
■Switching to the high
beams
Push the lever away from you.
The AHB indicator will turn off and
the high beam indi cator will turn on.
Pull the lever to its original position
to activate the Automatic High
Beam system.
Turning the high beams
on/off manually