Drive mode TOYOTA PROACE 2023 User Guide
[x] Cancel search | Manufacturer: TOYOTA, Model Year: 2023, Model line: PROACE, Model: TOYOTA PROACE 2023Pages: 360, PDF Size: 70.22 MB
Page 27 of 360
27
Instruments
1
Menus
NOTIC E
Press the touch screen with three fingers to show all of the menu buttons.
NOTIC E
For more information about the menus, refer to the sections describing the audio and telematics systems.
Radio/Media
Navigation (Depending on equipment)
Driving or Vehicle (Depending on equipment)Activation, deactivation and settings for certain functions.The functions are organised in 2 tabs: "Driving functions" and "Vehicle settings".Telephone
ApplicationsDisplay of available connected services.EnergyAccess the specific Electric functions (energy flow, consumption statistics, deferred charge) organised in the corresponding 3 tabs.orSettingsMain settings for the audio system and
touch screen.Audio system on/off.Volume adjustment/mute.
Upper bar
Certain information is displayed permanently in the upper bar of the touch screen:– Time and outside temperature (a blue warning lamp appears if there is a risk of ice).– Reminder of information from the Radio Media and Telephone menus and navigation instructions (depending on equipment).– Notifications.– Access to the Settings.
Energy menu
Depending on version, this is accessible either:– directly, by pressing the button near the touch screen.– via the Applications menu.
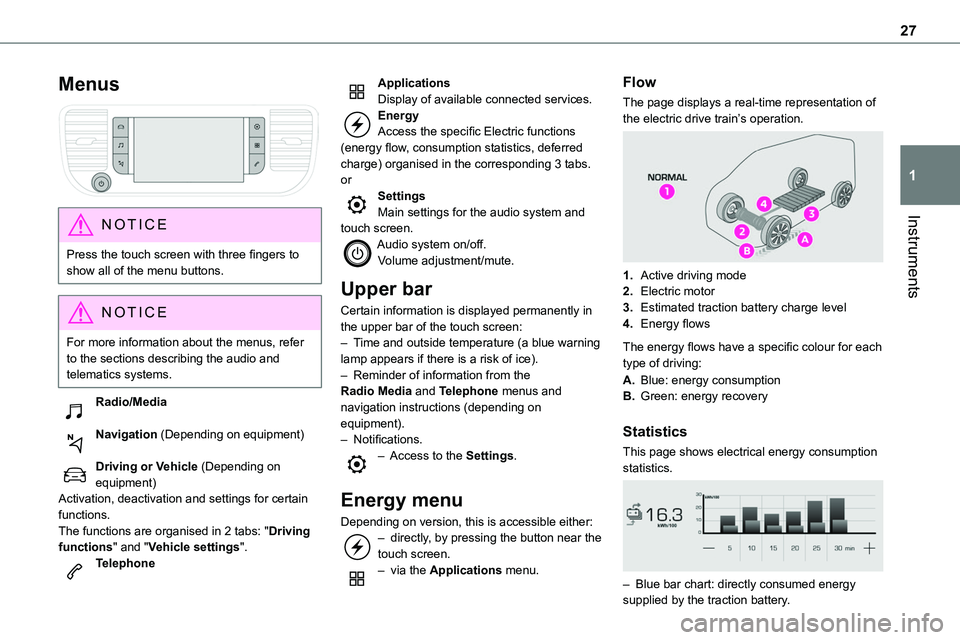
Flow
The page displays a real-time representation of the electric drive train’s operation.
1.Active driving mode
2.Electric motor
3.Estimated traction battery charge level
4.Energy flows
The energy flows have a specific colour for each type of driving:
A.Blue: energy consumption
B.Green: energy recovery
Statistics
This page shows electrical energy consumption statistics.
– Blue bar chart: directly consumed energy supplied by the traction battery.
Page 39 of 360
39
Access
2
► Switch the ignition off.► Turn the key to position 2 (Ignition on).► Immediately press the closed padlock button for a few seconds.► Switch off the ignition and remove the key from the ignition switch.The remote control is now fully operational again.
With Smart Entry & Start
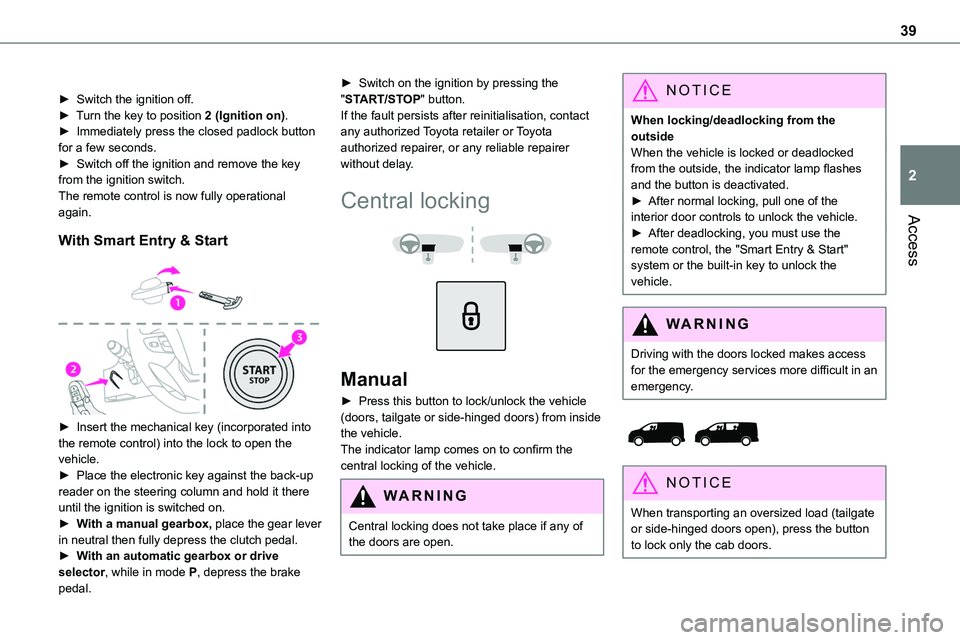
► Insert the mechanical key (incorporated into the remote control) into the lock to open the vehicle.► Place the electronic key against the back-up reader on the steering column and hold it there until the ignition is switched on.► With a manual gearbox, place the gear lever in neutral then fully depress the clutch pedal.► With an automatic gearbox or drive selector, while in mode P, depress the brake
pedal.
► Switch on the ignition by pressing the "START/STOP" button.If the fault persists after reinitialisation, contact any authorized Toyota retailer or Toyota authorized repairer, or any reliable repairer without delay.
Central locking
Manual
► Press this button to lock/unlock the vehicle (doors, tailgate or side-hinged doors) from inside the vehicle. The indicator lamp comes on to confirm the central locking of the vehicle.
WARNI NG
Central locking does not take place if any of
the doors are open.
NOTIC E
When locking/deadlocking from the outsideWhen the vehicle is locked or deadlocked from the outside, the indicator lamp flashes and the button is deactivated.► After normal locking, pull one of the interior door controls to unlock the vehicle.
► After deadlocking, you must use the remote control, the "Smart Entry & Start" system or the built-in key to unlock the vehicle.
WARNI NG
Driving with the doors locked makes access for the emergency services more difficult in an emergency.
NOTIC E
When transporting an oversized load (tailgate or side-hinged doors open), press the button to lock only the cab doors.
Page 43 of 360
43
Access
2
WARNI NG
Take care not to block the guide space on the floor so that the door can slide correctly.For safety and functional reasons, do not drive with the sliding side door open.
NOTIC E
The electric controls are disabled in the event of an impact. Manual opening and closing remain possible.
NOTIC E
While starting the engine, door movements are paused, resuming when the engine is running.
NOTIC E
Depending on the engine fitted, if the door is closed and an opening request is issued in Stop mode of Stop & Start, the door will open slightly and then stop. In Start mode, the door will resume its movement when the engine re-starts.
NOTIC E
To hold the sliding side door in the open position, open the door fully to engage the latch (located at the bottom of the door).
Doors and door clearances
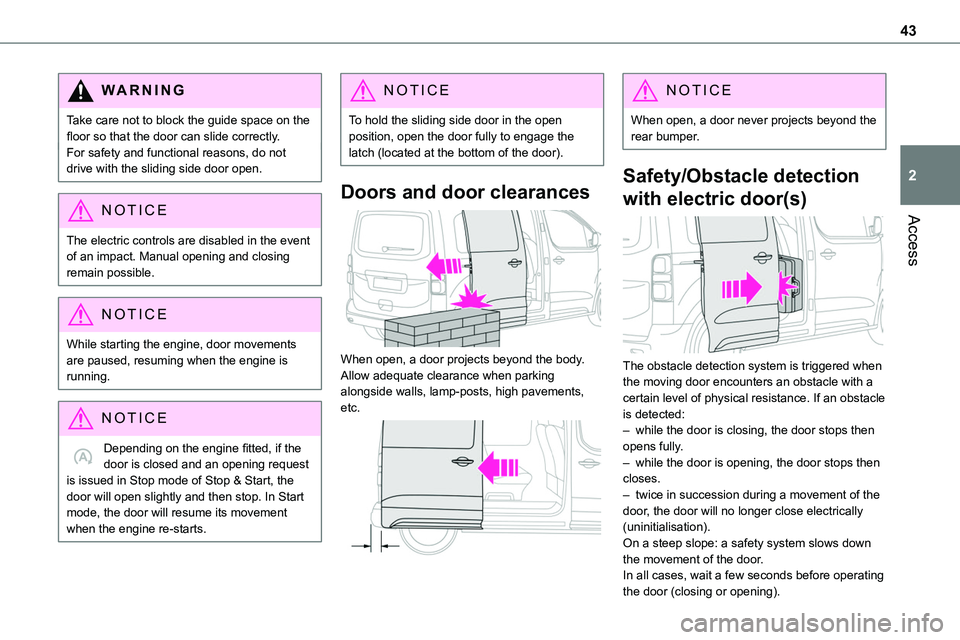
When open, a door projects beyond the body. Allow adequate clearance when parking alongside walls, lamp-posts, high pavements, etc.
NOTIC E
When open, a door never projects beyond the rear bumper.
Safety/Obstacle detection
with electric door(s)
The obstacle detection system is triggered when the moving door encounters an obstacle with a certain level of physical resistance. If an obstacle is detected:– while the door is closing, the door stops then opens fully.– while the door is opening, the door stops then closes.– twice in succession during a movement of the door, the door will no longer close electrically (uninitialisation).On a steep slope: a safety system slows down the movement of the door.In all cases, wait a few seconds before operating
the door (closing or opening).
Page 57 of 360
57
Ease of use and comfort
3
Manual folding
The mirrors can be folded manually (parking obstruction, narrow garage, etc.).► Turn the mirror towards the vehicle.
Electric folding
Depending on equipment, the mirrors can be folded electrically, when the vehicle is parked.
► From the inside, with the ignition on, place control A in the central position.► Pull control A backwards.
► Lock the vehicle from the outside.
Electric unfolding
The door mirrors are unfolded electrically when the vehicle is unlocked using the remote control or key. Unless folding was selected with control A, pull the control in the central position towards the rear again.
NOTIC E
Folding/unfolding when locking/unlocking the vehicle can be deactivated. Contact any authorized Toyota retailer or Toyota authorized repairer, or any reliable repairer.If necessary, the mirrors can be folded manually.
Heated mirrors
► Press this button.
NOTIC E
For more information on Rear screen demisting/defrosting, refer to the corresponding section.
Interior rear view mirror
Equipped with an anti-dazzle system, which darkens the mirror glass and reduces the nuisance to the driver caused by the sun, headlamps of other vehicles, etc.
Manual model
Day/night position
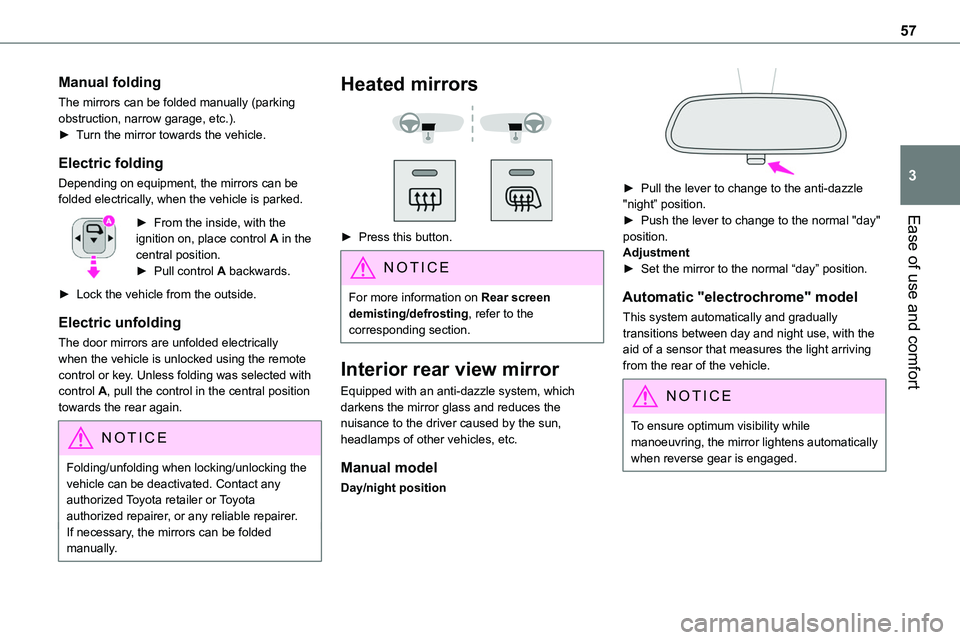
► Pull the lever to change to the anti-dazzle "night” position.► Push the lever to change to the normal "day" position.Adjustment► Set the mirror to the normal “day” position.
Automatic "electrochrome" model
This system automatically and gradually transitions between day and night use, with the aid of a sensor that measures the light arriving from the rear of the vehicle.
NOTIC E
To ensure optimum visibility while manoeuvring, the mirror lightens automatically when reverse gear is engaged.
Page 89 of 360
89
Ease of use and comfort
3
NOTIC E
When the engine is cold, the air flow will only increase to its optimum level gradually, to avoid distributing too much cold air.In cold weather, it prioritises the distribution of warm air to the windscreen, the side windows and the footwells only.
Manual mode
It is possible to make a different choice from that offered by the system by changing a setting. The other functions will still be managed automatically.As soon as a setting is changed, the "AUTO" symbol disappears.
Deactivating the system
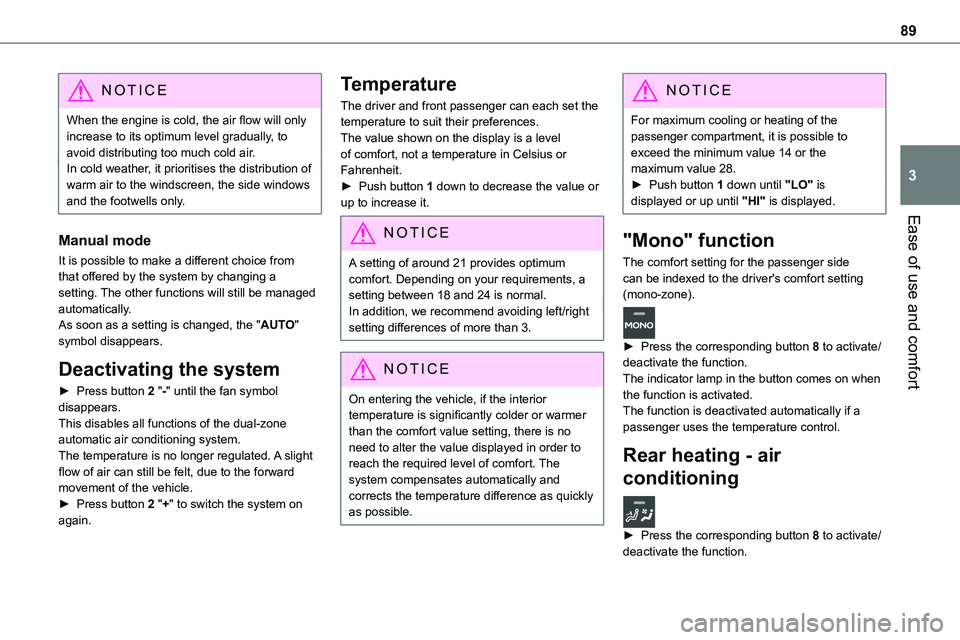
► Press button 2 "-" until the fan symbol disappears.This disables all functions of the dual-zone automatic air conditioning system.The temperature is no longer regulated. A slight flow of air can still be felt, due to the forward movement of the vehicle.► Press button 2 "+" to switch the system on again.
Temperature
The driver and front passenger can each set the temperature to suit their preferences.The value shown on the display is a level of comfort, not a temperature in Celsius or Fahrenheit.► Push button 1 down to decrease the value or up to increase it.
NOTIC E
A setting of around 21 provides optimum comfort. Depending on your requirements, a setting between 18 and 24 is normal.In addition, we recommend avoiding left/right setting differences of more than 3.
NOTIC E
On entering the vehicle, if the interior temperature is significantly colder or warmer than the comfort value setting, there is no need to alter the value displayed in order to reach the required level of comfort. The system compensates automatically and corrects the temperature difference as quickly as possible.
NOTIC E
For maximum cooling or heating of the passenger compartment, it is possible to exceed the minimum value 14 or the maximum value 28.► Push button 1 down until "LO" is displayed or up until "HI" is displayed.
"Mono" function
The comfort setting for the passenger side can be indexed to the driver's comfort setting (mono-zone).
► Press the corresponding button 8 to activate/deactivate the function.The indicator lamp in the button comes on when the function is activated.The function is deactivated automatically if a passenger uses the temperature control.
Rear heating - air
conditioning
► Press the corresponding button 8 to activate/deactivate the function.
Page 100 of 360
100
WARNI NG
Switching on the foglamps is prohibited in clear weather or in rain, both day and night. In these situations, the power of their beams may dazzle other drivers. They must only be used in fog or falling snow (rules may vary depending on country).Do not forget to switch off the foglamps when
they are no longer necessary.
NOTIC E
Switching on the lamps after switching off the ignitionTo reactivate the lighting control, rotate the ring to the "0" position - lamps off, then to the desired position.If the driver's door is opened, a temporary audible signal warns the driver that the lamps are on.They will go off automatically after a period of time that depends on the level of charge in the battery (entering energy economy mode).
NOTIC E
Switching off of the lamps when the ignition is switched offWhen the ignition is switched off, all of the lamps turn off immediately, except for dipped beam headlamps if automatic guide-me-home lighting is activated.
NOTIC E
In some weather conditions (e.g. low temperature or humidity), misting on the internal surface of the glass of the headlamps and rear lamps is normal, and will disappear after the lamps have been on for a few minutes.
NOTIC E
Travelling abroadIf planning to use your vehicle in a country that drives on the other side of the road, the dipped beam headlamps must be adjusted to avoid dazzling oncoming drivers.Contact any authorized Toyota retailer or Toyota authorized repairer, or any reliable repairer.
Direction indicators
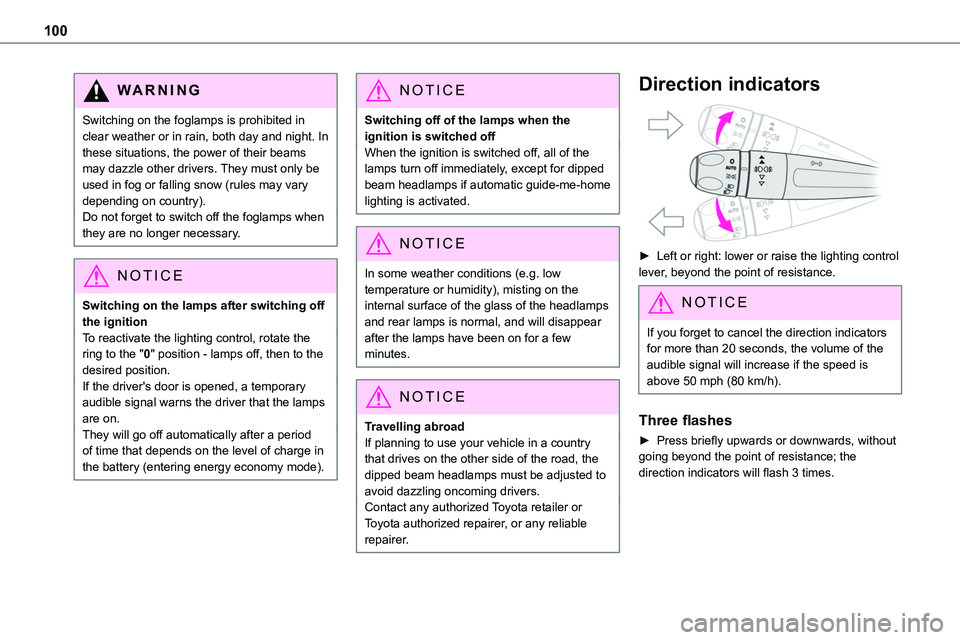
► Left or right: lower or raise the lighting control lever, beyond the point of resistance.
NOTIC E
If you forget to cancel the direction indicators for more than 20 seconds, the volume of the audible signal will increase if the speed is above 50 mph (80 km/h).
Three flashes
► Press briefly upwards or downwards, without going beyond the point of resistance; the direction indicators will flash 3 times.
Page 103 of 360
103
Lighting and visibility
4
Automatic headlamp
dipping
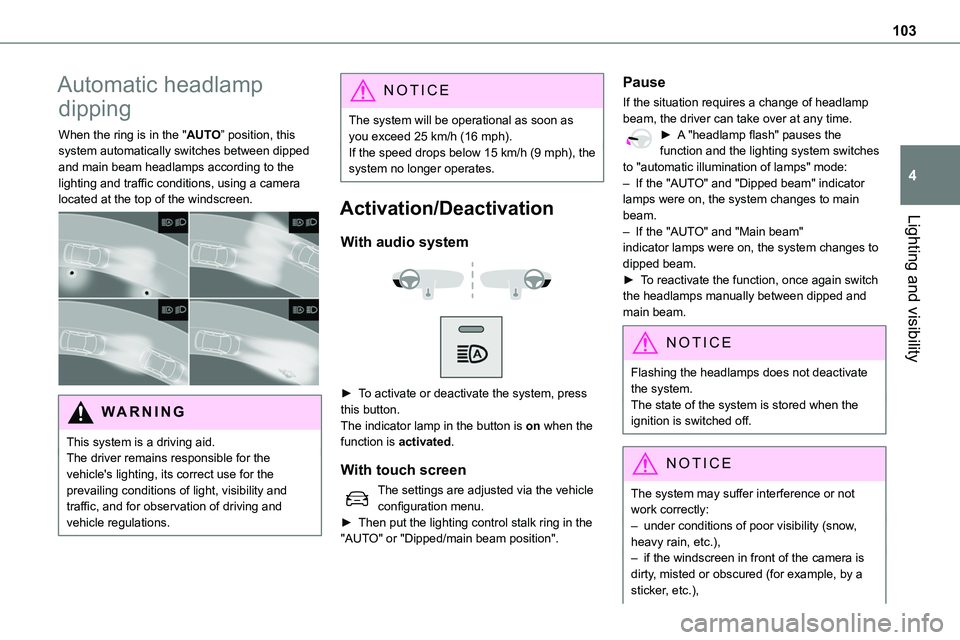
When the ring is in the "AUTO” position, this system automatically switches between dipped and main beam headlamps according to the lighting and traffic conditions, using a camera located at the top of the windscreen.
WARNI NG
This system is a driving aid.The driver remains responsible for the vehicle's lighting, its correct use for the prevailing conditions of light, visibility and traffic, and for observation of driving and vehicle regulations.
NOTIC E
The system will be operational as soon as you exceed 25 km/h (16 mph).If the speed drops below 15 km/h (9 mph), the system no longer operates.
Activation/Deactivation
With audio system
► To activate or deactivate the system, press this button.The indicator lamp in the button is on when the
function is activated.
With touch screen
The settings are adjusted via the vehicle configuration menu.► Then put the lighting control stalk ring in the "AUTO" or "Dipped/main beam position".
Pause
If the situation requires a change of headlamp beam, the driver can take over at any time.► A "headlamp flash" pauses the function and the lighting system switches to "automatic illumination of lamps" mode:– If the "AUTO" and "Dipped beam" indicator lamps were on, the system changes to main beam.
– If the "AUTO" and "Main beam" indicator lamps were on, the system changes to dipped beam.► To reactivate the function, once again switch the headlamps manually between dipped and main beam.
NOTIC E
Flashing the headlamps does not deactivate the system.The state of the system is stored when the ignition is switched off.
NOTIC E
The system may suffer interference or not work correctly:– under conditions of poor visibility (snow,
heavy rain, etc.),– if the windscreen in front of the camera is dirty, misted or obscured (for example, by a sticker, etc.),
Page 111 of 360
111
Safety
5
NOTIC E
The system fault does not prevent the vehicle from being driven.
NOTIC E
Data processing
All processing of personal information by the "Localised Emergency Call" system (PE112) complies with the framework for protection of personal information established by Regulation 2016/679 (GDPR) and Directive 2002/58/EC of the European Parliament and the Council, and in particular, seeks to protect the vital interests of the data subject, in accordance with Article 6.1, paragraph d) of Regulation 2016/679.Personal information processing is strictly limited to the management of the "Localised Emergency Call" system used with the “112” European single emergency call number.The "Localised Emergency Call" system is able to collect and process only the following data relating to the vehicle: chassis number, type (passenger vehicle or light commercial vehicle), fuel type or power source, most recent three locations and direction of travel,
and a timestamped log file recording the automatic activation of the system.The recipients of the processed data are the emergency call handling centres designated by the relevant national authorities in the territory in which they are located, enabling priority reception and handling of calls to the “112” emergency number.
NOTIC E
Data storageData contained in the system’s memory is not accessible from outside the system until a call is made. The system is not traceable and is not continuously monitored in its normal operating mode. The data in the system's internal memory is automatically and continuously erased. Only the vehicle’s three most recent locations are stored.When an emergency call is triggered, the data log is stored for no more than 13 hours.
NOTIC E
Access to dataYou have the right to access the data and, if necessary, submit a request to rectify, erase or restrict the processing of any personal information not processed in accordance with the provisions of Regulation 2016/679 (GDPR). Third parties to which data has
been communicated shall be notified of any rectification, erasure or restriction carried out in accordance with the aforementioned Directive, unless doing so would be impossible or require a disproportionate effort. You also have the right to lodge a complaint with the relevant data protection authority.
Service responsible for handling access requests
CountryContact information
[email protected]
Belgium/[email protected]
[email protected]
Czech Republic/
Hungary/Slovakia
[email protected]
[email protected]
Page 113 of 360
11 3
Safety
5
NOTIC E
The normal operation of the ABS may result in slight vibrations in the brake pedal.
This warning lamp comes on fixed in the event of an ABS malfunction.The vehicle retains conventional braking. Drive carefully at a moderate speed.
Have it checked by any authorized Toyota retailer or Toyota authorized repairer, or any reliable repairer.This warning lamp, when lit together with the STOP and ABS warning lamps, accompanied by a message and an audible signal, indicates an EBFD malfunction.You must stop the vehicle.Stop as soon as it is safe to do so and switch off the ignition.Contact any authorized Toyota retailer or Toyota authorized repairer, or any reliable repairer.
WARNI NG
When changing wheels (tyres and rims), ensure that these are approved for your vehicle.
WARNI NG
After an impactHave it checked by any authorized Toyota retailer or Toyota authorized repairer, or any reliable repairer.
Emergency braking
assistance (EBA)
In an emergency, this system enables you to reach the optimum braking pressure more quickly and therefore reduce the stopping distance.It is triggered in relation to the speed at which the brake pedal is pressed. This is felt by a reduction in the resistance of the pedal and an increase in braking efficiency.
Anti-slip regulation (ASR)
/ Dynamic stability control
(DSC)
Anti-slip regulation (or traction control) optimises traction by using engine braking and by applying the brakes on the driving wheels to avoid one or more wheels spinning. It also enhances the vehicle's directional stability.If there is a difference between the vehicle’s trajectory and the path desired by the driver, the dynamic stability control system automatically uses engine braking and the brakes on one or
more wheels to return the vehicle to the desired path, within the limits of the laws of physics.These systems are activated automatically every time the vehicle is started.These systems are activated in the event of a problem with grip or trajectory (confirmed by this warning lamp flashing on the instrument panel).
Deactivation/Reactivation
In exceptional conditions (moving a vehicle that is bogged down in mud, stuck in snow, on loose soil, etc.), it may prove useful to deactivate the DSC/ASR systems, so that the wheels can move freely and regain grip.However, it is recommended that the systems be reactivated as soon as possible.
NOTIC E
Only the ASR system can be deactivated from the touch screen.
Deactivating using the button or Toyota Traction SelectPress this button or turn the thumbwheel to this position.The indicator lamp in the button or thumbwheel comes on: the DSC/ASR systems no longer
have an effect on engine operation.Deactivating using the touch screenIn the "Driving/Vehicle" menu, deactivate the ASR system.
Page 115 of 360
11 5
Safety
5
necessary, to slow the vehicle (indicated by the flashing of this warning lamp on the instrument panel and the brake lamps coming on).For information on weights and towed loads, refer to the Engine technical data and towed loads section or your vehicle’s registration certificate.To ensure safe driving with a Towing device, refer to the corresponding section.
Malfunction
If a fault occurs, this warning lamp lights up on the instrument panel, accompanied by a message and an audible signal.To continue towing a trailer, reduce speed and drive carefully!Have it checked by any authorized Toyota retailer or Toyota authorized repairer, or any reliable repairer.
WARNI NG
The trailer stability control system provides an extra safety feature under normal driving conditions, when following the recommendations for use of trailers and current legislation in force in your country. It must not encourage the driver to take extra risks, such as using a trailer in unsuitable
conditions of operation (e.g. excessive load, exceeded nose weight, worn or under-inflated
tyres, faulty braking system) or driving at excessive speed.In certain cases, the system may not detect trailer snaking, particularly with a light trailer.When driving on slippery or poor surfaces, the system may not be able to prevent sudden trailer snaking.
Toyota Traction Select
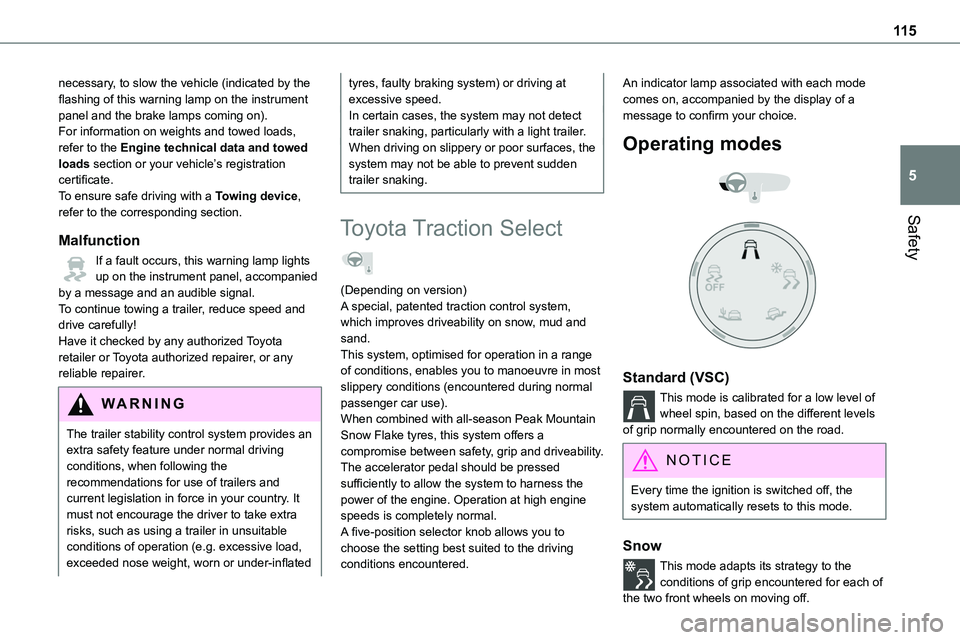
(Depending on version)A special, patented traction control system, which improves driveability on snow, mud and sand.This system, optimised for operation in a range of conditions, enables you to manoeuvre in most slippery conditions (encountered during normal passenger car use).When combined with all-season Peak Mountain Snow Flake tyres, this system offers a compromise between safety, grip and driveability.The accelerator pedal should be pressed sufficiently to allow the system to harness the power of the engine. Operation at high engine speeds is completely normal.A five-position selector knob allows you to choose the setting best suited to the driving conditions encountered.
An indicator lamp associated with each mode comes on, accompanied by the display of a message to confirm your choice.
Operating modes
Standard (VSC)
This mode is calibrated for a low level of wheel spin, based on the different levels of grip normally encountered on the road.
NOTIC E
Every time the ignition is switched off, the system automatically resets to this mode.
Snow
This mode adapts its strategy to the conditions of grip encountered for each of
the two front wheels on moving off.