sensor TOYOTA PROACE VERSO 2017 Owners Manual
[x] Cancel search | Manufacturer: TOYOTA, Model Year: 2017, Model line: PROACE VERSO, Model: TOYOTA PROACE VERSO 2017Pages: 504, PDF Size: 81.64 MB
Page 3 of 504
.
.
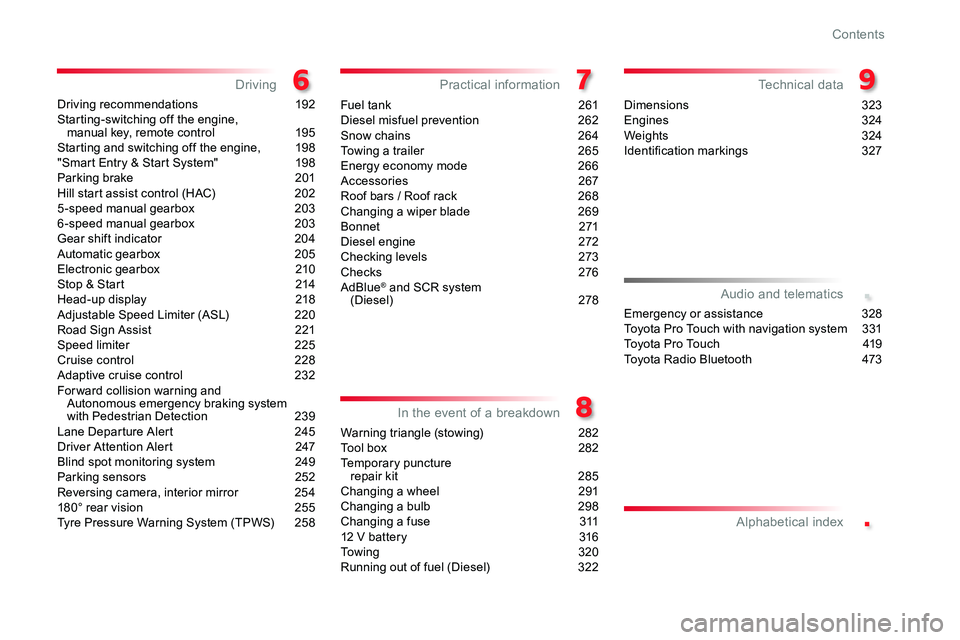
Driving recommendations 192Starting-switching off the engine, manual key, remote control 195Starting and switching off the engine, 198"Smart Entry & Start System" 198Parking brake 201Hill start assist control (HAC) 2025-speed manual gearbox 2036-speed manual gearbox 203Gear shift indicator 204Automatic gearbox 205Electronic gearbox 210Stop & Start 214Head-up display 218Adjustable Speed Limiter (ASL) 220Road Sign Assist 221Speed limiter 225Cruise control 228Adaptive cruise control 232For ward collision warning and Autonomous emergency braking system with Pedestrian Detection 239Lane Departure Alert 245Driver Attention Alert 247Blind spot monitoring system 249Parking sensors 252Reversing camera, interior mirror 254180° rear vision 255Tyre Pressure Warning System (TPWS) 258
Fuel tank 261Diesel misfuel prevention 262Snow chains 264Towing a trailer 265Energy economy mode 266Accessories 267Roof bars / Roof rack 268Changing a wiper blade 269B o nnet 271Diesel engine 272Checking levels 273Checks 276AdBlue® and SCR system (Diesel) 278
Warning triangle (stowing) 282Tool box 282Temporary puncture repair kit 285Changing a wheel 291Changing a bulb 298Changing a fuse 31112 V battery 316To w i n g 3 2 0Running out of fuel (Diesel) 322
Dimensions 323Engines 324Weights 324Identification markings 327
DrivingPractical information
In the event of a breakdown
Technical data
Emergency or assistance 328Toyota Pro Touch with navigation system 331To y o t a P r o To u c h 419Toyota Radio Bluetooth 473
Audio and telematics
Alphabetical index
Contents
Page 4 of 504
4
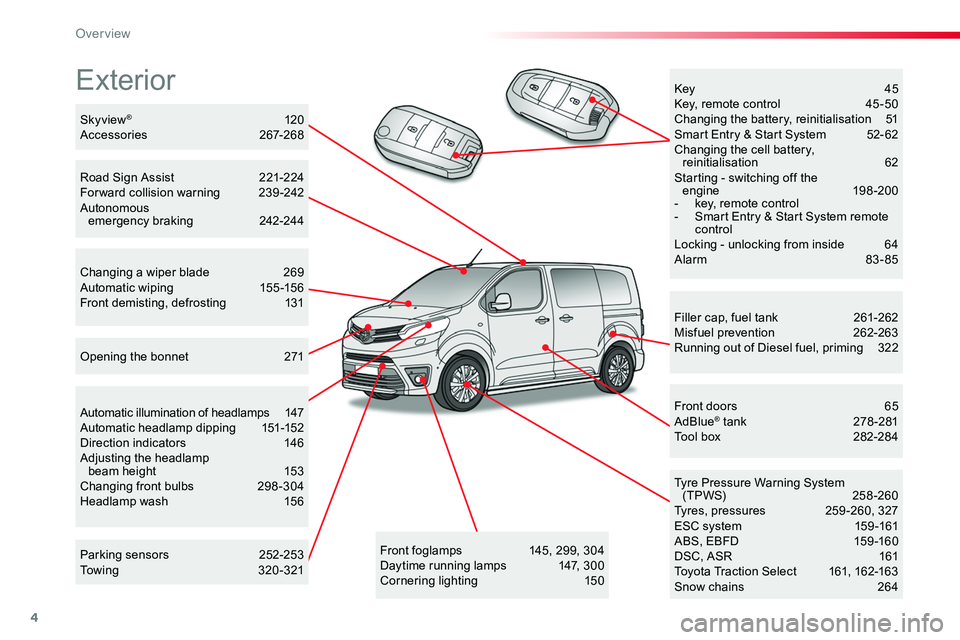
Exterior
Filler cap, fuel tank 261-262Misfuel prevention 262-263Running out of Diesel fuel, priming 322
Tyre Pressure Warning System (TPWS) 258-260Tyres, pressures 259 -260, 327ESC system 159 -161ABS, EBFD 159 -160DSC, ASR 161Toyota Traction Select 161, 162-163Snow chains 264
Front doors 65AdBlue® tank 278-281Tool box 282-284
Automatic illumination of headlamps 147Automatic headlamp dipping 151-152Direction indicators 146Adjusting the headlamp beam height 153Changing front bulbs 298-304Headlamp wash 156
Skyview® 120Accessories 267-268
Opening the bonnet 271
Key 45Key, remote control 45 -50Changing the battery, reinitialisation 51Smart Entry & Start System 52- 62Changing the cell battery, reinitialisation 62Starting - switching off the engine 198-200- key, remote control- Smart Entry & Start System remote controlLocking - unlocking from inside 64Alarm 83-85
Road Sign Assist 221-224For ward collision warning 239 -242Autonomous emergency braking 242-244
Changing a wiper blade 269Automatic wiping 155-156Front demisting, defrosting 131
Front foglamps 145, 299, 304Daytime running lamps 147, 300Cornering lighting 150
Parking sensors 252-253Towing 320-321
Over view
Page 5 of 504
5
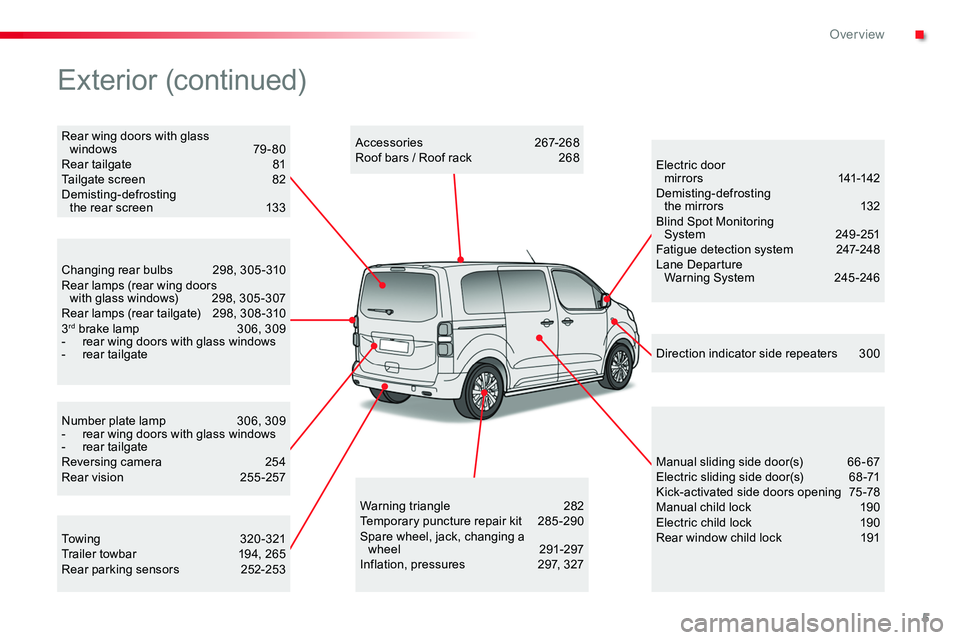
Number plate lamp 306, 309- rear wing doors with glass windows- rear tailgateReversing camera 254Rear vision 255 -257
Changing rear bulbs 298, 305-310Rear lamps (rear wing doors with glass windows) 298, 305 -307Rear lamps (rear tailgate) 298, 308 -3103rd brake lamp 306, 309- rear wing doors with glass windows- rear tailgate
Warning triangle 282Temporary puncture repair kit 285-290Spare wheel, jack, changing a wheel 291-297Inflation, pressures 297, 327
Electric door mir ror s 141-142Demisting-defrosting the mirrors 132Blind Spot Monitoring System 249-251Fatigue detection system 247-248Lane Departure Warning System 245 -246
Direction indicator side repeaters 300
Manual sliding side door(s) 66 - 67Electric sliding side door(s) 68 -71Kick-activated side doors opening 75 -78Manual child lock 190Electric child lock 190Rear window child lock 191
Accessories 267-268Roof bars / Roof rack 268
Towing 320-321Trailer towbar 194, 265Rear parking sensors 252-253
Rear wing doors with glass windows 79-80Rear tailgate 81Tailgate screen 82Demisting-defrosting the rear screen 133
Exterior (continued)
.
Over view
Page 43 of 504
43
ButtonCorresponding functionComments
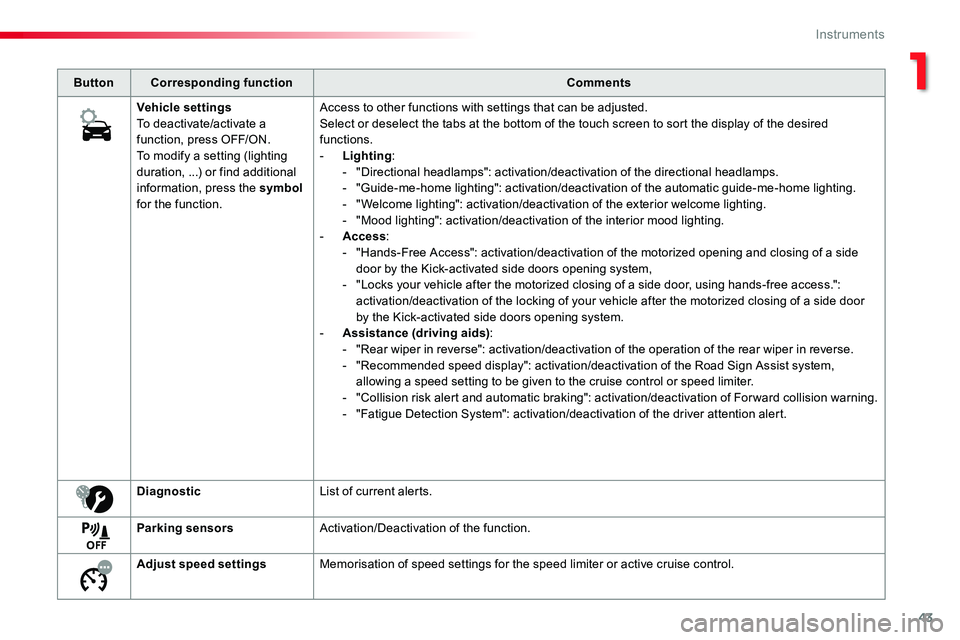
Vehicle settingsTo deactivate/activate a function, press OFF/ON.To modify a setting (lighting duration, ...) or find additional information, press the symbol for the function.
Access to other functions with settings that can be adjusted.Select or deselect the tabs at the bottom of the touch screen to sort the display of the desired functions.- Lighting:- "Directional headlamps": activation/deactivation of the directional headlamps.- "Guide-me-home lighting": activation/deactivation of the automatic guide-me-home lighting.- "Welcome lighting": activation/deactivation of the exterior welcome lighting.- "Mood lighting": activation/deactivation of the interior mood lighting.- Access:- "Hands-Free Access": activation/deactivation of the motorized opening and closing of a side door by the Kick-activated side doors opening system,- "Locks your vehicle after the motorized closing of a side door, using hands-free access.": activation/deactivation of the locking of your vehicle after the motorized closing of a side door by the Kick-activated side doors opening system.- Assistance (driving aids):- "Rear wiper in reverse": activation/deactivation of the operation of the rear wiper in reverse.- "Recommended speed display": activation/deactivation of the Road Sign Assist system, allowing a speed setting to be given to the cruise control or speed limiter.- "Collision risk alert and automatic braking": activation/deactivation of Forward collision warning.- "Fatigue Detection System": activation/deactivation of the driver attention alert.
DiagnosticList of current alerts.
Parking sensorsActivation/Deactivation of the function.
Adjust speed settingsMemorisation of speed settings for the speed limiter or active cruise control.
1
Instruments
Page 75 of 504
75
The automatic locking after closing the door is programmable in the vehicle configuration menu.
Kick-activated side doors opening and locking
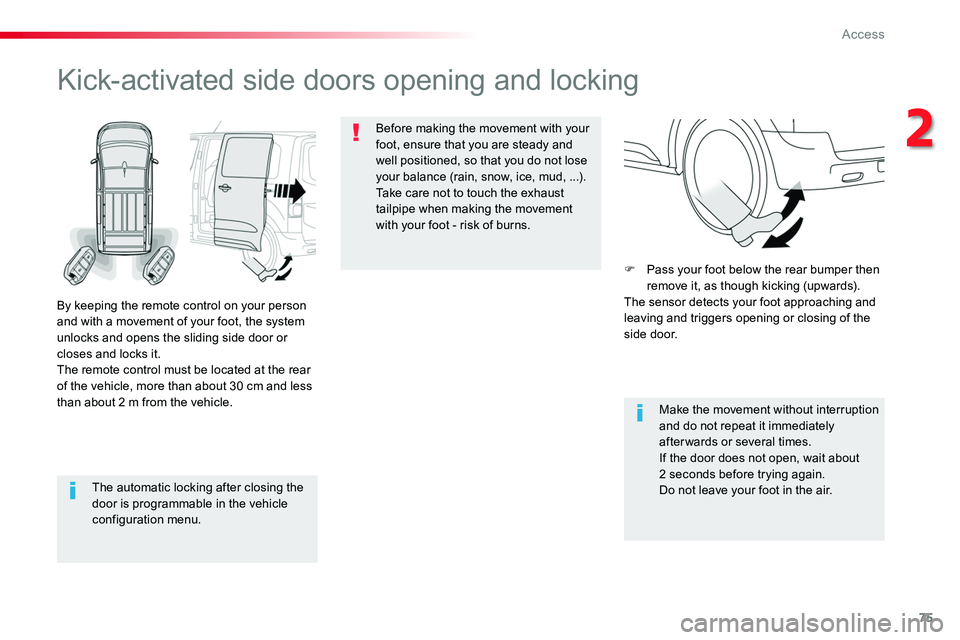
By keeping the remote control on your person and with a movement of your foot, the system unlocks and opens the sliding side door or closes and locks it.The remote control must be located at the rear of the vehicle, more than about 30 cm and less than about 2 m from the vehicle.
Before making the movement with your foot, ensure that you are steady and well positioned, so that you do not lose your balance (rain, snow, ice, mud, ...).Take care not to touch the exhaust tailpipe when making the movement with your foot - risk of burns.
Make the movement without interruption and do not repeat it immediately after wards or several times.If the door does not open, wait about 2 seconds before trying again.Do not leave your foot in the air.
F Pass your foot below the rear bumper then remove it, as though kicking (upwards).The sensor detects your foot approaching and leaving and triggers opening or closing of the side door.
2
Access
Page 134 of 504
134
In order for these systems to be fully effective, follow the operation and maintenance guidelines below:F To obtain an even air distribution, take care not to obstruct the exterior air intake grilles located at the base of the windscreen, the nozzles, the vents and the air outlets, as well as the air extractor located at the rear.F Do not cover the sunshine sensor, located at the top of the windscreen; this is used for regulation of the air conditioning system.F Operate the air conditioning system for at least 5 to 10 minutes, once or twice a month to keep it in per fect working order.F Ensure that the passenger compartment filter is in good condition and have the filter elements replaced regularly. We recommend the use of a combined passenger compartment filter. Thanks to its special active additive, it contributes to the purification of the air breathed by the occupants and the cleanliness of the passenger compartment (reduction of allergic symptoms, bad odours and greasy deposits).F To ensure correct operation of the air conditioning system, you are also advised to have it checked regularly as recommended in the maintenance and warranty guide.F If the system does not produce cold air, switch it off and contact an authorized Toyota dealer or repairer, or another duly qualified and equipped professional.
Recommendations for heating, ventilation and air conditioning
If after an extended stop in sunshine, the interior temperature is very high, first ventilate the passenger compartment for a few moments.Put the air flow control at a setting high enough to quickly change the air in the passenger compartment.
The air conditioning system does not contain chlorine and does not present any danger to the ozone layer.
The condensation created by the air conditioning results in a discharge of water under the vehicle which is perfectly normal.
When towing the maximum load on a steep gradient in high temperatures, switching off the air conditioning increases the available engine power and so improves the towing ability.
Stop & Start
The heating and air conditioning systems only work when the engine is running.To maintain a comfortable temperature in the passenger compartment, you can temporarily deactivate the Stop & Start system.
For more information on Stop & Star t, refer to the corresponding section.
Air vents
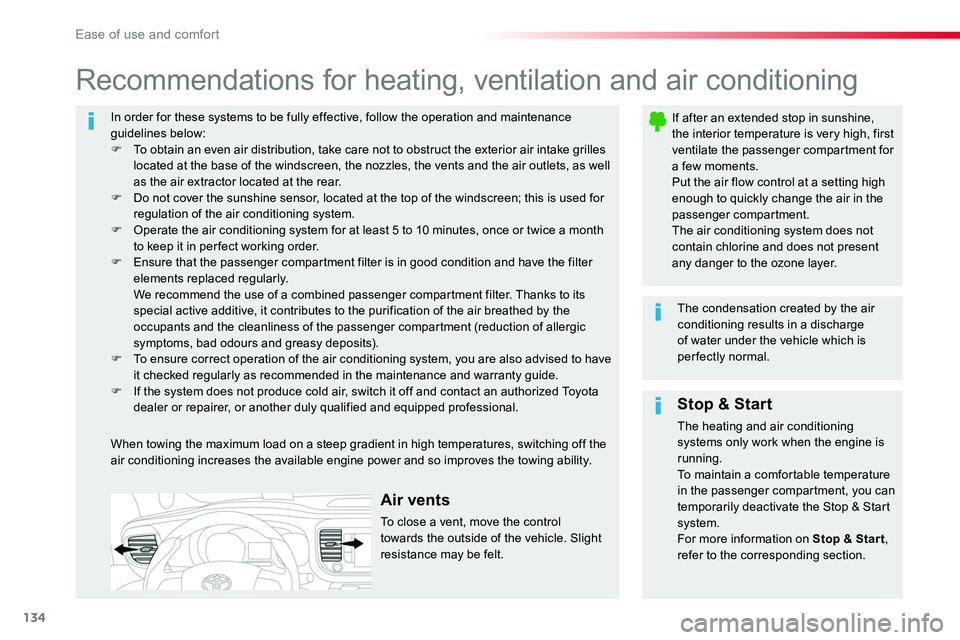
To close a vent, move the control towards the outside of the vehicle. Slight resistance may be felt.
Ease of use and comfort
Page 143 of 504
143
Rear view mirror
Equipped with an anti-dazzle system, which darkens the mirror glass and reduces the nuisance to the driver caused by the sun, headlamps from other vehicles...
Manual model
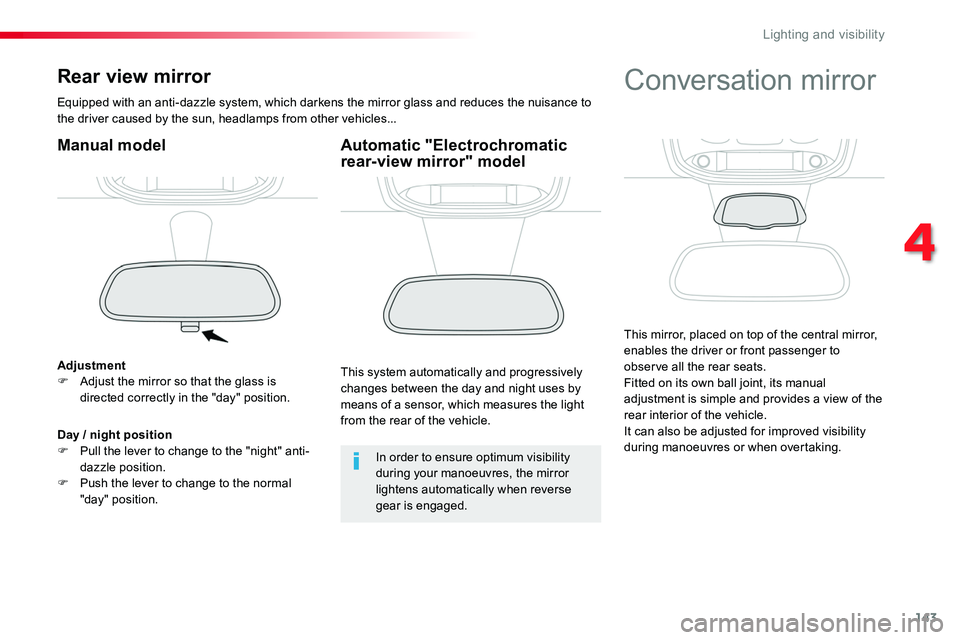
AdjustmentF Adjust the mirror so that the glass is directed correctly in the "day" position.
In order to ensure optimum visibility during your manoeuvres, the mirror lightens automatically when reverse gear is engaged.
Day / night positionF Pull the lever to change to the "night" anti-dazzle position.F Push the lever to change to the normal "day" position.
Automatic "Electrochromatic rear-view mirror" model
This system automatically and progressively changes between the day and night uses by means of a sensor, which measures the light from the rear of the vehicle.
Conversation mirror
This mirror, placed on top of the central mirror, enables the driver or front passenger to observe all the rear seats.Fitted on its own ball joint, its manual adjustment is simple and provides a view of the rear interior of the vehicle.
It can also be adjusted for improved visibility during manoeuvres or when overtaking.
4
Lighting and visibility
Page 146 of 504
146
Direction indicators
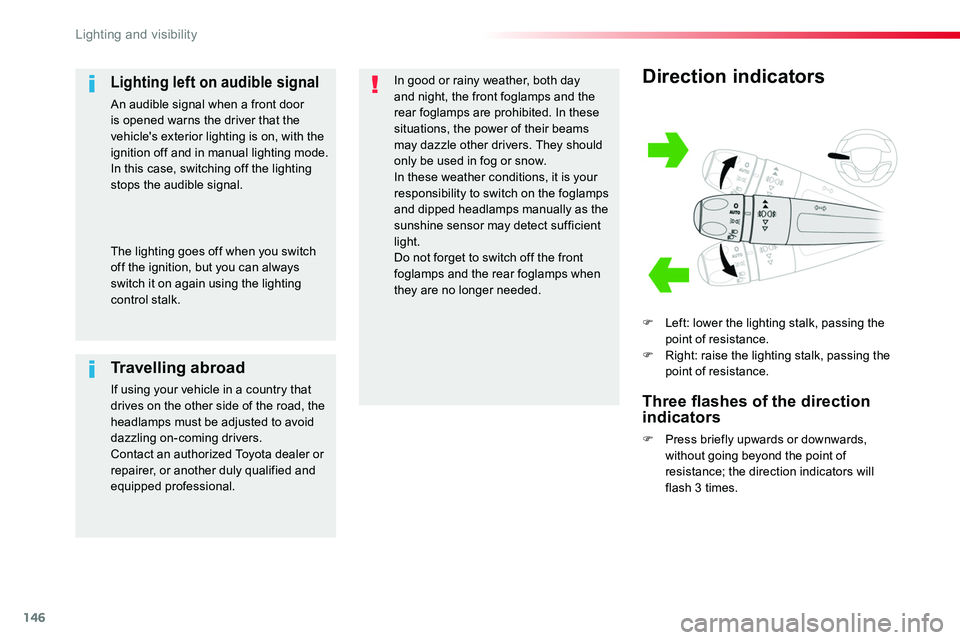
F Left: lower the lighting stalk, passing the point of resistance.F Right: raise the lighting stalk, passing the point of resistance.
Three flashes of the direction indicators
F Press briefly upwards or downwards, without going beyond the point of resistance; the direction indicators will flash 3 times.
In good or rainy weather, both day and night, the front foglamps and the rear foglamps are prohibited. In these situations, the power of their beams may dazzle other drivers. They should only be used in fog or snow.In these weather conditions, it is your responsibility to switch on the foglamps and dipped headlamps manually as the sunshine sensor may detect sufficient light.Do not forget to switch off the front foglamps and the rear foglamps when they are no longer needed.
Lighting left on audible signal
An audible signal when a front door is opened warns the driver that the vehicle's exterior lighting is on, with the ignition off and in manual lighting mode.In this case, switching off the lighting stops the audible signal.
Travelling abroad
If using your vehicle in a country that drives on the other side of the road, the headlamps must be adjusted to avoid dazzling on-coming drivers.Contact an authorized Toyota dealer or repairer, or another duly qualified and equipped professional.
The lighting goes off when you switch off the ignition, but you can always switch it on again using the lighting control stalk.
Lighting and visibility
Page 147 of 504
147
Front daytime running
lamps
(light-emitting diodes)
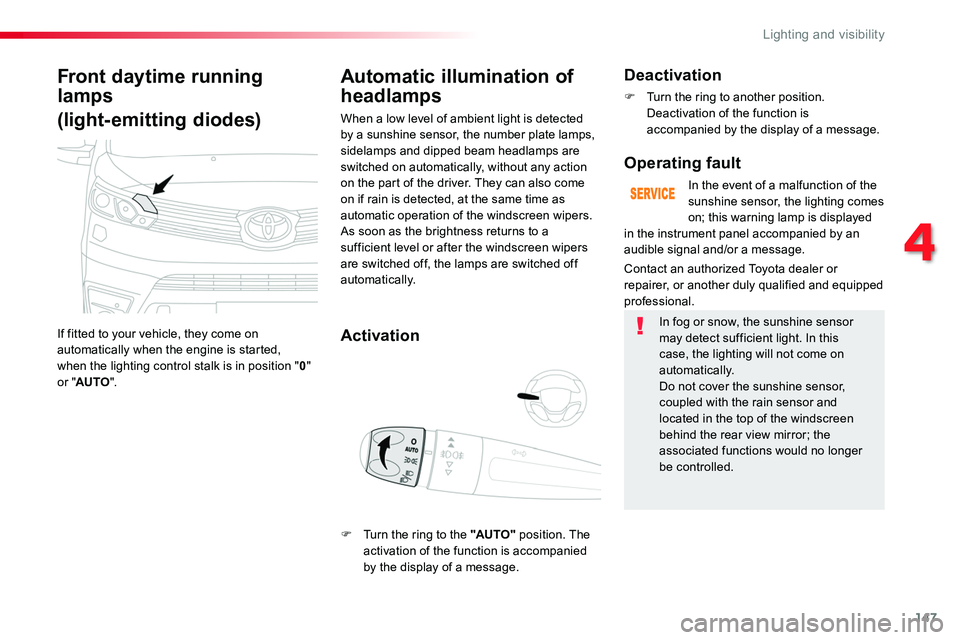
If fitted to your vehicle, they come on automatically when the engine is started, when the lighting control stalk is in position "0" or "AUTO".
Automatic illumination of
headlamps
Activation
When a low level of ambient light is detected by a sunshine sensor, the number plate lamps, sidelamps and dipped beam headlamps are switched on automatically, without any action on the part of the driver. They can also come on if rain is detected, at the same time as automatic operation of the windscreen wipers.As soon as the brightness returns to a sufficient level or after the windscreen wipers are switched off, the lamps are switched off automatically.
Deactivation
F Turn the ring to another position. Deactivation of the function is accompanied by the display of a message.
Operating fault
In the event of a malfunction of the sunshine sensor, the lighting comes on; this warning lamp is displayed
Contact an authorized Toyota dealer or repairer, or another duly qualified and equipped professional.
in the instrument panel accompanied by an audible signal and/or a message.
In fog or snow, the sunshine sensor may detect sufficient light. In this case, the lighting will not come on automatically.Do not cover the sunshine sensor, coupled with the rain sensor and located in the top of the windscreen behind the rear view mirror; the associated functions would no longer be controlled.
F Turn the ring to the "AUTO" position. The activation of the function is accompanied by the display of a message.
4
Lighting and visibility
Page 149 of 504
149
Exterior welcome lighting
The remote switching on of the lighting makes your approach to the vehicle easier in poor light. It is activated when the lighting control is in the "AUTO" position and the level of light detected by the sunshine sensor is low.
Switching on
F Press the open padlock on the remote control or one of the front door handles with Smart Entry & Start System.
Switching off
The exterior welcome lighting switches off automatically after a set time, when the ignition is switched on or on locking the vehicle.
Programming
The activation, deactivation and choice of welcome lighting duration can be set.
The dipped beam headlamps and sidelamps come on; your vehicle is also unlocked.
In the vehicle settings menu, activate/deactivate "Welcome lighting".
With the touch screen
With the audio system
In the "Personalisation-configuration" menu, activate/deactivate "Welcome lighting".
4
Lighting and visibility