wheel TOYOTA PROACE VERSO 2020 User Guide
[x] Cancel search | Manufacturer: TOYOTA, Model Year: 2020, Model line: PROACE VERSO, Model: TOYOTA PROACE VERSO 2020Pages: 418, PDF Size: 39.32 MB
Page 78 of 418
78
Ensure that no person or object could prevent the correct opening or closing of the doors.Be aware of children when operating the doors.
If "Hands-free access self-locking" is selected in the vehicle menu and after closing the door, check that your vehicle has locked correctly.This is because locking will not take place:- if the ignition is on,- if one of the doors or the rear tailgate is open,- if a "Smart Entry & Start System" remote control is inside the vehicle.If a number of gestures with your foot have no effect, wait a few seconds before starting again.The system is automatically deactivated in heavy rain or with accumulations of snow.If the system fails to work, check that the remote control is not exposed to a source of electromagnetic interference (smar tphone, ...).Operation may be affected if using a prosthetic leg.
This system may not work correctly if your vehicle is fitted with a towbar.
The sliding door may open or close erratically if:- your vehicle is fitted with a towbar,- you attach or detach a trailer,- you fit or remove a bicycle carrier,- you load or unload bicycles on a bicycle carrier,- you remove or raise something behind the vehicle,- an animal approaches the bumper,- you wash your vehicle,- a ser vice is being carried out on your vehicle,- you change a wheel.To avoid unwanted operation, keep the key away from the vehicle or deactivate the function in the vehicle configuration menu.
Access
Page 84 of 418
84
Volumetric monitoring
Deactivation
F Switch off the ignition and within ten seconds press this button until its indicator lamp is on fixed.
F Get out of the vehicle.
Reactivation
The indicator lamp in the button goes off.
F Immediately lock the vehicle
using the remote control or the "Smart Entry & Start System".
Only the exterior perimeter protection system is active: the indicator lamp in the button flashes once per second.To be effective, this deactivation must be done every time the ignition is switched off.
F Deactivate the exterior perimeter monitoring by unlocking the vehicle using the remote control or the "Smart Entry & Start S ystem".
F Reactivate the full alarm system by locking the vehicle using the remote control or the "Smart Entry & Start System".
The indicator lamp in the button flashes once per second again.
Triggering of the alarm
This is indicated by sounding of the siren and flashing of the direction indicators for thirty seconds.The monitoring functions remain active until the alarm has been triggered eleven times in succession.
When the vehicle is unlocked using the remote control or the "Smart Entry & Start System", rapid flashing of the indicator lamp in the button informs you that the alarm was triggered during your absence.When the ignition is switched on, this flashing stops immediately.
Deactivation
F Press this unlocking button on the remote control.
or
F Unlock the vehicle using the "Smart Entry & Start System".
If the vehicle locks itself automatically (this occurs after 30 seconds if one of the doors is not opened), the monitoring system is reactivated automatically.
The monitoring system is deactivated: the indicator lamp in the button is off and the direction indicators flash for about 2 seconds.
Protection - exterior
perimeter monitoring only
Deactivate the interior volumetric monitoring to avoid unwanted triggering of the alarm in certain cases such as:- occupant(s) present in the vehicle,- leaving a window partially open,- washing your vehicle,- changing a wheel,- towing your vehicle,- transport on a ferry.
Access
Page 87 of 418
87
Steering wheel adjustment
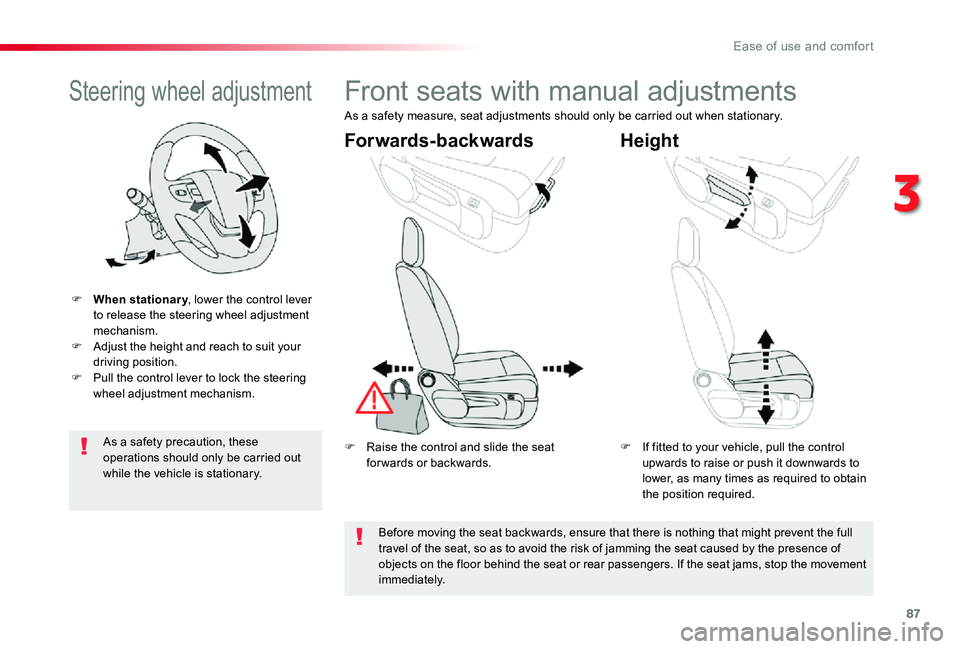
F When stationary, lower the control lever to release the steering wheel adjustment mechanism.F Adjust the height and reach to suit your driving position.F Pull the control lever to lock the steering wheel adjustment mechanism.
As a safety precaution, these
operations should only be carried out while the vehicle is stationary.
Front seats with manual adjustments
F Raise the control and slide the seat for wards or backwards.F If fitted to your vehicle, pull the control upwards to raise or push it downwards to lower, as many times as required to obtain the position required.
Forwards-backwardsHeight
As a safety measure, seat adjustments should only be carried out when stationary.
Before moving the seat backwards, ensure that there is nothing that might prevent the full travel of the seat, so as to avoid the risk of jamming the seat caused by the presence of objects on the floor behind the seat or rear passengers. If the seat jams, stop the movement immediately.
3
Ease of use and comfort
Page 91 of 418
91
With the engine running, the front seats can be heated separately.
Heated seats control
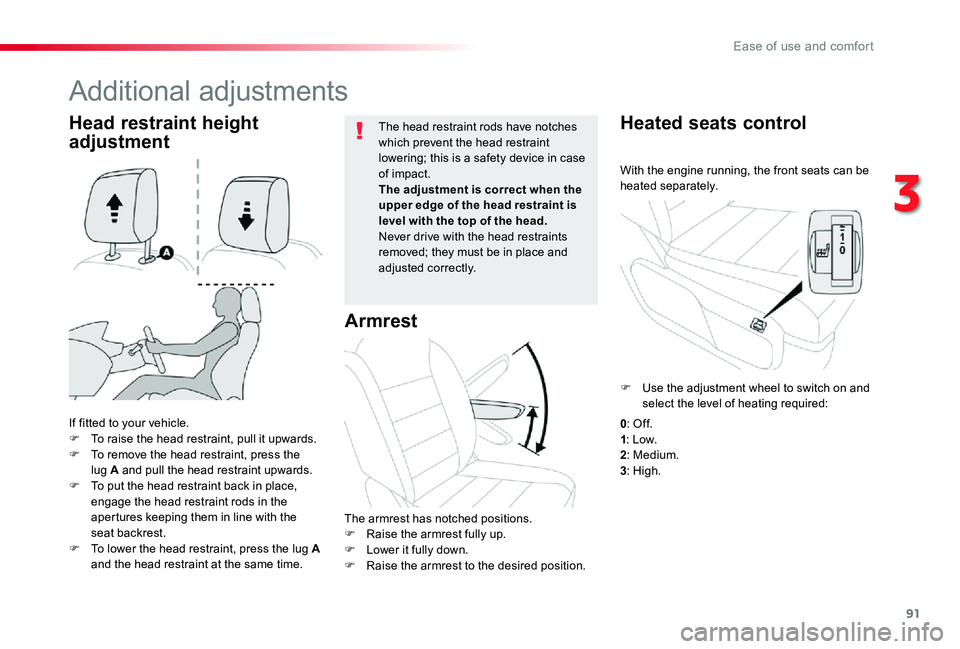
If fitted to your vehicle.F To raise the head restraint, pull it upwards.F To remove the head restraint, press the lug A and pull the head restraint upwards.F To put the head restraint back in place, engage the head restraint rods in the apertures keeping them in line with the seat backrest.F To lower the head restraint, press the lug A and the head restraint at the same time.
The head restraint rods have notches which prevent the head restraint lowering; this is a safety device in case of impact.The adjustment is correct when the upper edge of the head restraint is level with the top of the head.Never drive with the head restraints removed; they must be in place and adjusted correctly.
Head restraint height
adjustment
Additional adjustments
Armrest
The armrest has notched positions.F Raise the armrest fully up.F Lower it fully down.F Raise the armrest to the desired position.
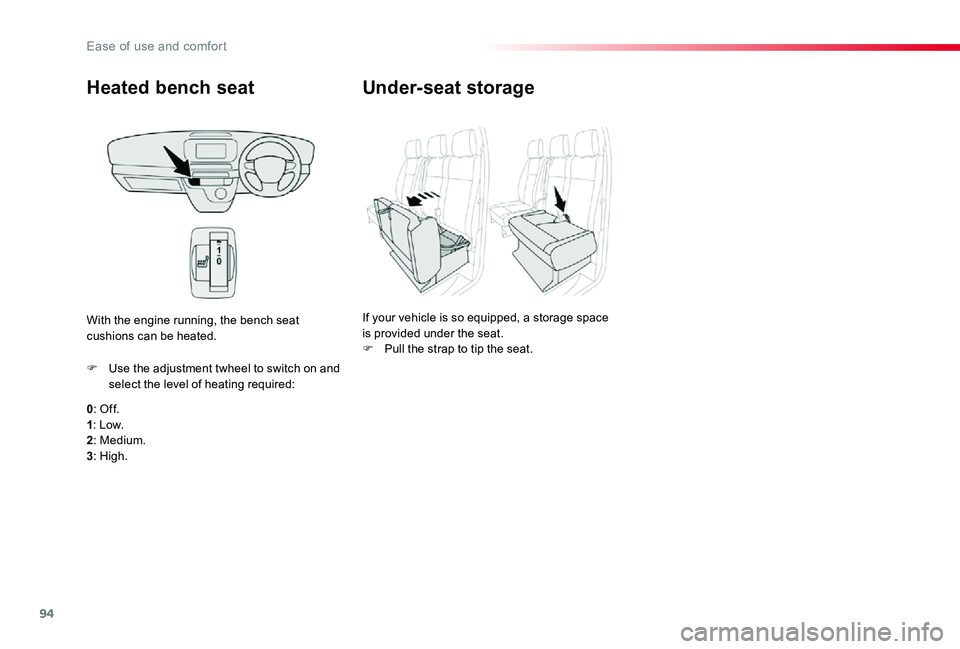
F Use the adjustment wheel to switch on and select the level of heating required:
0: Of f.1: Low.2: Medium.3: High.
3
Ease of use and comfort
Page 94 of 418
94
Heated bench seat
0: Of f.1: Low.2: Medium.
3: High.
F Use the adjustment twheel to switch on and select the level of heating required:
With the engine running, the bench seat cushions can be heated.
Under-seat storage
If your vehicle is so equipped, a storage space is provided under the seat.F Pull the strap to tip the seat.
Ease of use and comfort
Page 112 of 418
112
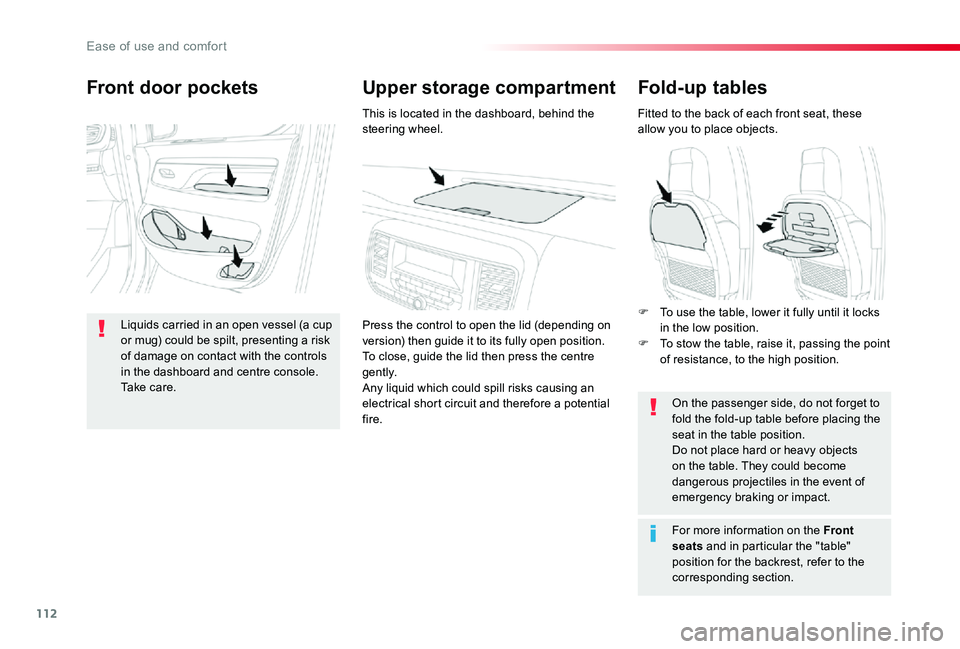
Fold-up tables
Fitted to the back of each front seat, these allow you to place objects.
On the passenger side, do not forget to fold the fold-up table before placing the seat in the table position.Do not place hard or heavy objects on the table. They could become dangerous projectiles in the event of emergency braking or impact.
For more information on the Front
seats and in particular the "table" position for the backrest, refer to the corresponding section.
Upper storage compartmentFront door pockets
Liquids carried in an open vessel (a cup or mug) could be spilt, presenting a risk of damage on contact with the controls in the dashboard and centre console. Take care.
This is located in the dashboard, behind the steering wheel.
Press the control to open the lid (depending on version) then guide it to its fully open position.To close, guide the lid then press the centre g e nt l y.Any liquid which could spill risks causing an electrical short circuit and therefore a potential fire.
F To use the table, lower it fully until it locks in the low position.F To stow the table, raise it, passing the point of resistance, to the high position.
Ease of use and comfort
Page 150 of 418
150
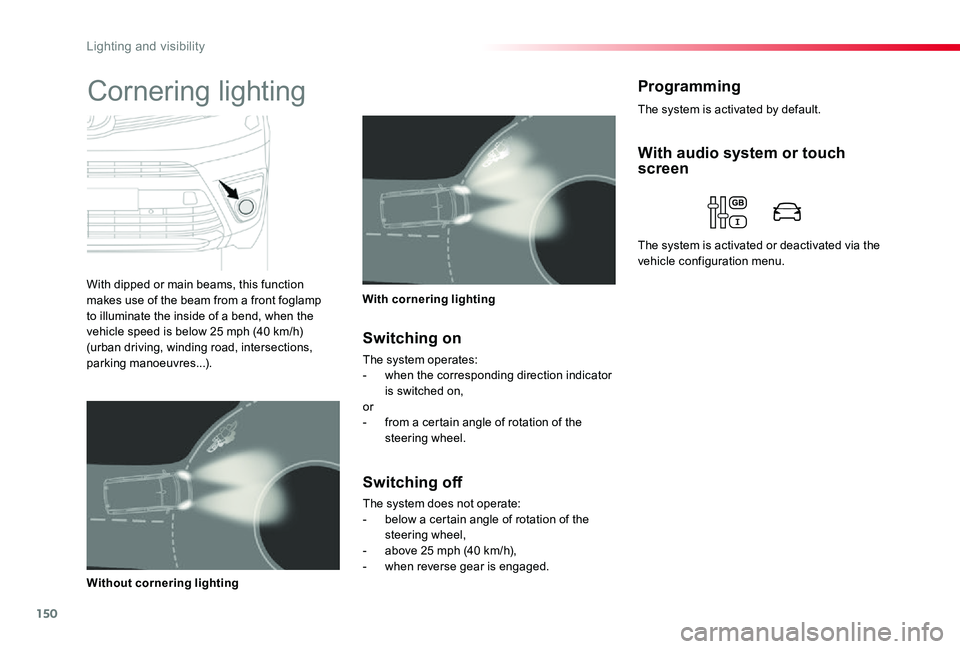
ProgrammingCornering lighting
With dipped or main beams, this function makes use of the beam from a front foglamp to illuminate the inside of a bend, when the vehicle speed is below 25 mph (40 km/h) (urban driving, winding road, intersections, parking manoeuvres...).
With cornering lighting
Without cornering lighting
Switching on
The system operates:- when the corresponding direction indicator is switched on,or- from a certain angle of rotation of the steering wheel.
Switching off
The system does not operate:- below a certain angle of rotation of the steering wheel,- above 25 mph (40 km/h),- when reverse gear is engaged.
With audio system or touch screen
The system is activated or deactivated via the vehicle configuration menu.
The system is activated by default.
Lighting and visibility
Page 159 of 418
159
ER A - GLONASS
emergency call system*Electronic stability control (ESC) incorporating the following systems:- anti-lock braking system (ABS) and electronic brake force distribution (EBFD),- emergency braking assistance (EBA),- wheel anti-slip regulation (ASR) or traction control,- dynamic stability control (DSC).
Electronic stability control (ESC)
Definitions
Anti-lock braking system (ABS) and electronic brake force distribution (EBFD)
This system improves the stability and manoeuvrability of your vehicle when braking and contributes towards improved control on corners, in particular on poor or slippery road surfaces.The ABS prevents wheel lock in the event of emergency braking.The EBFD manages the braking pressure wheel by wheel.
Emergency braking assistance (EBA) / Brake assist
In an emergency, this system enables you to reach the optimum braking pressure more quickly and therefore reduce the stopping distance.It is triggered according to the speed at which the brake pedal is pressed. This is felt by a reduction in the resistance of the pedal and an increase in the effectiveness of the braking.
Anti-slip regulation (ASR) / Traction Control (TRC)
The ASR system (also known as Traction Control) optimises traction in order to limit wheel slip by acting on the brakes of the driving wheels and on the engine. It also improves the directional stability of the vehicle on acceleration.
Dynamic stability control (DSC) / Vehicle Stability Control (VSC)
If there is a difference between the path followed by the vehicle and that required by the driver, the DSC monitors each wheel and automatically acts on the brake of one or more
wheels and on the engine to return the vehicle to the required path, within the limits of the laws of physics.
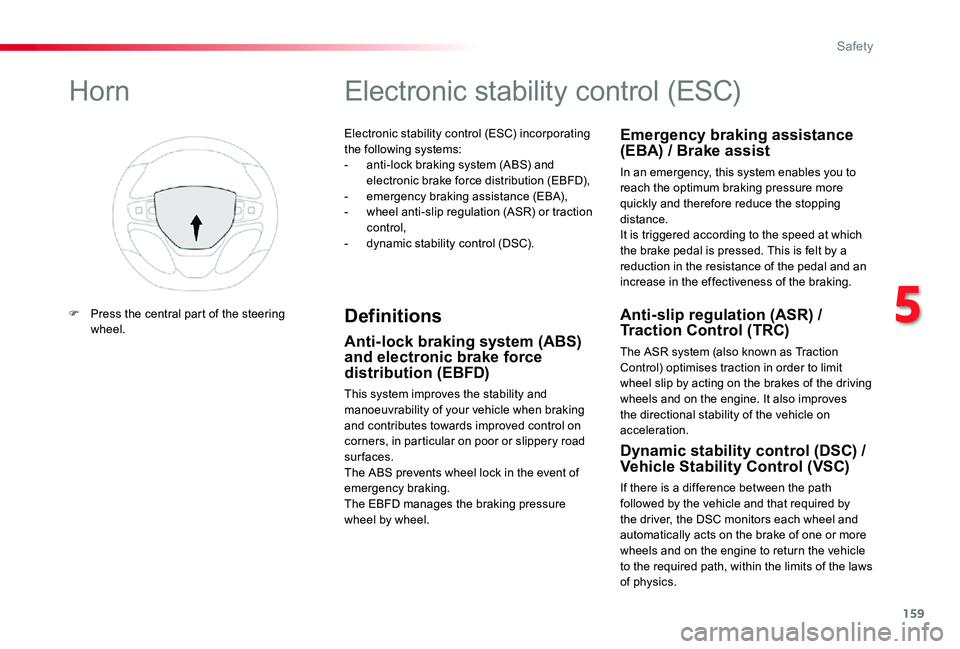
Horn
F Press the central part of the steering wheel.
5
Safety
Page 160 of 418
160
Anti-lock braking system
(ABS) and electronic brake
force distribution (EBFD)
In emergency braking, press ver y firmly and maintain this pressure.
When changing wheels (tyres and rims), ensure that these are approved for your vehicle.Normal operation of the ABS may make itself felt by slight vibrations of the brake pedal.
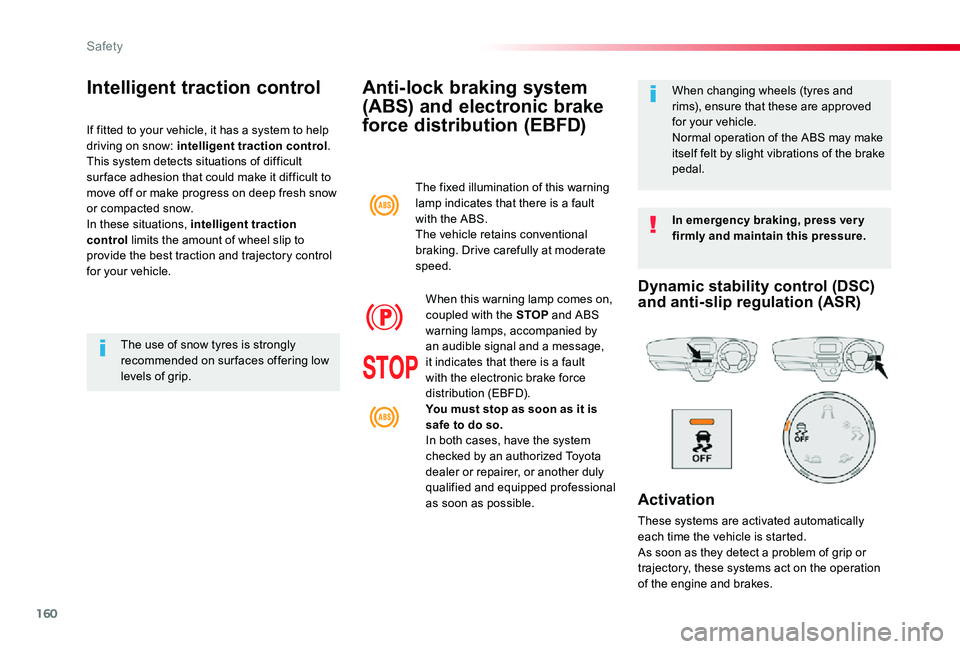
The fixed illumination of this warning lamp indicates that there is a fault with the ABS.The vehicle retains conventional
braking. Drive carefully at moderate speed.
When this warning lamp comes on, coupled with the STOP and ABS warning lamps, accompanied by an audible signal and a message, it indicates that there is a fault with the electronic brake force distribution (EBFD).You must stop as soon as it is safe to do so.In both cases, have the system
checked by an authorized Toyota dealer or repairer, or another duly qualified and equipped professional as soon as possible.
Intelligent traction control
If fitted to your vehicle, it has a system to help driving on snow: intelligent traction control.This system detects situations of difficult sur face adhesion that could make it difficult to move off or make progress on deep fresh snow or compacted snow.In these situations, intelligent traction control limits the amount of wheel slip to provide the best traction and trajectory control for your vehicle.
The use of snow tyres is strongly recommended on sur faces offering low levels of grip.
Dynamic stability control (DSC) and anti-slip regulation (ASR)
Activation
These systems are activated automatically each time the vehicle is started.
As soon as they detect a problem of grip or trajectory, these systems act on the operation of the engine and brakes.
Safety
Page 161 of 418
161
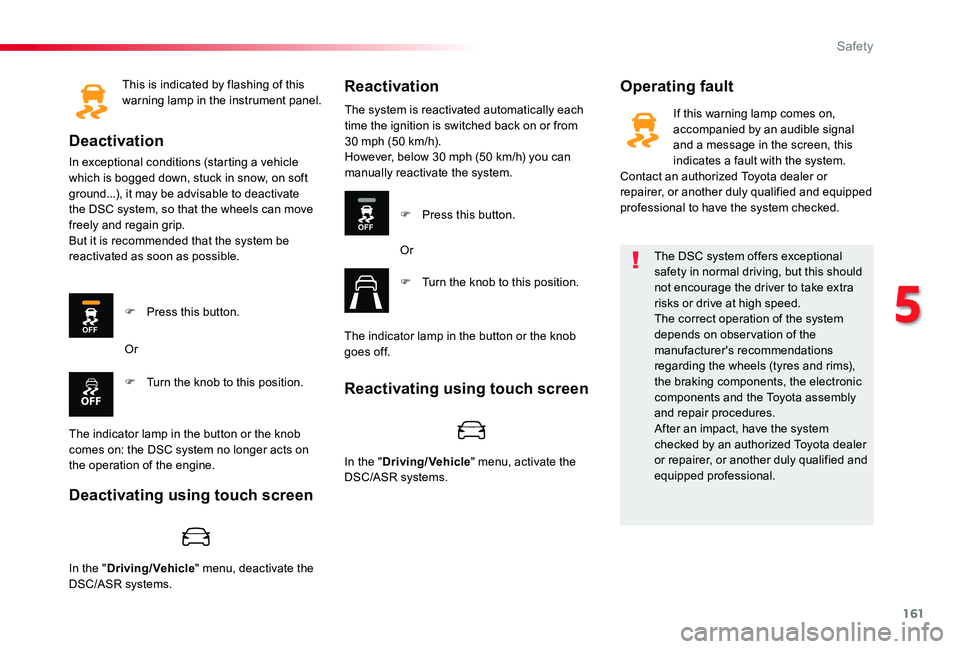
This is indicated by flashing of this warning lamp in the instrument panel.
Deactivation
In exceptional conditions (starting a vehicle which is bogged down, stuck in snow, on soft ground...), it may be advisable to deactivate the DSC system, so that the wheels can move freely and regain grip.But it is recommended that the system be reactivated as soon as possible.
Operating faultReactivation
F Press this button.
F Turn the knob to this position.
Or
The indicator lamp in the button or the knob comes on: the DSC system no longer acts on the operation of the engine.
The system is reactivated automatically each time the ignition is switched back on or from 30 mph (50 km/h).However, below 30 mph (50 km/h) you can manually reactivate the system.
F Press this button.
Or
F Turn the knob to this position.
The indicator lamp in the button or the knob goes off.
The DSC system offers exceptional safety in normal driving, but this should not encourage the driver to take extra risks or drive at high speed.The correct operation of the system depends on obser vation of the manufacturer's recommendations regarding the wheels (tyres and rims), the braking components, the electronic components and the Toyota assembly and repair procedures.After an impact, have the system checked by an authorized Toyota dealer or repairer, or another duly qualified and equipped professional.
If this warning lamp comes on, accompanied by an audible signal and a message in the screen, this indicates a fault with the system.Contact an authorized Toyota dealer or repairer, or another duly qualified and equipped professional to have the system checked.
Deactivating using touch screen
Reactivating using touch screen
In the "Driving/Vehicle" menu, deactivate the DSC/ASR systems.
In the "Driving/Vehicle" menu, activate the DSC/ASR systems.
5
Safety