Neutral gear TOYOTA PROACE VERSO 2022 Owners Manual
[x] Cancel search | Manufacturer: TOYOTA, Model Year: 2022, Model line: PROACE VERSO, Model: TOYOTA PROACE VERSO 2022Pages: 360, PDF Size: 70.79 MB
Page 11 of 360
11
Instruments
1
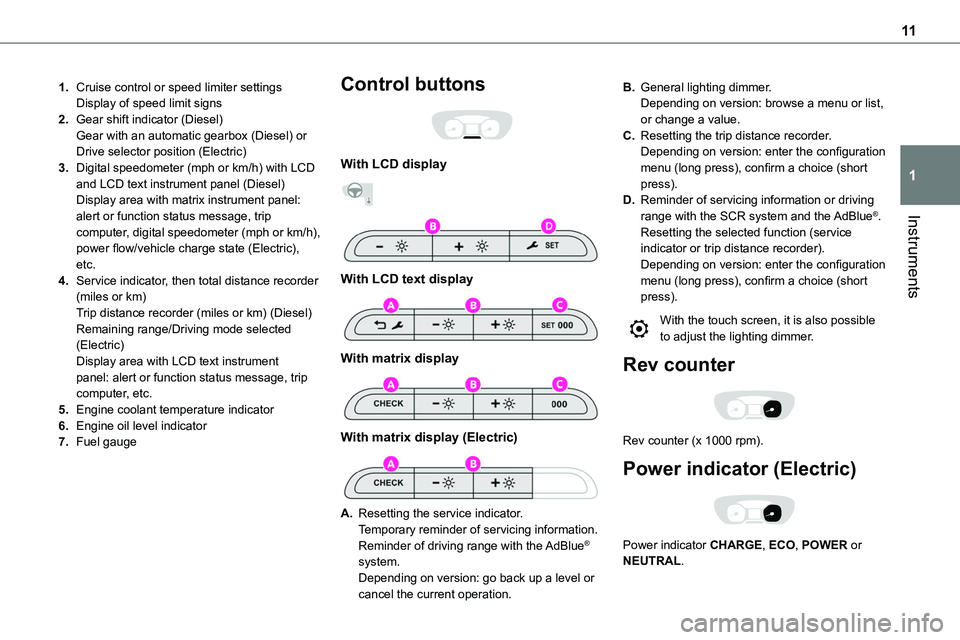
1.Cruise control or speed limiter settingsDisplay of speed limit signs
2.Gear shift indicator (Diesel)Gear with an automatic gearbox (Diesel) or Drive selector position (Electric)
3.Digital speedometer (mph or km/h) with LCD and LCD text instrument panel (Diesel)Display area with matrix instrument panel: alert or function status message, trip computer, digital speedometer (mph or km/h), power flow/vehicle charge state (Electric), etc.
4.Service indicator, then total distance recorder (miles or km)Trip distance recorder (miles or km) (Diesel)Remaining range/Driving mode selected (Electric)Display area with LCD text instrument panel: alert or function status message, trip computer, etc.
5.Engine coolant temperature indicator
6.Engine oil level indicator
7.Fuel gauge
Control buttons
With LCD display
With LCD text display
With matrix display
With matrix display (Electric)
A.Resetting the service indicator.Temporary reminder of servicing information.
Reminder of driving range with the AdBlue® system.Depending on version: go back up a level or cancel the current operation.
B.General lighting dimmer.Depending on version: browse a menu or list, or change a value.
C.Resetting the trip distance recorder.Depending on version: enter the configuration menu (long press), confirm a choice (short press).
D.Reminder of servicing information or driving range with the SCR system and the AdBlue®.Resetting the selected function (service indicator or trip distance recorder).Depending on version: enter the configuration menu (long press), confirm a choice (short press).
With the touch screen, it is also possible to adjust the lighting dimmer.
Rev counter
Rev counter (x 1000 rpm).
Power indicator (Electric)
Power indicator CHARGE, ECO, POWER or NEUTRAL.
Page 40 of 360
40
located in the corner, then clip the cover onto the unit.► Reinitialise the remote control.For more information on Reinitialising the remote control, refer to the corresponding section.
EC O
Do not throw remote control batteries away, as they contain metals that are harmful to the environment. Take them to an approved disposal point.
Reinitialising the remote
control
Following replacement of the battery or in the event of a fault, it may be necessary to reinitialise the remote control.
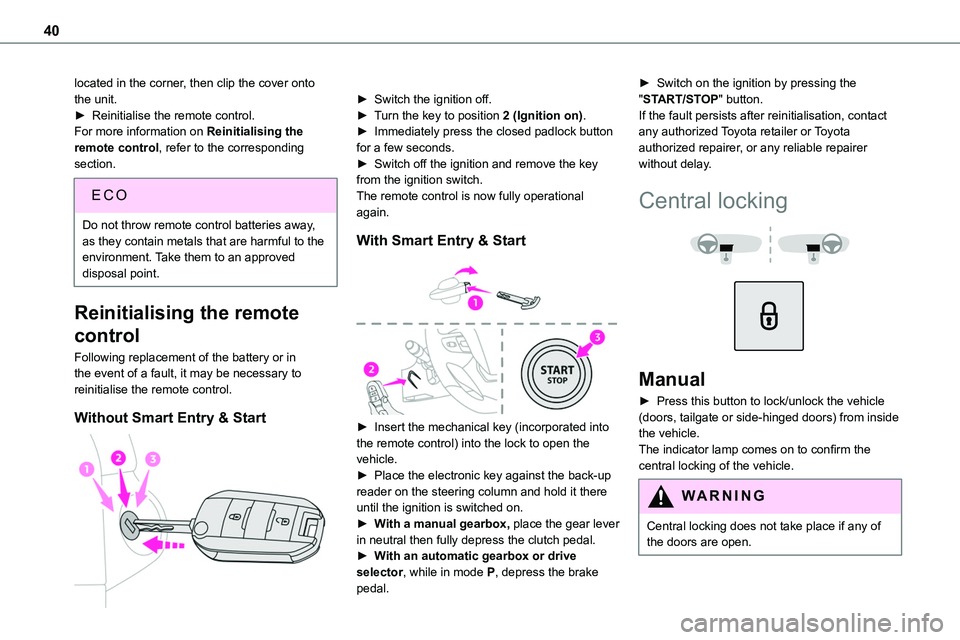
Without Smart Entry & Start
► Switch the ignition off.► Turn the key to position 2 (Ignition on).► Immediately press the closed padlock button for a few seconds.► Switch off the ignition and remove the key from the ignition switch.The remote control is now fully operational again.
With Smart Entry & Start
► Insert the mechanical key (incorporated into the remote control) into the lock to open the vehicle.► Place the electronic key against the back-up reader on the steering column and hold it there until the ignition is switched on.► With a manual gearbox, place the gear lever in neutral then fully depress the clutch pedal.► With an automatic gearbox or drive selector, while in mode P, depress the brake
pedal.
► Switch on the ignition by pressing the "START/STOP" button.If the fault persists after reinitialisation, contact any authorized Toyota retailer or Toyota authorized repairer, or any reliable repairer without delay.
Central locking
Manual
► Press this button to lock/unlock the vehicle (doors, tailgate or side-hinged doors) from inside the vehicle. The indicator lamp comes on to confirm the central locking of the vehicle.
WARNI NG
Central locking does not take place if any of
the doors are open.
Page 151 of 360
151
Driving
6
WARNI NG
Never leave a vehicle unattended with the engine running. If you have to leave your vehicle with the engine running, apply the parking brake and put the gearbox into neutral or position N or P (depending on the type of gearbox).
WARNI NG
Never leave children inside the vehicle unsupervised.
On flooded roads
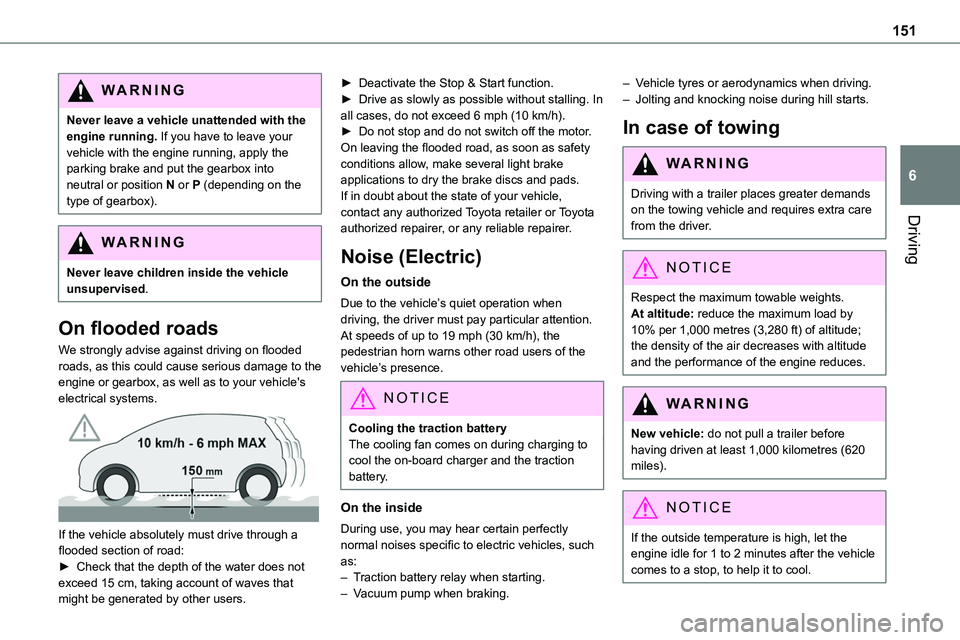
We strongly advise against driving on flooded roads, as this could cause serious damage to the engine or gearbox, as well as to your vehicle's electrical systems.
If the vehicle absolutely must drive through a flooded section of road:► Check that the depth of the water does not exceed 15 cm, taking account of waves that might be generated by other users.
► Deactivate the Stop & Start function.► Drive as slowly as possible without stalling. In all cases, do not exceed 6 mph (10 km/h).► Do not stop and do not switch off the motor.On leaving the flooded road, as soon as safety conditions allow, make several light brake applications to dry the brake discs and pads.If in doubt about the state of your vehicle, contact any authorized Toyota retailer or Toyota
authorized repairer, or any reliable repairer.
Noise (Electric)
On the outside
Due to the vehicle’s quiet operation when driving, the driver must pay particular attention.At speeds of up to 19 mph (30 km/h), the pedestrian horn warns other road users of the vehicle’s presence.
NOTIC E
Cooling the traction batteryThe cooling fan comes on during charging to cool the on-board charger and the traction battery.
On the inside
During use, you may hear certain perfectly
normal noises specific to electric vehicles, such as:– Traction battery relay when starting.– Vacuum pump when braking.
– Vehicle tyres or aerodynamics when driving.– Jolting and knocking noise during hill starts.
In case of towing
WARNI NG
Driving with a trailer places greater demands on the towing vehicle and requires extra care from the driver.
NOTIC E
Respect the maximum towable weights.At altitude: reduce the maximum load by 10% per 1,000 metres (3,280 ft) of altitude; the density of the air decreases with altitude and the performance of the engine reduces.
WARNI NG
New vehicle: do not pull a trailer before having driven at least 1,000 kilometres (620 miles).
NOTIC E
If the outside temperature is high, let the engine idle for 1 to 2 minutes after the vehicle comes to a stop, to help it to cool.
Page 152 of 360
152
Before setting off
Nose weight
► Distribute the load in the trailer so that the heaviest items are as close as possible to the axle and the nose weight (at the point where it joins your vehicle) approaches the maximum permitted without exceeding it.
Tyres
► Check the tyre pressures of the towing vehicle and of the trailer, observing the recommended pressures.
Lighting
► Check the electrical signalling on the trailer and the headlamp beam height of your vehicle.
NOTIC E
If a genuine TOYOTA towing device is used, the rear parking sensors will be deactivated automatically to avoid the audible signal.
When driving
Cooling
Towing a trailer uphill causes the coolant temperature to increase. The maximum towable load depends on the gradient and the exterior
temperature. The fan’s cooling capacity does not increase with engine speed.► Reduce speed and lower the engine speed to limit the amount of heating produced.
In all cases, pay attention to the coolant temperature.If this warning lamp and the STOP warning lamp come on, stop the vehicle and switch off the engine as soon as possible.
Brakes
Braking distances are increased when towing a trailer. To avoid overheating the brakes, the use
of engine braking is recommended.
Side wind
Bear in mind that the vehicle will be more susceptible to wind when towing.
Anti-theft protection
Electronic immobiliser
The remote control contains an electronic chip which has a special code. When the ignition is switched on, this code must be recognised in order for starting to be possible.A few seconds after switching off the ignition, this system locks the engine control system, therefore preventing the engine from being started in the event of a break-in.In the event of a fault, you are informed by illumination of this warning lamp, an audible signal and a message on the screen.The vehicle will not start; contact any authorized Toyota retailer or Toyota authorized repairer, or any reliable repairer as soon as possible.
Starting/switching off the
engine
Starting
The parking brake must be applied.
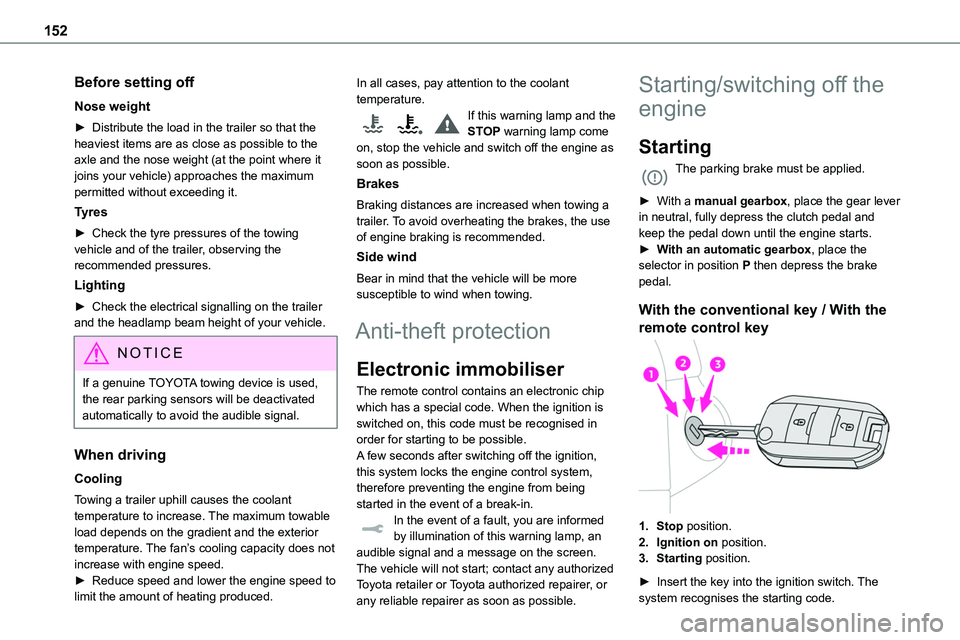
► With a manual gearbox, place the gear lever in neutral, fully depress the clutch pedal and
keep the pedal down until the engine starts.► With an automatic gearbox, place the selector in position P then depress the brake pedal.
With the conventional key / With the
remote control key
1.Stop position.
2.Ignition on position.
3.Starting position.
► Insert the key into the ignition switch. The system recognises the starting code.
Page 156 of 360
156
Special case with Smart
Entry & Start
Switching on the ignition without
starting the engine
With the Smart Entry & Start system’s electronic key inside the vehicle, pressing the "START/STOP" button, with no action on
the pedals, allows the ignition to be switched on.► Pressing this button again switches off the ignition and allows the vehicle to be locked.
Back-up starting
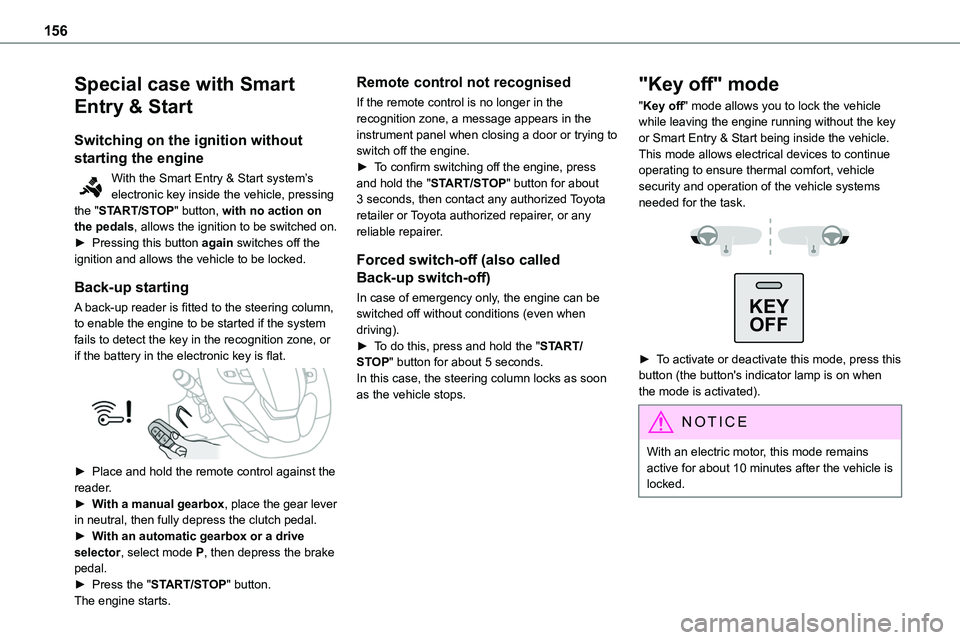
A back-up reader is fitted to the steering column, to enable the engine to be started if the system fails to detect the key in the recognition zone, or if the battery in the electronic key is flat.
► Place and hold the remote control against the reader.► With a manual gearbox, place the gear lever in neutral, then fully depress the clutch pedal.► With an automatic gearbox or a drive selector, select mode P, then depress the brake pedal.► Press the "START/STOP" button.The engine starts.
Remote control not recognised
If the remote control is no longer in the recognition zone, a message appears in the instrument panel when closing a door or trying to switch off the engine.► To confirm switching off the engine, press and hold the "START/STOP" button for about 3 seconds, then contact any authorized Toyota retailer or Toyota authorized repairer, or any
reliable repairer.
Forced switch-off (also called
Back-up switch-off)
In case of emergency only, the engine can be switched off without conditions (even when driving).► To do this, press and hold the "START/STOP" button for about 5 seconds.In this case, the steering column locks as soon as the vehicle stops.
"Key off" mode
"Key off" mode allows you to lock the vehicle while leaving the engine running without the key or Smart Entry & Start being inside the vehicle.This mode allows electrical devices to continue operating to ensure thermal comfort, vehicle security and operation of the vehicle systems needed for the task.
KEY
OFF
► To activate or deactivate this mode, press this button (the button's indicator lamp is on when the mode is activated).
NOTIC E
With an electric motor, this mode remains active for about 10 minutes after the vehicle is locked.
Page 160 of 360
160
From now on, the parking brake can only be applied and released manually using the control lever.Repeat this procedure to reactivate automatic operation (confirmed by the indicator lamp on the instrument panel going off).
Emergency braking
If depressing the brake pedal fails to provide
effective braking or in exceptional circumstances (e.g. driver unwell, assisted driving), the vehicle can be braked by sustained pulling on the electric parking brake control. Braking continues for as long as the control is kept pulled, and ceases when the control is released.The ABS and DSC systems stabilise the vehicle during emergency braking.If emergency braking malfunctions, the message "Parking brake fault" will be displayed on the instrument panel.If the ABS and DSC systems malfunction, indicated by lighting one or both warning lamps on the instrument panel, the vehicle’s stability is no longer ensured.► In this case, ensure the vehicle's stability by successive and repeated "pull-release" actions on the electric parking brake control until the vehicle comes to a complete stop.
Hill start assist
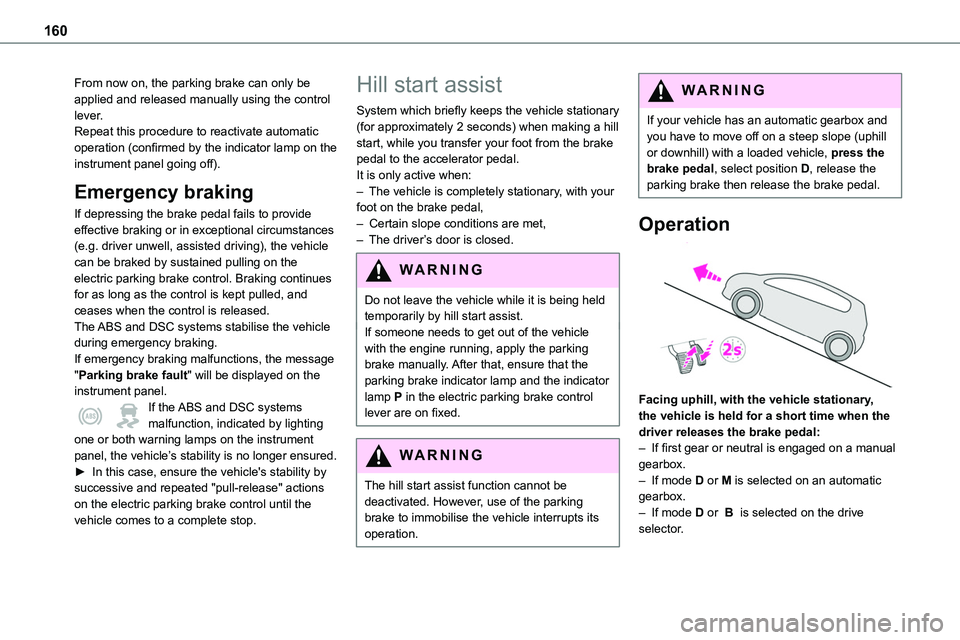
System which briefly keeps the vehicle stationary (for approximately 2 seconds) when making a hill start, while you transfer your foot from the brake pedal to the accelerator pedal.It is only active when:– The vehicle is completely stationary, with your foot on the brake pedal,
– Certain slope conditions are met,– The driver’s door is closed.
WARNI NG
Do not leave the vehicle while it is being held temporarily by hill start assist.If someone needs to get out of the vehicle with the engine running, apply the parking brake manually. After that, ensure that the parking brake indicator lamp and the indicator lamp P in the electric parking brake control lever are on fixed.
WARNI NG
The hill start assist function cannot be deactivated. However, use of the parking brake to immobilise the vehicle interrupts its
operation.
WARNI NG
If your vehicle has an automatic gearbox and you have to move off on a steep slope (uphill or downhill) with a loaded vehicle, press the brake pedal, select position D, release the parking brake then release the brake pedal.
Operation
Facing uphill, with the vehicle stationary, the vehicle is held for a short time when the
driver releases the brake pedal:– If first gear or neutral is engaged on a manual gearbox.– If mode D or M is selected on an automatic gearbox.– If mode D or B is selected on the drive selector.
Page 161 of 360
161
Driving
6
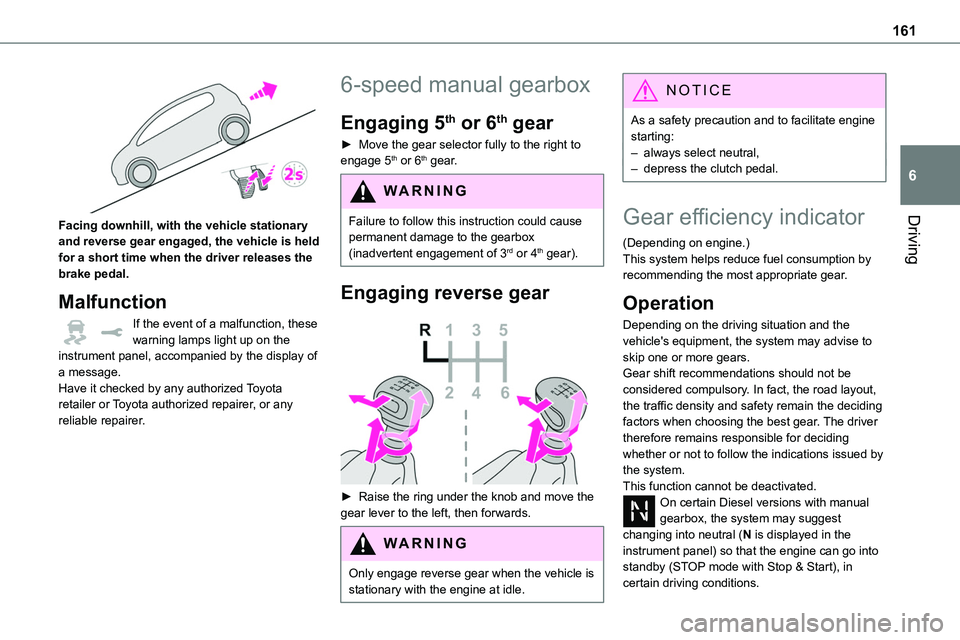
Facing downhill, with the vehicle stationary and reverse gear engaged, the vehicle is held for a short time when the driver releases the brake pedal.
Malfunction
If the event of a malfunction, these warning lamps light up on the instrument panel, accompanied by the display of a message.Have it checked by any authorized Toyota retailer or Toyota authorized repairer, or any reliable repairer.
6-speed manual gearbox
Engaging 5th or 6th gear
► Move the gear selector fully to the right to engage 5th or 6th gear.
WARNI NG
Failure to follow this instruction could cause permanent damage to the gearbox (inadvertent engagement of 3rd or 4th gear).
Engaging reverse gear
► Raise the ring under the knob and move the gear lever to the left, then forwards.
WARNI NG
Only engage reverse gear when the vehicle is stationary with the engine at idle.
NOTIC E
As a safety precaution and to facilitate engine starting:– always select neutral,– depress the clutch pedal.
Gear efficiency indicator
(Depending on engine.)This system helps reduce fuel consumption by recommending the most appropriate gear.
Operation
Depending on the driving situation and the vehicle's equipment, the system may advise to skip one or more gears.Gear shift recommendations should not be considered compulsory. In fact, the road layout, the traffic density and safety remain the deciding factors when choosing the best gear. The driver therefore remains responsible for deciding whether or not to follow the indications issued by the system.This function cannot be deactivated.On certain Diesel versions with manual gearbox, the system may suggest changing into neutral (N is displayed in the instrument panel) so that the engine can go into standby (STOP mode with Stop & Start), in certain driving conditions.
Page 162 of 360
162
NOTIC E
With an automatic gearbox, the system is only active in manual operation.
The information appears in the instrument panel, in the form of an ascending or descending arrow and the recommended gear.
NOTIC E
The system adapts its gear shift recommendation according to the driving conditions (slope, load, etc.) and the driver’s requirements (request for power, acceleration, braking, etc.).The system never suggests:– engaging first gear.– engaging reverse.
Automatic gearbox
Automatic 6 or 8-speed gearbox, with electronic management of gear changes. It also offers a manual mode with sequential gear changes via control paddles located behind the steering wheel.
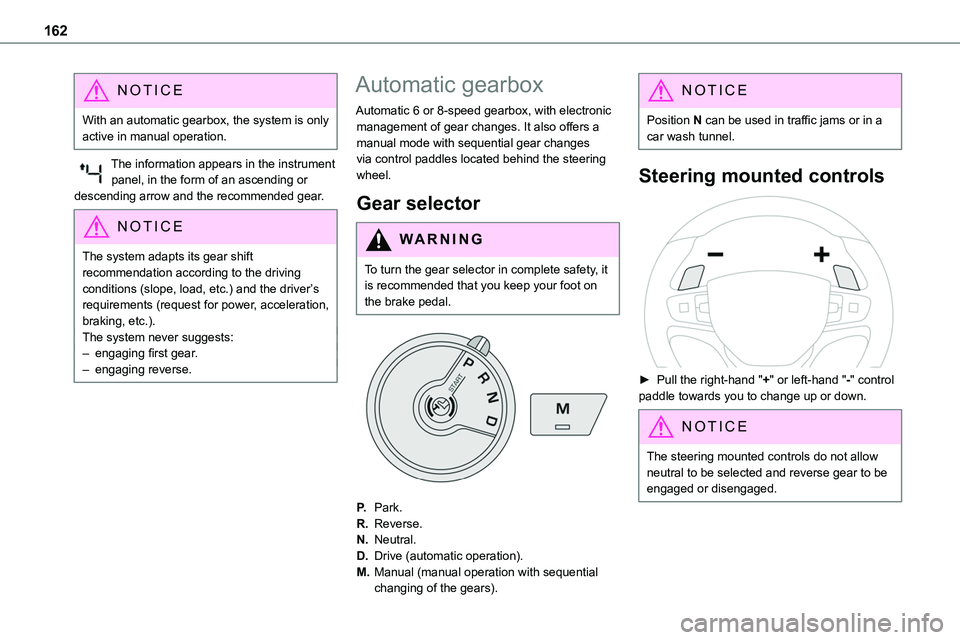
Gear selector
WARNI NG
To turn the gear selector in complete safety, it is recommended that you keep your foot on the brake pedal.
P.Park.
R.Reverse.
N.Neutral.
D.Drive (automatic operation).
M.Manual (manual operation with sequential
changing of the gears).
NOTIC E
Position N can be used in traffic jams or in a car wash tunnel.
Steering mounted controls
► Pull the right-hand "+" or left-hand "-" control paddle towards you to change up or down.
NOTIC E
The steering mounted controls do not allow neutral to be selected and reverse gear to be engaged or disengaged.
Page 166 of 360
166
WARNI NG
If your vehicle has an automatic gearbox, do not try to start the engine by pushing the vehicle.
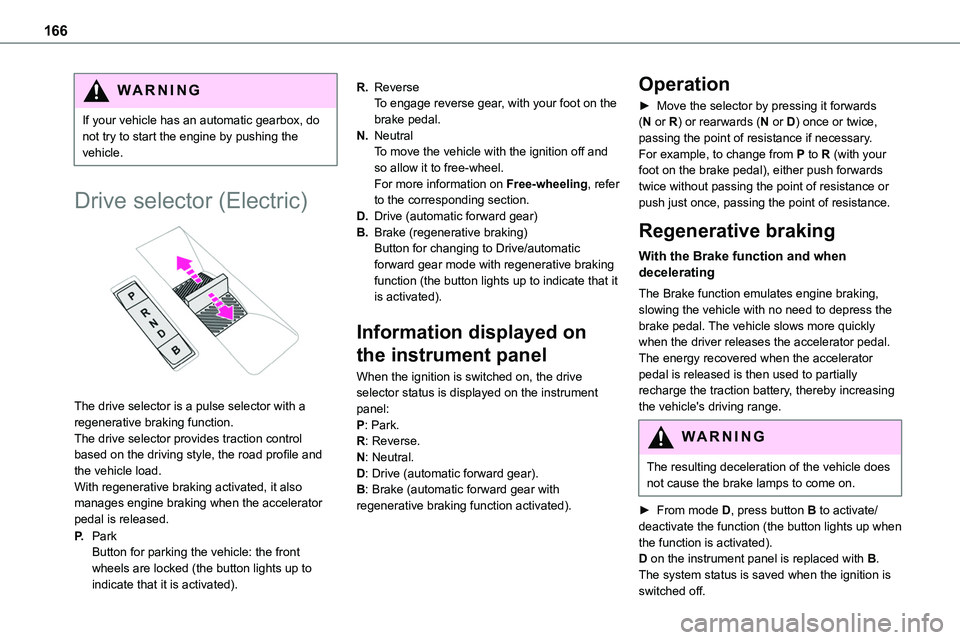
Drive selector (Electric)
The drive selector is a pulse selector with a regenerative braking function.The drive selector provides traction control based on the driving style, the road profile and the vehicle load.With regenerative braking activated, it also manages engine braking when the accelerator pedal is released.
P.ParkButton for parking the vehicle: the front wheels are locked (the button lights up to indicate that it is activated).
R.ReverseTo engage reverse gear, with your foot on the brake pedal.
N.NeutralTo move the vehicle with the ignition off and so allow it to free-wheel.For more information on Free-wheeling, refer to the corresponding section.
D.Drive (automatic forward gear)
B.Brake (regenerative braking)Button for changing to Drive/automatic forward gear mode with regenerative braking function (the button lights up to indicate that it is activated).
Information displayed on
the instrument panel
When the ignition is switched on, the drive selector status is displayed on the instrument panel:P: Park.R: Reverse.N: Neutral.D: Drive (automatic forward gear).B: Brake (automatic forward gear with regenerative braking function activated).
Operation
► Move the selector by pressing it forwards (N or R) or rearwards (N or D) once or twice, passing the point of resistance if necessary.For example, to change from P to R (with your foot on the brake pedal), either push forwards twice without passing the point of resistance or push just once, passing the point of resistance.
Regenerative braking
With the Brake function and when decelerating
The Brake function emulates engine braking, slowing the vehicle with no need to depress the brake pedal. The vehicle slows more quickly when the driver releases the accelerator pedal.The energy recovered when the accelerator pedal is released is then used to partially recharge the traction battery, thereby increasing the vehicle's driving range.
WARNI NG
The resulting deceleration of the vehicle does not cause the brake lamps to come on.
► From mode D, press button B to activate/deactivate the function (the button lights up when
the function is activated).D on the instrument panel is replaced with B.The system status is saved when the ignition is switched off.
Page 168 of 360
168
Stop & Start
The Stop & Start function puts the engine temporarily into standby - STOP mode - during phases when the vehicle is stopped (red lights, queues, etc.). The engine restarts automatically - START mode - as soon as the driver wishes to move off again.Primarily designed for urban use, the function
is intended to reduce fuel consumption and exhaust emissions as well as the noise level when stationary.The function does not affect the functionalities of the vehicle, in particular the braking.
WARNI NG
Driving on flooded roadsBefore entering into a flooded area, it is strongly recommended that you deactivate the Stop & Start system.For more information on Driving recommendations, particularly on flooded roads, refer to the corresponding section.
Deactivation/Reactivation
With audio system
► To deactivate or reactivate the system, press this button.The indicator lamp is lit when the system is deactivated.
With touch screen
The settings are changed via the vehicle configuration menu.
WARNI NG
If the system has been deactivated in STOP mode, the engine restarts immediately.
NOTIC E
The system is reactivated automatically
whenever the engine is started by the driver.
Operation
Main conditions for operation
– The driver’s door must be closed.– The sliding side door must be closed.– The driver's seat belt must be fastened.– The state of charge of the battery must be sufficient.– The temperature of the engine must be within
its nominal operating range.– The outside temperature must be between 0°C and 35°C.
Putting the engine into standby
(STOP mode)
The engine automatically enters standby mode as soon as the driver indicates their intention to stop.With a manual gearbox: at speeds below 12 mph (20 km/h) or with the vehicle stationary (depending on engine), with the gear lever in neutral and the clutch pedal released.With an automatic gearbox: with the brake pedal depressed or the gear selector in position N, with the vehicle stationary.
Time counter
A time counter adds up the time spent in standby during the journey. It is reset to zero every time the ignition is switched on.