display TOYOTA RAV4 2009 XA30 / 3.G Owners Manual
[x] Cancel search | Manufacturer: TOYOTA, Model Year: 2009, Model line: RAV4, Model: TOYOTA RAV4 2009 XA30 / 3.GPages: 516, PDF Size: 10.61 MB
Page 2 of 516
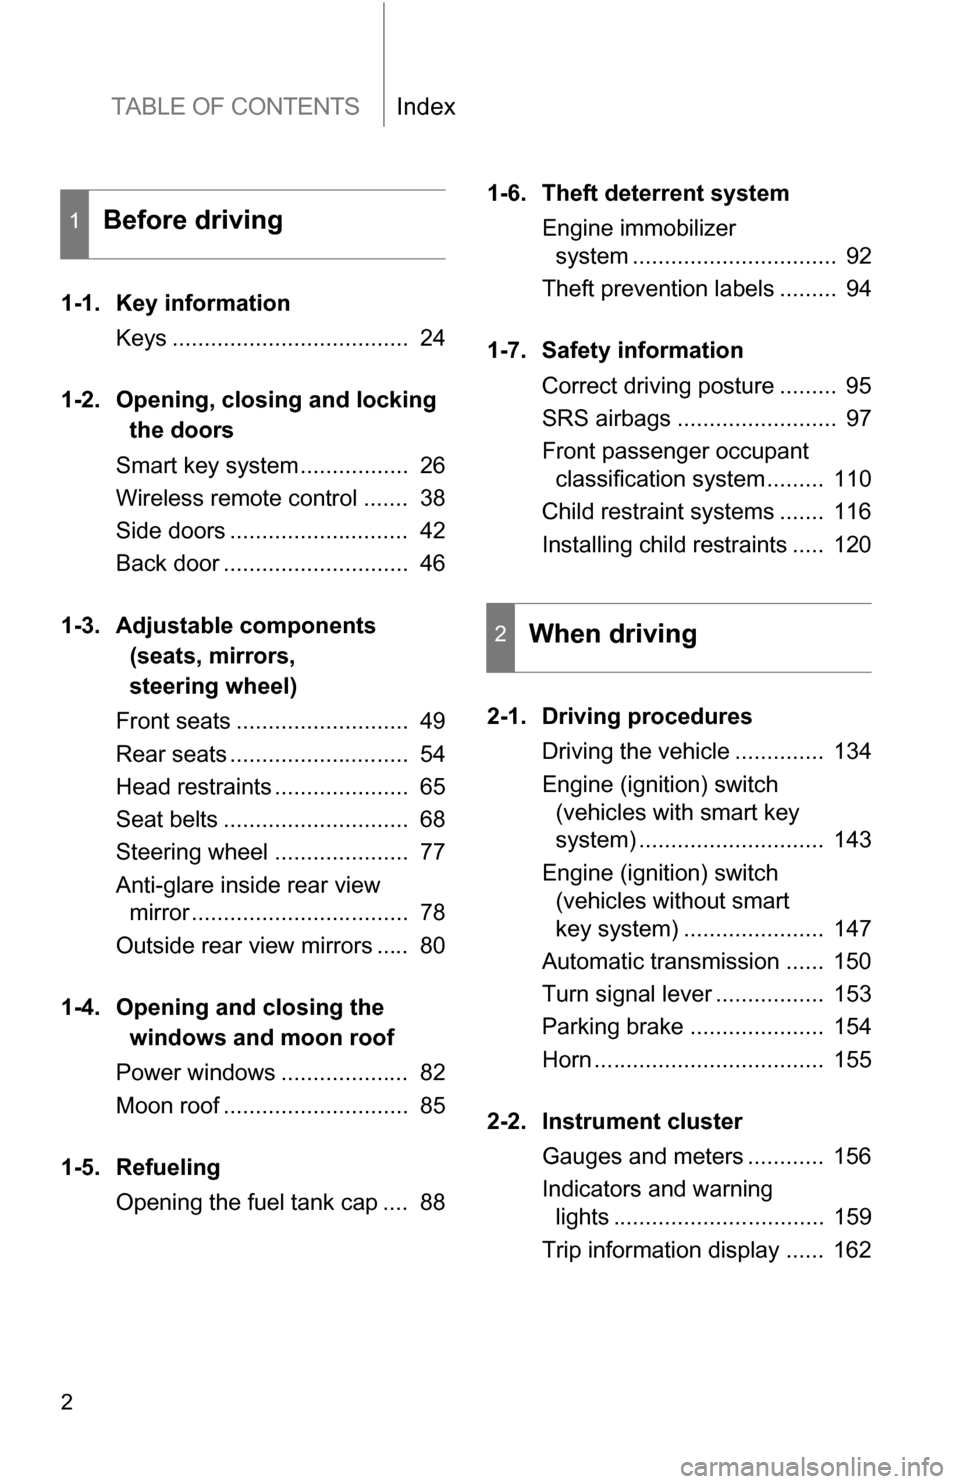
TABLE OF CONTENTSIndex
2
1-1. Key informationKeys ..................................... 24
1-2. Opening, closing and locking
the doors
Smart key system................. 26
Wireless remote control ....... 38
Side doors ............................ 42
Back door ............................. 46
1-3. Adjustable components
(seats, mirrors,
steering wheel)
Front seats ........................... 49
Rear seats ............................ 54
Head restraints ..................... 65
Seat belts ............................. 68
Steering wheel ..................... 77
Anti-glare inside rear view mirror .................................. 78
Outside rear view mirrors ..... 80
1-4. Opening a nd closing the
windo ws and moon roof
Power windows .................... 82
Moon roof ............................. 85
1-5. Refueling Opening the fuel tank cap .... 88 1-6. Theft deterrent system
Engine immobilizer system ................................ 92
Theft prevention labels ......... 94
1-7. Safety information Correct driving posture ......... 95
SRS airbags ......................... 97
Front passenger occupant classification system ......... 110
Child restraint systems ....... 116
Installing child restraints ..... 120
2-1. Driving procedures Driving the vehicle .............. 134
Engine (ignition) switch (vehicles with smart key
system) ............................. 143
Engine (ignition) switch (vehicles without smart
key system) ...................... 147
Automatic transmission ...... 150
Turn signal lever ................. 153
Parking brake ..................... 154
Horn .................................... 155
2-2. Instrument cluster Gauges and meters ............ 156
Indicators and warning lights ................................. 159
Trip information display ...... 162
1Before driving
2When driving
Page 120 of 516
120
1-7. Safety information
Installing child restraints
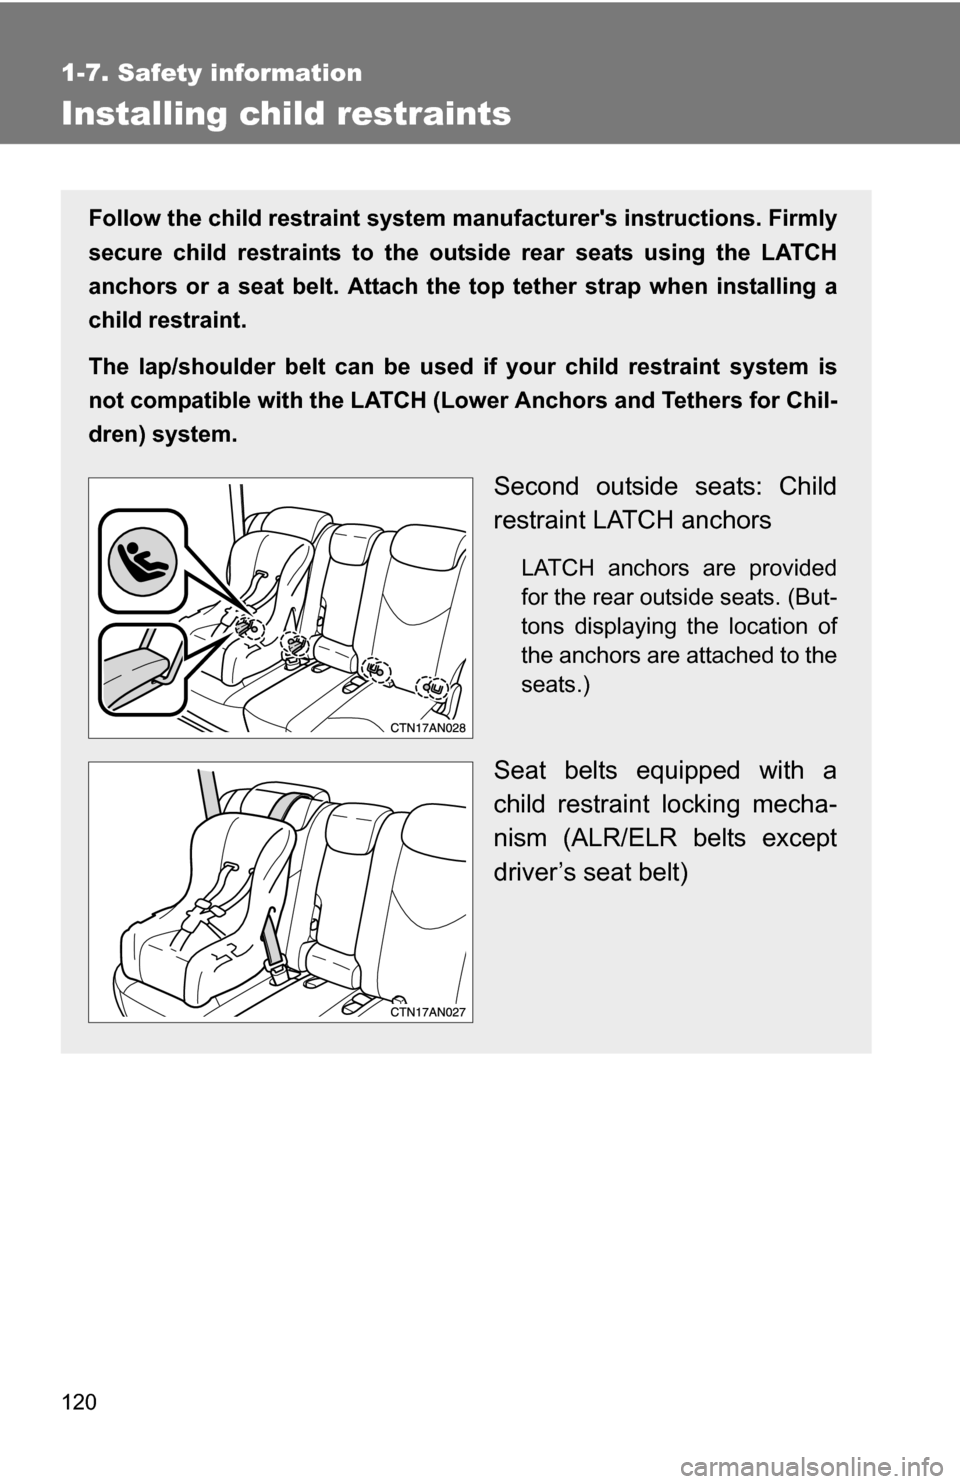
Follow the child restraint system manufacturer's instructions. Firmly
secure child restraints to the outside rear seats using the LATCH
anchors or a seat belt. Attach the top tether strap when installing a
child restraint.
The lap/shoulder belt can be used if your child restraint system is
not compatible with the LATCH (Low er Anchors and Tethers for Chil-
dren) system.
Second outside seats: Child
restraint LATCH anchors
LATCH anchors are provided
for the rear outside seats. (But-
tons displaying the location of
the anchors are attached to the
seats.)
Seat belts equipped with a
child restraint locking mecha-
nism (ALR/ELR belts except
driver’s seat belt)
Page 133 of 516
When driving2
133
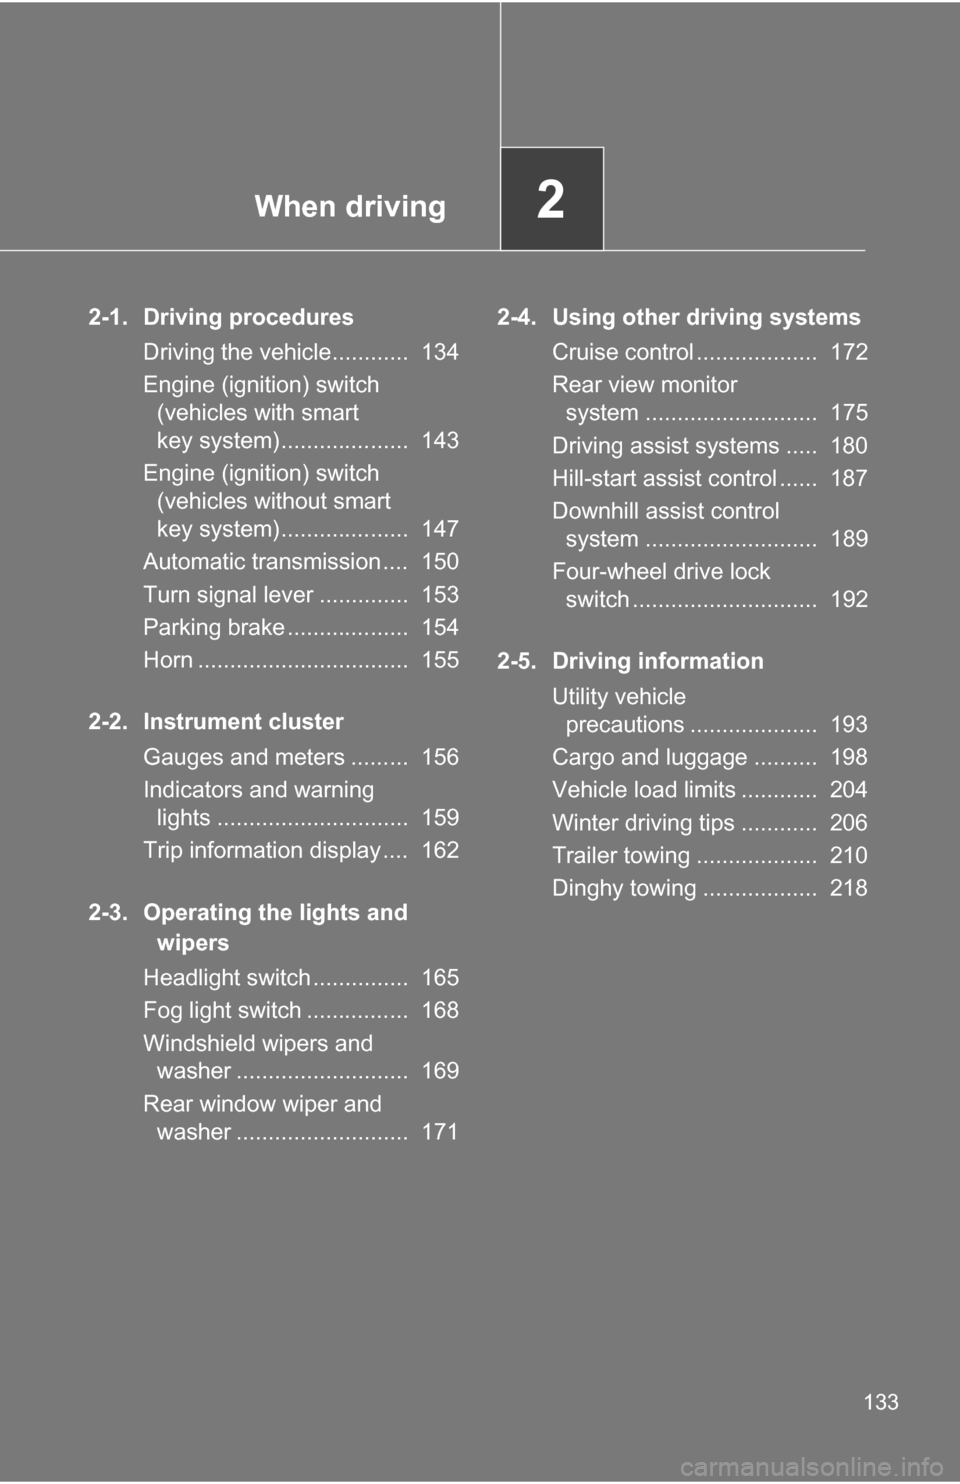
2-1. Driving proceduresDriving the vehicle............ 134
Engine (ignition) switch (vehicles with smart
key system).................... 143
Engine (ignition) switch (vehicles without smart
key system).................... 147
Automatic transmission .... 150
Turn signal lever .............. 153
Parking brake ................... 154
Horn ................................. 155
2-2. Instrument cluster Gauges and meters ......... 156
Indicators and warning lights .............................. 159
Trip information display .... 162
2-3. Operating the lights and wipers
Headlight switch ............... 165
Fog light switch ................ 168
Windshield wipers and washer ........................... 169
Rear window wiper and washer ........................... 171 2-4. Using other driving systems
Cruise control ................... 172
Rear view monitor system ........................... 175
Driving assist systems ..... 180
Hill-start assist control ...... 187
Downhill assist control system ........................... 189
Four-wheel drive lock switch ............................. 192
2-5. Driving information Utility vehicle precautions .................... 193
Cargo and luggage .......... 198
Vehicle load limits ............ 204
Winter driving tips ............ 206
Trailer towing ................... 210
Dinghy towing .................. 218
Page 156 of 516
156
2-2. Instrument cluster
Gauges and meters
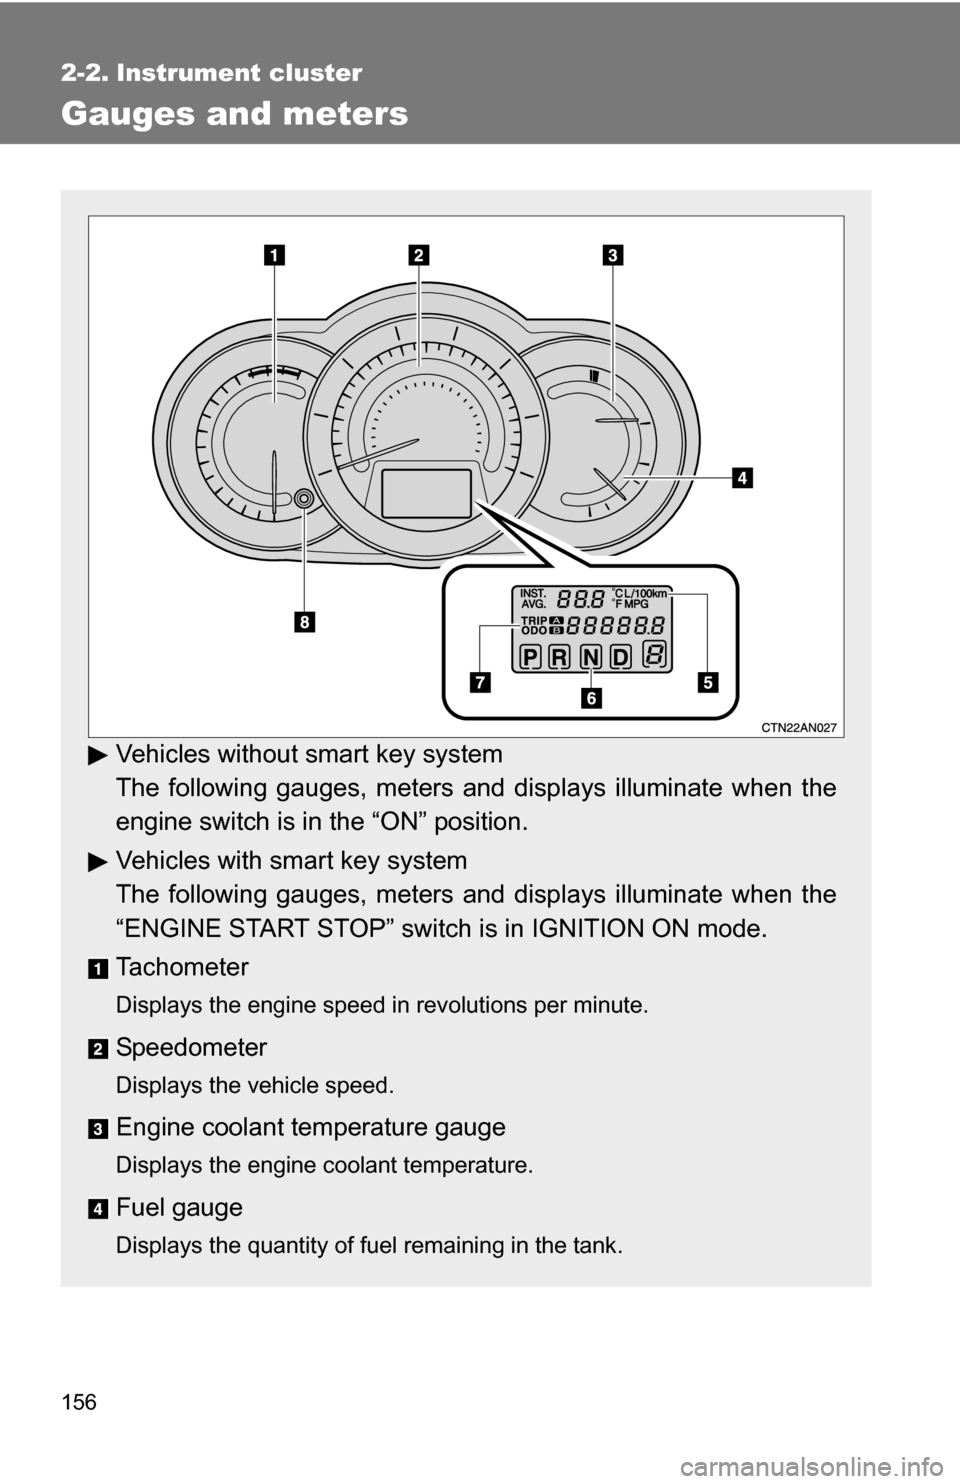
Vehicles without smart key system
The following gauges, meters and displays illuminate when the
engine switch is in the “ON” position.
Vehicles with smart key system
The following gauges, meters and displays illuminate when the
“ENGINE START STOP” switch is in IGNITION ON mode.
Tachometer
Displays the engine speed in revolutions per minute.
Speedometer
Displays the vehicle speed.
Engine coolant temperature gauge
Displays the engine coolant temperature.
Fuel gauge
Displays the quantity of fuel remaining in the tank.
Page 157 of 516
157
2-2. Instrument cluster
2
When driving
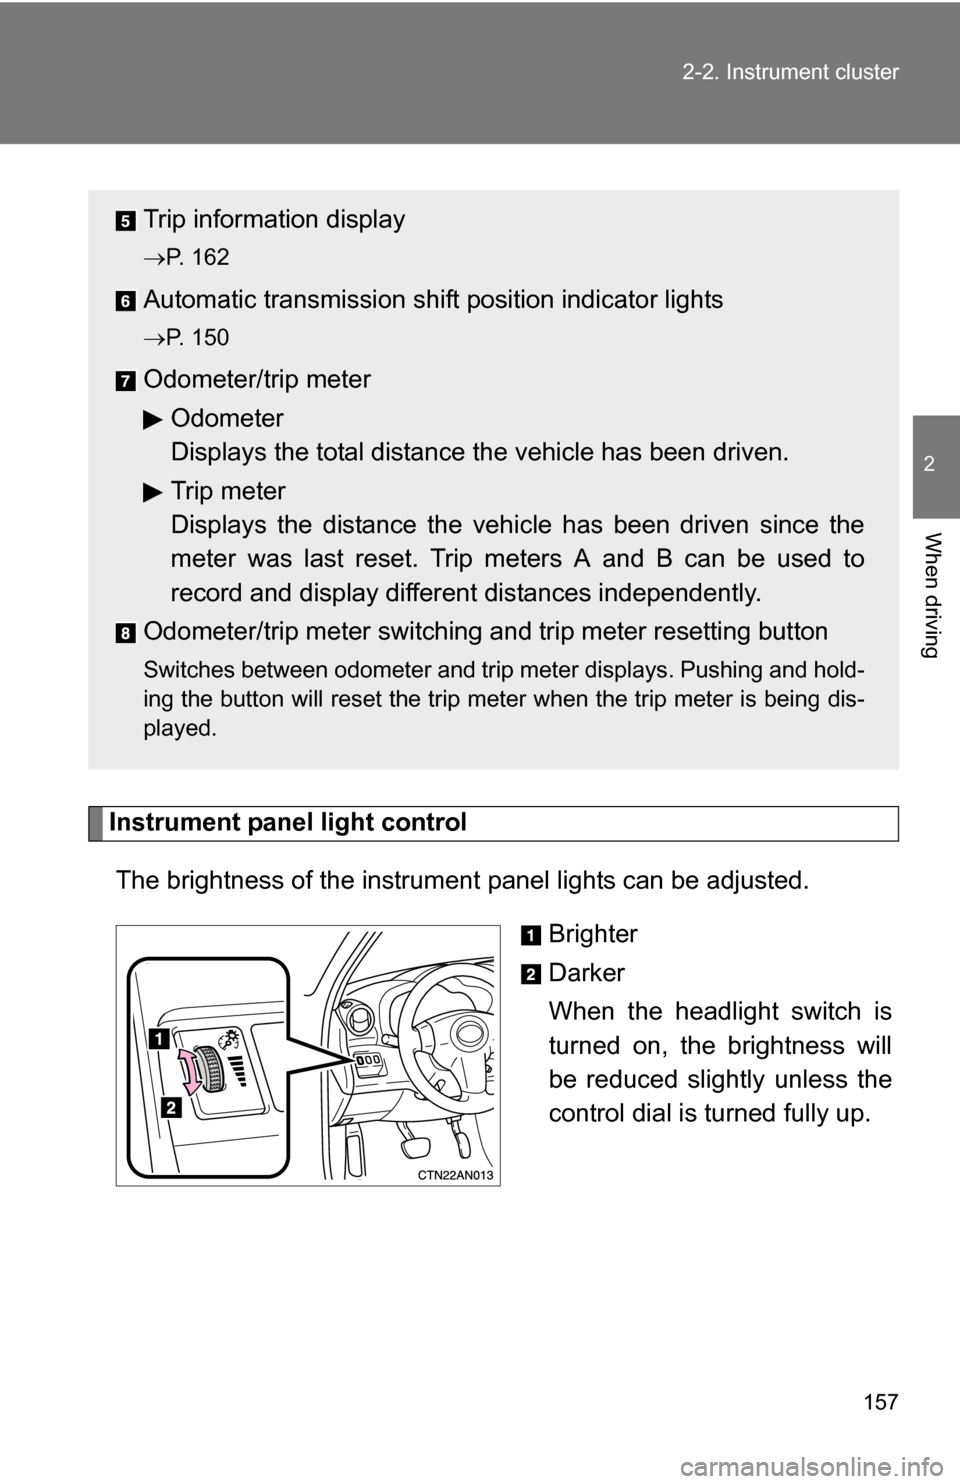
Instrument panel light control
The brightness of the instrument panel lights can be adjusted.
Brighter
Darker
When the headlight switch is
turned on, the brightness will
be reduced slightly unless the
control dial is turned fully up.
Trip information display
P. 162
Automatic transmission shift position indicator lights
P. 150
Odometer/trip meterOdometer
Displays the total distance the vehicle has been driven.
Trip meter
Displays the distance the vehi cle has been driven since the
meter was last reset. Trip meters A and B can be used to
record and display different distances independently.
Odometer/trip meter switching and trip meter resetting button
Switches between odometer and trip meter displays. Pushing and hold-
ing the button will reset the trip meter when the trip meter is being dis-
played.
Page 162 of 516
162
2-2. Instrument cluster
Trip information display
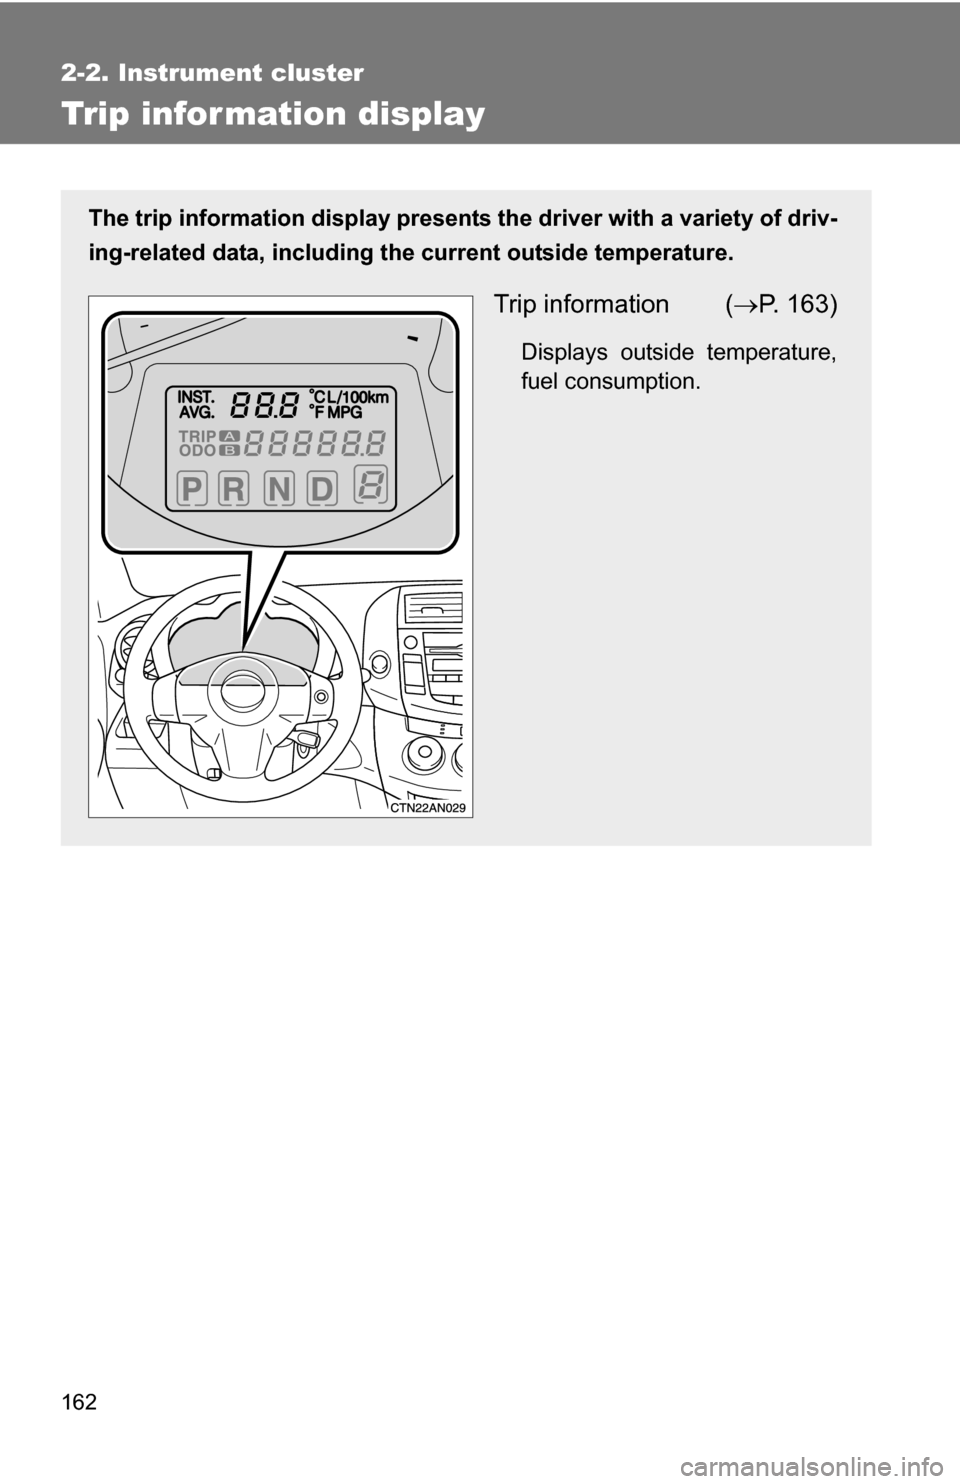
The trip information display presents the driver with a variety of driv-
ing-related data, including th e current outside temperature.
Trip information (P. 163)
Displays outside temperature,
fuel consumption.
Page 163 of 516
163
2-2. Instrument cluster
2
When driving
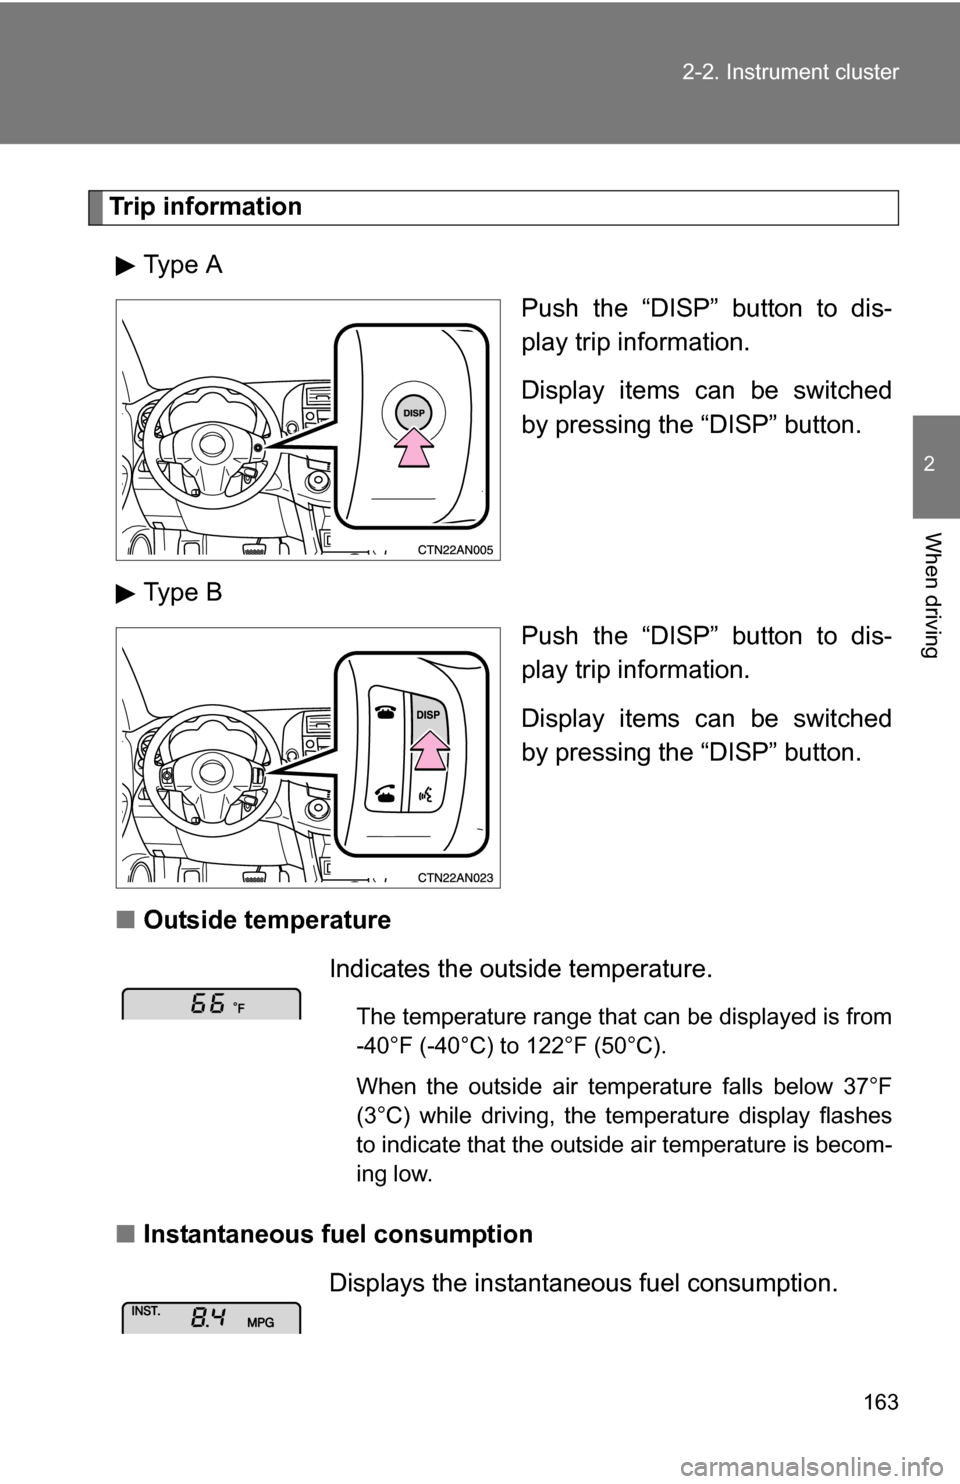
Trip information
Type A Push the “DISP” button to dis-
play trip information.
Display items can be switched
by pressing the “DISP” button.
Type B Push the “DISP” button to dis-
play trip information.
Display items can be switched
by pressing the “DISP” button.
■ Outside temperature
■ Instantaneous fuel consumption
Indicates the outside temperature.
The temperature range that can be displayed is from
-40°F (-40°C) to 122°F (50°C).
When the outside air temperature falls below 37°F
(3°C) while driving, the temperature display flashes
to indicate that the outside air temperature is becom-
ing low.
Displays the instantaneous fuel consumption.
Page 164 of 516
164 2-2. Instrument cluster
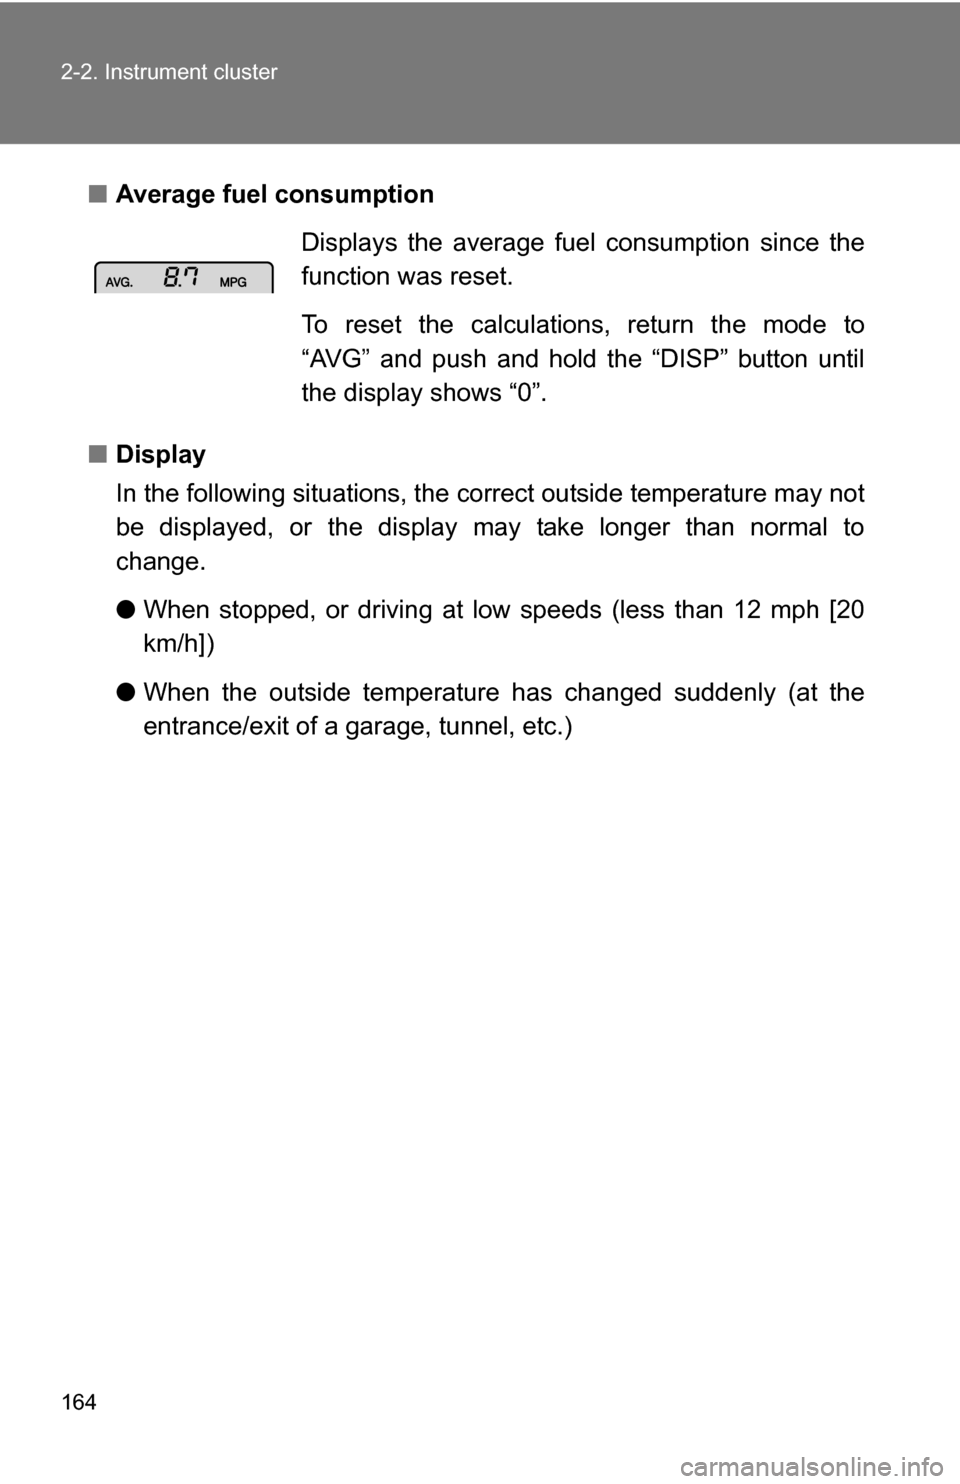
■Average fuel consumption
■ Display
In the following situations, the correct outside temperature may not
be displayed, or the display may take longer than normal to
change.
● When stopped, or driving at lo w speeds (less than 12 mph [20
km/h])
● When the outside temperature has changed suddenly (at the
entrance/exit of a garage, tunnel, etc.) Displays the average fuel
consumption since the
function was reset.
To reset the calculations, return the mode to
“AVG” and push and hold the “DISP” button until
the display shows “0”.
Page 175 of 516
175
2-4. Using other driving systems
2
When driving
Rear view monitor system (vehicles with auto anti-glare inside rear view mirror)
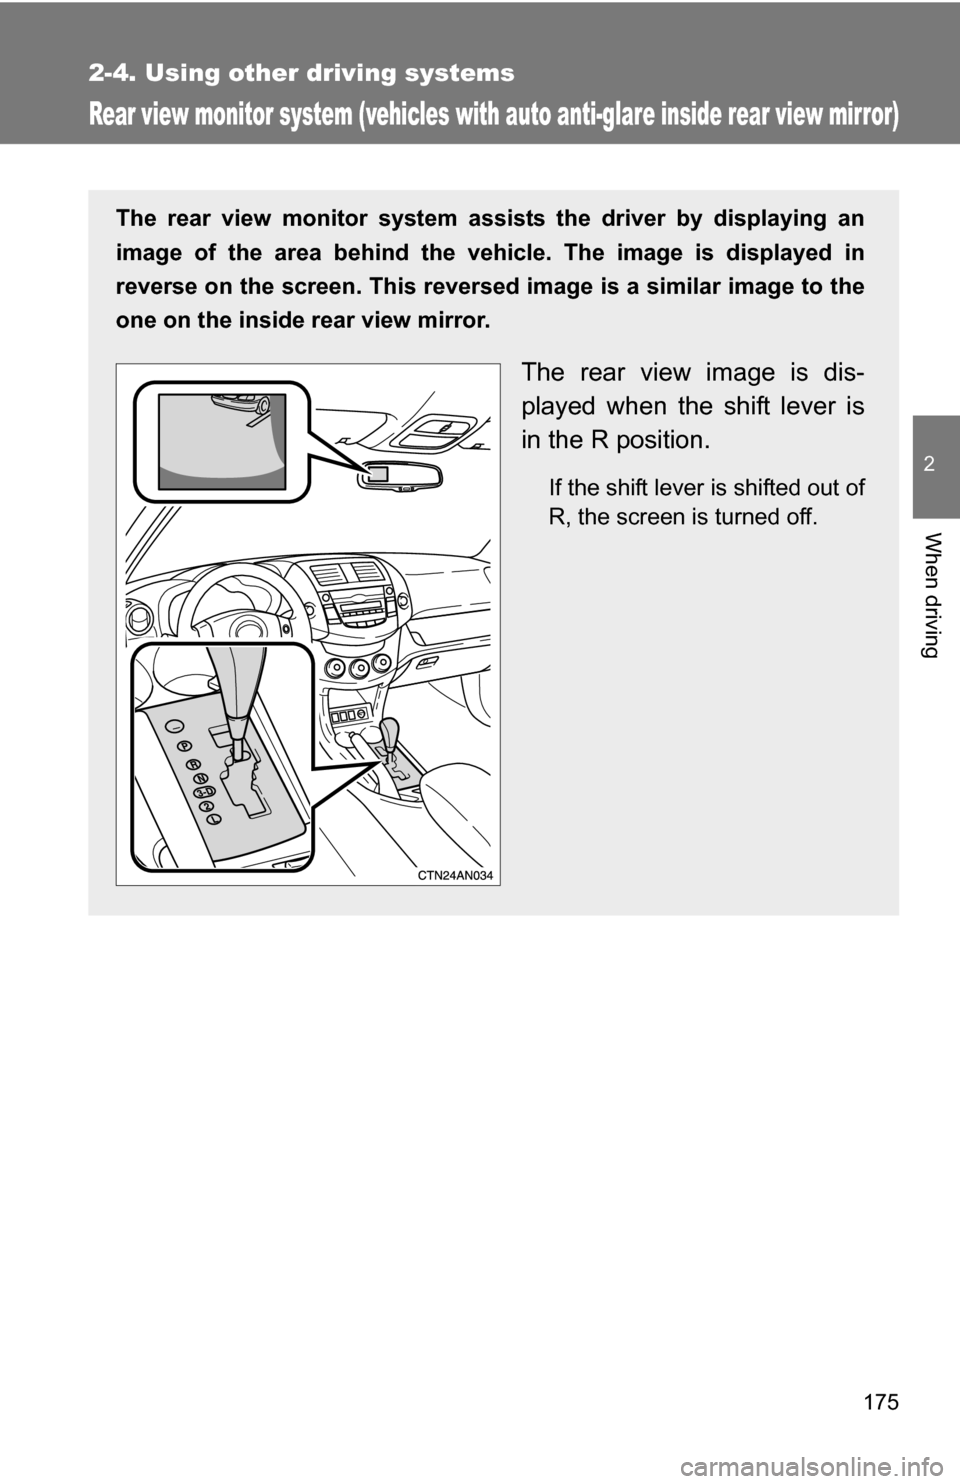
The rear view monitor system assists the driver by displaying an
image of the area behind the vehicle. The image is displayed in
reverse on the screen. This reversed im age is a similar image to the
one on the inside rear view mirror.
The rear view image is dis-
played when the shift lever is
in the R position.
If the shift lever is shifted out of
R, the screen is turned off.
Page 176 of 516
176 2-4. Using other driving systems
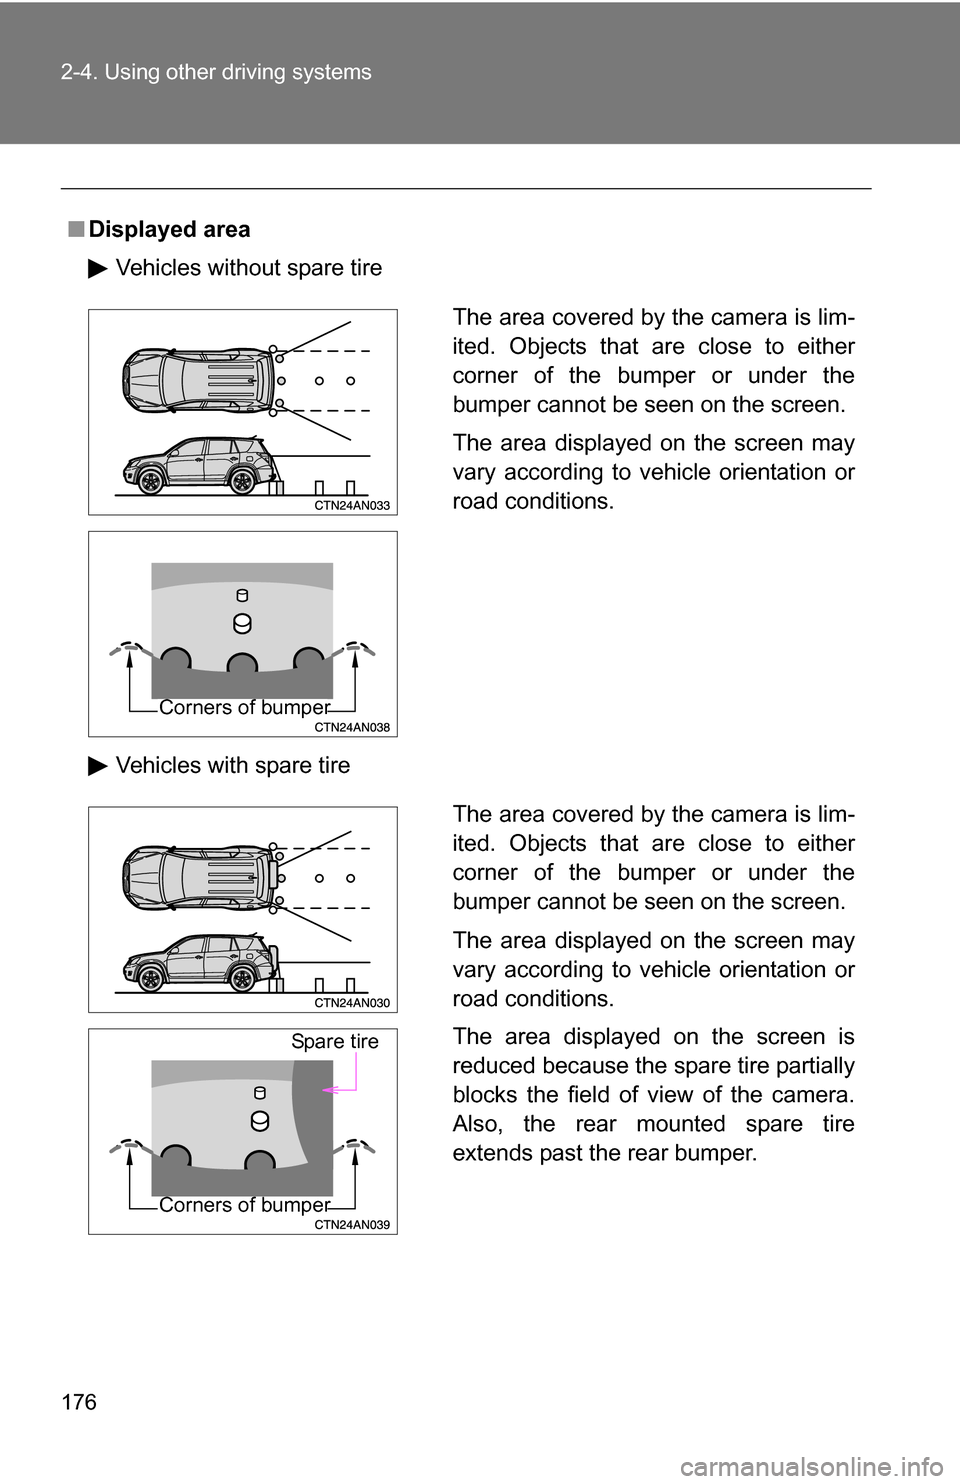
■Displayed area
Vehicles without spare tire
Vehicles with spare tire
The area covered by the camera is lim-
ited. Objects that are close to either
corner of the bumper or under the
bumper cannot be seen on the screen.
The area displayed on the screen may
vary according to vehicle orientation or
road conditions.
Corners of bumper
The area covered by the camera is lim-
ited. Objects that are close to either
corner of the bumper or under the
bumper cannot be seen on the screen.
The area displayed on the screen may
vary according to vehicle orientation or
road conditions.
The area displayed on the screen is
reduced because the spare tire partially
blocks the field of view of the camera.
Also, the rear mounted spare tire
extends past the rear bumper.
Spare tire
Corners of bumper