change time TOYOTA RAV4 PRIME 2022 Owner's Manual
[x] Cancel search | Manufacturer: TOYOTA, Model Year: 2022, Model line: RAV4 PRIME, Model: TOYOTA RAV4 PRIME 2022Pages: 624, PDF Size: 24.01 MB
Page 143 of 624
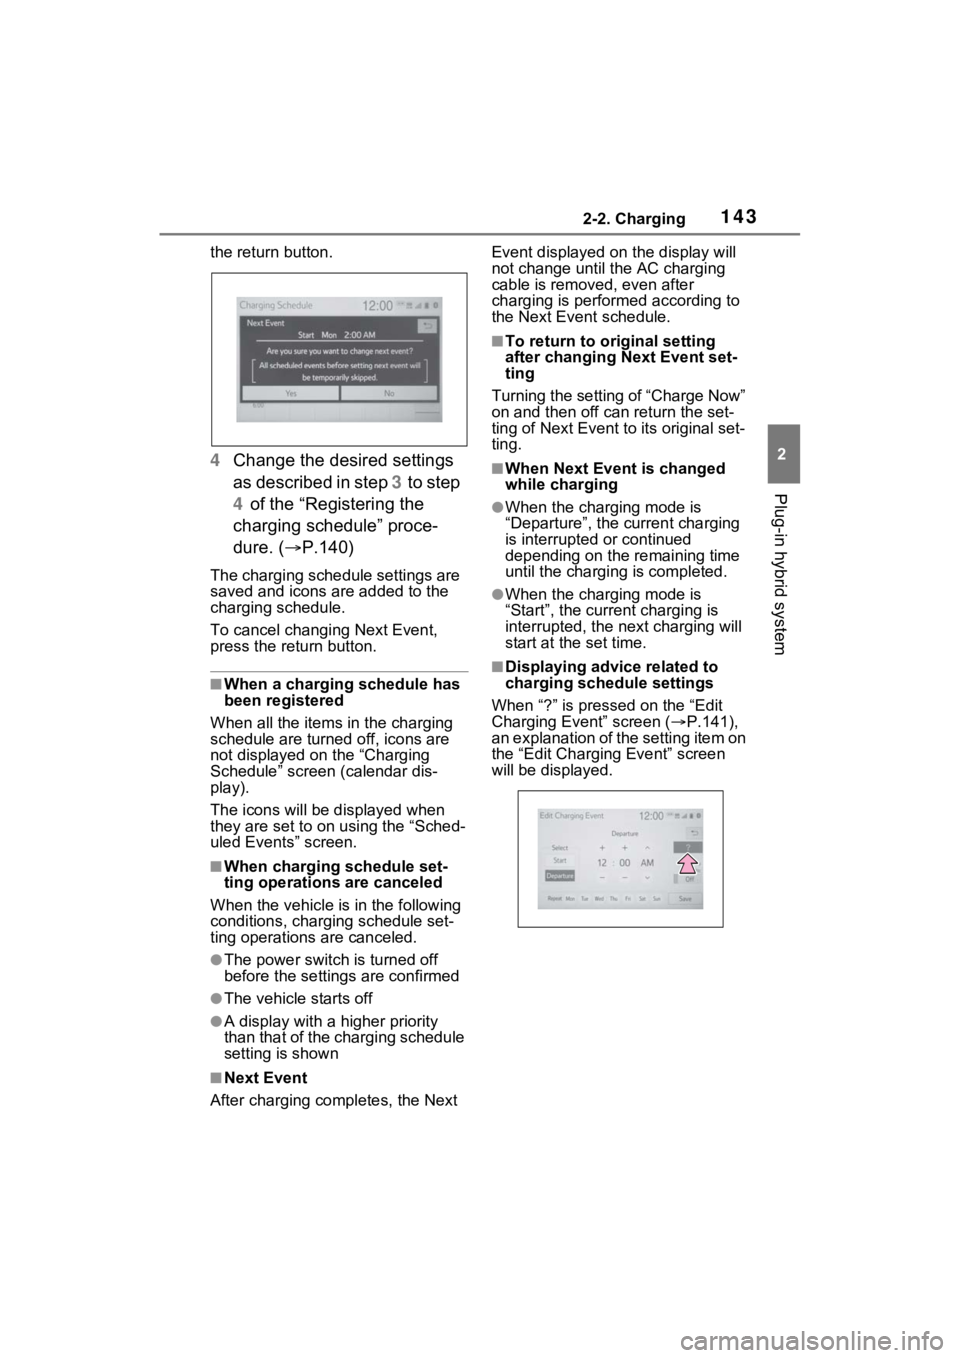
1432-2. Charging
2
Plug-in hybrid system
the return button.
4Change the desired settings
as described in step 3 t o s t ep
4 of the “Registering the
charging schedule” proce-
dure. ( P.140)
The charging schedule settings are
saved and icons are added to the
charging schedule.
To cancel changing Next Event,
press the return button.
■When a charging schedule has
been registered
When all the items in the charging
schedule are turned off, icons are
not displayed on the “Charging
Schedule” screen (calendar dis-
play).
The icons will be displayed when
they are set to on using the “Sched-
uled Events” screen.
■When charging schedule set-
ting operations are canceled
When the vehicle is in the following
conditions, charging schedule set-
ting operations are canceled.
●The power switch is turned off
before the setting s are confirmed
●The vehicle starts off
●A display with a higher priority
than that of the charging schedule
setting is shown
■Next Event
After charging completes, the Next Event displayed on
the display will
not change until the AC charging
cable is removed, even after
charging is performed according to
the Next Event schedule.
■To return to original setting
after changing Next Event set-
ting
Turning the setting of “Charge Now”
on and then off can return the set-
ting of Next Event to its original set-
ting.
■When Next Event is changed
while charging
●When the charging mode is
“Departure”, the current charging
is interrupted or continued
depending on the remaining time
until the charging is completed.
●When the charging mode is
“Start”, the current charging is
interrupted, the next charging will
start at the set time.
■Displaying advic e related to
charging schedule settings
When “?” is pressed on the “Edit
Charging Event” screen ( P.141),
an explanation of the setting item on
the “Edit Charging Event” screen
will be displayed.
Page 151 of 624
1512-2. Charging
2
Plug-in hybrid system
■Cannot change charging schedule from smartphone applica-
tion (vehicles with Premium Audio)
*
*: In order to use the smartphone application, it is necessary to apply to
Toyota Apps. For details about Toyota Apps, refer to
http://www.toyota.com/connectedservices
in the United States and
http://www.toyota.ca/connected
in Canada.
■Charging starts, even though charging schedule is registered
AC charging cable i s not connected
to vehicleBefore using the charging schedule,
connect the AC charging cable.
Incorrect charging mode selected
Check the charging mode setting.
( P.130)
When the charging mode is “Start”,
charging starts at the set time, but
when it is “Departure”, charging is
completed by the set time. (The
charging start time is automatically
controlled by the system.)
Likely causeCorrection procedure
Smartphone is outsi de its coverage
area
Check the signal strength. If the
smartphone is outside its coverage
area, move to a pl ace with a better
signal.
Likely causeCorrection procedure
“Charge Now” is set to on
When charging according to the
charging schedule, set “Charge
Now” to off. ( P.137, 142)
Charging schedule is set to offCheck that charging schedule is not
set to off. ( P.135, 136)
Charging mode is set to “Departure”
and schedule departure time is close
to current time
When the system determines that
there is no time to finish charging by
the set scheduled departure time, it
starts charging. Check the charging
schedules.
Likely causeCorrection procedure
Page 152 of 624
1522-2. Charging
■Charging ends earlier than time set in “Departure”
AC charging cable was removed and
reinserted while charging indicator of
the charging port was flashing
If the AC charging cable is removed
and reinserted while the charging
indicator is flash ing, the charging
schedule is canceled ( P.125).
Temporarily remove the AC charging
cable, and then reconnect it.
The “My Room Mode” or the Remote
Air Conditioning System was oper-
ated
When the “My Room Mode” or the
Remote Air Conditioning System is
operated, the system will start
charging, even if the charging sched-
ule is registered. To carry out
charging using the charging sched-
ule, stop the “My Room Mode” or the
Remote Air Conditioning System,
and then reconnect the AC charging
cable.
“Battery Heater” ( P.115) operated
When the charging mode is set to
“Departure”, “Battery Heater” may
operate before charging starts.
Check the status of the charging
indicator of the charging port.
( P.100)
Outside temperature is low and
hybrid battery (traction battery)
warming control ( P.116) operated
(Alaska and Canada only)
When hybrid battery (traction bat-
tery) warming control operates, the
charging schedules are ignored and
charging starts. In order to protect
the hybrid battery ( traction battery),
allow charging to continue.
Likely causeCorrection procedure
Charging end time does not match
estimated end time due to condition
of power source or outside tempera-
tureIf sudden changes in temperature or
changes in the condition of the
power source occur while charging,
charging may end earlier than the
time estimated by the system.
Likely causeCorrection procedure
Page 153 of 624
1532-2. Charging
2
Plug-in hybrid system
■Charging is not complete, even though it is time set in
“Departure”
■Charging does not start, even though it is time set in “Start”
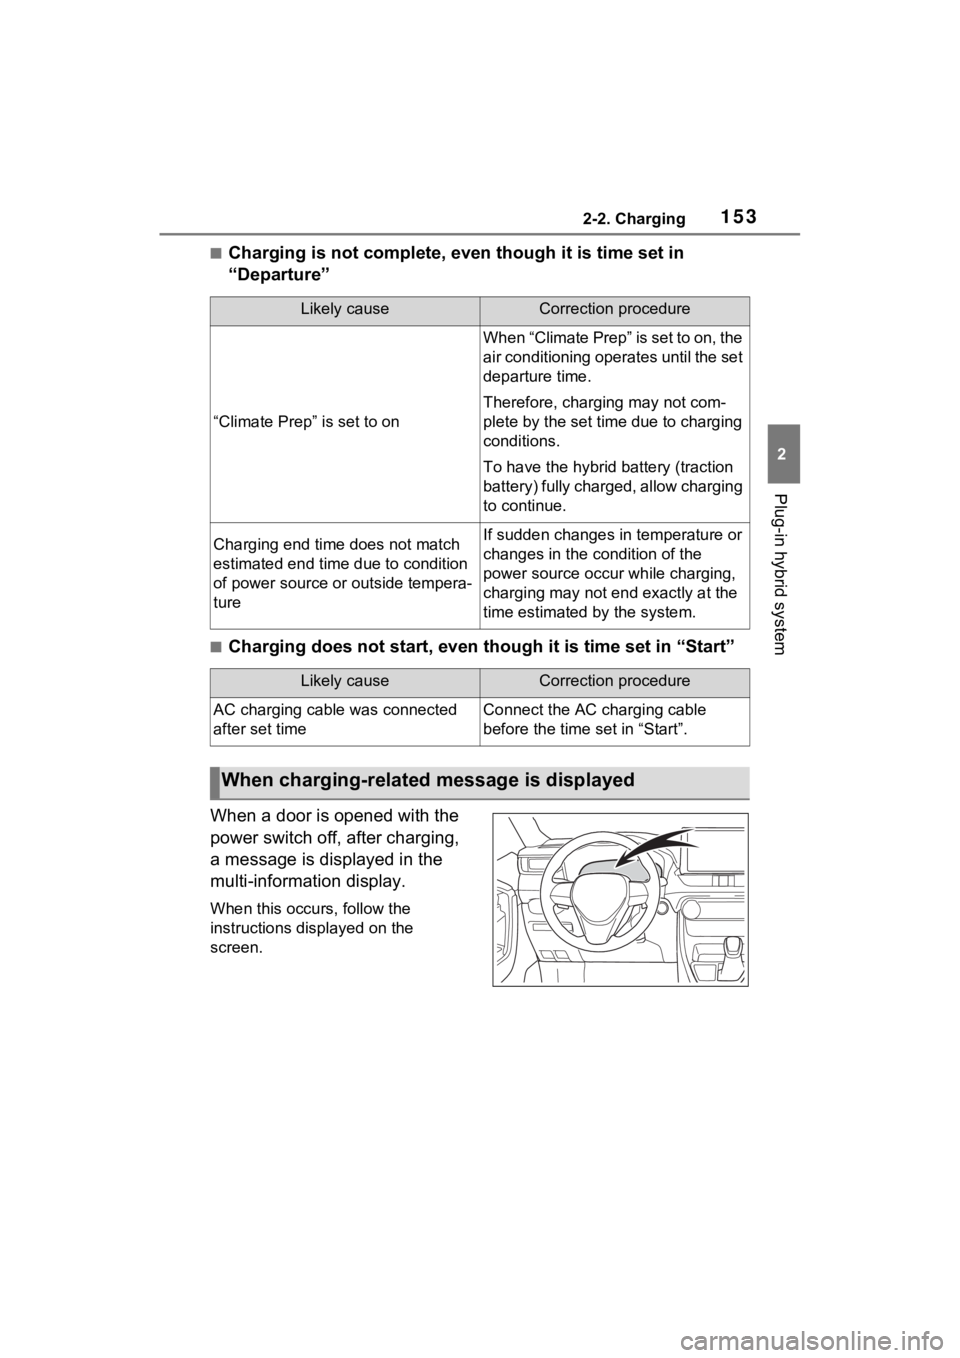
When a door is opened with the
power switch off, after charging,
a message is displayed in the
multi-information display.
When this occurs, follow the
instructions displayed on the
screen.
Likely causeCorrection procedure
“Climate Prep” is set to on
When “Climate Prep” is set to on, the
air conditioning operates until the set
departure time.
Therefore, charging may not com-
plete by the set time due to charging
conditions.
To have the hybrid battery (traction
battery) fully charged, allow charging
to continue.
Charging end time does not match
estimated end time due to condition
of power source or outside tempera-
tureIf sudden changes in temperature or
changes in the condition of the
power source occur while charging,
charging may not e nd exactly at the
time estimated by the system.
Likely causeCorrection procedure
AC charging cable was connected
after set timeConnect the AC charging cable
before the time set in “Start”.
When charging-related message is displayed
Page 167 of 624
1673-1. Instrument cluster
3
Vehicle status information and indicators
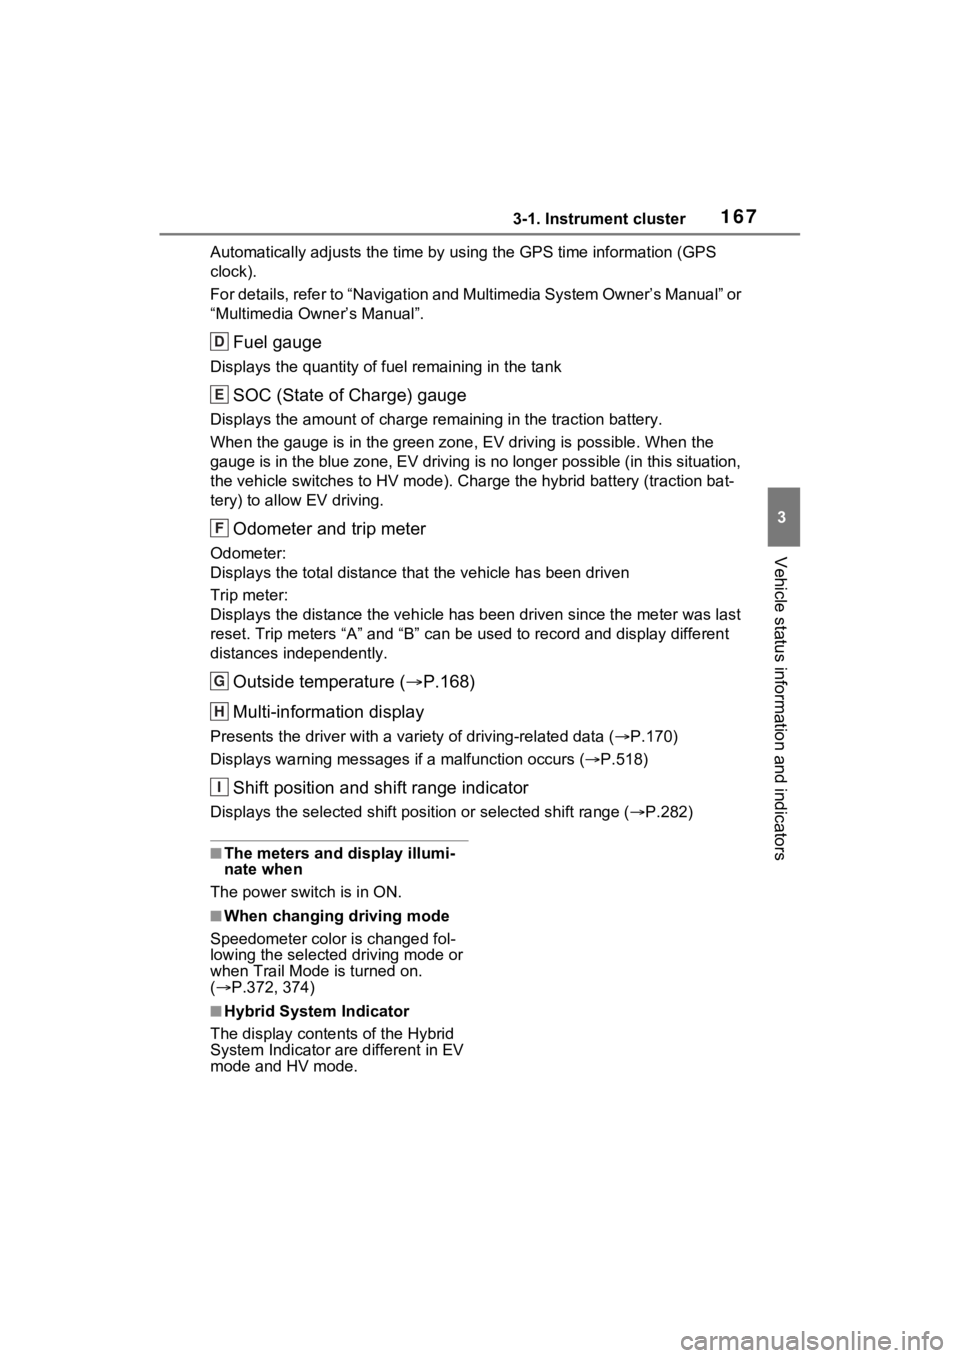
Automatically adjusts the time by using the GPS time information (GPS
clock).
For details, refer to “Navigation and Multimedia System Owner’s Manual” or
“Multimedia Owner’s Manual”.
Fuel gauge
Displays the quantity of fu el remaining in the tank
SOC (State of Charge) gauge
Displays the amount of charge rem aining in the traction battery.
When the gauge is in the green zo ne, EV driving is possible. When the
gauge is in the blue zone, EV driving is no longer possible (in this situation,
the vehicle switches to HV mode) . Charge the hybrid battery (traction bat-
tery) to allow EV driving.
Odometer and trip meter
Odometer:
Displays the total distance th at the vehicle has been driven
Trip meter:
Displays the distance the vehicle has been driven since the meter was last
reset. Trip meters “A” and “B” c an be used to record and display different
distances independently.
Outside temperature ( P.168)
Multi-information display
Presents the driver with a variety of driving-related data ( P.170)
Displays warning messages if a malfunction occurs (P.518)
Shift position and shift range indicator
Displays the selected shift posit ion or selected shift range (P.282)
■The meters and display illumi-
nate when
The power swit ch is in ON.
■When changing driving mode
Speedometer color is changed fol-
lowing the selected driving mode or
when Trail Mode is turned on.
( P.372, 374)
■Hybrid System Indicator
The display content s of the Hybrid
System Indicator are different in EV
mode and HV mode.
D
E
F
G
H
I
Page 170 of 624
1703-1. Instrument cluster
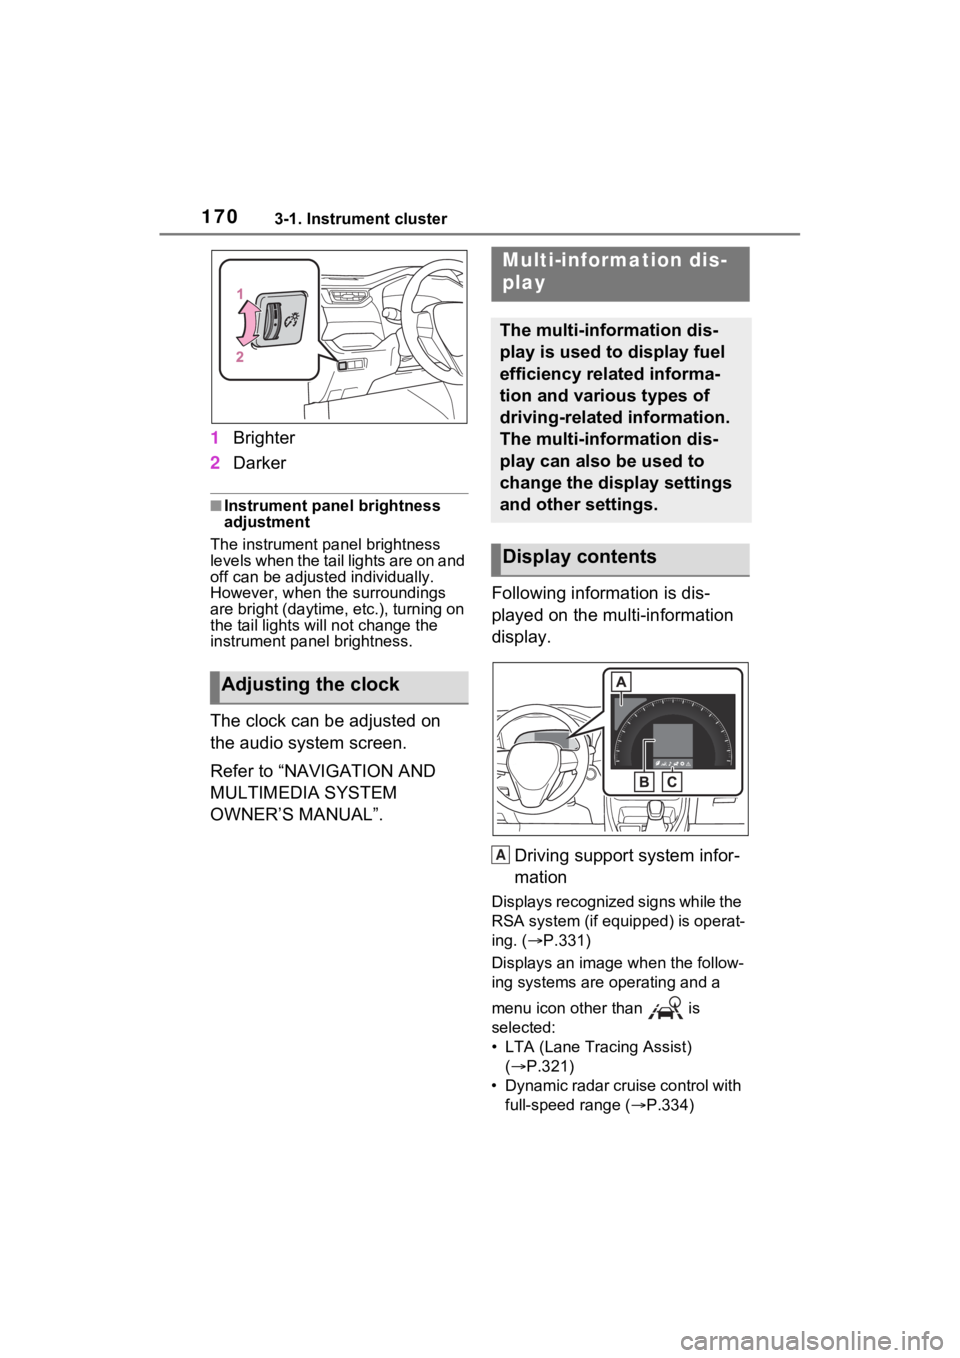
1Brighter
2 Darker
■Instrument panel brightness
adjustment
The instrument panel brightness
levels when the tail lights are on and
off can be adjusted individually.
However, when the surroundings
are bright (daytime, etc.), turning on
the tail lights will not chan ge the
instrument panel brightness.
The clock can be adjusted on
the audio system screen.
Refer to “NAVIGATION AND
MULTIMEDIA SYSTEM
OWNER’S MANUAL”. Following information is dis-
played on the multi-information
display.
Driving support system infor-
mation
Displays recognized signs while the
RSA system (if equipped) is operat-
ing. ( P.331)
Displays an image when the follow-
ing systems are operating and a
menu icon other than is
selected:
• LTA (Lane Tracing Assist) ( P.321)
• Dynamic radar cruise control with full-speed range ( P.334)
Adjusting the clock
Multi-information dis-
play
The multi-information dis-
play is used to display fuel
efficiency related informa-
tion and various types of
driving-related information.
The multi-information dis-
play can also be used to
change the display settings
and other settings.
Display contents
A
Page 171 of 624
1713-1. Instrument cluster
3
Vehicle status information and indicators
Information display area
A variety of information can be dis-
played by selecting a menu icon.
Additionally, warning or sugges-
tion/advice pop-up displays will be
displayed in some situations.
Menu icons ( P.171)
■The multi-information display is
displayed when
The power swit ch is in ON.
■When changing driving mode
Background color of the multi-infor-
mation display is changed following
the selected drivi ng mode or when
Trail Mode is turned on. ( P.372,
374)
■Liquid crystal display
Small spots or light spots may
appear on the display. This phe-
nomenon is character istic of liquid
crystal displays, and there is no
problem continuing to use the dis-
play.
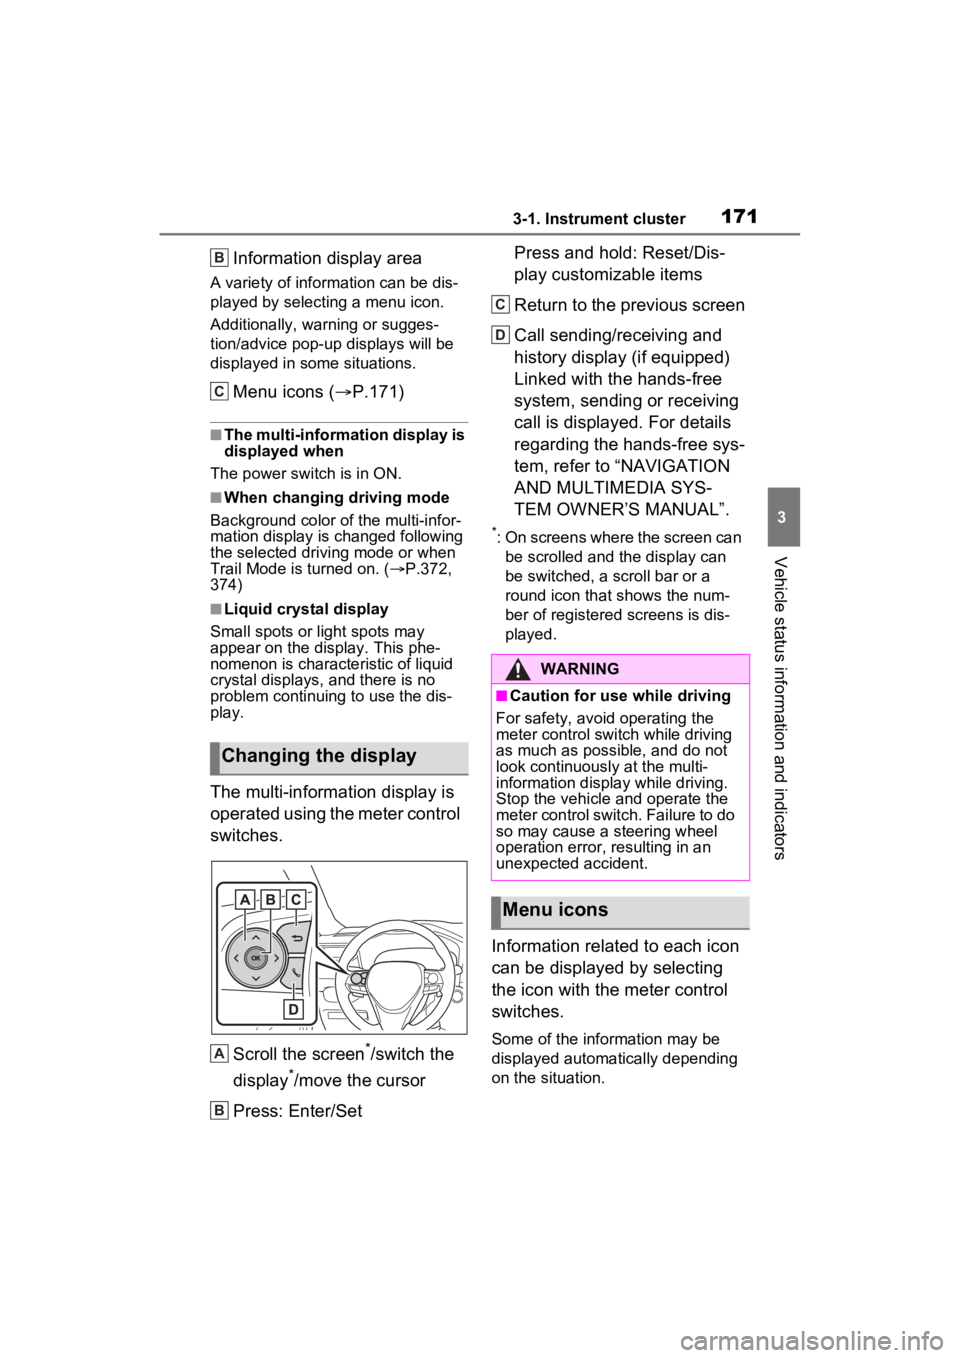
The multi-information display is
operated using the meter control
switches.
Scroll the screen
*/switch the
display
*/move the cursor
Press: Enter/Set Press and hold: Reset/Dis-
play customizable items
Return to the previous screen
Call sending/receiving and
history display (if equipped)
Linked with the hands-free
system, sending or receiving
call is displayed. For details
regarding the hands-free sys-
tem, refer to “NAVIGATION
AND MULTIMEDIA SYS-
TEM OWNER’S MANUAL”.
*: On screens where the screen can
be scrolled and the display can
be switched, a scroll bar or a
round icon that shows the num-
ber of registered screens is dis-
played.
Information related to each icon
can be displayed by selecting
the icon with the meter control
switches.
Some of the information may be
displayed automatically depending
on the situation.
Changing the display
B
C
A
B
:$51,1*
■Caution for use while driving
For safety, avoid operating the
meter control switch while driving
as much as possible, and do not
look continuously at the multi-
information display while driving.
Stop the vehicle and operate the
meter control switch. Failure to do
so may cause a steering wheel
operation error, resulting in an
unexpected accident.
Menu icons
C
D
Page 173 of 624

1733-1. Instrument cluster
3
Vehicle status information and indicators
EV driving range
Displays the EV driving range with
charge remaining in the hybrid bat-
tery (traction battery). (P.82)
Distance to empty
Displays the driving range with
remaining fuel. ( P.175)
Average fuel economy
Displays the average fuel economy
since the function was reset or the
average fuel economy after starting
or refueling.
*1, 2, 3
The average fuel economy selected
by “Fuel Economy” on the
screen is displayed. ( P.177)
Current fuel economy
Displays the instantaneous current
fuel economy.
*1: Use the displayed fuel consump-
tion as a reference only.
*2: Average fuel economy since the function was reset can be reset
by pressing and holding .
*3: Average fuel economy after starting is reset each time the
hybrid system stops.
■ECO Accelerator Guid-
ance/“Eco Score”
Displays a reference operation
range for using the accelerator
pedal according to driving condi-
tions, and a score result that
evaluates the current driving
status. ECO Accelerator Guidance
“Eco Score”
ECO Accelerator Guidance
ECO area
Shows that the vehicle is being
driven in an Eco-friendly manner.
Power area
Shows that an Eco-friendly driving
range is being exceeded (during full
power driving etc.).
Current acceleration
Reference operation range
A zone is displayed in blue under
the Eco area which can be used as
a reference operation range for
using the accelerator pedal accord-
ing to driving conditions such as
starting off and cruising.
The ECO Accelerator Guidance
display changes according to the
driving status, such as when start-
A
B
C
D
A
B
A
B
C
D
Page 176 of 624
1763-1. Instrument cluster
audio source or track on the dis-
play.
■Drive information
2 items that are selected using
the “Drive Info Items” setting
(average speed, distance and
total time) can be displayed ver-
tically.
The displayed information
changes according to the “Drive
Info Type” setting (since the sys-
tem was started or between
resets). ( P.177)
Use the displayed information as a
reference only.
Following items will be displayed.
“Trip”
• “Average Speed”: Displays the
average vehicl e speed since
hybrid system start
*
• “Distance”: Displ ays the distance
driven since hybrid system start
*
• “Total Time”: Displays the elapsed time since hybrid system
start
*
*
: These items are reset each time the hybrid system stops.
“Total”
• “Average Speed”: Displays the
average vehicle speed since the
display was reset
*
• “Distance”: Displ ays the distance
driven since the display was
reset
*
• “Total Time”: Displays the elapsed time since the display
was reset
*
*
: To reset, display the desired item and press and hold .
■Energy monitor
P.187
■Tire pressure
P.467
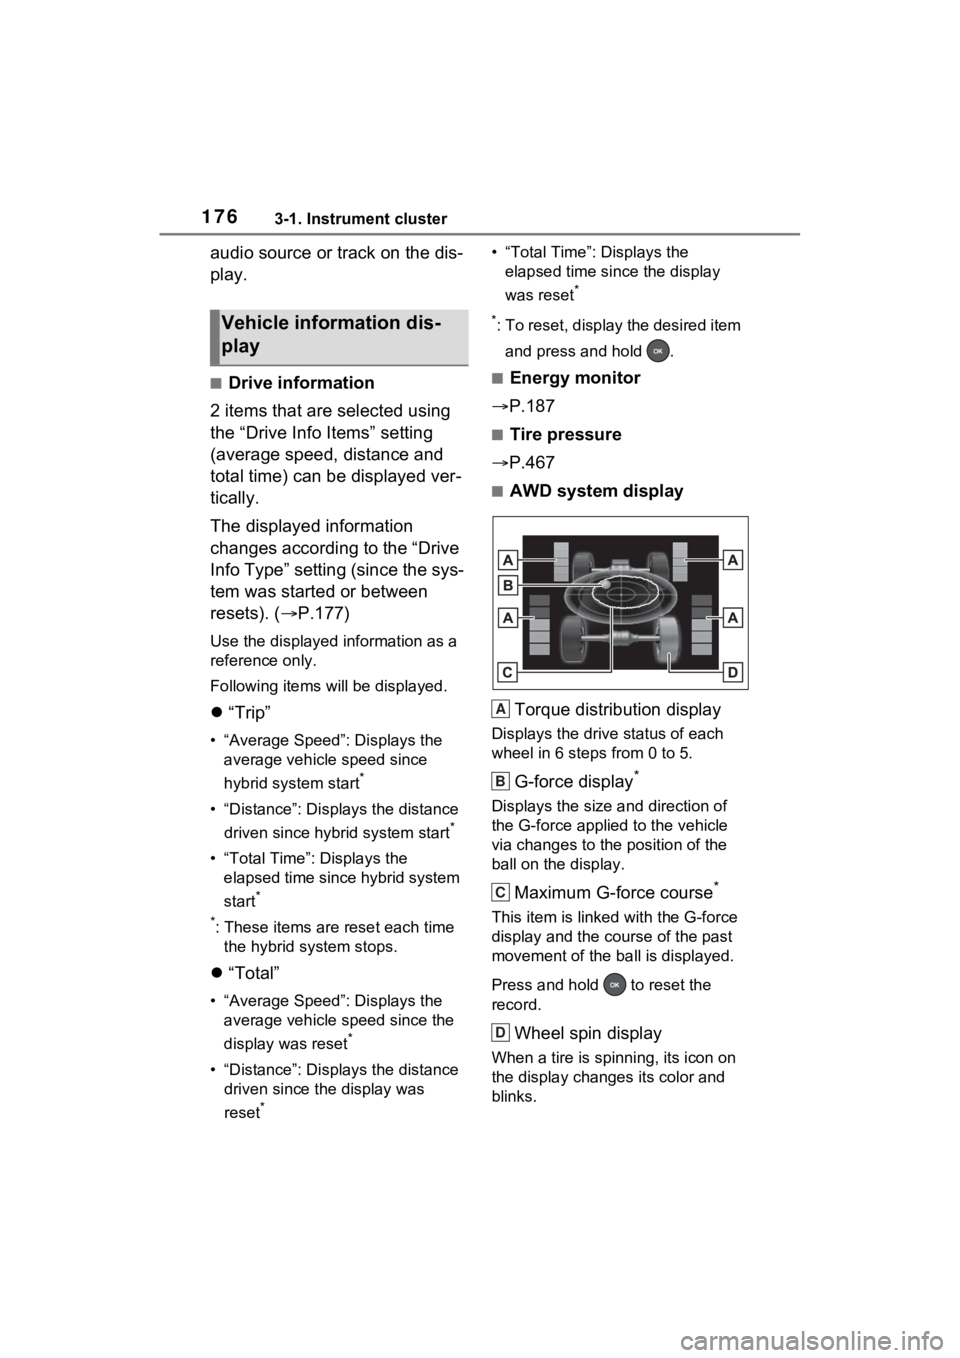
■AWD system display
Torque distribution display
Displays the drive status of each
wheel in 6 steps from 0 to 5.
G-force display*
Displays the size a nd direction of
the G-force applied to the vehicle
via changes to the position of the
ball on the display.
Maximum G-force course*
This item is linke d with the G-force
display and the co urse of the past
movement of the ba ll is displayed.
Press and hold to reset the
record.
Wheel spin display
When a tire is spi nning, its icon on
the display changes its color and
blinks.
Vehicle information dis-
play
A
B
C
D
Page 177 of 624
1773-1. Instrument cluster
3
Vehicle status information and indicators
*: This item is displayed only when driving mode is set to sport mode.
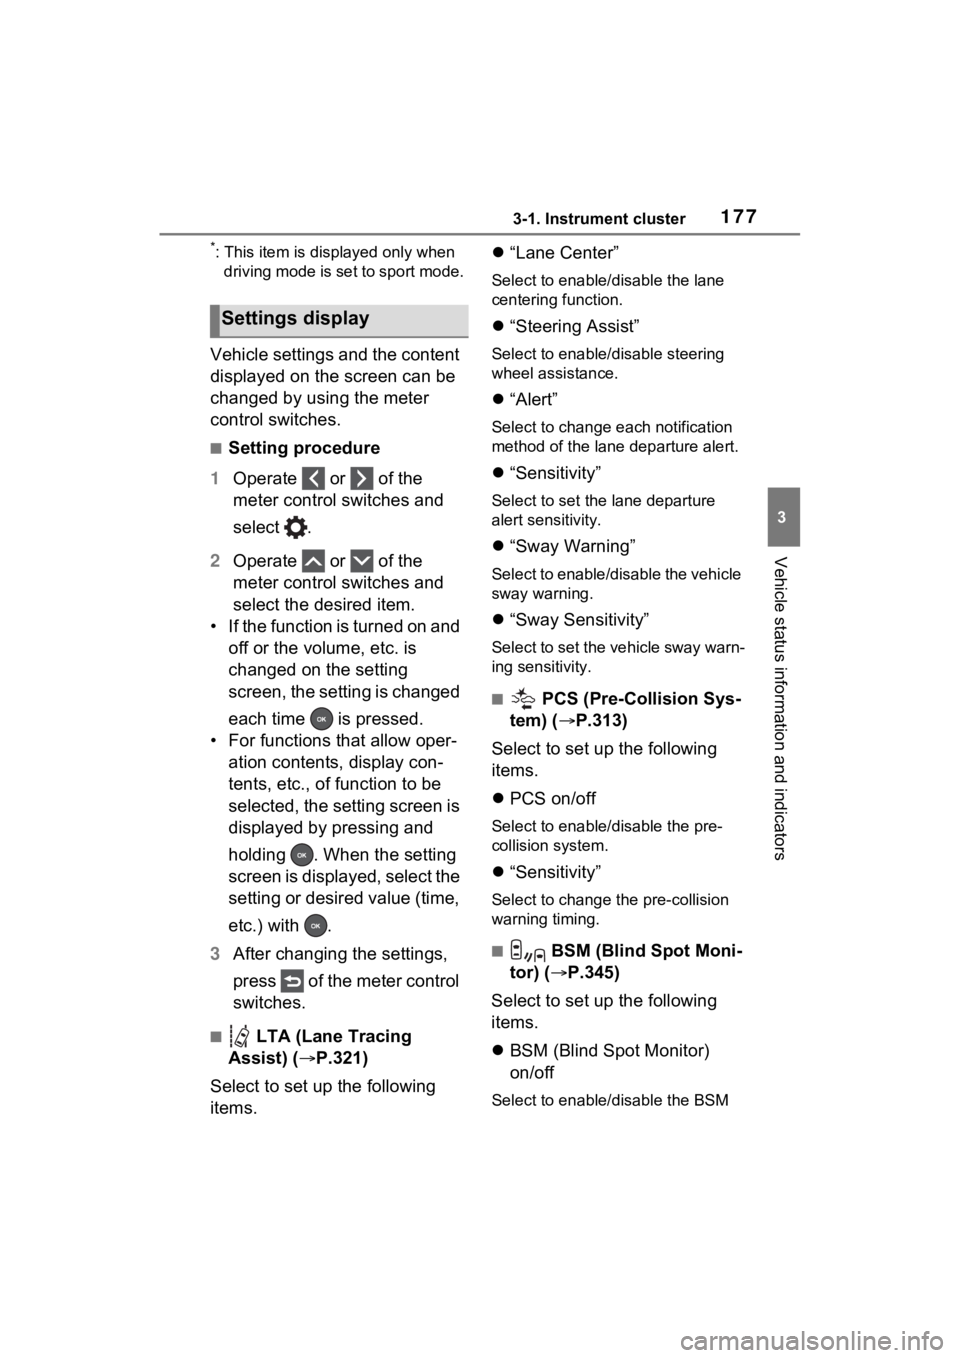
Vehicle settings and the content
displayed on the screen can be
changed by using the meter
control switches.
■Setting procedure
1 Operate or of the
meter control switches and
select .
2 Operate or of the
meter control switches and
select the desired item.
• If the function is turned on and off or the volume, etc. is
changed on the setting
screen, the setting is changed
each time is pressed.
• For functions that allow oper- ation contents, display con-
tents, etc., of function to be
selected, the setting screen is
displayed by pressing and
holding . When the setting
screen is displayed, select the
setting or desired value (time,
etc.) with .
3 After changing the settings,
press of the meter control
switches.
■ LTA (Lane Tracing
Assist) ( P.321)
Select to set up the following
items.
“Lane Center”
Select to enable /disable the lane
centering function.
“Steering Assist”
Select to enable/d isable steering
wheel assistance.
“Alert”
Select to change each notification
method of the lane departure alert.
“Sensitivity”
Select to set the lane departure
alert sensitivity.
“Sway Warning”
Select to enable/disable the vehicle
sway warning.
“Sway Sensitivity”
Select to set the vehicle sway warn-
ing sensitivity.
■ PCS (Pre-Collision Sys-
tem) ( P.313)
Select to set up the following
items.
PCS on/off
Select to enable/disable the pre-
collision system.
“Sensitivity”
Select to change the pre-collision
warning timing.
■ BSM (Blind Spot Moni-
tor) ( P.345)
Select to set up the following
items.
BSM (Blind Spot Monitor)
on/off
Select to enable/disable the BSM
Settings display