check engine TOYOTA SUPRA 2023 User Guide
[x] Cancel search | Manufacturer: TOYOTA, Model Year: 2023, Model line: SUPRA, Model: TOYOTA SUPRA 2023Pages: 372, PDF Size: 6.32 MB
Page 264 of 372
2644-1. DRIVING TIPS
Additional weight increases fuel
consumption.
Attached parts on the vehicle
impair the aerodynamics and
increase the fuel consumption.
Open windows increase air
resistance and therefore lead to
greater fuel consumption.
Tires can affect consumption in
various ways, for instance tire
size may influence consump-
tion.
Check and, if needed, correct
the tire inflation pressure at least
twice a month and before start-
ing on a long trip.
Low tire inflation pressure
increases rolling resistance and
thus raises fuel consumption
and tire wear.Do not wait for the engine to
warm-up while the vehicle
remains stationary. Start driving
right away, but at moderate
engine speeds.
This is the quickest way of
warming the cold engine up to
operating temperature.
Driving smoothly and proactively
reduces fuel consumption.
Avoid unnecessary acceleration
and braking.
By maintaining a suitable dis-
tance to the vehicle driving
ahead of you.
Driving at low engine speeds
lowers fuel consumption and
reduces wear.
If necessary, observe the vehi-
cle's gear shift indicator, refer to
page 148.
When approaching a red light,
take your foot off the accelerator
and let the vehicle coast to a
halt.
For going downhill take your foot
off the accelerator and let the
Remove unnecessary
cargo
Remove attached parts fol-
lowing use
Closing the windows
Tires
General information
Check the tire inflation pres-
sure regularly
Drive away without delay
Look well ahead when
driving
Avoid high engine speeds
Use coasting conditions
Page 285 of 372
2855-1. MOBILITY
5
MOBILITY
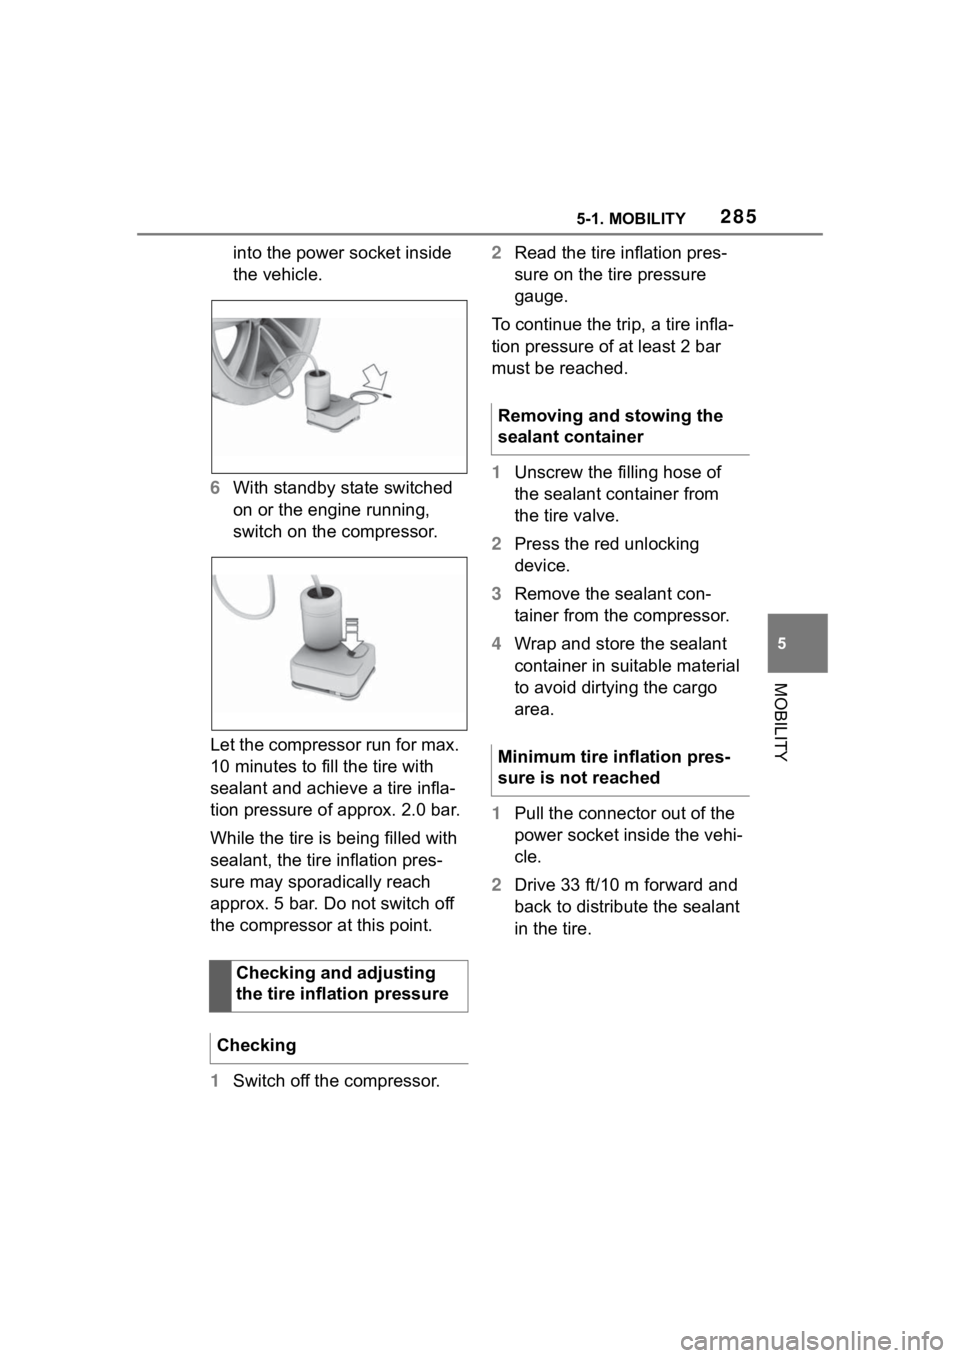
into the power socket inside
the vehicle.
6 With standby state switched
on or the engine running,
switch on the compressor.
Let the compressor run for max.
10 minutes to fill the tire with
sealant and achieve a tire infla-
tion pressure of approx. 2.0 bar.
While the tire is being filled with
sealant, the tire inflation pres-
sure may sporadically reach
approx. 5 bar. Do not switch off
the compressor at this point.
1 Switch off the compressor. 2
Read the tire inflation pres-
sure on the tire pressure
gauge.
To continue the trip, a tire infla-
tion pressure of at least 2 bar
must be reached.
1 Unscrew the filling hose of
the sealant container from
the tire valve.
2 Press the red unlocking
device.
3 Remove the sealant con-
tainer from the compressor.
4 Wrap and store the sealant
container in suitable material
to avoid dirtying the cargo
area.
1 Pull the connector out of the
power socket inside the vehi-
cle.
2 Drive 33 ft/10 m forward and
back to distribute the sealant
in the tire.
Checking and adjusting
the tire inflation pressure
Checking
Removing and stowing the
sealant container
Minimum tire inflation pres-
sure is not reached
Page 302 of 372
3025-1. MOBILITY
instance, due to the selected
options or country versions. This
also applies to safety-related
functions and systems. When
using these functions and sys-
tems, the applicable laws and
regulations must be observed.
The engine oil consumption is
dependent on your driving style
and driving conditions.
Therefore, regularly check the
engine oil level after refueling by
taking a detailed measurement.
The engine oil consumption can
increase in the following situa-
tions, for example:
• Sporty driving style.
• Break-in of the engine.
• Idling of the engine.
• With use of engine oil types that are classified as not suit-
able.
Different vehicle messages
appear on the Control Display
depending on the engine oil
level. The electronic oil measurement
has two measuring principles:
• Monitoring.
• Detailed measurement.
When making frequent
short-distance trips or using a
sporty driving style, for instance
when taking curves aggres-
sively, regularly perform a
detailed measurement.
■Concept
The engine oil level is monitored
electronically while driving and
can be shown on the Control
Display.
If the engine oil level is outside
its permissible operating range,
a vehicle message is displayed.
■Functional requirements
A current measured value is
available after approx. 30 min-
utes of normal driving.
General information
Safety information
NOTICE
An engine oil level
that is too low
causes engine damage. There is
a risk of damage to property.
Immediately add engine oil.
NOTICE
Too much engine oil can damage
the engine or the catalytic con-
verter. There is a risk of damage
to property. Do not add too much
engine oil. When too much engine
oil is added, have the engine oil
level corrected by your Toyota
dealer.
Electronic oil measure-
ment
General information
Monitoring
Page 303 of 372
3035-1. MOBILITY
5
MOBILITY
■Displaying the engine oil
level
Via Toyota Supra Command:
1 "My Vehicle"
2 "Vehicle status"
3 "Engine oil level"
The engine oil leve l is displayed.
■System limits
When making frequent
short-distance trips or using a
sporty driving style, it may not
be possible to calculate a mea-
sured value. In this case, the
measured value for the last, suf-
ficiently long trip is displayed.
■Concept
The engine oil level is checked
when the vehicle is stationary
and displayed via a scale.
If the engine oil level is outside
its permissible operating range,
a vehicle message is displayed.
■General information
During the measurement, the
idle speed is increased some-
what.
■Functional requirements
• Vehicle is parked in a horizon- tal position.
• Manual transmission: gear- shift lever in idle position,
clutch and accelerator pedals
not depressed.
• Automatic transmission: selector lever in selector lever
position N or P and accelera-
tor pedal not depressed.
• Engine is running and is at operating temperature.
■Performing a detailed mea-
surement
Via Toyota Supra Command:
1 "My Vehicle"
2 "Vehicle status"
3 "Engine oil level"
4 "Measure engine oil level"
5 "Start measurement"
The engine oil level is checked
and displayed via a scale.
Only add engine oil when the
message is displayed in the
instrument cluster. The quantity
to be added is indicated in the
message shown on the Control
Display.
Only add suitable types of
engine oil, refer to page 304.
Safely park the vehicle and
switch off drive-ready state
before adding engine oil.
Take care not to add too much
engine oil.
Detailed measurement
Adding engine oil
General information
Page 306 of 372
3065-1. MOBILITY
mercially available additives are
suitable for the vehicle. The
vehicle manufacturer recom-
mends using coolant with the
BMW LC-18 specification. Do
not mix additives of different col-
ors. Observe the water - additive
mixture ratio of 50:50. Informa-
tion about suitable additives is
available from your Toyota
dealer.
Depending on the motorization,
there are up to two coolant res-
ervoirs in the engine compart-
ment. Check and top up the
coolant levels on a regular
basis.The coolant may be overfilled in
the coolant reservoir when the
vehicle is delivered from the fac-
tory. The normal coolant level is
achieved by operating the vehi-
cle for a longer period.
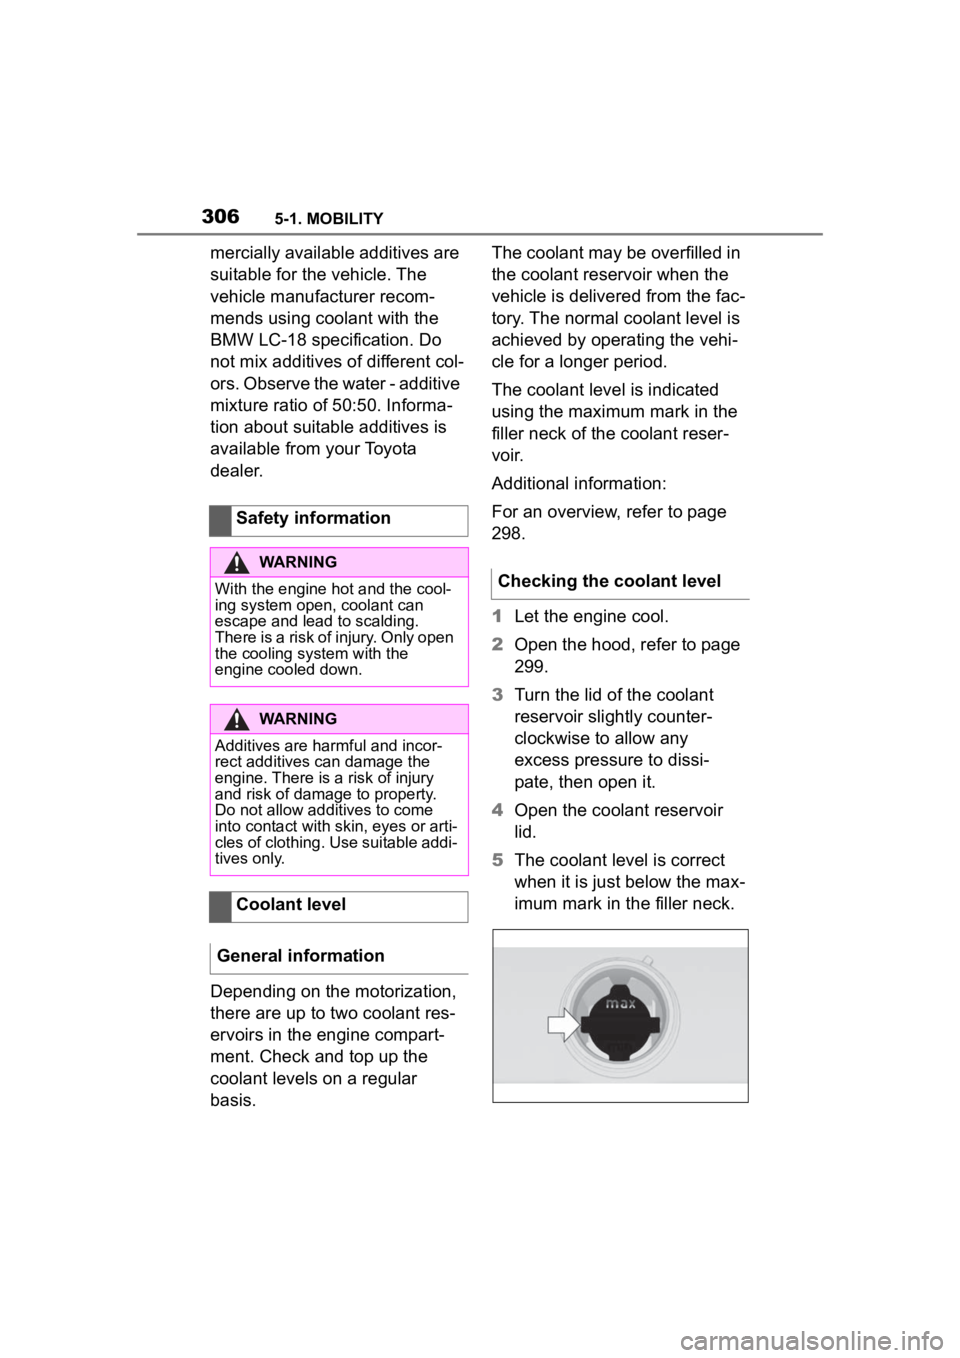
The coolant level is indicated
using the maximum mark in the
filler neck of the coolant reser-
voir.
Additional information:
For an overview, refer to page
298.
1
Let the engine cool.
2 Open the hood, refer to page
299.
3 Turn the lid of the coolant
reservoir slightly counter-
clockwise to allow any
excess pressure to dissi-
pate, then open it.
4 Open the coolant reservoir
lid.
5 The coolant level is correct
when it is just below the max-
imum mark in the filler neck.
Safety information
WARNING
With the engine hot and the cool-
ing system open, coolant can
escape and lead to scalding.
There is a risk of injury. Only open
the cooling system with the
engine cooled down.
WARNING
Additives are harmful and incor-
rect additives can damage the
engine. There is a risk of injury
and risk of damage to property.
Do not allow additives to come
into contact with skin, eyes or arti-
cles of clothing. Use suitable addi-
tives only.
Coolant level
General information
Checking the coolant level
Page 309 of 372
3095-1. MOBILITY
5
MOBILITY
Condition Based Service CBS
determines the maintenance
recommendation using sensors
and special algorithms that take
into account the driving condi-
tions of the vehicle.
The system makes it possible to
adapt the amount of mainte-
nance corresponding to your
user profile.
Information on service notifica-
tions, refer to page 147, can be
displayed on the Control Dis-
play.
Storage periods during which
the vehicle battery was discon-
nected are not taken into
account.
If this occurs, have a Toyota
dealer update the time-depen-
dent maintenance procedures,
such as checking brake fluid
and, if necessary, changing the
engine oil and the microfil-
ter/activated-charcoal filter.Please consult “Owner's War-
ranty Information Booklet” or
“Owner's Manual Supplement”
for additional information on ser-
vice and maintenance work.
The manufacturer of your vehi-
cle recommends that mainte-
nance and repair be performed
by a Toyota dealer. Records of
regular maintenance and repair
work should be retained.
Scheduled maintenance should
be performed at specified inter-
vals according to the mainte-
nance schedule.
For details about maintenance
items and schedules, refer to
the "Scheduled Maintenance
Guide" or "Owner's Manual Sup-
plement".
Devices connected to the OBD
socket trigger the alarm system
when the vehicle is locked.
Remove any devices con-
nected at the OBD socket
Condition Based Service
CBS
Concept
General information
Storage periods
"Owner's Warranty Infor-
mation Booklet" or
"Owner's Manual Supple-
ment"
Scheduled maintenance
Socket for OBD Onboard
Diagnosis
General information
Page 310 of 372
3105-1. MOBILITY
before locking the vehicle.
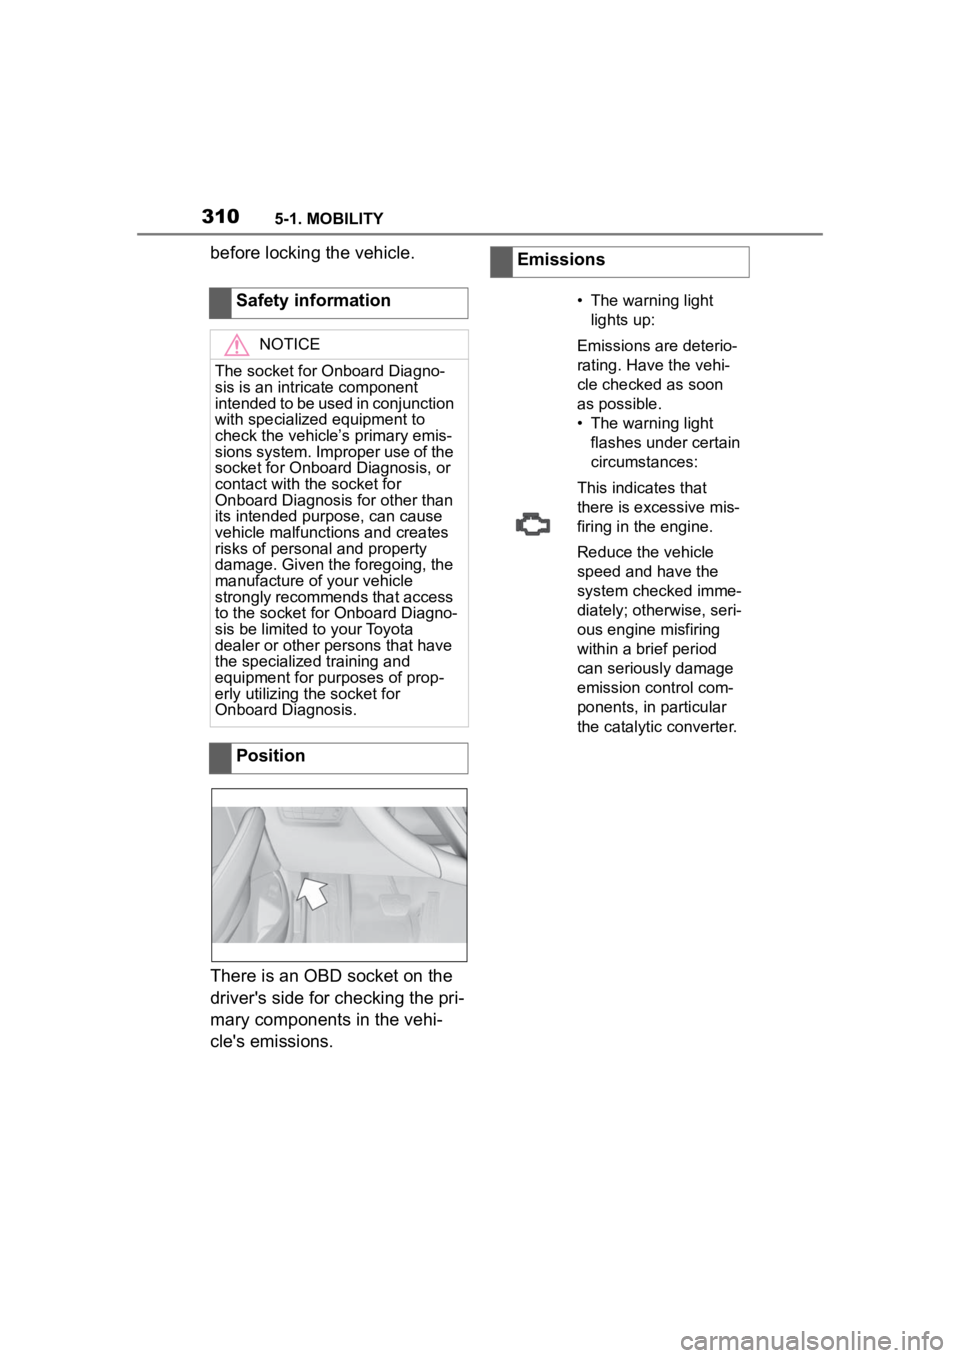
There is an OBD socket on the
driver's side for checking the pri-
mary components in the vehi-
cle's emissions.Safety information
NOTICE
The socket for Onboard Diagno-
sis is an intricate component
intended to be used in conjunction
with specialized equipment to
check the vehicle’s primary emis-
sions system. Improper use of the
socket for Onboard Diagnosis, or
contact with the socket for
Onboard Diagnosis for other than
its intended purpose, can cause
vehicle malfunctions and creates
risks of personal and property
damage. Given the foregoing, the
manufacture of your vehicle
strongly recommends that access
to the socket for Onboard Diagno-
sis be limited to your Toyota
dealer or other persons that have
the specialized
training and
equipment for purposes of prop-
erly utilizing the socket for
Onboard Diagnosis.
Position
Emissions
• The warning light
lights up:
Emissions are deterio-
rating. Have the vehi-
cle checked as soon
as possible.
• The warning light flashes under certain
circumstances:
This indicates that
there is excessive mis-
firing in the engine.
Reduce the vehicle
speed and have the
system checked imme-
diately; otherwise, seri-
ous engine misfiring
within a brief period
can seriously damage
emission control com-
ponents, in particular
the catalytic converter.
Page 325 of 372
3255-1. MOBILITY
5
MOBILITY
gency Call Center may still be able
to hear the occupants of the vehi-
cle.
The Toyota Emergency Call
Center ends the Emergency
call.
If the battery is discharged, the
engine can be started using the
battery of another vehicle and
two jumper cables. Only use
jumper cables with fully insu-
lated clamp handles. 1
Check whether the battery of
the other vehicle has a volt-
age of 12 volts. The voltage
information can be found on
the battery.
2 Switch off the engine of the
assisting vehicle.
3 Switch off any electronic sys-
tems/power consumers in
both vehicles.
The starting aid terminal in the
engine compartment acts as the
positive battery terminal.
A special connection on the
body in the engine compartment
acts as the negative battery ter-
minal.
Additional information:
Overview of engine compart-
ment, refer topage 298.
Open the cover of the positive
battery terminal.
Before you begin, switch off all
unnecessary electronic sys-
tems/power consumers, such as
the radio, on the assisting and
receiving vehicle.
1 Open the cover of the starting
aid terminal.
Jump-starting
General information
Safety information
WARNING
Contact with live components can
lead to an electric shock. There is
a risk of injuries or danger to life.
Do not touch any components
that are under voltage.
WARNING
If the jumper cables are con-
nected in the incorrect order,
sparking may occur. There is a
risk of injury. Pay attention to the
correct order during connection.
NOTICE
In the case of body contact
between the two vehicles, a short
circuit can occur during
jump-starting. There is a risk of
damage to property. Make sure
that no body contact occurs.
Preparation
Starting aid terminals
Connecting the cables
Page 326 of 372
3265-1. MOBILITY
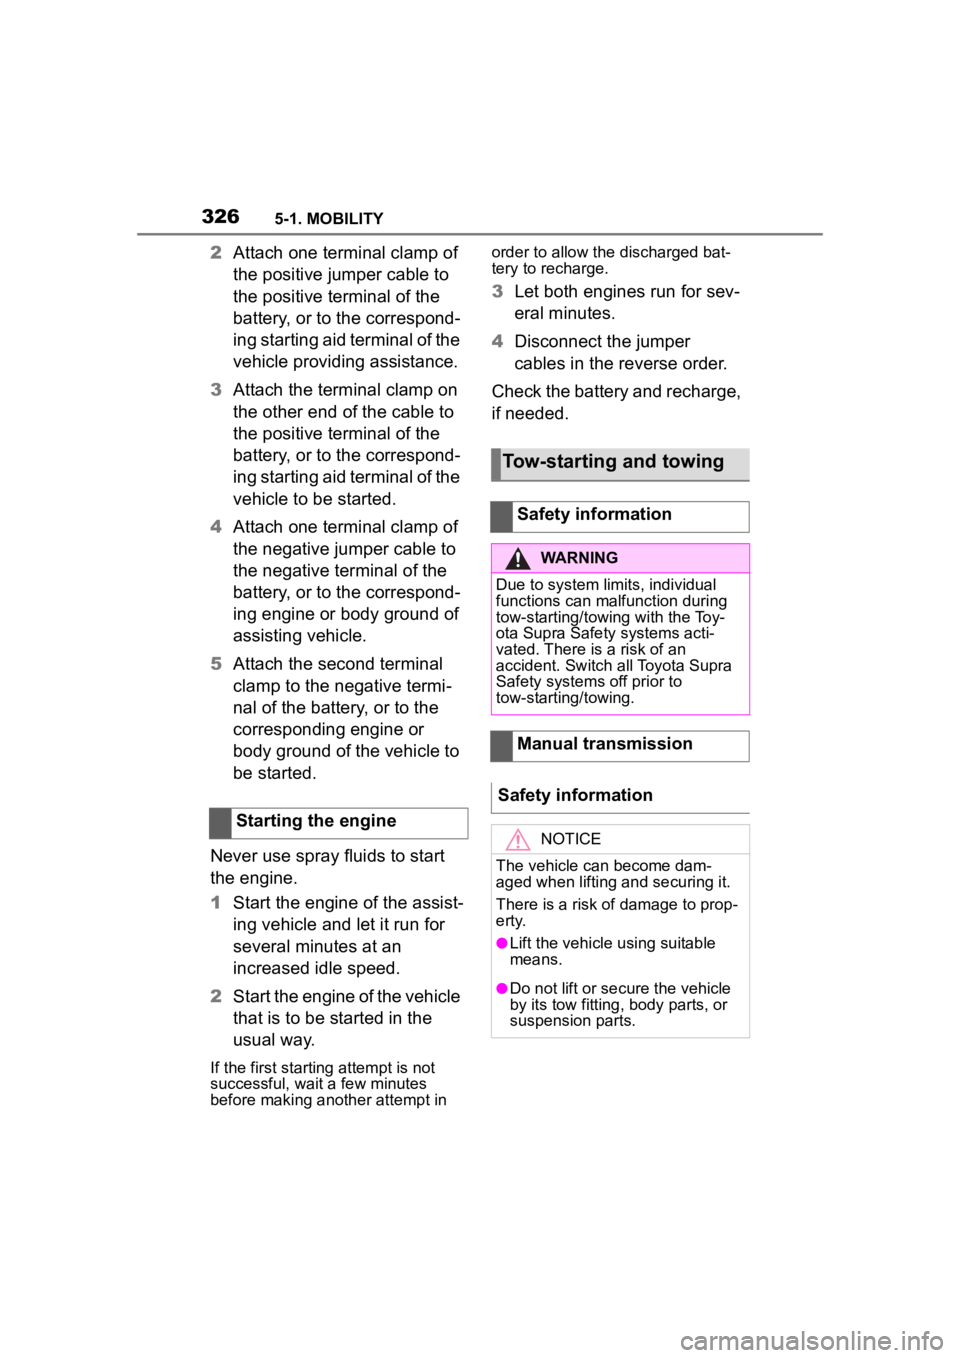
2Attach one terminal clamp of
the positive jumper cable to
the positive terminal of the
battery, or to the correspond-
ing starting aid terminal of the
vehicle providing assistance.
3 Attach the terminal clamp on
the other end of the cable to
the positive terminal of the
battery, or to the correspond-
ing starting aid terminal of the
vehicle to be started.
4 Attach one terminal clamp of
the negative jumper cable to
the negative terminal of the
battery, or to the correspond-
ing engine or body ground of
assisting vehicle.
5 Attach the second terminal
clamp to the negative termi-
nal of the battery, or to the
corresponding engine or
body ground of the vehicle to
be started.
Never use spray fluids to start
the engine.
1 Start the engine of the assist-
ing vehicle and let it run for
several minutes at an
increased idle speed.
2 Start the engine of the vehicle
that is to be started in the
usual way.
If the first starting attempt is not
successful, wait a few minutes
before making another attempt in order to allow the discharged bat-
tery to recharge.
3
Let both engines run for sev-
eral minutes.
4 Disconnect the jumper
cables in the reverse order.
Check the battery and recharge,
if needed.
Starting the engine
Tow-starting and towing
Safety information
WARNING
Due to system limits, individual
functions can malfunction during
tow-starting/towing with the Toy-
ota Supra Safety systems acti-
vated. There is a risk of an
accident. Switch all Toyota Supra
Safety systems off prior to
tow-starting/towing.
Manual transmission
Safety information
NOTICE
The vehicle can become dam-
aged when lifting and securing it.
There is a risk of damage to prop-
erty.
●Lift the vehicle using suitable
means.
●Do not lift or secure the vehicle
by its tow fitting, body parts, or
suspension parts.
Page 362 of 372
362Alphabetical Index
Changing parts ....................... 311
Changing wheels .................... 296
Changing wheels/tires ........... 279
Chassis number, see Vehicle identification number............. 12
Checking the engine oil level electronically ........................ 302
Checking the oil level electroni- cally ....................................... 302
Child restraint systems, mount- ing .......................................... 115
Child restraint systems, see Transporting ch ildren safely114
Child seat, mountin g .............. 115
Child seats, see Transporting children safely ...................... 114
Children, seating position ..... 114
Children, transporting safely 114
Chrome surfaces, care .......... 335
Chrome-plated surfaces, care335
Cleaning displays, screens ... 337
Cleaning, Head-up Display .... 337
Climate control ....................... 233
Combination switch, see Turn signals ................................... 125
Combination switch, see Washer/wiper system........... 126
Comfort entry ........................... 88
Comparison of entries, see Entry comparison ............................. 49
Compartments in the doors .. 252
Compressor ............................ 283
Condensation water under the parked vehicle ...................... 263
Condensation, removing from the windows.......................... 237
Condition Based Service CBS ............................................... 309
Confirmation signal from the vehicle ..................................... 94
Connecting electr ical devices,
see Sockets .......................... 245 Connections, Screen Mirroring77
Control Display .........................51
Control Display, settings .........63
Control systems, driving stability
...............................................199
Controller ..................................52
Convenient closing with the remote control ........................83
Convenient opening with the remote control ........................82
Coolant ....................................306
Coolant level ...........................306
Coolant temperature ..............146
Cooling system .......................306
Cooling, maximum .................235
Corrosion on brake discs ......262
Cosmetic mirror .... ..................245
Cruise control .........................205
Cruise control with distance con- trol, see Dynami c radar cruise
control with full-speed range ...............................................209
Cruise control without distance control, see Cruise control ..205
Cruise control, active with Stop & Go .......................................209
Cruising range ........................146
Cup holder...............................252
Curtain shield air bag ..............164
Customize Settings, see Driver profiles.....................................68
Customize Settings, see Sport mode switch ..........................136
D
Damage, tires ..... .....................278
Data memory ...............................7
Data protection, settings .........66
Data, see Deleting personal data in the vehicle ...........................67
Data, technical ........................340
Date ............................................64