key TOYOTA xB 2009 Accessories, Audio & Navigation (in English)
[x] Cancel search | Manufacturer: TOYOTA, Model Year: 2009, Model line: xB, Model: TOYOTA xB 2009Pages: 32, PDF Size: 0.33 MB
Page 8 of 32

128-7907A
8 of 32
QUICK START GUIDE
9. Tilt the screen to a comfortable viewing position (the
headrest itself can be tilted forward to help achieve a
comfortable viewing position).
10. Select AV1 using the source button on the front panel
or remote control to view program material on M1 or
select from the other available sources DVD, or AUX
for M2 Monitor.
*NOTE:To operate the M1 screen, press M1 on the
remote control. To operate the M2 screen,
press M2 on the remote control.
Operating The DVD System:
1. Turn on the M1 Monitor (passenger side) using the
Power button on the front of the screen or the *Remote
Control. Tilt the screen forward using the center tab
at the top of the screen.
2. Insert a DVD, CD or MP3 disc into the slot (disc label
toward driver).
3. The disc will start playing.
4. Tilt the monitor to a comfortable viewing position (the
headrest itself can be tilted forward to help achieve a
comfortable viewing position).
5. When the DVD menu appears, select the menu item
using the cursor keys and press the Enter or Play
button.
6. Each wireless headphone has a CH A/CH B switch.
When sitting in front of the M1 monitor, use the CH A
switch setting. When sitting in front of the M2 monitor,
use the CH B switch setting. Set the headphone to
the proper channel and press the PowerOn/Off
switch. The power indicator will light up red. Turn the
volume down to its lowest setting beforeputting
them on your head.
7. If audio playback through the vehicle radio is preferred,
set the radio to AUX mode. Verify that nothing is
connected to the vehicle radio’s AUX jack.
NOTE:If there is a plug in the vehicle radio’s AUX jack; it
will override the DVD audio.
8. Turn on the M2 Monitor (driver’s side) using the power
button on the front of the screen or remote control.
-1-
Page 23 of 32

128-7907A
23 of 32
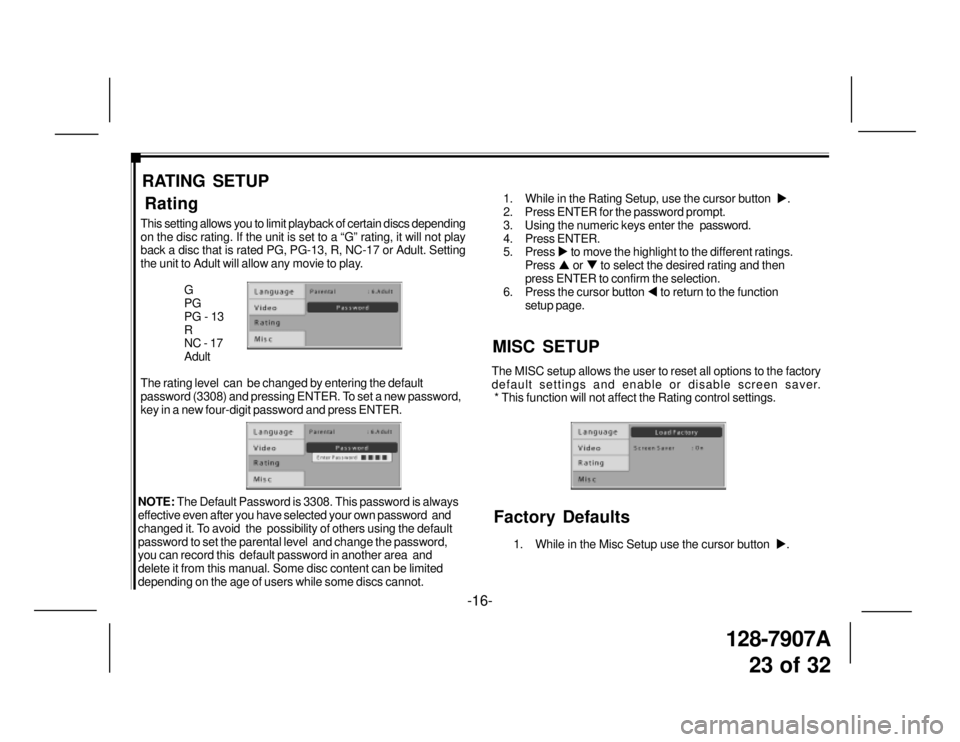
RATING SETUP
NOTE: The Default Password is 3308. This password is always
effective even after you have selected your own password and
changed it. To avoid the possibility of others using the default
password to set the parental level and change the password,
you can record this default password in another area and
delete it from this manual. Some disc content can be limited
depending on the age of users while some discs cannot.
-16-
This setting allows you to limit playback of certain discs depending
on the disc rating. If the unit is set to a “G” rating, it will not play
back a disc that is rated PG, PG-13, R, NC-17 or Adult. Setting
the unit to Adult will allow any movie to play.
G
PG
PG - 13
R
NC - 17
Adult
The rating level can be changed by entering the default
password (3308) and pressing ENTER. To set a new password,
key in a new four-digit password and press ENTER.
Rating
MISC SETUP
1. While in the Rating Setup, use the cursor button �X.
2. Press ENTER for the password prompt.
3. Using the numeric keys enter thepassword.
4. Press ENTER.
5. Press �X to move the highlight to the different ratings.
Press �S or �T to select the desired rating and then
press ENTER to confirm the selection.
6. Press the cursor button �W to return to the function
setup page.
1. While in the Misc Setup use the cursor button �X.
The MISC setup allows the user to reset all options to the factory
default settings and enable or disable screen saver.
* This function will not affect the Rating control settings.
Factory Defaults
Page 24 of 32

128-7907A
24 of 32
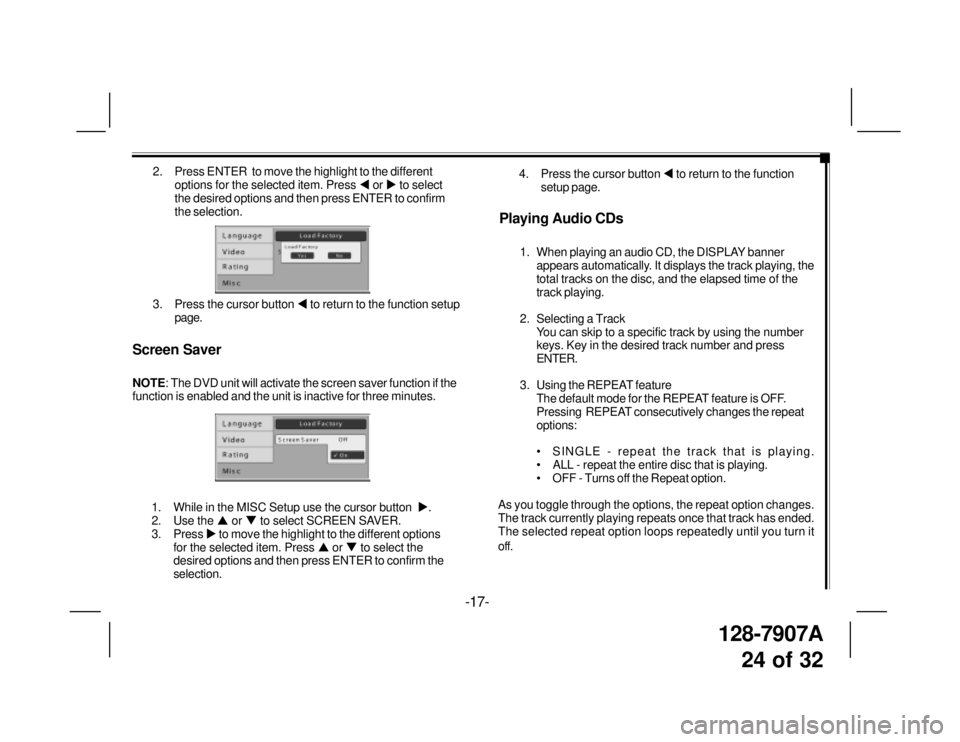
2. Press ENTER to move the highlight to the different
options for the selected item. Press �W or �X to select
the desired options and then press ENTER to confirm
the selection.
3. Press the cursor button �W to return to the function setup
page.
Screen Saver
NOTE: The DVD unit will activate the screen saver function if the
function is enabled and the unit is inactive for three minutes.
-17-
1. While in the MISC Setup use the cursor button �X.
2. Use the �S or �T to select SCREEN SAVER.
3. Press �X to move the highlight to the different options
for the selected item. Press �S or �T to select the
desired options and then press ENTER to confirm the
selection.
Playing Audio CDs
1. When playing an audio CD, the DISPLAY banner
appears automatically. It displays the track playing, the
total tracks on the disc, and the elapsed time of the
track playing.
2. Selecting a Track
You can skip to a specific track by using the number
keys. Key in the desired track number and press
ENTER.
3. Using the REPEAT feature
The default mode for the REPEAT feature is OFF.
Pressing REPEAT consecutively changes the repeat
options:
• SINGLE - repeat the track that is playing.
• ALL - repeat the entire disc that is playing.
• OFF - Turns off the Repeat option.
As you toggle through the options, the repeat option changes.
The track currently playing repeats once that track has ended.
The selected repeat option loops repeatedly until you turn it
off.4. Press the cursor button �W to return to the function
setup page.