VAUXHALL COMBO D 2018 Manual PDF
Manufacturer: VAUXHALL, Model Year: 2018, Model line: COMBO D, Model: VAUXHALL COMBO D 2018Pages: 203, PDF Size: 4.76 MB
Page 71 of 203

Instruments and controls69Instruments and
controlsControls ....................................... 70
Steering wheel adjustment ........70
Steering wheel controls .............70
Horn ........................................... 70
Windscreen wiper/washer .........71
Rear window wiper/washer .......71
Headlamp washer .....................72
Outside temperature ..................72
Clock ......................................... 72
Power outlets ............................. 74
Cigarette lighter ......................... 75
Ashtrays .................................... 75
Warning lights, gauges and indi‐ cators ........................................... 76
Instrument cluster ......................76
Speedometer ............................. 76
Odometer .................................. 76
Trip odometer ............................ 76
Tachometer ............................... 76
Fuel gauge ................................ 77
Fuel selector .............................. 77
Engine coolant temperature gauge ....................................... 78
Service display .......................... 78Transmission display .................79
Control indicators ......................79
Generic warning ........................81
Turn signal ................................. 82
Seat belt reminder .....................82
Airbag and belt tensioners .........82
Airbag deactivation ....................83
Charging system .......................83
Malfunction indicator light ..........83
Brake system ............................. 84
Brake pad wear ......................... 84
Antilock brake system (ABS) .....84
Transmission ............................. 84
Gear shifting .............................. 85
Hill start assist ........................... 85
Ultrasonic parking assist ...........85
Electronic Stability Control ........85
Engine coolant temperature ......86
Preheating ................................. 86
Diesel particle filter ....................86
Tyre pressure monitoring system ...................................... 87
Engine oil pressure ....................87
Change engine oil .....................88
Low engine oil level ...................88
Low fuel ..................................... 88
Drain fuel filter ........................... 89
Immobiliser ................................ 89
Stop-start system ......................89
Exterior light .............................. 89High beam................................. 89
Fog light ..................................... 90
Rear fog light ............................. 90
Cruise control ............................ 90
Door open .................................. 90
Information displays .....................90
Driver Information Centre ..........90
Vehicle messages ........................95
Warning chimes .........................95
Fuel system messages ..............96
Trip computer ............................... 96
Page 72 of 203

70Instruments and controlsControlsSteering wheel adjustment
Unlock lever, adjust steering wheel,
then engage lever and ensure it is
fully locked.
Do not adjust steering wheel unless
vehicle is stationary and steering
wheel lock has been released.
Steering wheel controls
The Infotainment system and a
connected mobile phone can be
operated via the controls on the
steering wheel.
Further information is available in the
Infotainment manual.
Horn
Press j.
The horn will sound regardless of
ignition switch position.
Page 73 of 203

Instruments and controls71Windscreen wiper/washerWindscreen wiper
Rotate lever:
§:offÇ:intermittent wipingÈ:slowÉ:fast
For a single wipe when the
windscreen wiper is off, move the
lever up.
Do not use if the windscreen is frozen.
Switch off in car washes.
Adjustable wiper interval
Wiper lever in position Ç.
The windscreen wiper will
automatically adapt to the speed of
the vehicle.
Windscreen washer
Pull lever briefly, washer fluid is
sprayed onto the windscreen.
Pull lever and hold, washer fluid is
sprayed onto the windscreen and
wiper wipes until the lever is released.
Washer fluid 3 145.
Wiper blade replacement 3 148.
Rear window wiper/washer
Rotate band to position e to activate
the rear window wiper.
Push lever. Washer fluid is sprayed onto the rear window and the wiper
wipes a few times.
Do not use if the rear window is
frozen.
Switch off in car washes.
The rear window wiper comes on
automatically when the windscreen
wiper is switched on and reverse gear
is engaged.
Washer fluid 3 145.
Wiper blade replacement 3 148.
Page 74 of 203

72Instruments and controlsHeadlamp washerWith low beam on, washer fluid is
sprayed onto the headlights when the
windscreen washer is activated
(depending on version).
Notice
Washer fluid is not sprayed onto the
headlights if fluid level is too low.
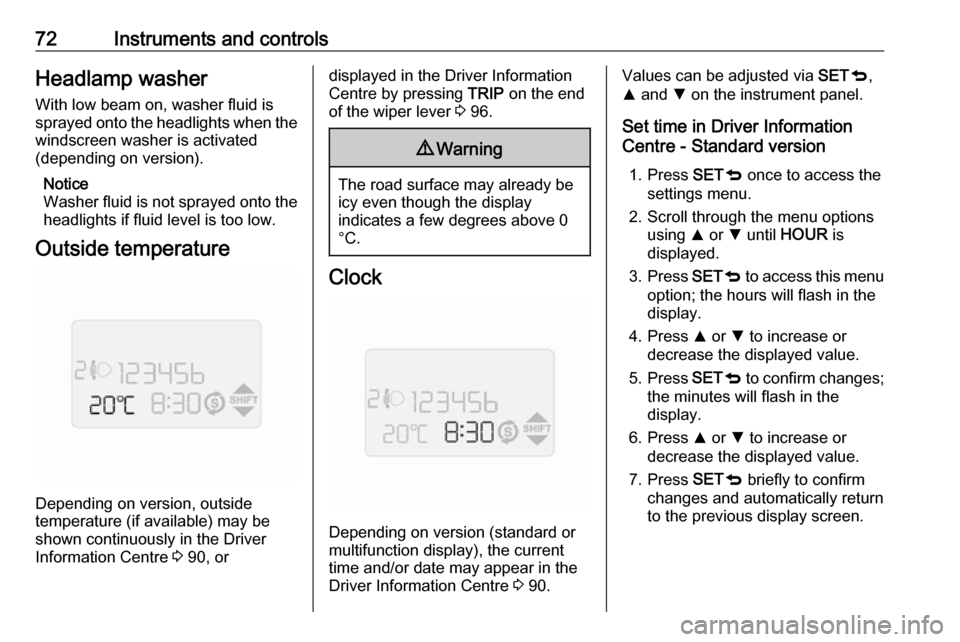
Outside temperature
Depending on version, outside
temperature (if available) may be shown continuously in the DriverInformation Centre 3 90, or
displayed in the Driver Information
Centre by pressing TRIP on the end
of the wiper lever 3 96.9 Warning
The road surface may already be
icy even though the display
indicates a few degrees above 0
°C.
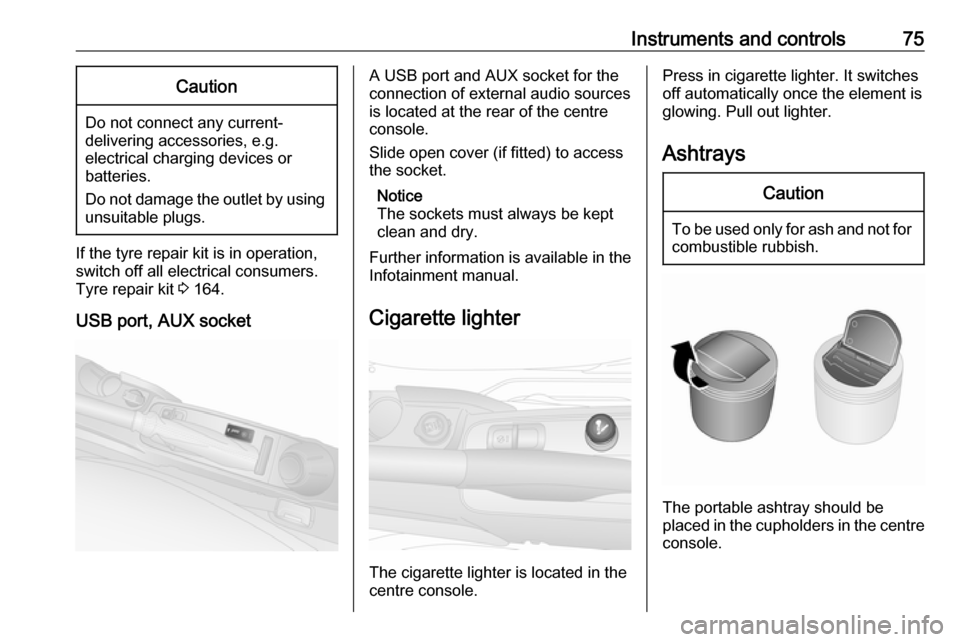
Clock
Depending on version (standard or
multifunction display), the current
time and/or date may appear in the
Driver Information Centre 3 90.
Values can be adjusted via SETq,
R and S on the instrument panel.
Set time in Driver Information
Centre - Standard version
1. Press SETq once to access the
settings menu.
2. Scroll through the menu options using R or S until HOUR is
displayed.
3. Press SETq to access this menu
option; the hours will flash in the display.
4. Press R or S to increase or
decrease the displayed value.
5. Press SETq to confirm changes;
the minutes will flash in the
display.
6. Press R or S to increase or
decrease the displayed value.
7. Press SETq briefly to confirm
changes and automatically return
to the previous display screen.
Page 75 of 203

Instruments and controls73Set time and date in Driver
Information Centre - Multifunction version
Setting the time
After accessing this menu option, it is
possible to either set the time or
change the clock mode between
12 hour and 24 hour clock.
Press SETq once to access the
settings menu.
Scroll through the menu options using R or S until Set time is displayed.
Press SETq to access this menu
option; Time is displayed.
To set the time: 1. Press SETq to access the Time
submenu option; the hours will flash in the display.
2. Press R or S to increase or
decrease the displayed value.
3. Press SETq to confirm changes;
the minutes will flash in the display.4. Press R or S to increase or
decrease the displayed value.
5. Press SETq briefly to confirm
changes.
To change the clock mode between 12 hour and 24 hour clock:
1. After the time has been set, Mode may be displayed
automatically. Alternatively, press R or S to select this submenu
option.
2. Press SETq to access this
submenu option; the display will
flash.
3. Press R or S to change clock
mode between 12h and 24h.
4. Press SETq briefly to confirm
changes and automatically return to the previous display screen.
Setting the date 1. Press SETq once to access the
settings menu.
2. Scroll through the menu options using R or S until Set date is
displayed.3. Press SETq to access this menu
option; the year will flash in the
display.
4. Press R or S to increase or
decrease the displayed value.
5. Press SETq to confirm changes;
the month will flash in the display.
6. Press R or S to increase or
decrease the displayed value.
7. Press SETq to confirm changes;
the day will flash in the display.
8. Press R or S to increase or
decrease the displayed value.
9. Press SETq briefly to confirm
changes and automatically return
to the previous display screen.
Page 76 of 203

74Instruments and controlsPower outlets
A 12 V power outlet is located at thefront of the centre console.
Rear power outlets Depending on model variant, 12 V
power outlets are located at the
sidewall in the load compartment.
Short wheelbase van
Long wheelbase van
Combo Tour
Do not exceed the maximum power
consumption of 180 W.
With ignition off, the power outlets are
deactivated. Additionally, the power
outlets are deactivated in the event of
low vehicle battery voltage.
Electrical accessories that are
connected must comply with the
electromagnetic compatibility
requirements laid down in
DIN VDE 40 839.
Page 77 of 203

Instruments and controls75Caution
Do not connect any current-delivering accessories, e.g.
electrical charging devices or
batteries.
Do not damage the outlet by using unsuitable plugs.
If the tyre repair kit is in operation,
switch off all electrical consumers.
Tyre repair kit 3 164.
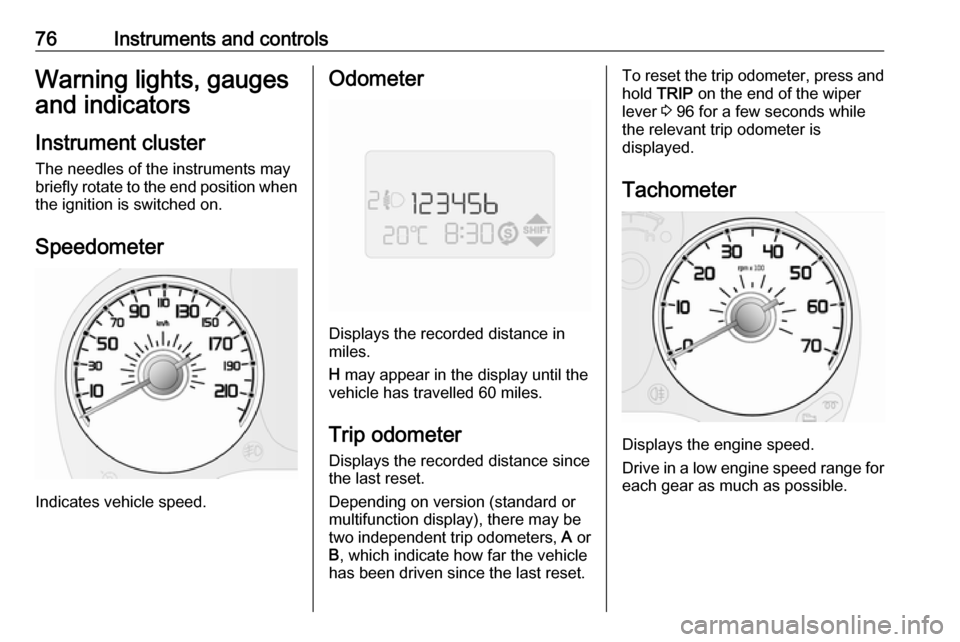
USB port, AUX socket
A USB port and AUX socket for the
connection of external audio sources is located at the rear of the centre
console.
Slide open cover (if fitted) to access
the socket.
Notice
The sockets must always be kept
clean and dry.
Further information is available in the
Infotainment manual.
Cigarette lighter
The cigarette lighter is located in the
centre console.
Press in cigarette lighter. It switches off automatically once the element is
glowing. Pull out lighter.
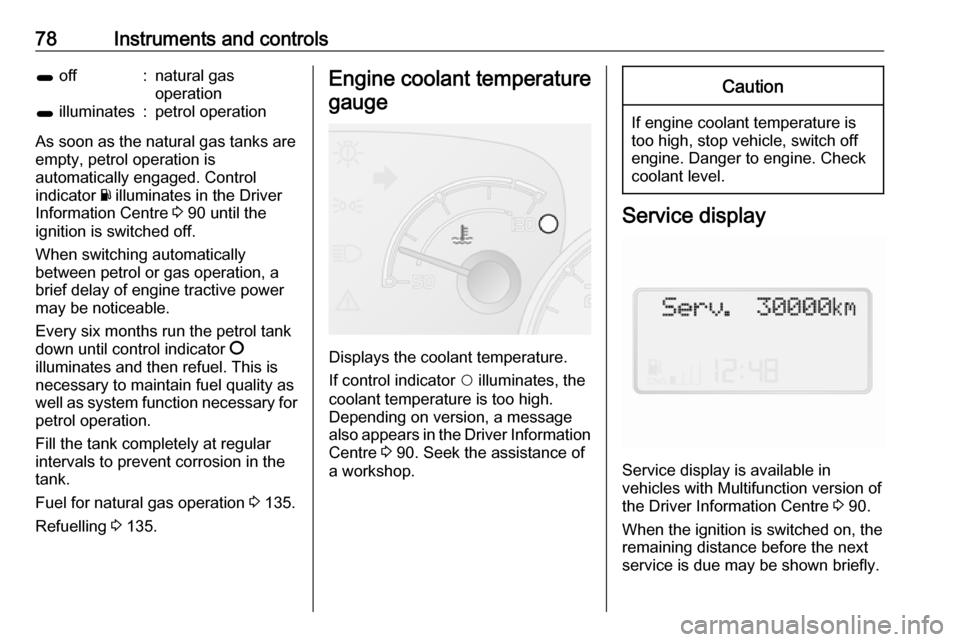
AshtraysCaution
To be used only for ash and not for combustible rubbish.
The portable ashtray should be
placed in the cupholders in the centre
console.
Page 78 of 203

76Instruments and controlsWarning lights, gauges
and indicators
Instrument cluster
The needles of the instruments may
briefly rotate to the end position when
the ignition is switched on.
Speedometer
Indicates vehicle speed.
Odometer
Displays the recorded distance in
miles.
H may appear in the display until the
vehicle has travelled 60 miles.
Trip odometer
Displays the recorded distance since
the last reset.
Depending on version (standard or
multifunction display), there may be
two independent trip odometers, A or
B , which indicate how far the vehicle
has been driven since the last reset.
To reset the trip odometer, press and hold TRIP on the end of the wiper
lever 3 96 for a few seconds while
the relevant trip odometer is
displayed.
Tachometer
Displays the engine speed.
Drive in a low engine speed range for each gear as much as possible.
Page 79 of 203

Instruments and controls77Fuel gauge
Displays the fuel level or gas level in
the tank depending on the operation
mode.
During natural gas operation, the
system automatically switches over to
petrol operation when the gas tanks
are empty 3 77.
Fuel selector 3 135.
Control indicator $ illuminates if the
level in the tank is low.
Notice
The symbol k beside Y indicates
that the fuel filler flap is located on
the left side of the vehicle.
Never run the tank dry.
Because of the fuel remaining in the
tank, the top-up quantity may be less
than the specified tank capacity.
The needle will point to 0 and control
indicator $ will flash to indicate a fault
in the system. Seek the assistance of a workshop.
Low fuel control indicator $ 3 88.
CNG fuel gauge
In natural gas operation mode, the
four vertical bars next to CNG
correspond to the methane level in
the cylinders. As the fuel level
diminishes, the bars in the CNG fuel
gauge disappear.
CNG and the one remaining bar will
flash if the methane level in the
cylinders is low.
Refuelling 3 135.
Fuel selector
Pressing Y in the centre console
switches between petrol and natural
gas operation. The LED 1 status
shows the current operating mode.
Page 80 of 203

78Instruments and controls1 off:natural gas
operation1 illuminates:petrol operation
As soon as the natural gas tanks are
empty, petrol operation is
automatically engaged. Control
indicator Y illuminates in the Driver
Information Centre 3 90 until the
ignition is switched off.
When switching automatically
between petrol or gas operation, a
brief delay of engine tractive power
may be noticeable.
Every six months run the petrol tank
down until control indicator §
illuminates and then refuel. This is
necessary to maintain fuel quality as
well as system function necessary for
petrol operation.
Fill the tank completely at regular
intervals to prevent corrosion in the
tank.
Fuel for natural gas operation 3 135.
Refuelling 3 135.
Engine coolant temperature
gauge
Displays the coolant temperature.
If control indicator $ illuminates, the
coolant temperature is too high.
Depending on version, a message
also appears in the Driver Information Centre 3 90. Seek the assistance of
a workshop.
Caution
If engine coolant temperature is
too high, stop vehicle, switch off
engine. Danger to engine. Check
coolant level.
Service display
Service display is available in
vehicles with Multifunction version of the Driver Information Centre 3 90.
When the ignition is switched on, the remaining distance before the next
service is due may be shown briefly.