change time VAUXHALL CORSA 2014.5 Owner's Manual
[x] Cancel search | Manufacturer: VAUXHALL, Model Year: 2014.5, Model line: CORSA, Model: VAUXHALL CORSA 2014.5Pages: 231, PDF Size: 6.8 MB
Page 75 of 231

Instruments and controls73
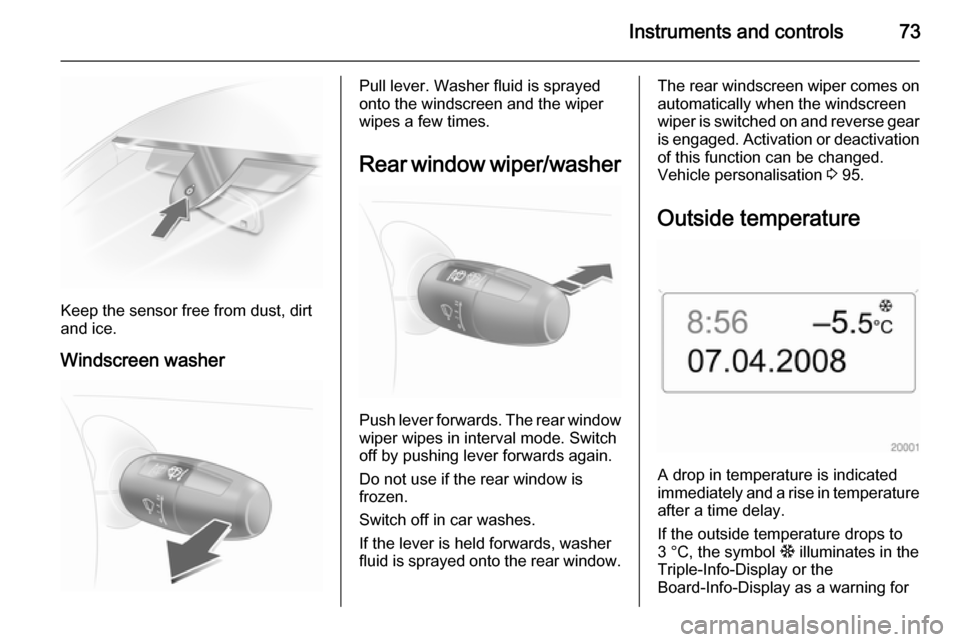
Keep the sensor free from dust, dirt
and ice.
Windscreen washer
Pull lever. Washer fluid is sprayed
onto the windscreen and the wiper
wipes a few times.
Rear window wiper/washer
Push lever forwards. The rear window wiper wipes in interval mode. Switch
off by pushing lever forwards again.
Do not use if the rear window is
frozen.
Switch off in car washes.
If the lever is held forwards, washer
fluid is sprayed onto the rear window.
The rear windscreen wiper comes on
automatically when the windscreen
wiper is switched on and reverse gear
is engaged. Activation or deactivation
of this function can be changed.
Vehicle personalisation 3 95.
Outside temperature
A drop in temperature is indicated
immediately and a rise in temperature
after a time delay.
If the outside temperature drops to
3 °C, the symbol : illuminates in the
Triple-Info-Display or the
Board-Info-Display as a warning for
Page 90 of 231

88Instruments and controls
Setting date and time
Select menu item Time, Date from the
Settings menu.
Select the required menu items and
make settings.
Changing the time setting will also
change the time setting of the
navigation system.
Automatic time synchronisation
The RDS signal of most VHF
transmitters automatically sets the time.
Some transmitters do not send a
correct time signal. In such cases, we recommend to switch off automatic
time synchronisation.
The function is activated by
highlighting the field in front of
Synchron. clock automatical. in the
Time, Date menu.
Language selection
The display language for some
functions can be selected.
Select menu item Language from the
Settings menu.
Select the desired language.
Selection is indicated by a 6 in front
of the menu item.
When the language setting of the
display is changed, the system will
ask whether the announcement
language of the Mobile Phone Portal
should also be changed - see
Infotainment system manual.
Page 147 of 231

Vehicle care145Vehicle careGeneral Information...................145
Vehicle checks ........................... 146
Bulb replacement .......................153
Electrical system ........................166
Vehicle tools .............................. 170
Wheels and tyres .......................172
Jump starting ............................. 187
Towing ....................................... 189
Appearance care .......................191General Information
Accessories and vehicle
modifications
We recommend using genuine parts and accessories and factory
approved parts specific for your
vehicle type. We cannot assess or guarantee reliability of other products
- even if they have a regulatory or
otherwise granted approval.
Do not make any modifications to the electrical system, e.g. changes of
electronic control units (chip tuning).Caution
When transporting the vehicle on
a train or on a recovery vehicle, the
mud flaps might be damaged.
Vehicle storage
Storage for a long period of time
The following must be carried out if
the vehicle is to be stored for several
months:
■ Wash and wax the vehicle.
■ Have the wax in the engine compartment and underbody
checked.
■ Clean and preserve rubber seals.
■ Fill up fuel tank completely.
■ Change engine oil.
■ Drain washer fluid reservoir.
■ Check coolant antifreeze and corrosion protection.
■ Adjust tyre pressure to the value specified for full load.
■ Park vehicle in dry, well ventilated place. Engage first or reverse gear
or set selector lever to P. Prevent
the vehicle from rolling.
■ Do not apply parking brake.
Page 177 of 231

Vehicle care175
on your vehicle to ensure that the
replacement or alternate tyres and wheels allow the tyre pressure
monitoring system to continue to
function properly.
The use of commercially available
liquid tyre repair kits can impair the
function of the system. Factory
approved repair kits can be used.
System initialisation After a wheel change or tyre pressure
adjustment the system must be
initialised: inflate the cold tyres to the
prescribed pressure according to the
tyre information label or this
document 3 217. Then switch on
ignition and press and hold the DDS
button for approx. 4 seconds. The
control indicator A flashes three
times.
If the tyre pressure difference
between the left and the right wheel
on one axle is more than 30 kPa, tyre
pressure monitoring system
malfunction will be indicated, as the
vehicle starts moving for the first time after initialisation. Adjust tyre
pressure and repeat initialisation.Notice
The system needs to be initialised
after tyre pressure change,
otherwise it will not be able to warn
properly.
Each time the tyres are replaced, the
tyre pressure monitoring system
sensors have to be dismounted and
serviced. For the screwed sensor
replace the valve core and sealing
ring, for the clipped sensor replace
complete rubber valve stem.
Auto learn function
After changing wheels the vehicle
must be stationary for approx.
20 minutes, before the system
recalculates. The following relearn
process takes up to 10 minutes of
driving with a minimum speed of
16 mph.
Tyre deflation detection
system The tyre deflation detection system
continually checks the rotation speed
of all four tyres.
If a tyre loses pressure the control
indicator w illuminates red. Stop
immediately and check tyre pressure.
Control indicator w 3 83.
Page 178 of 231

176Vehicle care
System initialisation
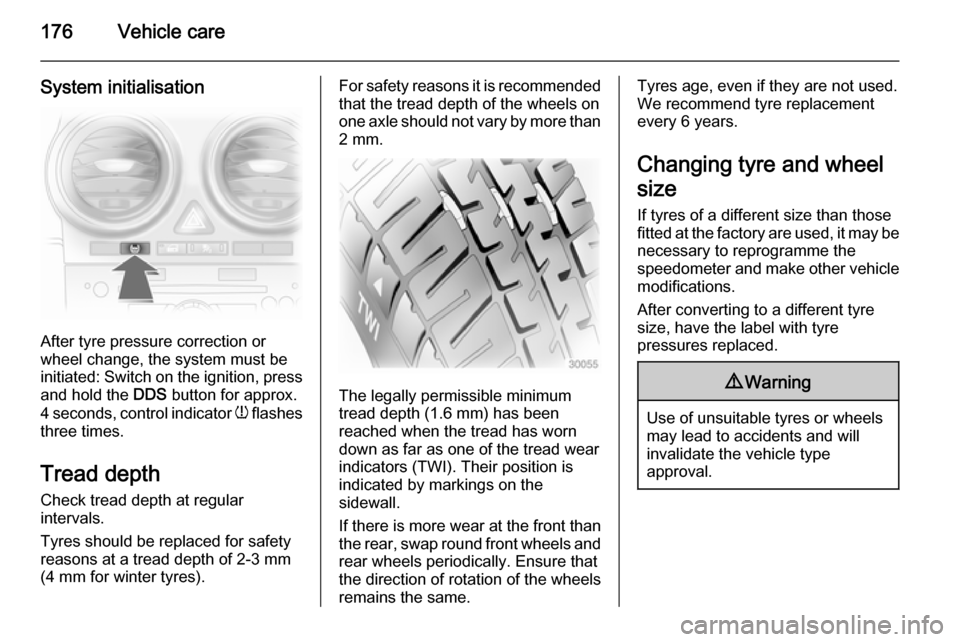
After tyre pressure correction or
wheel change, the system must be
initiated: Switch on the ignition, press and hold the DDS button for approx.
4 seconds, control indicator w flashes
three times.
Tread depth
Check tread depth at regular
intervals.
Tyres should be replaced for safety
reasons at a tread depth of 2-3 mm
(4 mm for winter tyres).
For safety reasons it is recommended
that the tread depth of the wheels on
one axle should not vary by more than 2 mm.
The legally permissible minimum
tread depth (1.6 mm) has been
reached when the tread has worn
down as far as one of the tread wear
indicators (TWI). Their position is
indicated by markings on the
sidewall.
If there is more wear at the front than
the rear, swap round front wheels and
rear wheels periodically. Ensure that
the direction of rotation of the wheels
remains the same.
Tyres age, even if they are not used.
We recommend tyre replacement
every 6 years.
Changing tyre and wheel
size If tyres of a different size than those
fitted at the factory are used, it may be necessary to reprogramme the
speedometer and make other vehicle
modifications.
After converting to a different tyre
size, have the label with tyre
pressures replaced.9 Warning
Use of unsuitable tyres or wheels
may lead to accidents and will
invalidate the vehicle type
approval.
Page 185 of 231

Vehicle care183
General informationNotice
The driving characteristics of the
repaired tyre are severely affected, therefore have this tyre replaced.
If unusual noise is heard or the
compressor becomes hot, turn
compressor off for at least
30 minutes.
The built-in safety valve opens at a
pressure of 7 bar (102 psi).
Note the expiry date of the kit. After
this date its sealing capability is no
longer guaranteed. Pay attention to
storage information on sealant
bottle.
Replace the used sealant bottle. Dispose of the bottle as prescribed
by applicable laws.
The compressor and sealant can be used from approx. -30 °C.
The adapters supplied can be used
to pump up other items e.g.
footballs, air mattresses, inflatable
dinghies etc. They are located on theunderside of the compressor. To
remove, screw on compressor air hose and withdraw adapter.
Wheel changing
Some vehicles are equipped with a
tyre repair kit instead of a spare wheel 3 177.
Make the following preparations and
observe the following information:
■ Park the vehicle on a level, firm and
non-skid surface. The front wheels
must be in the straight-ahead
position.
■ Apply the parking brake and engage first gear, reverse gear or
P .
■ Remove the spare wheel 3 185.
■ Never change more than one wheel
at a time.
■ Use the jack only to change wheels
in case of puncture, not for
seasonal winter or summer tyre
change.■ If the ground on which the vehicle is standing is soft, a solid board
(max. 1 cm thick) should be placed
under the jack.
■ Take heavy objects out of the vehicle before jacking up.
■ No people or animals may be in the
vehicle when it is jacked-up.
■ Never crawl under a jacked-up vehicle.
■ Do not start the vehicle when it is raised on the jack.
■ Before screwing in the wheel bolts,
clean them and lightly coat the
taper of each wheel bolt with
commercially available grease.