VAUXHALL INSIGNIA 2017 Owners Manual
INSIGNIA 2017
VAUXHALL
VAUXHALL
https://www.carmanualsonline.info/img/38/19486/w960_19486-0.png
VAUXHALL INSIGNIA 2017 Owners Manual
Trending: remote start, brakes, engine oil capacity, maintenance, phone, oil filter, open gas tank
Page 91 of 327
Instruments and controls89The rear window washer system is
deactivated when the fluid level is
low.
Washer fluid 3 231
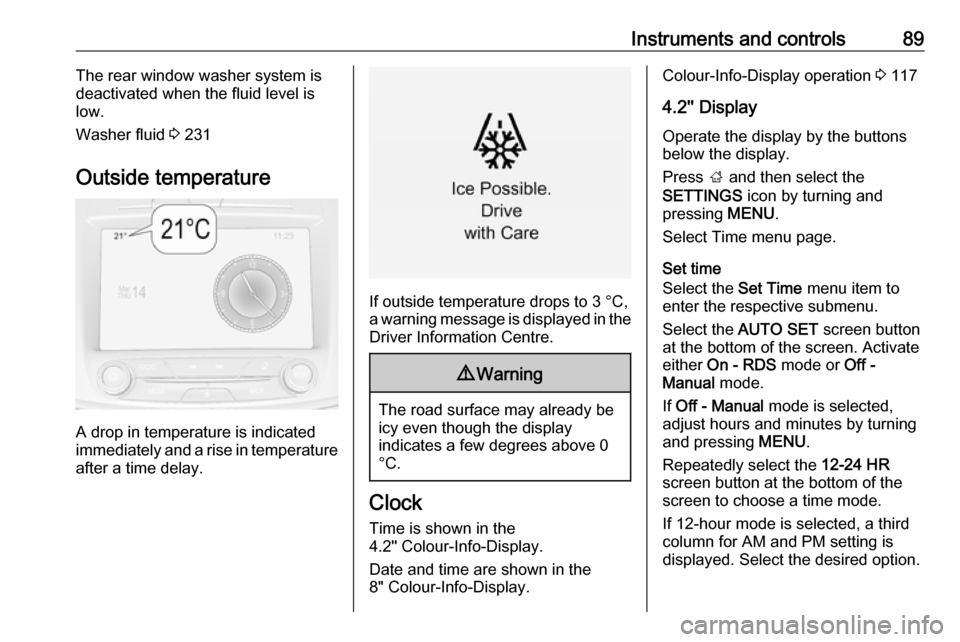
Outside temperature
A drop in temperature is indicated
immediately and a rise in temperature
after a time delay.
If outside temperature drops to 3 °C, a warning message is displayed in the Driver Information Centre.
9 Warning
The road surface may already be
icy even though the display
indicates a few degrees above 0
°C.
Clock
Time is shown in the
4.2" Colour-Info-Display.
Date and time are shown in the
8" Colour-Info-Display.
Colour-Info-Display operation 3 117
4.2'' Display
Operate the display by the buttons
below the display.
Press ; and then select the
SETTINGS icon by turning and
pressing MENU.
Select Time menu page.
Set time
Select the Set Time menu item to
enter the respective submenu.
Select the AUTO SET screen button
at the bottom of the screen. Activate
either On - RDS mode or Off -
Manual mode.
If Off - Manual mode is selected,
adjust hours and minutes by turning
and pressing MENU.
Repeatedly select the 12-24 HR
screen button at the bottom of the
screen to choose a time mode.
If 12-hour mode is selected, a third
column for AM and PM setting is
displayed. Select the desired option.
Page 92 of 327
90Instruments and controlsIn On - RDS Mode the RDS signal of
most VHF transmitters automatically
sets the time. RDS time
synchronisation can take a few
minutes. Some transmitters do not
send a correct time signal. In such cases, it is recommended to switch off
automatic time synchronisation.
Return to homepage by pressing ;.
For further information, see
Infotainment manual
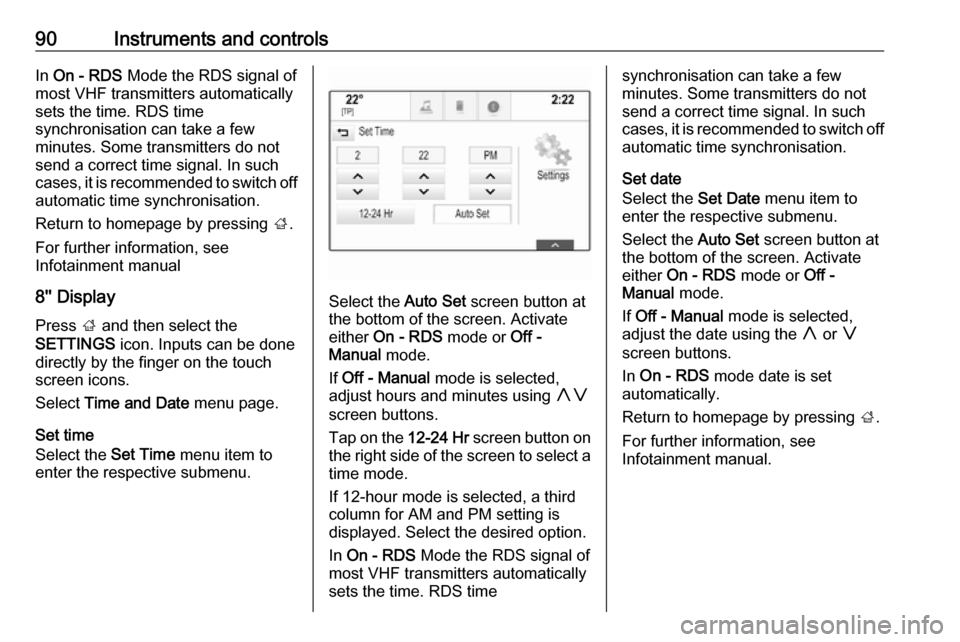
8'' Display Press ; and then select the
SETTINGS icon. Inputs can be done
directly by the finger on the touch
screen icons.
Select Time and Date menu page.
Set time
Select the Set Time menu item to
enter the respective submenu.
Select the Auto Set screen button at
the bottom of the screen. Activate
either On - RDS mode or Off -
Manual mode.
If Off - Manual mode is selected,
adjust hours and minutes using hg
screen buttons.
Tap on the 12-24 Hr screen button on
the right side of the screen to select a time mode.
If 12-hour mode is selected, a third
column for AM and PM setting is
displayed. Select the desired option.
In On - RDS Mode the RDS signal of
most VHF transmitters automatically
sets the time. RDS time
synchronisation can take a few
minutes. Some transmitters do not
send a correct time signal. In such
cases, it is recommended to switch off automatic time synchronisation.
Set date
Select the Set Date menu item to
enter the respective submenu.
Select the Auto Set screen button at
the bottom of the screen. Activate
either On - RDS mode or Off -
Manual mode.
If Off - Manual mode is selected,
adjust the date using the h or g
screen buttons.
In On - RDS mode date is set
automatically.
Return to homepage by pressing ;.
For further information, see Infotainment manual.
Page 93 of 327
Instruments and controls91Power outlets
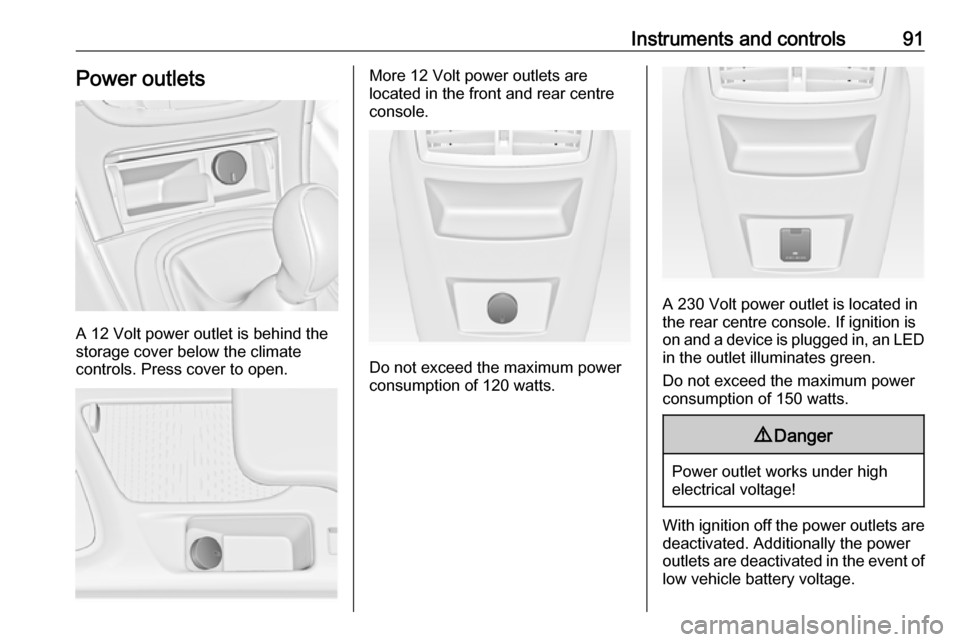
A 12 Volt power outlet is behind the
storage cover below the climate
controls. Press cover to open.
More 12 Volt power outlets are
located in the front and rear centre
console.
Do not exceed the maximum power
consumption of 120 watts.
A 230 Volt power outlet is located in
the rear centre console. If ignition is
on and a device is plugged in, an LED
in the outlet illuminates green.
Do not exceed the maximum power
consumption of 150 watts.
9 Danger
Power outlet works under high
electrical voltage!
With ignition off the power outlets are
deactivated. Additionally the power
outlets are deactivated in the event of
low vehicle battery voltage.
Page 94 of 327
92Instruments and controlsElectrical accessories that are
connected must comply with the
electromagnetic compatibility
requirements laid down in
DIN VDE 40 839.
Do not connect any current-delivering
accessories, e.g. electrical charging
devices or batteries.
Do not damage the outlets by using
unsuitable plugs.
Stop-start system 3 159.
AshtraysCaution
To be used only for ash and not for combustible rubbish.
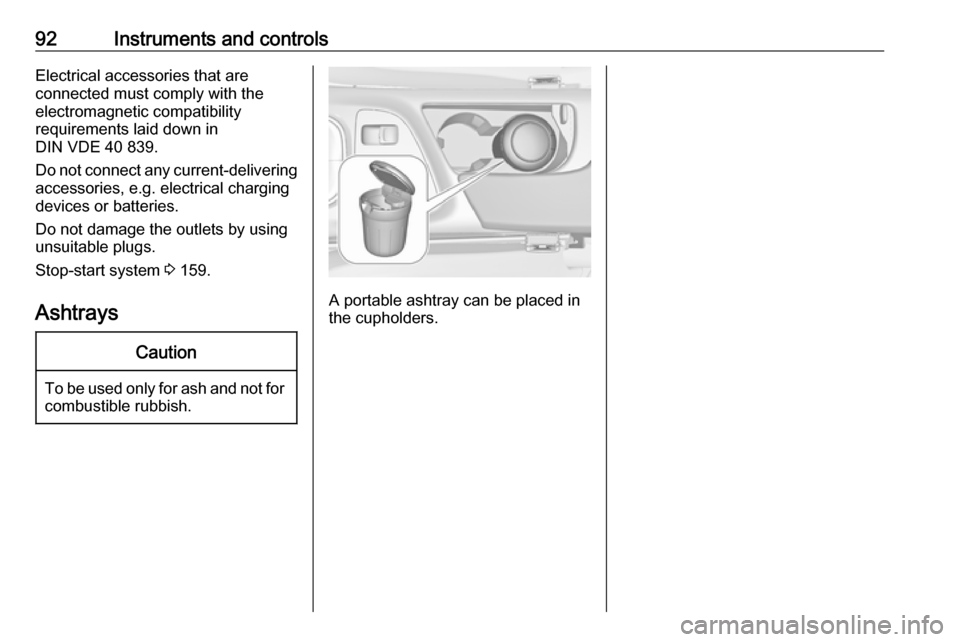
A portable ashtray can be placed in
the cupholders.
Page 95 of 327
Instruments and controls93Warning lights, gauges
and indicators
Instrument cluster
Depending on the version, three
instrument clusters are available:
● Baselevel
● Midlevel
● Uplevel
Uplevel instrument cluster can be
displayed as Sport mode or Tour
mode.
Page 96 of 327
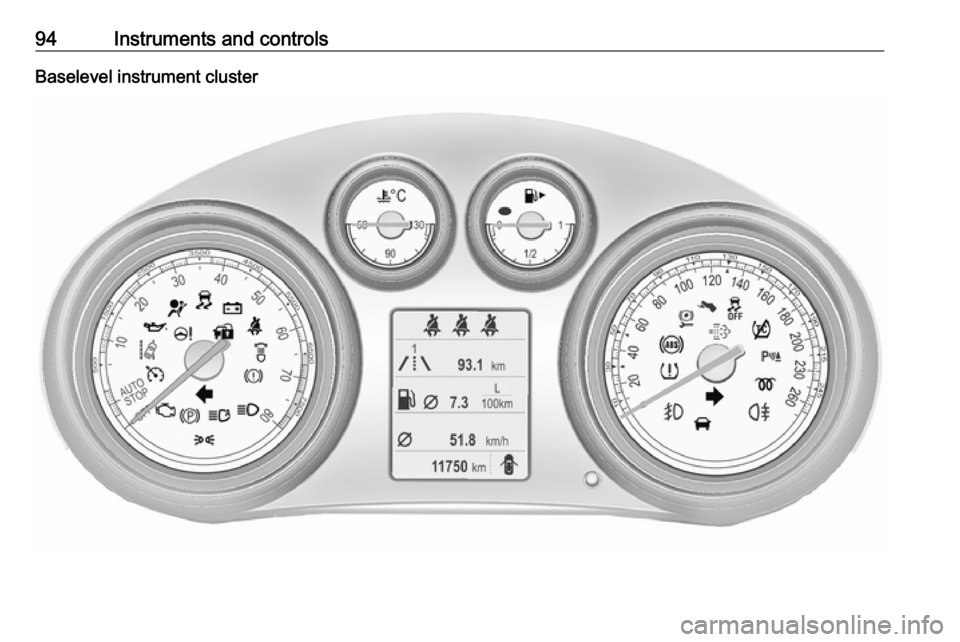
94Instruments and controlsBaselevel instrument cluster
Page 97 of 327
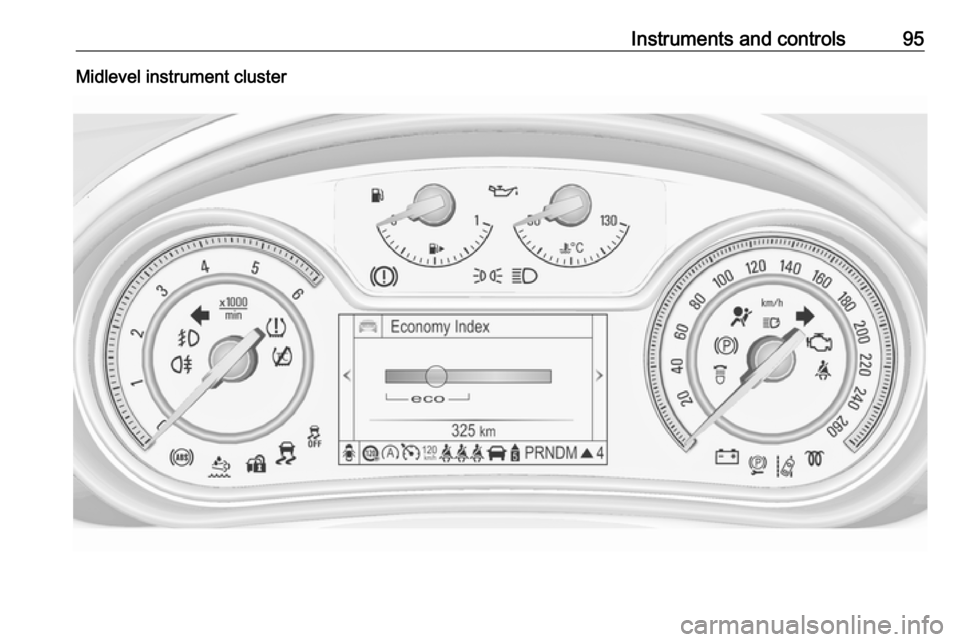
Instruments and controls95Midlevel instrument cluster
Page 98 of 327
96Instruments and controlsUplevel instrument cluster, Sport mode
Page 99 of 327
Instruments and controls97Uplevel instrument cluster, Tour mode
Page 100 of 327

98Instruments and controlsOverviewOTurn signal 3 103XSeat belt reminder 3 103vAirbag and belt tensioners
3 104VAirbag deactivation 3 104pCharging system 3 104ZMalfunction indicator light
3 105RBrake and clutch system
3 105-Operate pedal 3 105mElectric parking brake
3 105jElectric parking brake fault
3 105uAntilock brake system (ABS)
3 106[ or
RUpshift 3 106cVariable effort steering
3 106EFollowing distance 3 106)Lane departure warning
3 106rUltrasonic parking assist
3 106nElectronic Stability Control
off 3 107bElectronic Stability Control
and Traction Control system
3 107kTraction Control system off
3 107WEngine coolant temperature
3 107!Preheating 3 107%Diesel particle filter 3 107YAdBlue 3 107wTyre pressure monitoring
system 3 108IEngine oil pressure 3 108i or
YLow fuel 3 108dImmobiliser 3 108DAutostop 3 1098Exterior light 3 109CHigh beam 3 109lHigh beam assist 3 109fAdaptive forward lighting
3 109>Fog light 3 109rRear fog light 3 109mCruise control 3 109C or
mAdaptive cruise control
3 109AVehicle detected ahead
3 109LSpeed limiter 3 110
Trending: sport mode, jacking, sat nav, engine oil, recommended oil, inflation pressure, heating


