display VAUXHALL VIVARO 2014.5 User Guide
[x] Cancel search | Manufacturer: VAUXHALL, Model Year: 2014.5, Model line: VIVARO, Model: VAUXHALL VIVARO 2014.5Pages: 189, PDF Size: 4.16 MB
Page 96 of 189

94Lighting
Rear fog light comes on together with
front fog lights and will only operate
when the ignition and headlights are
switched on.
Reversing lights The reversing lights come on when
the ignition is on and reverse gear is
selected.
Misted light covers
The inside of the light covers may mist up briefly in poor, wet and cold
weather conditions, in heavy rain or
after washing. The mist disappears
quickly by itself; to help, switch on the headlights.Interior lighting
Instrument panel
illumination control
Brightness of the following lights can
be adjusted when the exterior lights
are on:
■ Instrument panel illumination
■ Info-display
■ Illuminated switches and operation elements.
Turn thumb wheel b until the desired
brightness is obtained.
Interior lights
Front courtesy lights
Operate rocker switch:
press 7=offcentre posi‐
tion=automatic
switching on and offpress d=on
With the rocker switch in its central
position, the light functions as a
courtesy light and illuminates when
the front doors are opened.
When the front doors are closed, the
courtesy light extinguishes after a
delay.
Page 105 of 189

Climate control103
Timer1 X
Activation
button=Switches the control
unit on/off and
changes displayed
information2 q Back
button=Selects functions in
the menu bar and
adjusts values3 Menu bar=Displays the
selectable functions
Y , x , P , Ö and Y4 r Next
button=Selects functions in
the menu bar and
adjusts values5 OK button=Confirms selectionRemote control
The control buttons operate
identically to the timer unit described
previously.
To activate the remote control, press activation button X and release it
when the menu bar appears in the display. The signal indicator and
SENd appear briefly in the display,
followed by the temperature.
9 Warning
When refuelling, switch off the
remote control unit as well as the
heater!
To switch off, press and hold
activation button X to prevent
inadvertent operation.
The remote control has a maximum
range of 600 metres. The range may
be reduced due to environmental
conditions and as the battery
becomes weaker.
Page 106 of 189

104Climate control
In addition to the remote control unit,
the heating can also be switched on
for 30 minutes, or off, using the
button.
Battery replacement
Replace the battery when the range
of the remote control is reduced or
when the battery charge symbol
flashes.
Open the cover using a coin and
replace the battery (CR 2430 or
equivalent), ensuring the new battery
is correctly installed with the positive
( < ) side facing the positive terminals.
Replace the cover securely.
Dispose of old batteries in
accordance with environmental
regulations.Batteries do not belong in household
waste. They must be disposed of at
an appropriate recycling collection
point.
Remote control fault displayscobA=Poor signal –
adjust positionconP=No signal – move closerbALo=Battery low –
change batteryErr=System error –
consult workshopAdd,
AddE=System in learning
mode
Teach remote control
If the vehicle battery is reconnected,
the LED in the instrument panel
button illuminates and the system
configures the remote control menu
automatically. If the LED flashes,
press OK button on remote control,
select Add or AddE and confirm.
Additional remote control units may
also be configured. Press the button
until LED flashes, switch on the
remote control, select Add and
confirm.
AddE teaches the current remote
control unit exclusively and blocks all
previously configured units. Add
teaches up to 4 remote control units,
but only one unit can operate the
system at any one time.
Operation
Heating Y
Select Y in the menu bar and confirm.
The predetermined heating duration,
e.g. L 30, flashes in the display. The
factory setting is 30 minutes.
To temporarily adjust the heating
duration, adjust with the q or r
button and confirm. The value can be
set from 10 to 120 minutes. Due to the
power consumption, note the heating duration.
To switch off, select Y in the menu bar
again and confirm.
Ventilation x
Select x in the menu bar and confirm.
The ventilation duration can be
accepted or adjusted. The duration
shown is accepted without
confirmation.
Page 107 of 189

Climate control105
To switch off, select x in the menu bar
again and confirm.
Programming P
Up to 3 preset departure times can be
programmed, either during one day or over one week.
■ Select P in the menu bar and
confirm
■ Select desired preset memory number 1, 2 or 3 and confirm
■ Select day and confirm
■ Select hour and confirm
■ Select minutes and confirm
■ Select Y or x and confirm
■ If necessary, adjust the runtime duration prior to departure and
confirm
The next preset memory number to
be activated is underlined and the
weekday is displayed. Repeat the
procedure to programme the other
preset memory numbers.
Pressing button X during the
procedure will exit without storing
programme adjustments.To delete a preset departure time,
follow the steps for programming until
heating symbol Y flashes. Press
button q or r until oFF appears in
the display and confirm.
Heating stops automatically
5 minutes after the programmed
departure time.
Notice
The remote control system features
a temperature sensor which
calculates the runtime according to
the ambient temperature and the desired heating level (ECO or
HIGH). The system starts
automatically between 5 and
60 minutes prior to the programmed
departure time.
Set weekday, time and heating
duration Ö
If the vehicle battery is disconnected
or its voltage is too low, the unit will
need to be reset.
■ Select Ö and confirm
■ Select weekday and confirm ■ Change hours and confirm■ Change minutes and confirm
■ Change the default heating duration and confirm
Heating level Y
The preferred heating level for
programmed departure times can be
set to either ECO or HIGH.
Select Y and confirm. ECO or HIGH
flashes in the display. Adjust using the q or r button and confirm.
Page 126 of 189

124Driving and operating
Deviations from the maximum speed
limit may occur briefly when driving
downhill, for physical reasons.
Vehicles also equipped with cruise
control speed limiter: the maximum
speed cannot be exceeded by
depressing the accelerator pedal firmly beyond the point of resistance.
Cruise control speed limiter 3 120.
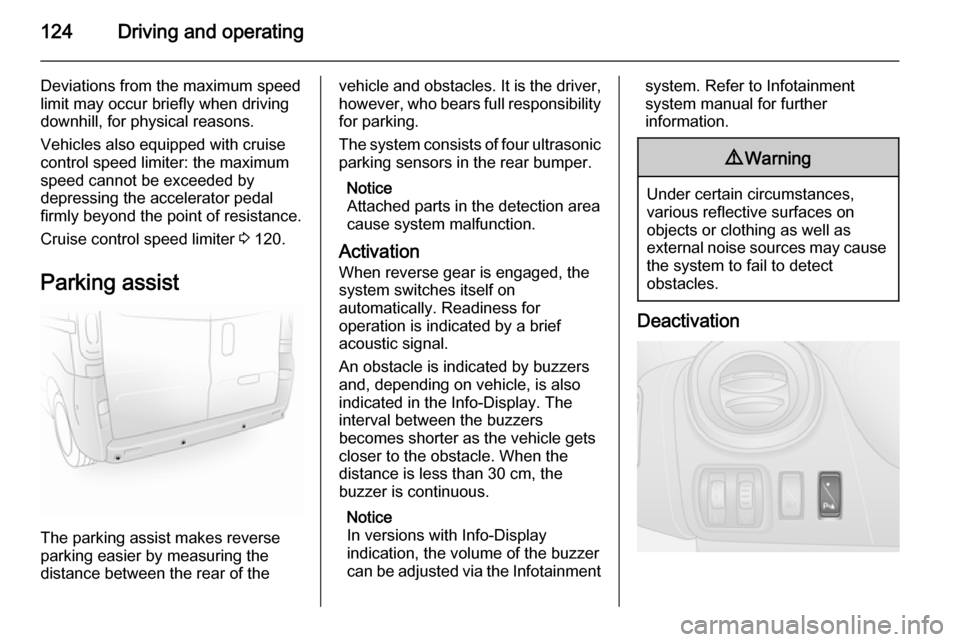
Parking assist
The parking assist makes reverse
parking easier by measuring the
distance between the rear of the
vehicle and obstacles. It is the driver,
however, who bears full responsibility for parking.
The system consists of four ultrasonic
parking sensors in the rear bumper.
Notice
Attached parts in the detection area
cause system malfunction.
Activation
When reverse gear is engaged, the
system switches itself on
automatically. Readiness for
operation is indicated by a brief
acoustic signal.
An obstacle is indicated by buzzers
and, depending on vehicle, is also
indicated in the Info-Display. The
interval between the buzzers
becomes shorter as the vehicle gets
closer to the obstacle. When the
distance is less than 30 cm, the
buzzer is continuous.
Notice
In versions with Info-Display
indication, the volume of the buzzer
can be adjusted via the Infotainmentsystem. Refer to Infotainment
system manual for further
information.9 Warning
Under certain circumstances,
various reflective surfaces on
objects or clothing as well as
external noise sources may cause the system to fail to detect
obstacles.
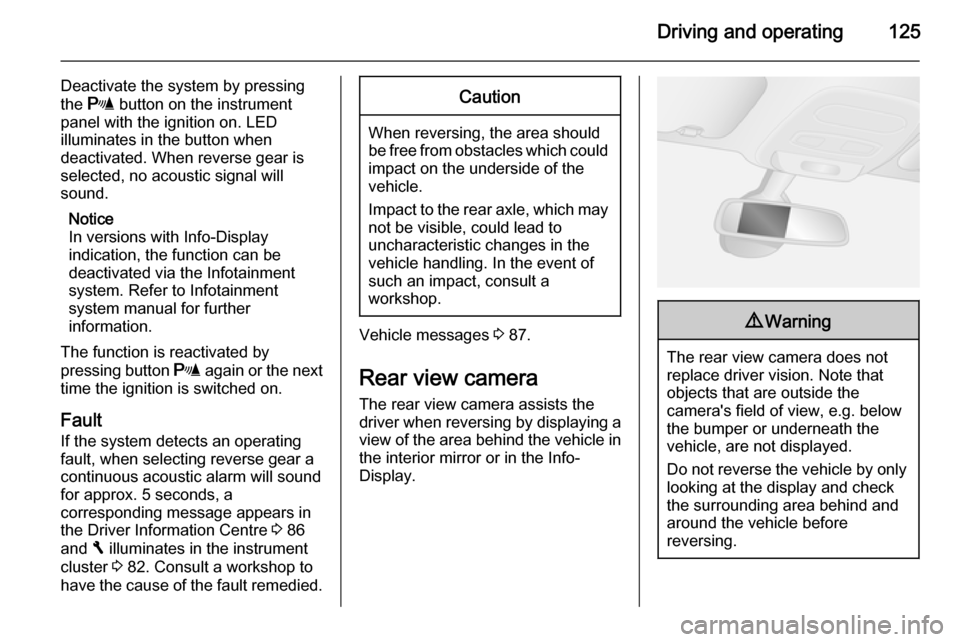
Deactivation
Page 127 of 189

Driving and operating125
Deactivate the system by pressing
the r button on the instrument
panel with the ignition on. LED
illuminates in the button when
deactivated. When reverse gear is
selected, no acoustic signal will
sound.
Notice
In versions with Info-Display
indication, the function can be
deactivated via the Infotainment
system. Refer to Infotainment
system manual for further
information.
The function is reactivated by
pressing button r again or the next
time the ignition is switched on.
Fault If the system detects an operating
fault, when selecting reverse gear a
continuous acoustic alarm will sound
for approx. 5 seconds, a
corresponding message appears in
the Driver Information Centre 3 86
and F illuminates in the instrument
cluster 3 82. Consult a workshop to
have the cause of the fault remedied.Caution
When reversing, the area should
be free from obstacles which could impact on the underside of the
vehicle.
Impact to the rear axle, which may
not be visible, could lead to
uncharacteristic changes in the
vehicle handling. In the event of
such an impact, consult a
workshop.
Vehicle messages 3 87.
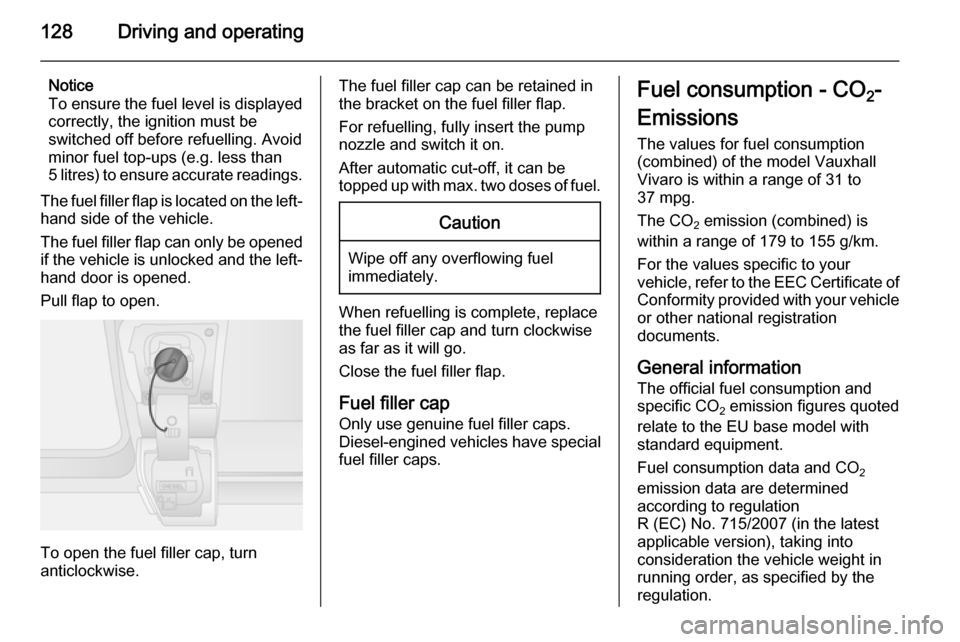
Rear view camera The rear view camera assists the
driver when reversing by displaying a view of the area behind the vehicle in
the interior mirror or in the Info-
Display.
9 Warning
The rear view camera does not
replace driver vision. Note that
objects that are outside the
camera's field of view, e.g. below
the bumper or underneath the
vehicle, are not displayed.
Do not reverse the vehicle by only looking at the display and checkthe surrounding area behind and
around the vehicle before
reversing.
Page 128 of 189

126Driving and operating
ActivationRear view camera is automatically
activated when reverse gear is
engaged.
Functionality
The camera is mounted above the
rear doors/tailgate.
The area displayed by the camera is
limited. The distance of the image that
appears on the display differs from
the actual distance.
Trajectory lane display (1)
Depending on version, the trajectory
lane (1) of the vehicle is shown in blue
on the Info-Display. It shows the path of the vehicle in accordance with the
steering angle.
Fixed lane display (2)
The fixed lane display (2) shows the
path of the vehicle if the wheels are
kept straight.
Guiding lines (A, B, C) are used together with the fixed lane
display (2) and indicate the distance
behind the vehicle.
The guiding line intervals are as
follows:A (red)=30 cmB (yellow)=70 cmC (green)=150 cm
Settings
Settings, e.g. brightness, can be set
via the Infotainment system. Refer to
Infotainment system manual for
further information.
Deactivation
The camera is deactivated after a
delay if reverse gear is not engaged.
Fault The rear view camera may notoperate properly when:
■ the surrounding is dark,
■ the sun or the beam of headlights is
shining directly into the camera
lens,
■ ice, snow, mud, or anything else covers the camera lens. Clean the
lens, rinse it with water, and wipe it
with a soft cloth,
Page 130 of 189

128Driving and operating
Notice
To ensure the fuel level is displayed
correctly, the ignition must be
switched off before refuelling. Avoid
minor fuel top-ups (e.g. less than
5 litres) to ensure accurate readings.
The fuel filler flap is located on the left-
hand side of the vehicle.
The fuel filler flap can only be opened
if the vehicle is unlocked and the left-
hand door is opened.
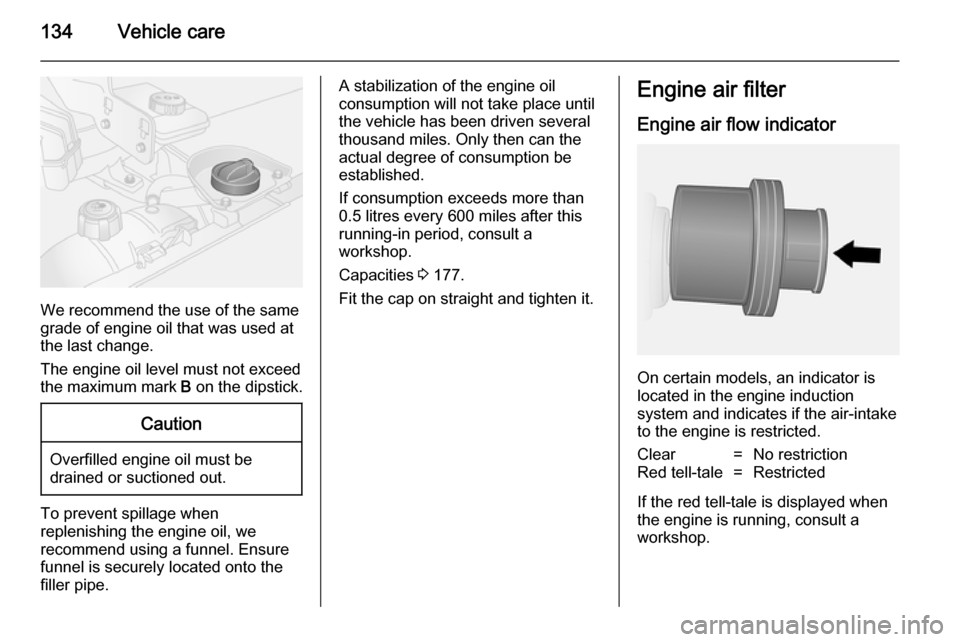
Pull flap to open.
To open the fuel filler cap, turn
anticlockwise.
The fuel filler cap can be retained in
the bracket on the fuel filler flap.
For refuelling, fully insert the pump
nozzle and switch it on.
After automatic cut-off, it can be
topped up with max. two doses of fuel.Caution
Wipe off any overflowing fuel
immediately.
When refuelling is complete, replace
the fuel filler cap and turn clockwise
as far as it will go.
Close the fuel filler flap.
Fuel filler cap
Only use genuine fuel filler caps. Diesel-engined vehicles have special
fuel filler caps.
Fuel consumption - CO 2-
Emissions The values for fuel consumption
(combined) of the model Vauxhall
Vivaro is within a range of 31 to
37 mpg.
The CO 2 emission (combined) is
within a range of 179 to 155 g/km.
For the values specific to your
vehicle, refer to the EEC Certificate of
Conformity provided with your vehicle
or other national registration
documents.
General information The official fuel consumption and
specific CO 2 emission figures quoted
relate to the EU base model with
standard equipment.
Fuel consumption data and CO 2
emission data are determined
according to regulation
R (EC) No. 715/2007 (in the latest
applicable version), taking into
consideration the vehicle weight in
running order, as specified by the
regulation.
Page 136 of 189

134Vehicle care
We recommend the use of the same
grade of engine oil that was used at
the last change.
The engine oil level must not exceed
the maximum mark B on the dipstick.
Caution
Overfilled engine oil must be
drained or suctioned out.
To prevent spillage when
replenishing the engine oil, we
recommend using a funnel. Ensure funnel is securely located onto the
filler pipe.
A stabilization of the engine oil
consumption will not take place until
the vehicle has been driven several
thousand miles. Only then can the
actual degree of consumption be
established.
If consumption exceeds more than
0.5 litres every 600 miles after this
running-in period, consult a
workshop.
Capacities 3 177.
Fit the cap on straight and tighten it.Engine air filter
Engine air flow indicator
On certain models, an indicator is
located in the engine induction
system and indicates if the air-intake
to the engine is restricted.
Clear=No restrictionRed tell-tale=Restricted
If the red tell-tale is displayed when
the engine is running, consult a
workshop.
Page 149 of 189

Vehicle care147
No.Circuit1Vehicle battery (with electronic
key system)2APC battery backup (with elec‐
tronic key system)3Passenger compartment heater4Adaptations5Adaptations6Passenger compartment heater7Additional air conditioning8Additional heating9Electric exterior mirrors, addi‐
tional adaptations10Heated exterior mirrors11Radio, multimedia, electric exte‐
rior mirrors, diagnostic socket12Multimedia, trailer hitch13Fuel injection system, courtesy
lightsNo.Circuit14Fuel injection system, tyre pres‐ sure monitoring system, elec‐
tronic key system15Hazard warning flashers, turn and lane-change signals16Central locking17Left-hand high beam, right-hand
low beam, tail lights, left-hand
daytime running light18Front fog lights, rear fog lights,
number plate lighting19Alarm, horn, automatic light
control, wiper20Instrument cluster21Light switch22Rear window wiper, windscreen
washer pump, horn23APC general battery24Reversing lights25Engine start-stop buttonNo.Circuit26Fuel injection, starter27Airbag, steering column lock28Passenger power window29Power steering30Brake lights31APC battery backup (with elec‐
tronic key system)32Service display33Cigarette lighter, power outlet34Right-hand high beam, left-
hand low beam, headlights,
right-hand daytime running light35Brake lights, ABS, immobiliser36Interior lighting, air conditioning37Starting with electronic key
system38Rear window wiper39Warning chimes