window VOLKSWAGEN GOLF 2009 User Guide
[x] Cancel search | Manufacturer: VOLKSWAGEN, Model Year: 2009, Model line: GOLF, Model: VOLKSWAGEN GOLF 2009Pages: 516, PDF Size: 105.12 MB
Page 41 of 516
first read and heed the on page 3 and note the ductory information on page
through an ed via (for a phone)
can be through the speakers. via the radio-navigation system is
audio source must support the
A2DP or AVRCP
in equipped with a factory -installed phone age that supports this function . To
responding owner's Cell
Phone Package.
Pairing and connec ting is done via the radio
audio
the directions in the owner 's
Redu ce
To change to
Bl uetooth function
button 26.
Aud io mode is indicated on the screen
by Bl uetooth Audio 25 .
The
o f t he be adjusted to match the of the other audio sources
activating audio
some devices ,
After the audio
transmission , a pop-up window opens.
Request fo r confir mation of aud io
BT-Audio Audio mode must be
swi tched to
Audio transmission, as
audio source is
started or s topped automatically by switc hing to
addition , track dio navigation system 's arrow keys 1
25.
the connection is broken . the radio
navigation system switches to
media source.
th e that dio ed .
Radio mode, press the sETUP) button .
Press the
Press the
Tag the device connected and press
the connect) funct ion butt on.
Read and manufacturer of the
Because of the number of audio sources , it canno t be teed that
audio source, warning and service tones, suc h as touch
tones on a
Do not connect radio nav igation system at the same time for
music
interface , as this to on the
ing the use of can be obtained from the
Page 60 of 516
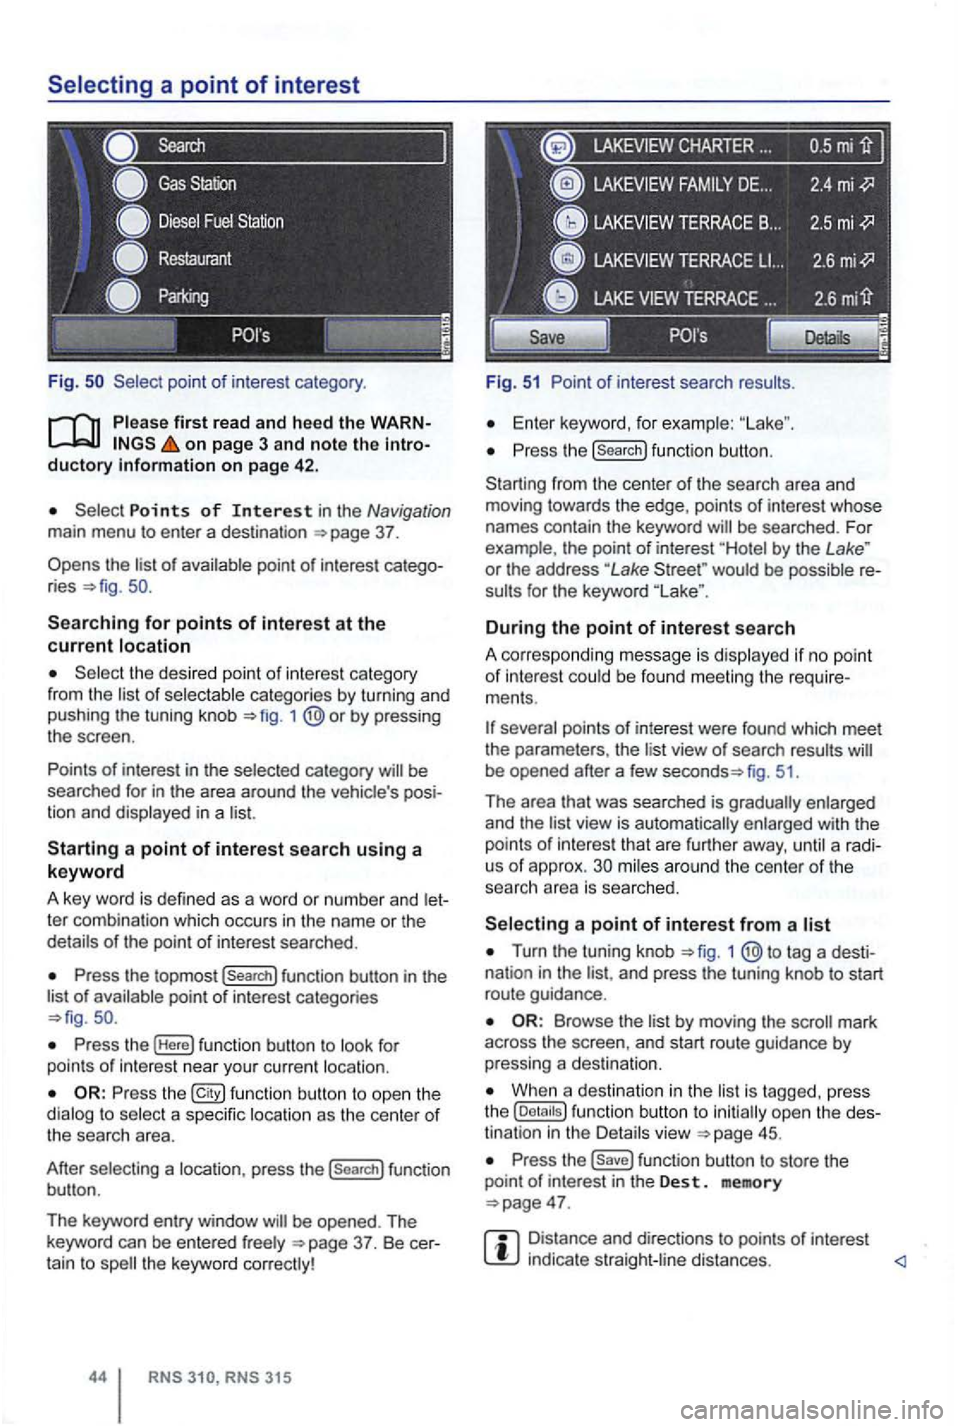
Fig .
on page 3 and note the introductory on pag e 42 .
Points of Interest in the Navigation main menu to enter a destination
Searching for points of interest at the current location
the desired point of interest category
from the list of selectable categories by turning and
pushing the tuning knob 1
Press the topmost (Search] function button in the
list of availab le point of interest categories
Press the (Here] function button to look for
points of int erest near your current location.
Press the function button to ope n the
dialog to select a specific location as the center of the searc h area.
After selecting a location, press the
(search] function
button .
The keyword entry window
CHARTER ...
Fig. 51 Point of interest search results.
Enter keyword, for examp le:
Press the (search] function button.
Starting from the center
of the search area and
moving towards the edge , points of interest whose
names contain the keyword
by the Lake " or the address "Lake would be possible re
sults for the keyword
During the point of interest search
A correspo nding message is disp layed if no point of interest could be found meeting the require
ments .
fig. 51.
Th e area that was searched is gradually enlarged
and the
view is automatically enlarged with the
points of int erest that are further away, until a radi
us of approx. mi les around the center of the
searc h area is searched.
Turn the tuning knob 1 tag a desti
nation in the and press the tuning knob to start
route guidance .
by moving the mark
across the screen , and start route guidance by pressing a destina tion.
When a destination in the is tagg ed , press
the
Press the function button to store the
point of in terest in the Des t. memory
Distance and directions to points of interest indica te straight -line distances.
Page 64 of 516
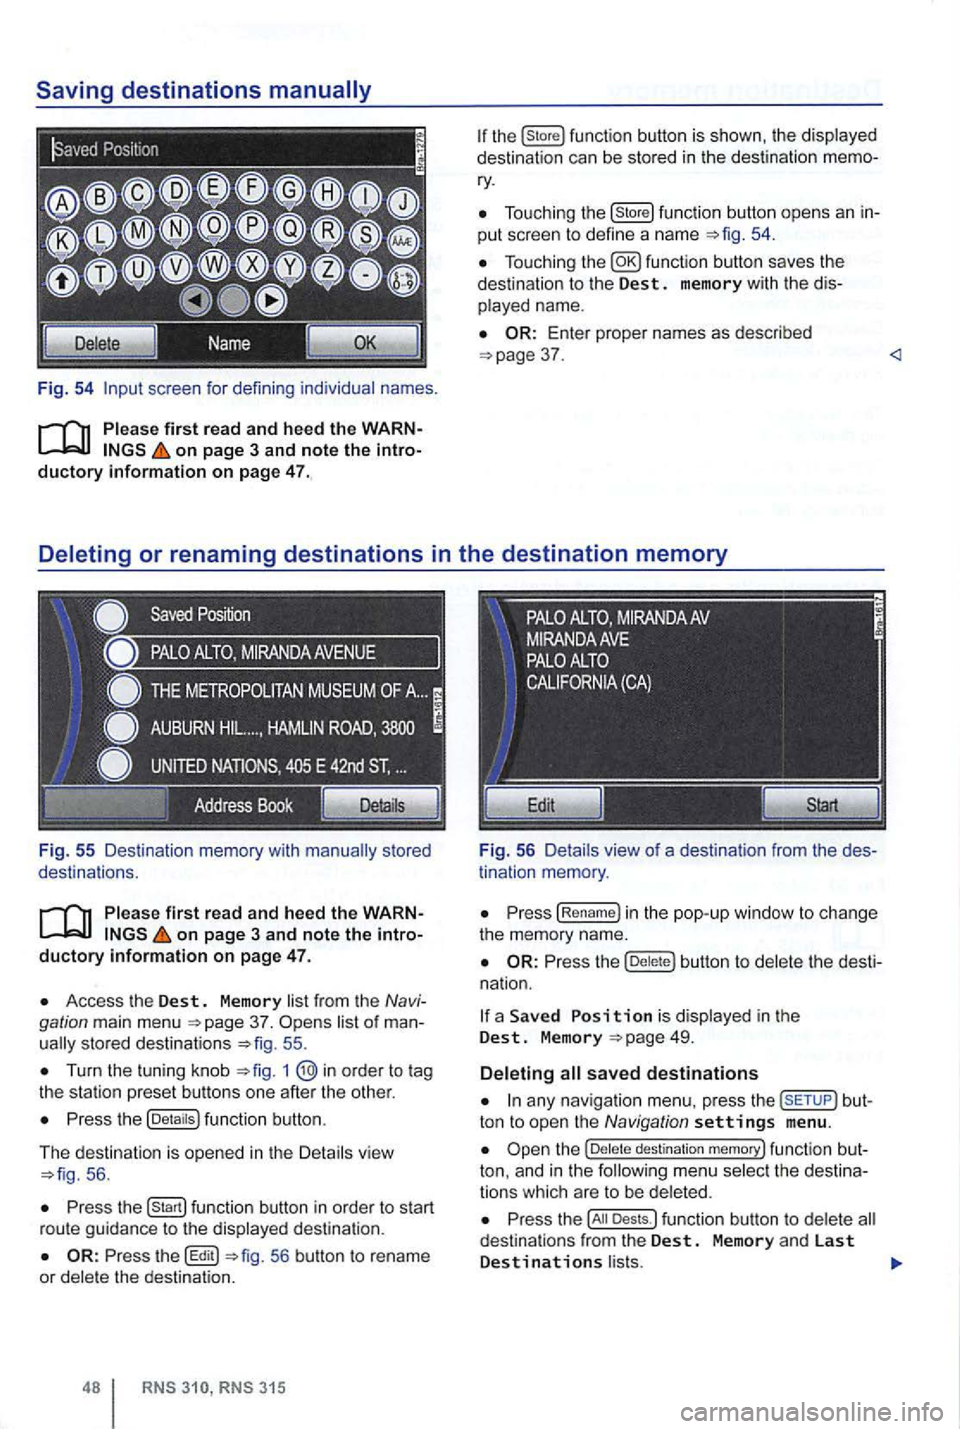
Fig. 54 screen for defini ng individual names.
on page 3 and note the introductory information on page 47.
Fig . 55 Des ti nation memory with
on page 3 and note the introductory informa tion on page 47.
Access the Dest. Memory list fr om the Navi
gation main menu 37. sto red destinat ions 55 .
Turn the tuning kn ob 1
Press the (Detaitsl function button.
The d
estination is opened in the Detail s vie w 56 .
Press function button in order to start
r ou te gu id a nce to the displayed destination .
56 button to rename
or dele te the destinat ion.
315
Tou ch ing the (store! functio n button opens an in
put scree n to define a name
37 .
tin ation memory .
Press (Re name! in the pop -up window to ch ange
the memory name.
Press the butt on to delete the dest i
na tion.
a Save d is display ed in the Dest. M emory
any nav iga tio n menu. press the but
ton to open the Navigation settings menu .
destination memory! func tion but
ton, and in t h e
Press the Dests.l funct ion button to dele te d estina tio n s from the Dest. Memory and las t Destinations l ists.
Page 65 of 516
Press the !Last Destinations) function button to delete
Press the button to the pop-up
window without saving any changes .
on page 3 and note the
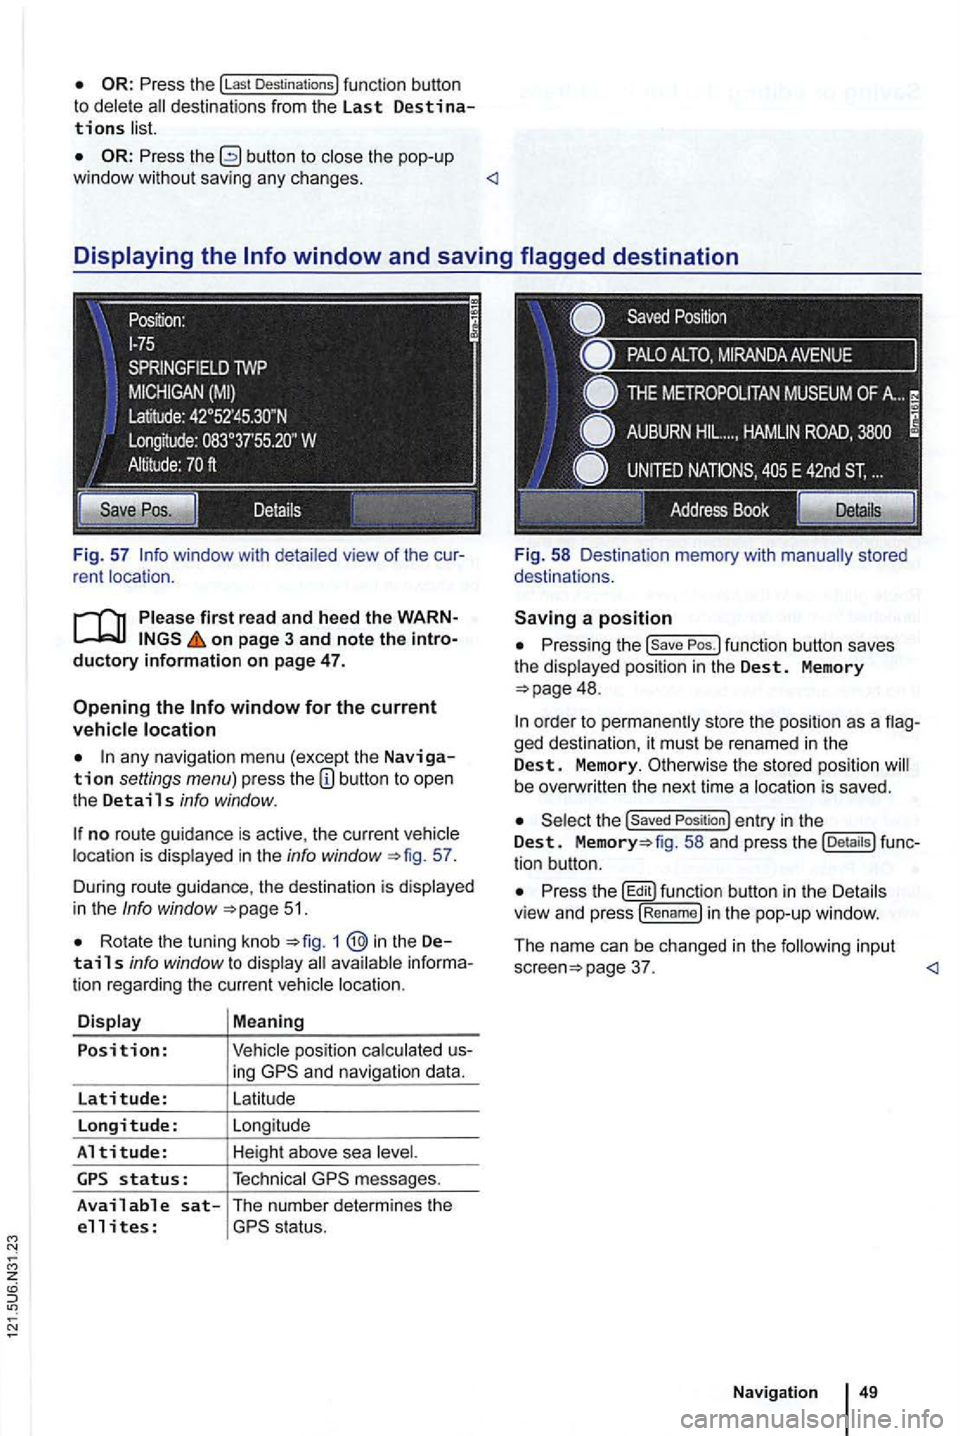
any navigation menu (excep t the Navigation settings menu) press the
no route guidance is active , the current location is displayed in the info window 57.
During route guidance , the destination is d isp lay ed
in the
Info window 51.
Rota te the tuning knob 1 @in the Details info window to display
ing
messages.
Available sat-The number determines the
e 11 i tes :
Pressing the
48.
ged destination, it must be renamed in the Dest. Memory. Otherwise the stored position be overw ritten the next time a locat ion is saved .
the Saved Position ) entry in the Dest. fig. 58 and press the tion button.
Press th e butt on in th e Details
v iew and press !R en am e) i n the pop-up window .
The name can be changed in
the follow in g input page 37.
Page 68 of 516
button.
the Navigation settings menu . press the (Route 61.
or deselect the desired option by 62.
D e
fining routing criteria
function button in the
R oute o ptio ns settings menu.
the pop-up window , se lect the desired by pressing it.
R o
ute criteria : M eaning
Calcu lates the fastest route to the
The purpose of the calcula tion is a ance between minimal driving ti me and driving
distance.
no reasonable route exists without the road type to be avoided, this road type be nevertheless
considered in the rou te calcula tion . A n i sland , fo r
example, cannot be reached without a fe rry . When
very long distances are calcu lated , a calcu lation
wit hou t highways is also not possible .
on pag e 3, note the ry infor m ation and hee d the on
p ag e 51.
After the route is ca lculated, an initial
ment is issued . Prior to turning , up to three tion messages are issued , e.g . turn coming up
soon", " af ter
Pressing the tuning knob 1 @repeats
t he last navigation message.
T he type
of r oad and th e speed driven determine
t he distances to be announced . ft prior
t o an exit.
multilane and branching streets as
315
When the destination is reached , the dio message is issued: have reached you r
destination ".
Acoustic driving recommendation settings
Nav igation messages are played back at the
set volume .
The volume
of an acoustic driving message can be
adjusted while it is being give, using the volume
control Q . addi tional acoustic driving mendations be issued at this volume .
The volume
of acoustic driving recommendations
can be predefined or switched off in the Navigation settings menu 58 or in the volume
settings 72 .
navigation messages are very quiet when the device is switched on aga in , check the
volume control page 72.
Page 70 of 516
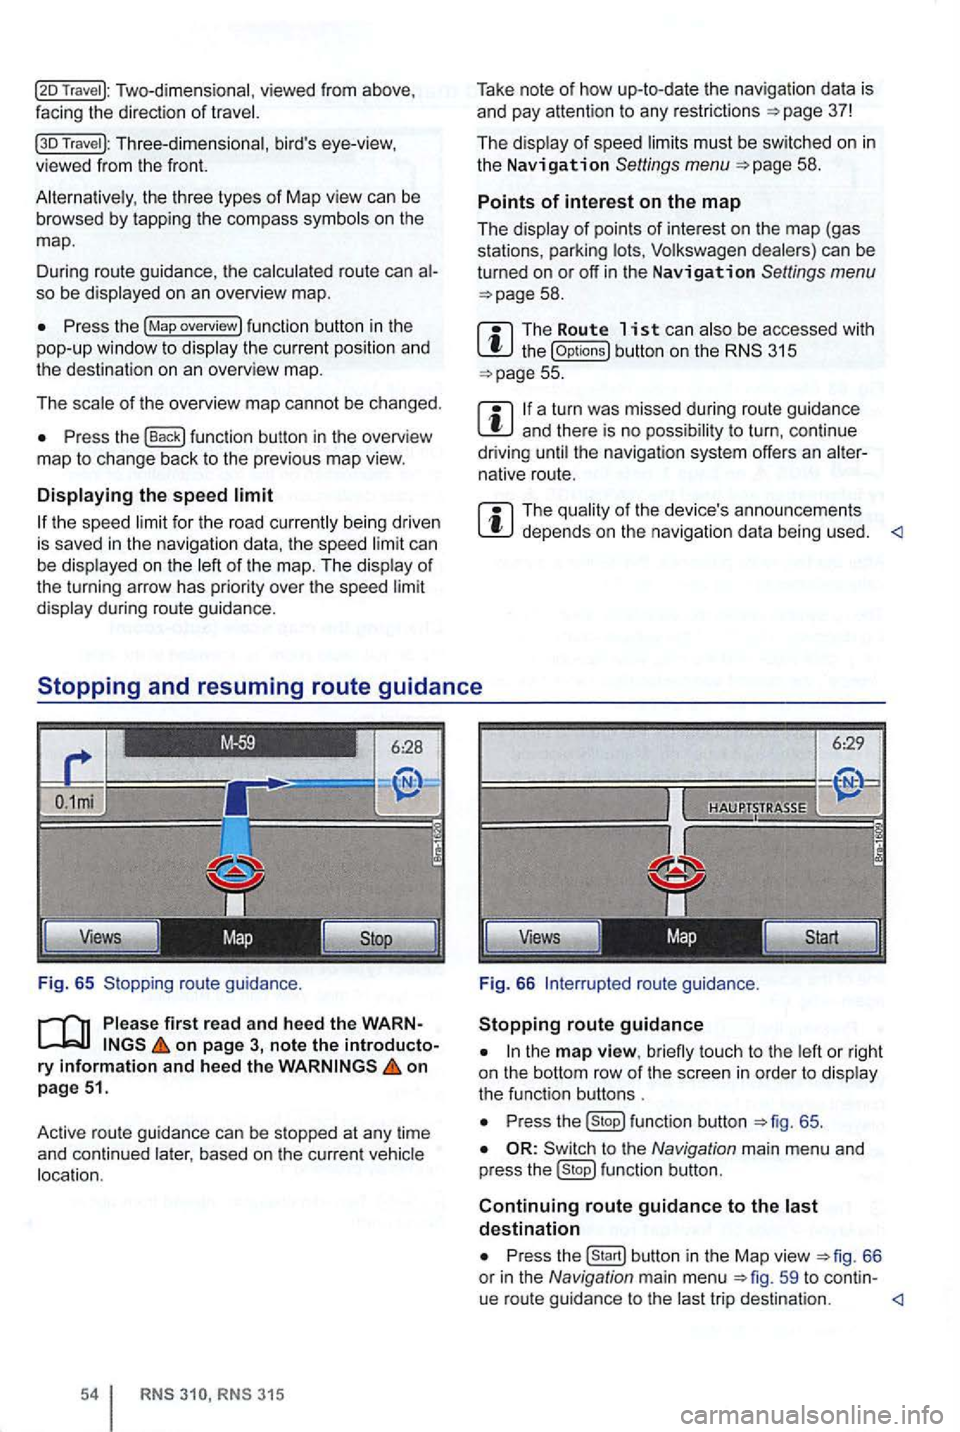
Two-dimensional, viewed from above ,
facing the direction of
Travel ): Three-dimensional , bird's eye-view, viewed from the front.
the three types of Map view can be browsed by tapp ing the co mpass on the
map .
D uring route guidance , th e
route can so be
Press the (Map overview) fun ction button in the
pop-up window to
of the overview map cannot be chang ed.
Press the function button in the overview
ma p to change back to the previo us map view.
the speed ca n be on the of
the turning arrow has priori ty over the speed
during route guidance.
Fig. 65 Stopping route guidan
ce.
first rea d and heed the WARNon page 3, note the introductory information and hee d the on
p age 51.
Active route gu idan ce
can be stopped at any time
and continued based on the curre nt
RN S RNS 315
Take note of how up-to-date the nav igation data is
and pay attention to any restrictions =>page 37!
The
must be sw itched on in the Navigation Settings menu =>page 58 .
Points of interest on the map
The
the (Op tions) button on the 315 =>page 55.
a turn was missed during route guidance and there is no t o turn , con tinue
driving the navigat ion system offers an native route.
The depends on the navigation data being used.
6:29
Views
Fig. 66
to u ch to the
P ress function button =>fig. 65 .
to the Navigation main menu and
p ress fu nction button.
Continuing route guidance to the destination
Press
trip desti nation.
Page 71 of 516
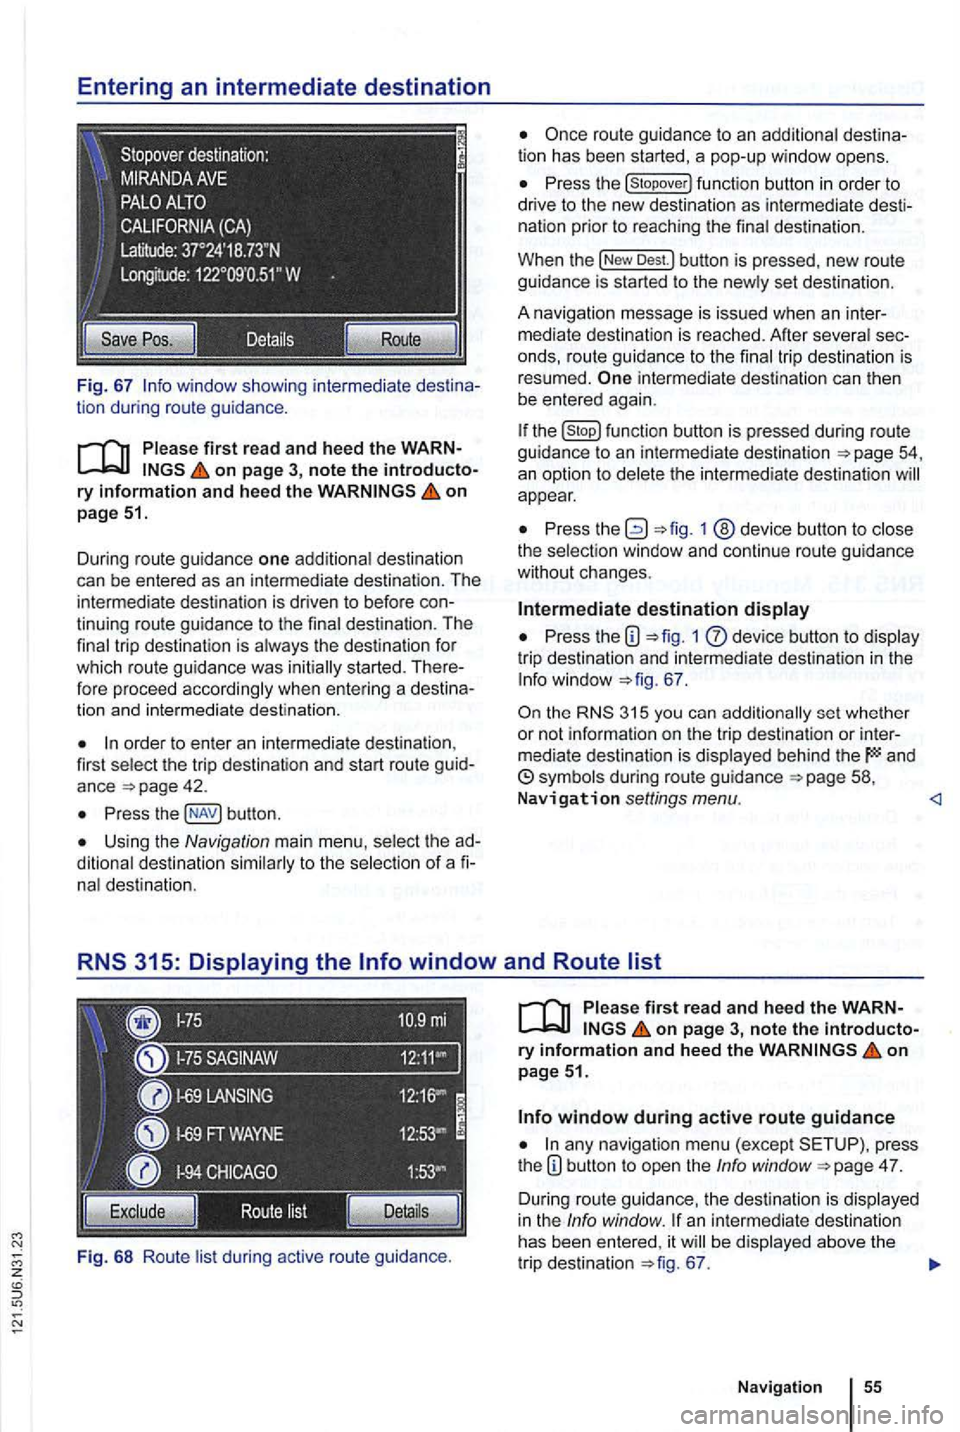
Fig. 67
on page 51.
Dur ing route guidance one additiona l destination
can be entered as an in termediate destination . The
intermed ia te destination is driven to befo re
order to enter an inte rmedia te destina tion ,
first select the trip destination and start route guid
ance
Press butt on .
Using the Navigation main menu , select the
nal destination.
Fi g.
68 Ro ute lis t during active route gu idance .
Press the
Dest.l button is pressed , new route
guidance is started to the new ly set des tin ation .
A na vigation message
is issued when an inter
m ediate destination is reached. After several
intermediate destination can then
be entered again.
the function butto n is pressed during route guidance to an intermediate destination
appear.
Press 1 @device button to close
the select ion window and continue r oute guidance
without changes .
Intermediate destination display
Press the 1 dev ice button to display
tri p destination and intermedia te destination in the
67 .
the 315 you can additionally set whether
or not informa tio n on the t rip dest ination or inter
mediate destination is displayed behind the and
on page 3, note the introductory information and heed the on page 51.
any navigation menu (exc ept press
t he 4 7.
D uring route guidance, the des tination is displa yed
in the Info window . an intermediate destination
has been entered , it be displayed above the
tr ip destination 67.
Navigation
Page 72 of 516
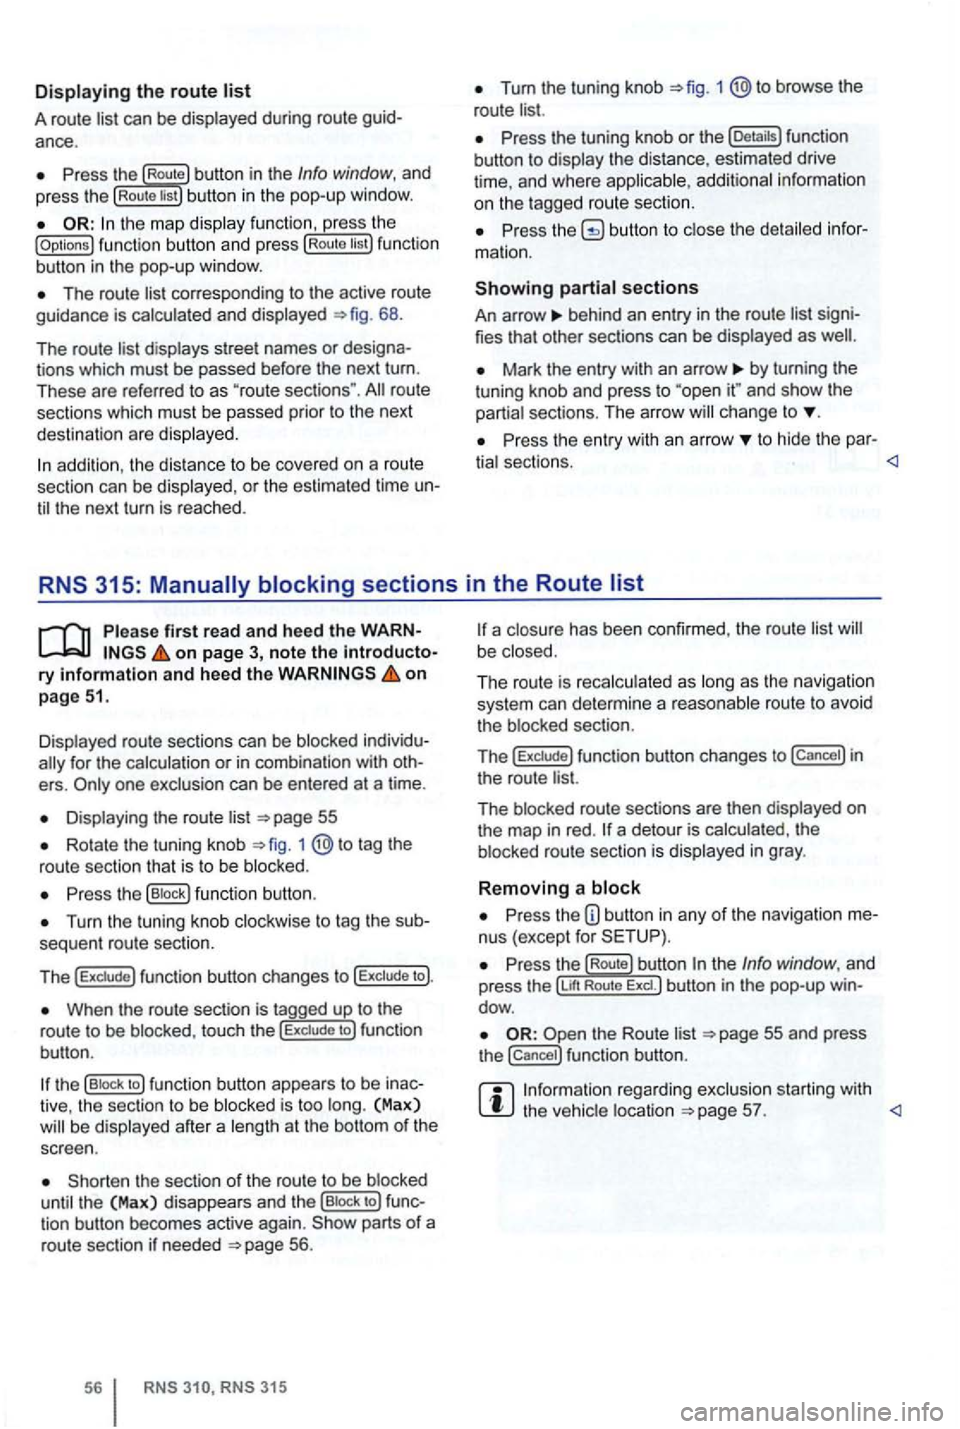
Displaying the route list
A route list can be displayed during ro ut e
Press the Route button in the Info window, and
press the Rou te list bu tton in the pop-up window.
the map display function , ress the (Options ) function butt on and press Route tist function
button in th e pop-up window .
The route corresponding to the active route
guidance is calcula ted and displayed 68.
The route
d ispl ays street names or
route
sections which must be passed prior to the next
dest ination are displayed .
Tum the tuning knob 1 @to browse the
route list.
Press the tuning knob or th e (Deta ils) function
button to disp lay the distance, estimated drive
time , and where
Press butto n to close the
behind an entry in the route list
Mark the entry with an arrow by turning the
t uning knob and press to and sh ow the
partia l sect ions. The arro w ch ange to
Pr ess the entry wit h an arrow to hide the par-
tia l sectio ns.
Displayed route sections can be blocked
for the calculation or in com binat ion with
Displa ying the route list
Rotate the tuning knob 1 to tag the
route sectio n that is to be blo cked .
Press the (B lock ) function button .
Turn the tuning knob clockwise to tag the
When the route section is tagged up to the
r o ute to be blo cke d, touc h the to ) fun ction
bu tton .
the (B lock to ) function button appears to be
the sect ion of the route to be blocked
until the (Max) disappea rs and th e (Bloc k to ) tion button becomes active again. parts of a
route section if neede d 56.
315
a closu re has been confirmed , the route list be close d.
The ro ut e is reca lc ulated as long
as th e naviga tio n
system can determi ne a reasonabl e route to avoid
t he blocked section.
T
he f un ction button changes to in
the route list.
The blocked route sectio ns are then displayed
on the map in red . a detour is calcula ted , th e
b locked route section is displayed in gray .
Removing a block
Press the nus (except for
re ga rding exclusion starting with the vehic le location
Page 73 of 516
on page 3, note the ry and heed the on pag e 51.
An upcoming section of road can be blocked
while route guidance is in process.
Pre ss the nus (exce pt for
Press the (Route) function button in the Info dow .
Press the ahead ) function button in the
pop-up window.
the length of the section which is to be
blocked by turning the tuning knob 1 @.
The length of the section being blocked is played at the bottom of the screen . (Max) pears at the bottom , thi s signifies the max imum distance.
Route guidance in Demo mode
on page 3, note the introductory on page 51.
Demo mode is activated in the Navigation tings menu ,
Touch ing the (D emo ) function button starts route guidance " to the entered trip destinatio n.
ance are compa rable to route guidance .
route guidance is repeated after reaching
the fictional trip destinat ion, and always restarts
from
in t he Navigation settings menu, the n
virtual route guidance starts from this position.
A
entered starting point is overwr itten by
the current vehicle location when the is
moved and the current location of the vehicle can
be determined via
Press the tun ing knob or press the function
button to confirm the block.
Blocked sections are displayed on the map in gray.
The route is recalculated
as as the navigation
system can determi ne a reasonable route to avoid
the blocked section.
R e
moving a
Pre ss the button in any of the navigation
Pre ss the (Rout e) function button in the Info dow .
Press the Rem ove Ex.) function button in the pop-up window .
regarding manually blocking ditional upcoming route sections 56.
afte r virtua l route guidance in Demo mode, rea l
route guidance is started , then the device must be
re -orien ted . Depending on the number of being received at the time, this may take a wh ile. movement can reduce the re-o rientation
t ime
Ending D emo mode
The demo mode should be deactivated after being
used , as you are
tween a virtua l or a normal route guidance at the
beg inning of any naviga tion .
Demo mode is
automatically ended when
the route guidance is fini shed or a new final
also Demo mode.
You end Demo mode in the
N av ig a tion settings menu.
Press the button in any of the naviga
tion menus.
Deactivate the checkbox in Demo mode) functio n button .
Navigation
Page 86 of 516
Making a to a saved phone number
th e te lephone book or list and 66.
Telephone book entry
Tag the desi re d entry by turning the tuning kn ob 1 and mak e a connection by pressi ng the
t uni ng knob .
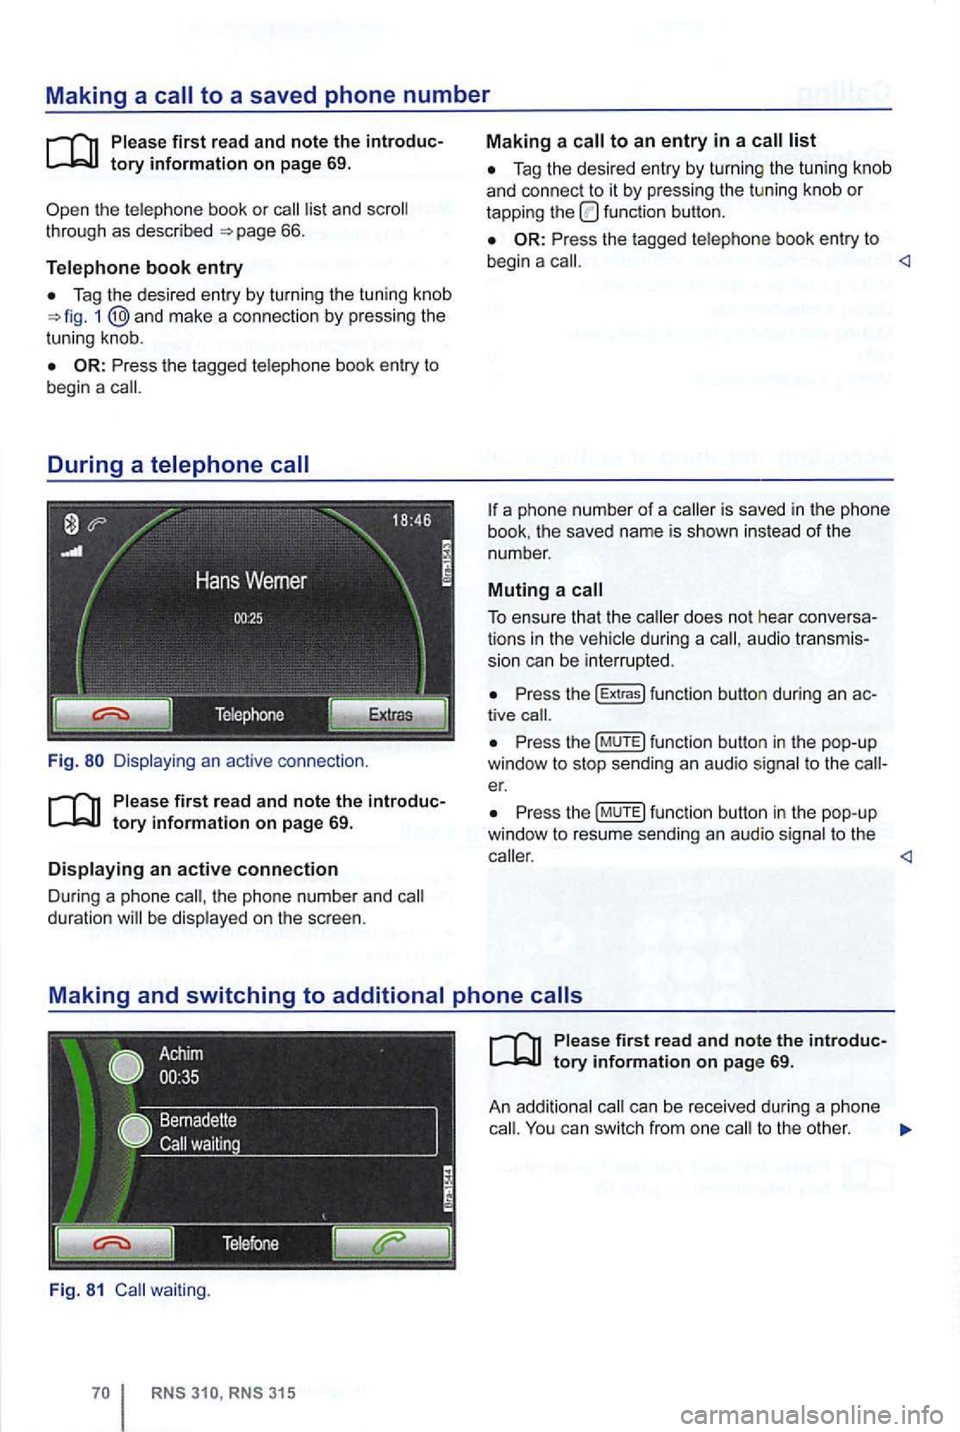
Fig.
th e pho ne n umber and duration be disp layed on the sc reen .
Fig. 81 waiting .
Tag the desired entry by turnin g the tu nin g knob
a nd con nect to it by pressing the tu ning knob or tapping the function button.
Press the tagged telephone book entry to
begin a
book . the save d name is sho wn instead of the
number .
Muting a call
To ensure that the during a audio transmis
s ion can be interrupted .
Press the (E xtr a s) funct ion button during an tive
Pr ess th e (M UTE) fun ction butto n in the pop-up
window to stop sending an audio signal to t he er.
P ress th e (MUTE) function button in the pop-up
window to resu me sendi ng an aud io sig nal to the
ca ll. You can switch from one to the other .