bonnet VOLKSWAGEN UP! 2021 Owner´s Manual
[x] Cancel search | Manufacturer: VOLKSWAGEN, Model Year: 2021, Model line: UP!, Model: VOLKSWAGEN UP! 2021Pages: 211, PDF Size: 5.98 MB
Page 132 of 211
Unintentional vehicle movements during service work can cause serious injury.
•Never work underneath a vehicle if it is not secured against rolling away. If you are
working underneath the vehicle while the wheels are on the ground, the vehicle must be
on a level, the wheels must be blocked and the vehicle key must be removed from the
ignition lock.
•If you have to work underneath the vehicle, use suitable stands to provide extra support
for the vehicle. The vehicle jack is not sufficient for this task and can fail, which can lead to
serious injuries.
•The start/stop system must have been deactivated.
WARNING
The engine compartment of any motor vehicle is a dangerous area. Serious injuries can be
sustained here.
•The utmost care and attention must be paid when carrying out any work and you must
follow the general safety rules. Never take any risks.
•Never do any work on the engine or in the engine compartment unless you know exactly
how to carry it out. If you are uncertain of what to do, the work should be carried out by a
qualified workshop. Serious injuries can result from work that has not been carried out
properly.
•Never open the bonnet if you see steam or coolant escaping from the engine
compartment. Hot steam or coolant can cause serious burns. Always wait until you can no
longer see or hear steam or coolant coming from the engine compartment.
•Always allow the engine to cool down before opening the bonnet.
•Hot parts of the engine or exhaust system can burn the skin.
•Before opening the bonnet once it has cooled down:
- Apply the handbrake fully and move the selector lever to position N or move the
manual gear lever to the neutral position.
- Remove the vehicle key from the ignition lock.
- Always keep children away from the engine compartment and never leave the
vehicle unattended.
•The engine cooling system is under pressure when the engine is hot. Never open the cap
of the coolant expansion tank when the engine is hot. Coolant may spray out and cause
serious burns and injuries.
- After cooling, turn the cap slowly and very carefully anticlockwise while exerting
some downwards pressure on the cap.
- Always protect the face, hands and arms from hot coolant or steam with a large,
thick cloth.
•When refilling, do not spill any service fluids on engine components or on the exhaust
system. The spilt service fluids can start a fire.
WARNING
High voltages in the electrical system can cause electric shocks, burns, serious injuries and
death!
•Never short circuit the electric system. The vehicle battery could explode.
•Please note the following guidelines to help reduce the risk of an electric shock and
serious injuries while the engine is running or being started:
- Never touch the electrical wiring of the ignition system.
WARNING
Page 134 of 211
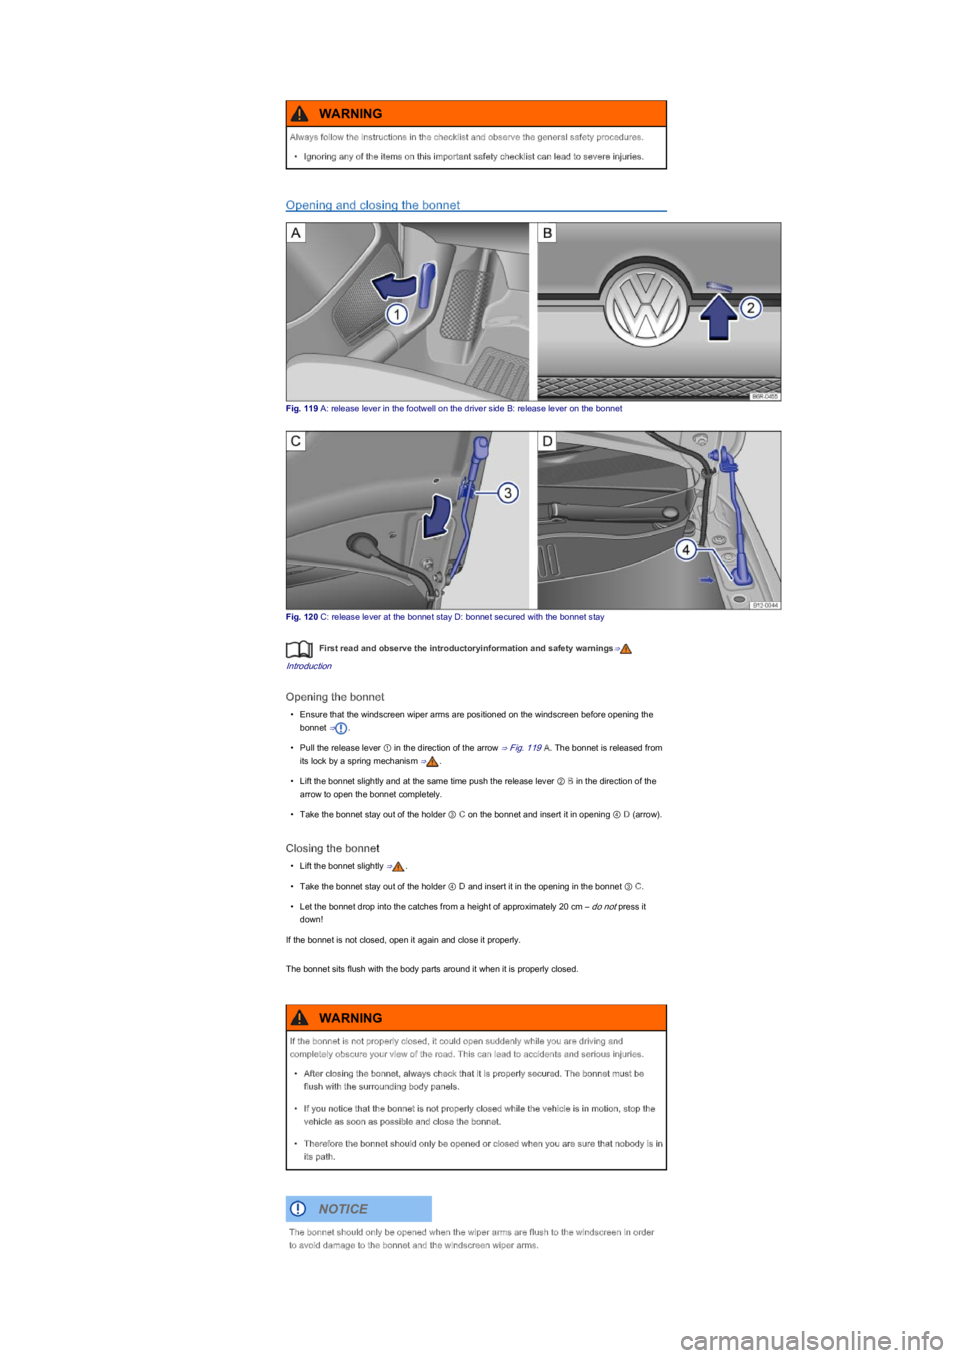
Opening and closing the bonnet
Fig. 119 A: release lever in the footwell on the driver side B: release lever on the bonnet
Fig. 120 C: release lever at the bonnet stay D: bonnet secured with the bonnet stay
First read and observe the introductoryinformation and safety warnings⇒
Introduction
Opening the bonnet
•Ensure that the windscreen wiper arms are positioned on the windscreen before opening the
bonnet ⇒.
•Pull the release lever ① in the direction of the arrow ⇒ Fig. 119A. The bonnet is released from
its lock by a spring mechanism ⇒.
•Lift the bonnet slightly and at the same time push the release lever ② B in the direction of the
arrow to open the bonnet completely.
•Take the bonnet stay out of the holder ③ C on the bonnet and insert it in opening ④ D (arrow).
Closing the bonnet
•Lift the bonnet slightly ⇒.
•Take the bonnet stay out of the holder ④ D and insert it in the opening in the bonnet ③ C.
•Let the bonnet drop into the catches from a height of approximately 20 cm – do not press it
down!
If the bonnet is not closed, open it again and close it properly.
The bonnet sits flush with the body parts around it when it is properly closed.
Always follow the instructions in the checklist and observe the general safety procedures.
•Ignoring any of the items on this important safety checklist can lead to severe injuries.
WARNING
If the bonnet is not properly closed, it could open suddenly while you are driving and
completely obscure your view of the road. This can lead to accidents and serious injuries.
•After closing the bonnet, always check that it is properly secured. The bonnet must be
flush with the surrounding body panels.
•If you notice that the bonnet is not properly closed while the vehicle is in motion, stop the
vehicle as soon as possible and close the bonnet.
•Therefore the bonnet should only be opened or closed when you are sure that nobody is in
its path.
WARNING
The bonnet should only be opened when the wiper arms are flush to the windscreen in order
to avoid damage to the bonnet and the windscreen wiper arms.
NOTICE
Page 137 of 211

With the engine at operating temperature, park the vehicle on a level surface to ensure
that the engine oil reading is correct.
Switch off the engine and wait a few minutes for the engine oil to flow back into the sump.
Open the bonnet .
Identify the engine oil filler cap and oil dipstick. The engine oil filler opening bears the
symbol on the cap and the oil dipstick has a coloured handle. If you cannot find the cap
and dipstick please contact a qualified workshop.
Pull the dipstick out of the guide tube and wipe it off with a clean cloth.
Insert the oil dipstick into the guide tube again as far as it will go. If there is a marking on
the oil dipstick, this marking must fit in the corresponding groove at the top end of the
guide tube when inserting.
After reading the oil level, push the oil dipstick back into the guide tube as far as it will go.
Unscrew the engine oil filler opening cap .
Using only the engine oil approved by Volkswagen expressly for this engine, top up the oil
in small gradual amounts (no more than 0.5 l).
To avoid overfilling, wait for approximately one minute after each pour to allow the engine
oil to flow into the oil sump up to the marking on the engine oil dipstick.
Read the engine oil level from the dipstick again before refilling with a further small
quantity of engine oil. Never overfill engine oil .
After the refilling procedure, the engine oil level should be at least in the centre of area Ⓑ,
but never above area Ⓐ .
After refilling, screw the engine oil filler cap back on correctly.
Reinsert the oil dipstick correctly into the guide tube as far as it will go.
Close the bonnet correctly .
Checklist
Carry out the steps in the specified order ⇒:
Pull the dipstick out again and read the engine oil level on the dipstick as follows: Ⓐ: do not
refill oil . Proceed to step 15. Ⓑ: oil can be refilled (approximately 0.5 l). Proceed to step 8
or 15. Ⓒ: oil must be refilled (approximately 1.0 l). Proceed to step 8.
The engine oil level must never be above area ⇒ Fig. 121Ⓐ. Otherwise oil can be drawn in
through the crankcase breather and escape into the atmosphere via the exhaust system.
Engine oil consumption
First read and observe the introductoryinformation and safety warnings⇒
Introduction
Engine oil consumption can vary from engine to engine and can change during the working life of
an engine.
Depending on how you drive and the conditions in which the car is used, oil consumption can be up
to 1.0 litre/2,000 km – and is likely to be higher for the first 5,000 km for new vehicles. The engine
oil level must therefore be checked at regular intervals, preferably when refuelling and before long
journeys.
When the engine is working hard the oil level must be kept within the area shown in ⇒ Fig. 121Ⓐ,
for instance during long motorway cruising in summer or climbing mountain passes.
Engine oil can ignite if it comes into contact with hot engine components. It can cause fires,
burns and other serious injuries.
•If engine oil is spilt on cold engine parts it can heat up and ignite when the engine is
running.
•Always ensure that the engine oil filler cap is securely tightened after refilling, and that the
dipstick is properly inserted back into the guide tube. This will prevent the engine oil from
draining out on to hot engine components when the engine is running.
WARNING
•Do not start the engine if the engine oil level is above area ⇒ Fig. 121Ⓐ. Seek expert
assistance. The catalytic converter and the engine could otherwise be damaged.
•When refilling or changing operating fluids please ensure that the fluids are in the correct
container. Incorrect operating fluids can cause serious functional problems and engine
damage.
NOTICE
Page 140 of 211
Coolant and coolant additives can pollute the environment. Spilt operating fluids must be
collected and disposed of properly and with respect for the environment.
Checking the coolant level and refilling coolant
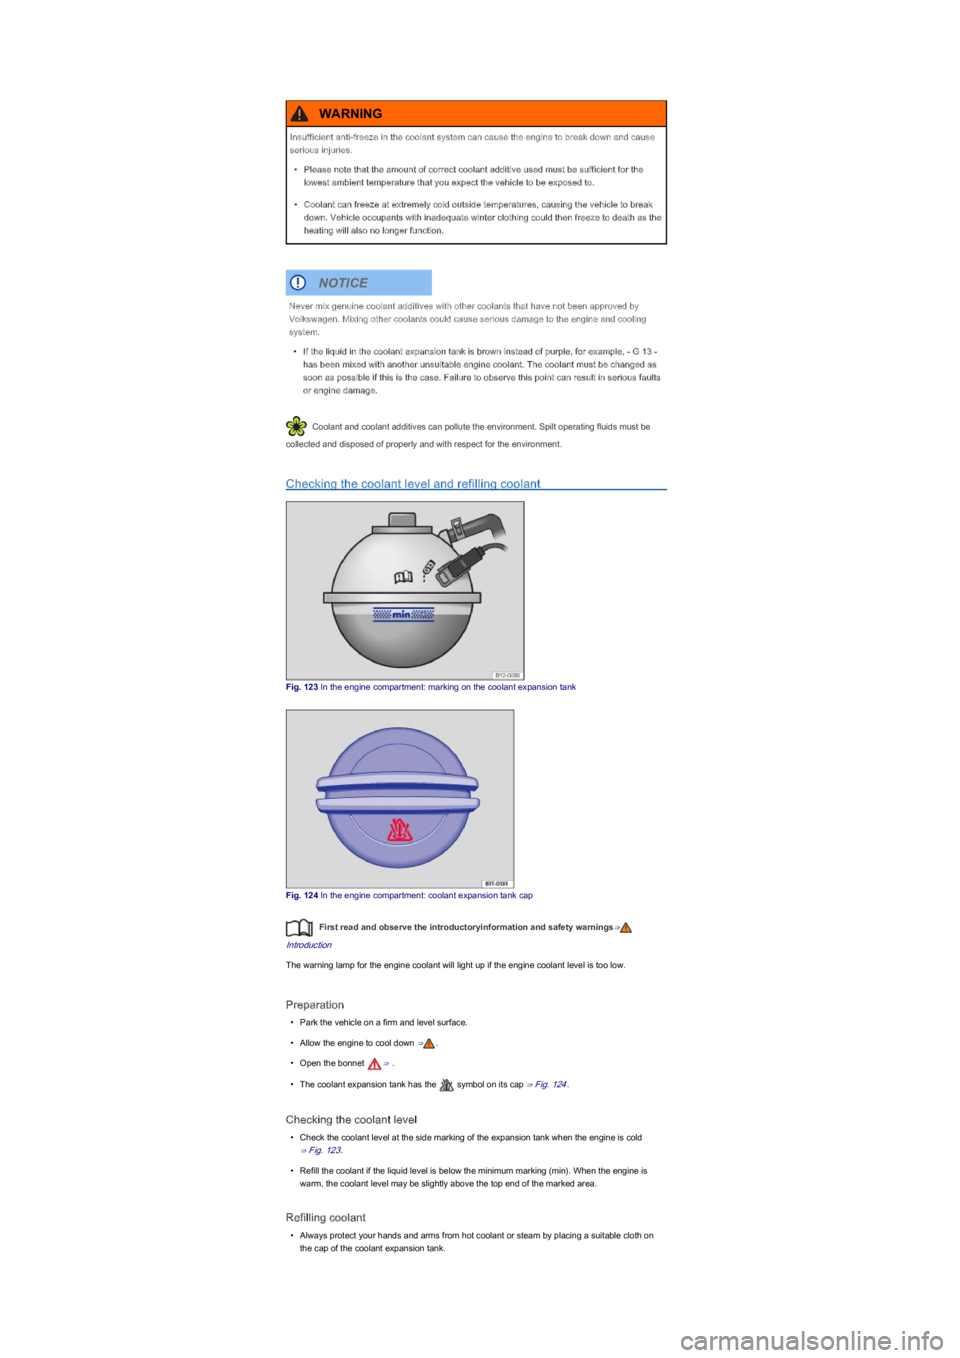
Fig. 123 In the engine compartment: marking on the coolant expansion tank
Fig. 124 In the engine compartment: coolant expansion tank cap
First read and observe the introductoryinformation and safety warnings⇒
Introduction
The warning lamp for the engine coolant will light up if the engine coolant level is too low.
Preparation
•Park the vehicle on a firm and level surface.
•Allow the engine to cool down ⇒.
•Open the bonnet ⇒ .
•The coolant expansion tank has the symbol on its cap ⇒ Fig. 124.
Checking the coolant level
•Check the coolant level at the side marking of the expansion tank when the engine is cold
⇒ Fig. 123.
•Refill the coolant if the liquid level is below the minimum marking (min). When the engine is
warm, the coolant level may be slightly above the top end of the marked area.
Refilling coolant
•Always protect your hands and arms from hot coolant or steam by placing a suitable cloth on
the cap of the coolant expansion tank.
Insufficient anti-freeze in the coolant system can cause the engine to break down and cause
serious injuries.
•Please note that the amount of correct coolant additive used must be sufficient for the
lowest ambient temperature that you expect the vehicle to be exposed to.
•Coolant can freeze at extremely cold outside temperatures, causing the vehicle to break
down. Vehicle occupants with inadequate winter clothing could then freeze to death as the
heating will also no longer function.
WARNING
Never mix genuine coolant additives with other coolants that have not been approved by
Volkswagen. Mixing other coolants could cause serious damage to the engine and cooling
system.
•If the liquid in the coolant expansion tank is brown instead of purple, for example, - G 13 -
has been mixed with another unsuitable engine coolant. The coolant must be changed as
soon as possible if this is the case. Failure to observe this point can result in serious faults
or engine damage.
NOTICE
Page 141 of 211
•Unscrew the cap carefully ⇒.
•Refill only new coolant according to the Volkswagen specification (⇒ Coolant specification) ⇒
.
•The coolant level must be between the marks on the expansion tank ⇒ Fig. 123. Do not fill up
over the top line of the marked area⇒!
•Close the cap tightly.
•If in an emergency you do not have access to the coolant of the required specification
(⇒ Coolant specification), do not use any other coolant additive. Instead, initially refill with
distilled water⇒ only. Then add the correct proportion of coolant additive as soon as
possible ⇒ Coolant specification.
Vehicle battery
Introduction
This chapter contains information on the followingsubjects:
⇒ Warning lamp
⇒ Checking the electrolyte level of the vehicle battery
⇒ Charging, replacing, disconnecting and connecting the vehicle battery
The vehicle battery is a component of the electrical system in the vehicle.
Never carry out any work on the electrical system if you are not familiar with the necessary
procedures and the general safety requirements and only unsuitable tools are available ⇒. The
work should be carried out by a qualified workshop if you are uncertain. Volkswagen recommends
using a Volkswagen dealership for this purpose. Serious injuries can be caused if work is carried
out incorrectly.
Location of the vehicle battery
The vehicle battery is located in the engine compartment.
Hot steam or engine coolant can cause serious burns.
•Never open the bonnet if you can see or hear steam or engine coolant coming out of the
engine compartment. Always wait until no escaping steam or coolant can be seen or
heard.
•Always allow the engine to cool down completely before carefully opening the bonnet. Hot
components can burn the skin.
•Before opening the bonnet once it has cooled down:
- Apply the handbrake fully and move the selector lever to position N or move the
manual gear lever to the neutral position.
- Remove the vehicle key from the ignition lock.
- Always keep children away from the engine compartment and never leave the
vehicle unattended.
•The engine cooling system is under pressure when the engine is hot. Never open the cap
of the coolant expansion tank when the engine is hot. Coolant may spray out and cause
serious burns and injuries.
- Turn the cap slowly and very carefully anticlockwise while exerting some downward
pressure on the cap.
- Always protect the face, hands and arms from hot coolant or steam with a large,
thick cloth.
•When refilling, do not spill any service fluids on engine components or on the exhaust
system. The spilt service fluids can start a fire. In certain circumstances, the ethylene
glycol in the engine can catch fire.
WARNING
•Refill only with distilled water. All other types of water can cause corrosion in the engine
due to the chemical components contained therein. This can also lead to engine failure. If
any other type of water is refilled, the fluid in the engine cooling system should be
completely replaced immediately by a qualified workshop.
•Do not fill coolant above the top of the marked area ⇒ Fig. 123. Otherwise the excess
coolant will be pressed out of the cooling system when the engine is hot and could cause
damage.
•If a large amount of coolant has been lost, do not refill the coolant until the engine has
cooled completely. Heavy coolant loss is an indication of leaks in the engine cooling
system. The engine cooling system should be checked by a qualified workshop as soon as
possible. Failure to do so can result in engine damage.
•When refilling operating fluids, please ensure that the correct container is filled. The use of
incorrect operating fluids could result in serious malfunctions and engine damage!
NOTICE
Page 143 of 211
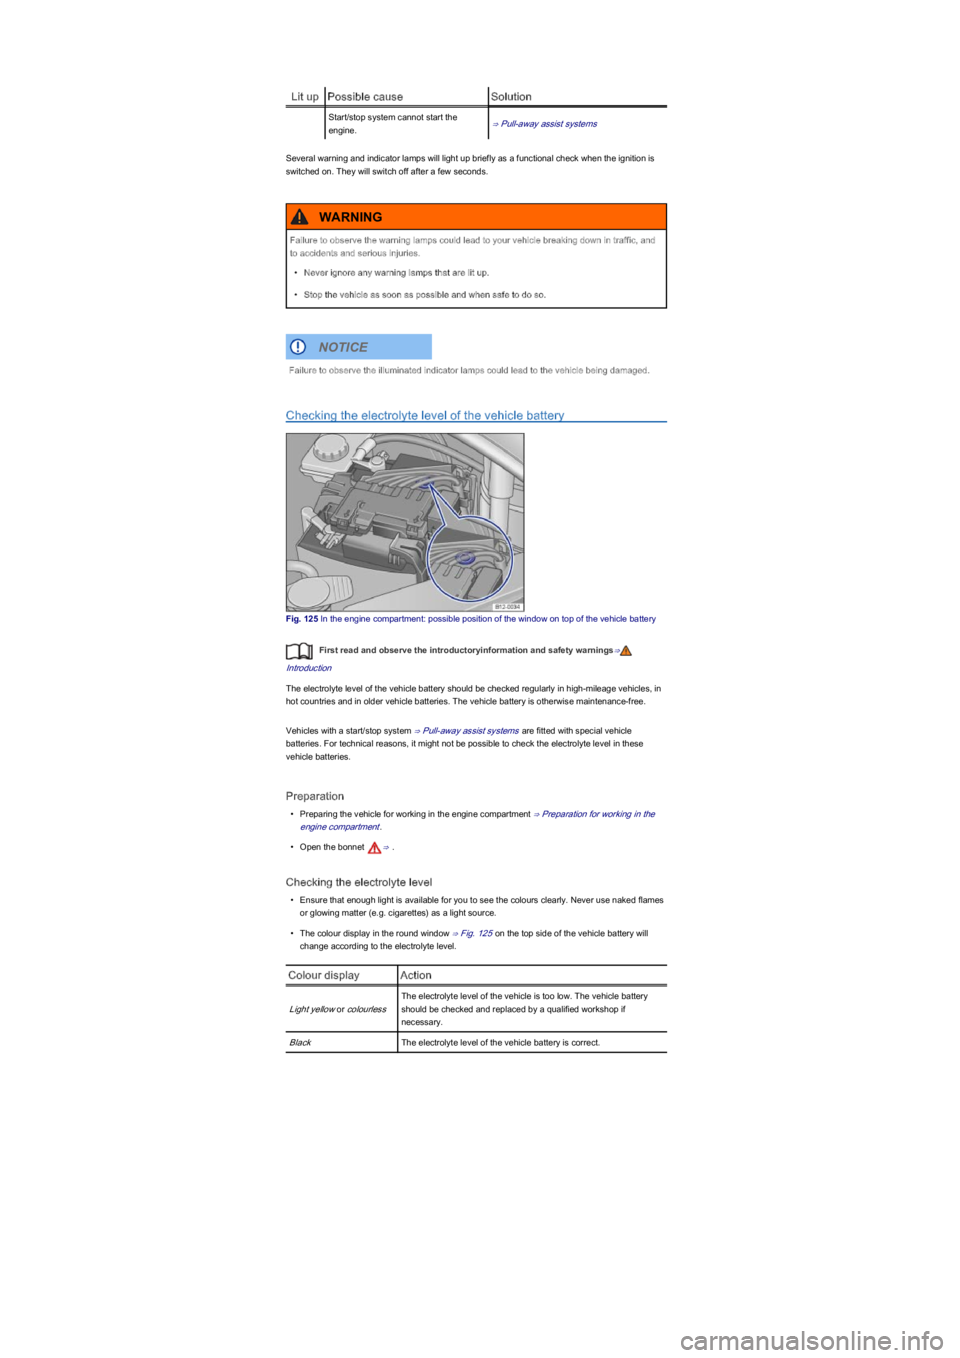
Lit upPossible causeSolution
Start/stop system cannot start the
engine.⇒ Pull-away assist systems
Several warning and indicator lamps will light up briefly as a functional check when the ignition is
switched on. They will switch off after a few seconds.
Checking the electrolyte level of the vehicle battery
Fig. 125 In the engine compartment: possible position of the window on top of the vehicle battery
First read and observe the introductoryinformation and safety warnings⇒
Introduction
The electrolyte level of the vehicle battery should be checked regularly in high-mileage vehicles, in
hot countries and in older vehicle batteries. The vehicle battery is otherwise maintenance-free.
Vehicles with a start/stop system ⇒ Pull-away assist systems are fitted with special vehicle
batteries. For technical reasons, it might not be possible to check the electrolyte level in these
vehicle batteries.
Preparation
•Preparing the vehicle for working in the engine compartment ⇒ Preparation for working in the
engine compartment.
•Open the bonnet ⇒ .
Checking the electrolyte level
•Ensure that enough light is available for you to see the colours clearly. Never use naked flames
or glowing matter (e.g. cigarettes) as a light source.
•The colour display in the round window ⇒ Fig. 125 on the top side of the vehicle battery will
change according to the electrolyte level.
Colour displayAction
Light yellow or colourless
The electrolyte level of the vehicle is too low. The vehicle battery
should be checked and replaced by a qualified workshop if
necessary.
BlackThe electrolyte level of the vehicle battery is correct.
Failure to observe the warning lamps could lead to your vehicle breaking down in traffic, and
to accidents and serious injuries.
•Never ignore any warning lamps that are lit up.
•Stop the vehicle as soon as possible and when safe to do so.
WARNING
Failure to observe the illuminated indicator lamps could lead to the vehicle being damaged.
NOTICE
Page 147 of 211
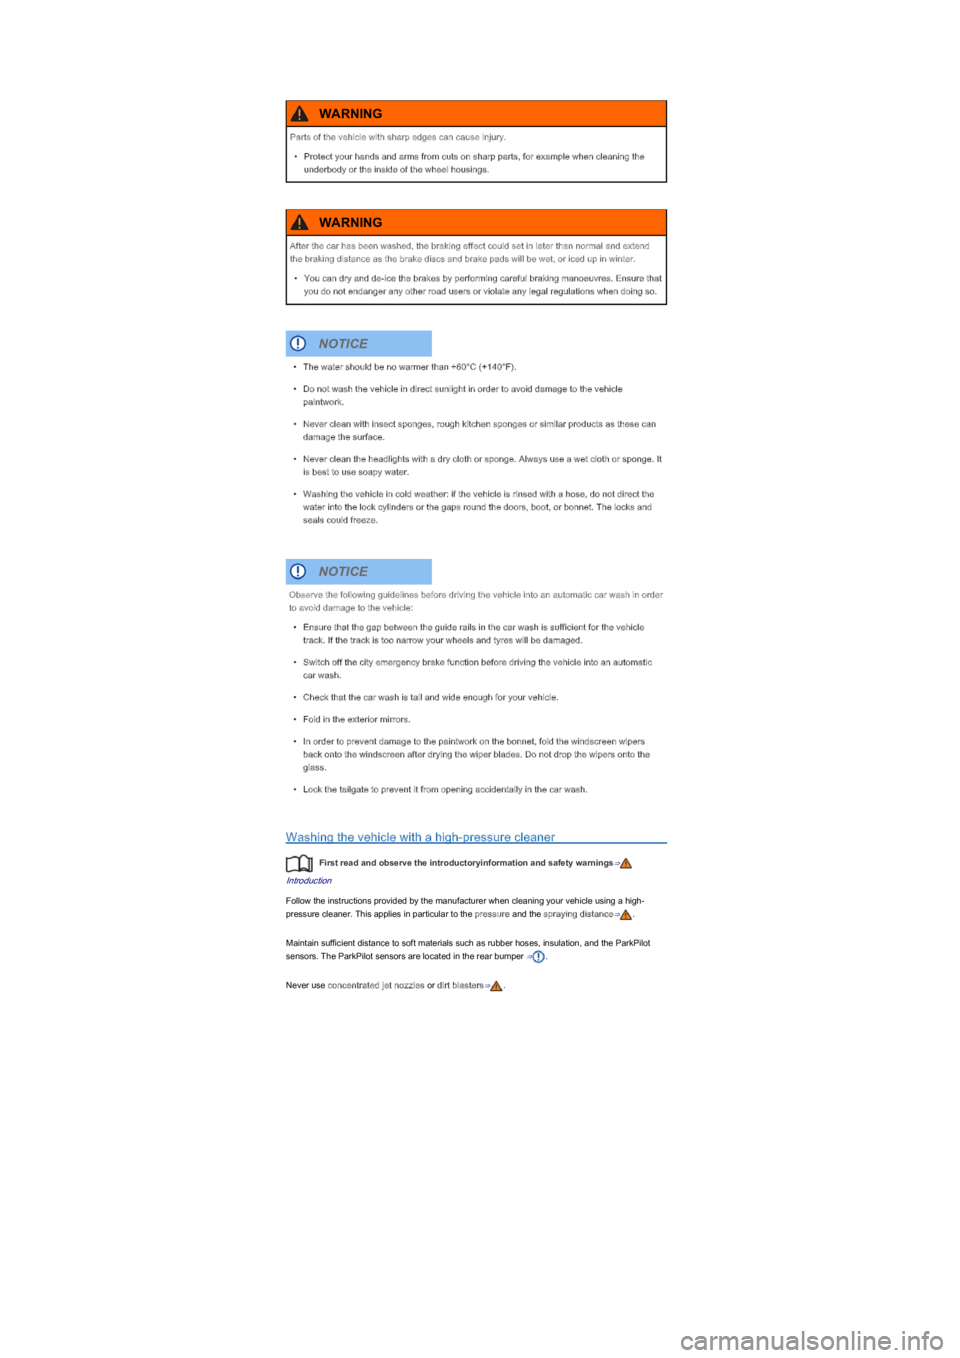
Washing the vehicle with a high-pressure cleaner
First read and observe the introductoryinformation and safety warnings⇒
Introduction
Follow the instructions provided by the manufacturer when cleaning your vehicle using a high-
pressure cleaner. This applies in particular to the pressure and the spraying distance⇒.
Maintain sufficient distance to soft materials such as rubber hoses, insulation, and the ParkPilot
sensors. The ParkPilot sensors are located in the rear bumper ⇒.
Never use concentrated jet nozzles or dirt blasters⇒.
Parts of the vehicle with sharp edges can cause injury.
•Protect your hands and arms from cuts on sharp parts, for example when cleaning the
underbody or the inside of the wheel housings.
WARNING
After the car has been washed, the braking effect could set in later than normal and extend
the braking distance as the brake discs and brake pads will be wet, or iced up in winter.
•You can dry and de-ice the brakes by performing careful braking manoeuvres. Ensure that
you do not endanger any other road users or violate any legal regulations when doing so.
WARNING
•The water should be no warmer than +60°C (+140°F).
•Do not wash the vehicle in direct sunlight in order to avoid damage to the vehicle
paintwork.
•Never clean with insect sponges, rough kitchen sponges or similar products as these can
damage the surface.
•Never clean the headlights with a dry cloth or sponge. Always use a wet cloth or sponge. It
is best to use soapy water.
•Washing the vehicle in cold weather: if the vehicle is rinsed with a hose, do not direct the
water into the lock cylinders or the gaps round the doors, boot, or bonnet. The locks and
seals could freeze.
NOTICE
Observe the following guidelines before driving the vehicle into an automatic car wash in order
to avoid damage to the vehicle:
•Ensure that the gap between the guide rails in the car wash is sufficient for the vehicle
track. If the track is too narrow your wheels and tyres will be damaged.
•Switch off the city emergency brake function before driving the vehicle into an automatic
car wash.
•Check that the car wash is tall and wide enough for your vehicle.
•Fold in the exterior mirrors.
•In order to prevent damage to the paintwork on the bonnet, fold the windscreen wipers
back onto the windscreen after drying the wiper blades. Do not drop the wipers onto the
glass.
•Lock the tailgate to prevent it from opening accidentally in the car wash.
NOTICE
Page 148 of 211
Cleaning windows and exterior mirrors
First read and observe the introductoryinformation and safety warnings⇒
Introduction
Cleaning windows and exterior mirrors
Moisten the windows and exterior mirrors with commercially available, alcohol-based glass cleaner.
Dry the glass surfaces with a clean chamois leather or a lint-free cloth. Chamois leathers that have
been used on painted surfaces are not suitable for use on glass surfaces. They will be soiled with
wax deposits which could smear the surfaces.
Use window cleaner or a silicone remover to clean off rubber, oil, grease and silicone deposits ⇒
.
Removing wax
Car washes and care products could leave wax deposits on the glass surfaces. Wax residue can
only be removed using a special cleaning product or cleaning cloths. Wax deposits on the
windscreen can cause the wiper blades to rub. Volkswagen recommends using a glass cleaning
cloth - G 052 522 A1 - to remove wax deposits from the windows and exterior mirrors each time the
vehicle is washed.
A window cleaner specifically for removing wax will stop the blades rubbing if added to the
windscreen wash water. Dilute the cleaner as instructed. Grease removing cleaners will not remove
wax deposits ⇒.
Special cleaners, glass cleaners and glass cleaning cloths are available from Volkswagen
dealerships.
Removing snow
Use a small brush to remove snow from the windows and exterior mirrors.
Removing ice
The best method for removing ice is to use a de-icer spray. If you use an ice scraper, do not move
it to and fro, but push it in one direction only. Moving the ice scraper backwards can cause dirt to
scratch the window.
The incorrect use of a high-pressure cleaner can cause visible and invisible long-term
damage to tyres and other materials. This can cause accidents and serious injuries.
•Maintain sufficient distance between the washer jet and the tyres.
•Never clean the tyres with concentrated jet nozzles (dirt blasters). The tyres may incur
visible and invisible damage even if cleaned briefly with the spray at a distance.
WARNING
After the car has been washed, the braking effect could set in later than normal and extend
the braking distance as the brake discs and brake pads will be wet, or iced up in winter.
•You can dry and de-ice the brakes by performing careful braking manoeuvres. Ensure that
you do not endanger any other road users or violate any legal regulations when doing so.
WARNING
•The water may be no warmer than +60°C (+140°F).
•Do not wash the vehicle in direct sunlight in order to avoid damage to the vehicle
paintwork.
•The ParkPilot sensors in the bumpers must be kept clean and free of ice to guarantee
correct function. When cleaning with pressure hoses or steam cleaners, the sensors
should only be sprayed briefly and the steam/hose nozzle must be kept more than 10 cm
away.
•Do not clean windows that are iced over or covered in snow with a high-pressure cleaner.
•Washing the vehicle in cold weather: if the vehicle is rinsed with a hose, do not direct the
water into the lock cylinders or the gaps round the doors, boot, or bonnet. The locks and
seals could freeze.
NOTICE
Page 178 of 211
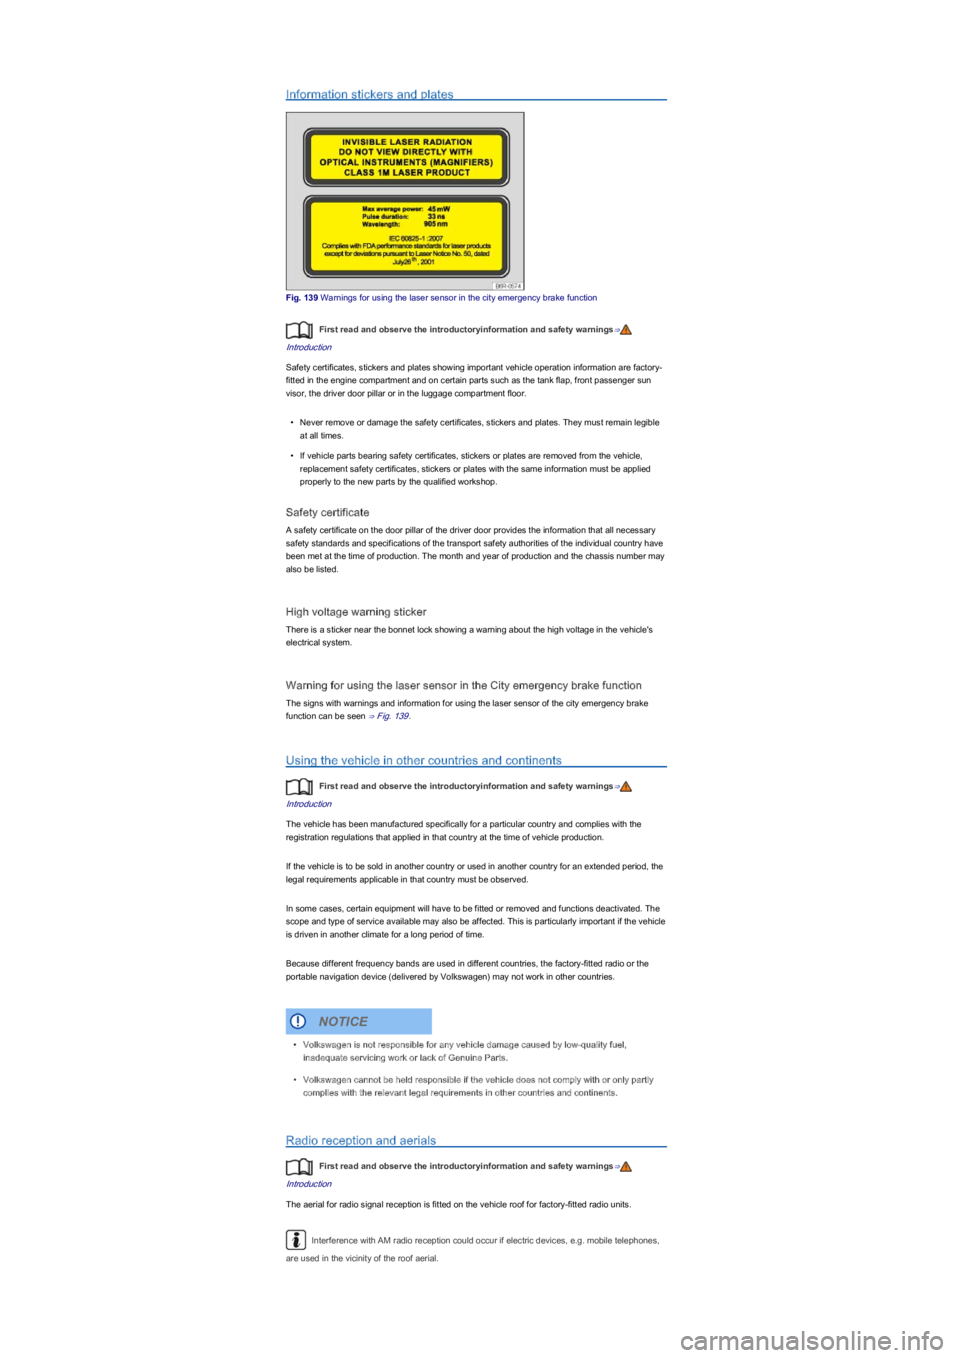
Information stickers and plates
Fig. 139 Warnings for using the laser sensor in the city emergency brake function
First read and observe the introductoryinformation and safety warnings⇒
Introduction
Safety certificates, stickers and plates showing important vehicle operation information are factory-
fitted in the engine compartment and on certain parts such as the tank flap, front passenger sun
visor, the driver door pillar or in the luggage compartment floor.
•Never remove or damage the safety certificates, stickers and plates. They must remain legible
at all times.
•If vehicle parts bearing safety certificates, stickers or plates are removed from the vehicle,
replacement safety certificates, stickers or plates with the same information must be applied
properly to the new parts by the qualified workshop.
Safety certificate
A safety certificate on the door pillar of the driver door provides the information that all necessary
safety standards and specifications of the transport safety authorities of the individual country have
been met at the time of production. The month and year of production and the chassis number may
also be listed.
High voltage warning sticker
There is a sticker near the bonnet lock showing a warning about the high voltage in the vehicle's
electrical system.
Warning for using the laser sensor in the City emergency brake function
The signs with warnings and information for using the laser sensor of the city emergency brake
function can be seen ⇒ Fig. 139.
Using the vehicle in other countries and continents
First read and observe the introductoryinformation and safety warnings⇒
Introduction
The vehicle has been manufactured specifically for a particular country and complies with the
registration regulations that applied in that country at the time of vehicle production.
If the vehicle is to be sold in another country or used in another country for an extended period, the
legal requirements applicable in that country must be observed.
In some cases, certain equipment will have to be fitted or removed and functions deactivated. The
scope and type of service available may also be affected. This is particularly important if the vehicle
is driven in another climate for a long period of time.
Because different frequency bands are used in different countries, the factory-fitted radio or the
portable navigation device (delivered by Volkswagen) may not work in other countries.
Radio reception and aerials
First read and observe the introductoryinformation and safety warnings⇒
Introduction
The aerial for radio signal reception is fitted on the vehicle roof for factory-fitted radio units.
Interference with AM radio reception could occur if electric devices, e.g. mobile telephones,
are used in the vicinity of the roof aerial.
•Volkswagen is not responsible for any vehicle damage caused by low-quality fuel,
inadequate servicing work or lack of Genuine Parts.
•Volkswagen cannot be held responsible if the vehicle does not comply with or only partly
complies with the relevant legal requirements in other countries and continents.
NOTICE
Page 198 of 211
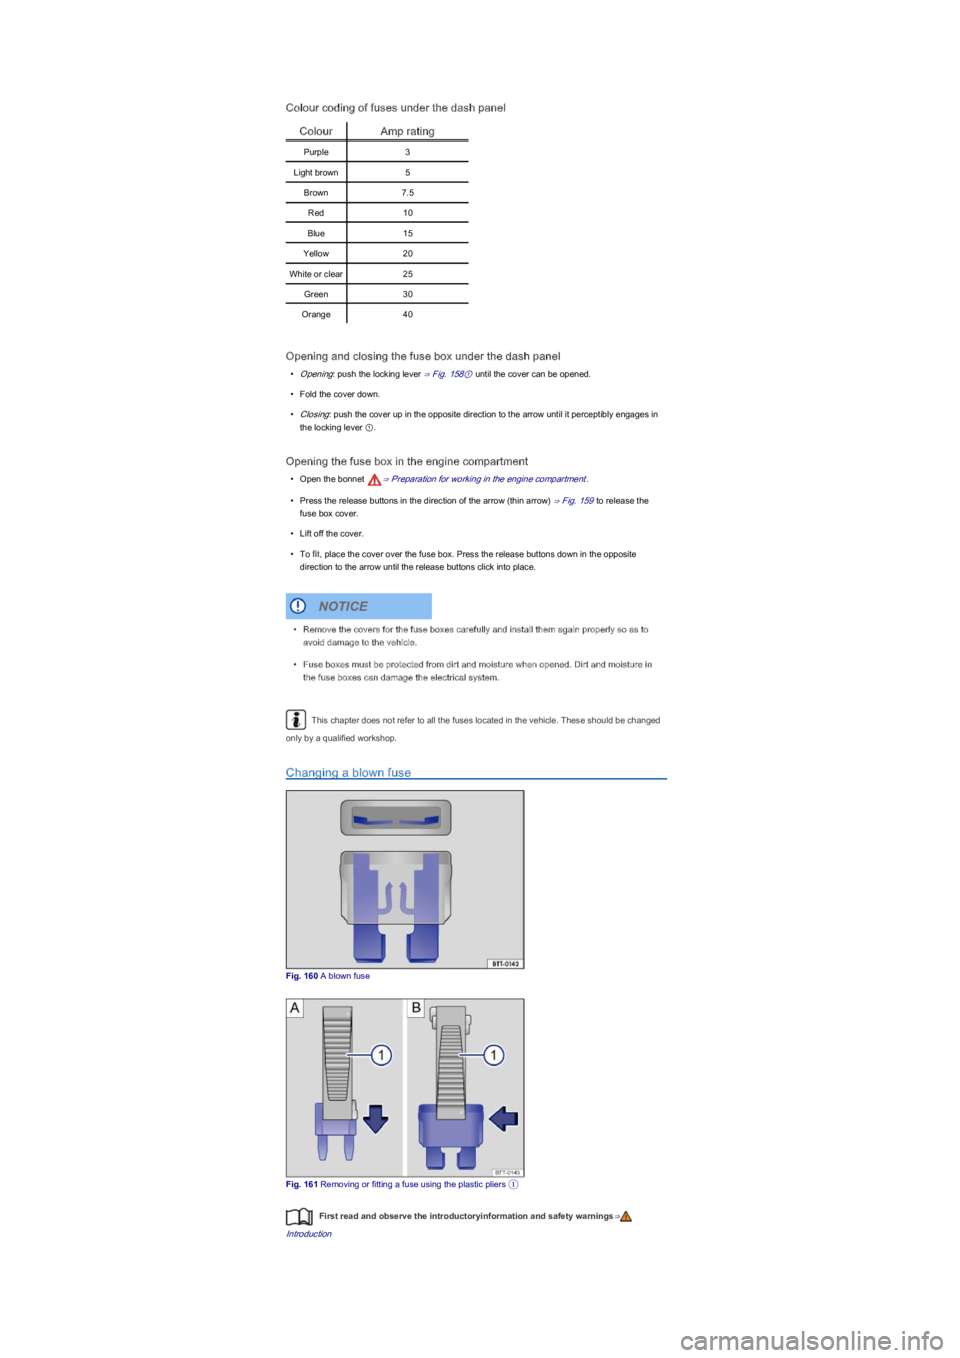
Colour coding of fuses under the dash panel
ColourAmp rating
Purple3
Light brown5
Brown7.5
Red10
Blue15
Yellow20
White or clear25
Green30
Orange40
Opening and closing the fuse box under the dash panel
•Opening: push the locking lever ⇒ Fig. 158① until the cover can be opened.
•Fold the cover down.
•Closing: push the cover up in the opposite direction to the arrow until it perceptibly engages in
the locking lever ①.
Opening the fuse box in the engine compartment
•Open the bonnet ⇒ Preparation for working in the engine compartment.
•Press the release buttons in the direction of the arrow (thin arrow) ⇒ Fig. 159 to release the
fuse box cover.
•Lift off the cover.
•To fit, place the cover over the fuse box. Press the release buttons down in the opposite
direction to the arrow until the release buttons click into place.
This chapter does not refer to all the fuses located in the vehicle. These should be changed
only by a qualified workshop.
Changing a blown fuse
Fig. 160 A blown fuse
Fig. 161 Removing or fitting a fuse using the plastic pliers ①
First read and observe the introductoryinformation and safety warnings⇒
Introduction
•Remove the covers for the fuse boxes carefully and install them again properly so as to
avoid damage to the vehicle.
•Fuse boxes must be protected from dirt and moisture when opened. Dirt and moisture in
the fuse boxes can damage the electrical system.
NOTICE